Embed Size (px)
Citation preview
Creating Projects using
Microsoft Visual Studio 2015
CTEC1239/2017W
Computer Programming
Version 1.0: Covers Windows 10 PCs in L2
Last updated: 2017.01.10
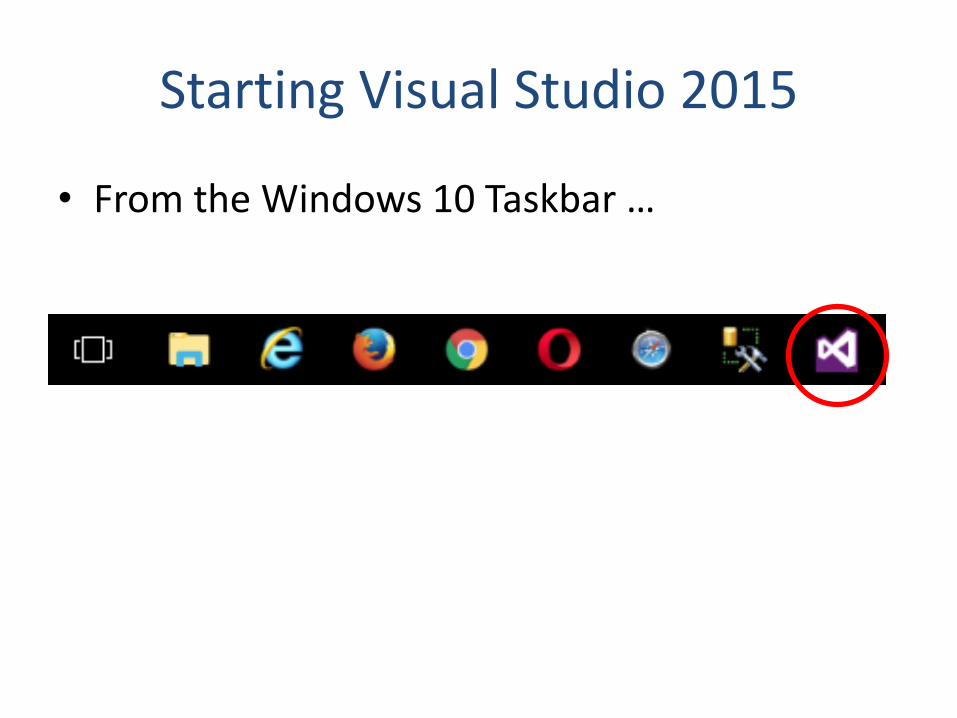
Starting Visual Studio 2015
• From the Windows 10 Taskbar …

The “splash
screen” is shown
while Visual
Studio loads … it
may take several
seconds.

Visual Studio 2015
Note: in L2, the “Dark” colour theme is the default. It can be changed…

Create A New Project
• From the File menu, select New, then Project…
• You can also press Ctrl+Shift+N instead
11
22 33
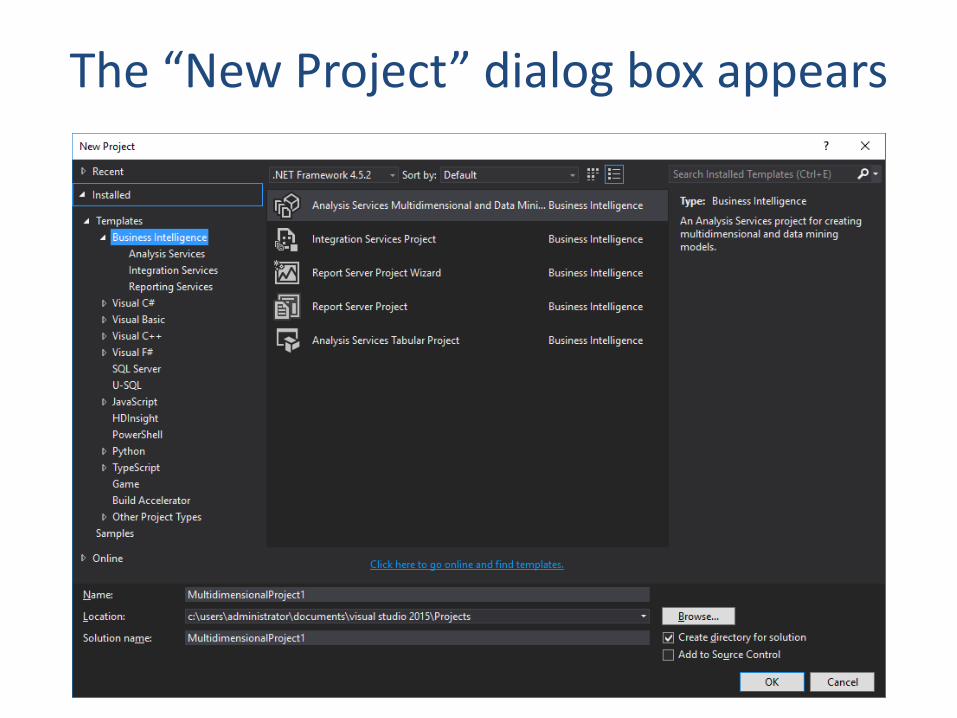
The “New Project” dialog box appears

Choose the Language, Environment, and Project Type
• The C# project type used for all programs in CTEC1239 is Console Application.
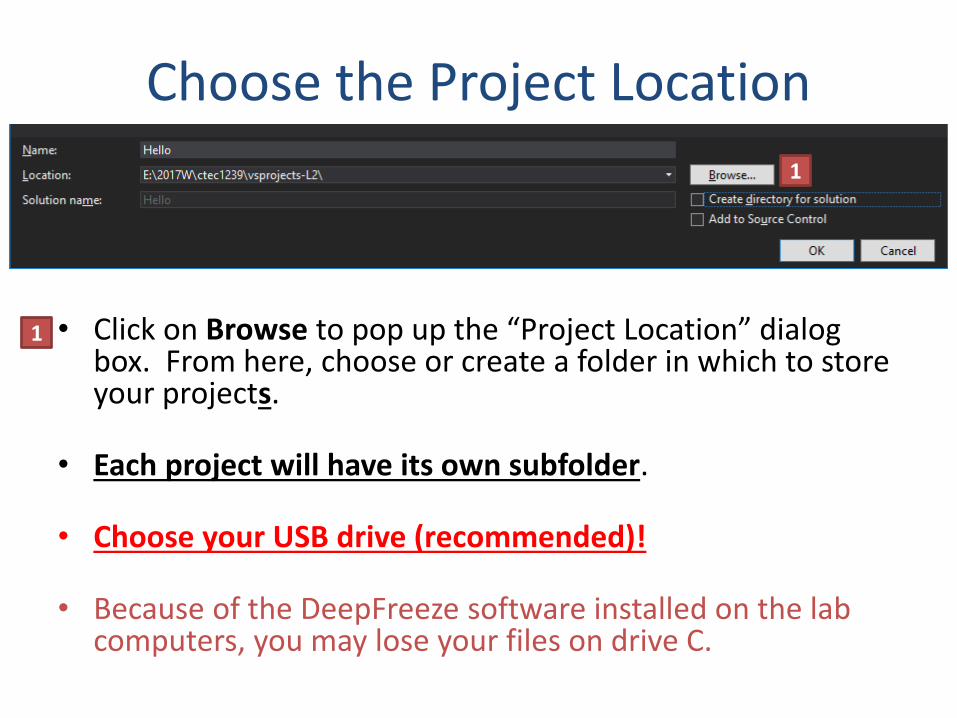
Choose the Project Location
• Click on Browse to pop up the “Project Location” dialog box. From here, choose or create a folder in which to store your projects.
• Each project will have its own subfolder.
• Choose your USB drive (recommended)!
• Because of the DeepFreeze software installed on the lab computers, you may lose your files on drive C.
1
1
1
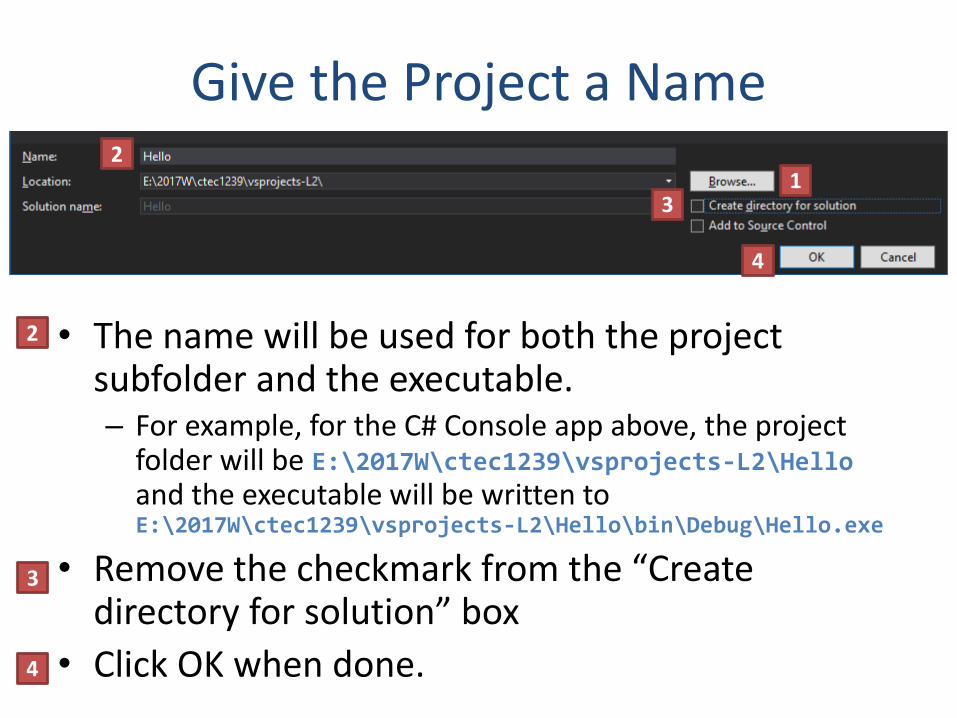
Give the Project a Name
• The name will be used for both the project subfolder and the executable.– For example, for the C# Console app above, the project
folder will be E:\2017W\ctec1239\vsprojects-L2\Helloand the executable will be written to E:\2017W\ctec1239\vsprojects-L2\Hello\bin\Debug\Hello.exe
• Remove the checkmark from the “Create directory for solution” box
• Click OK when done.
12
3
4
2
3
4

New Project Created
Visual Studio creates an “empty” program framework
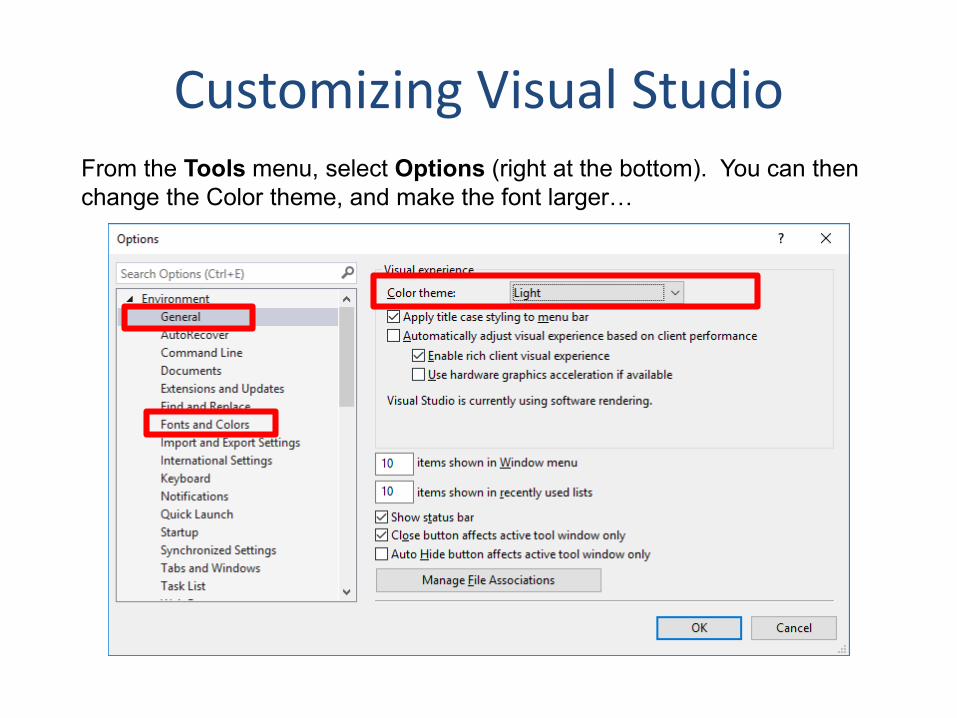
Customizing Visual StudioFrom the Tools menu, select Options (right at the bottom). You can then
change the Color theme, and make the font larger…
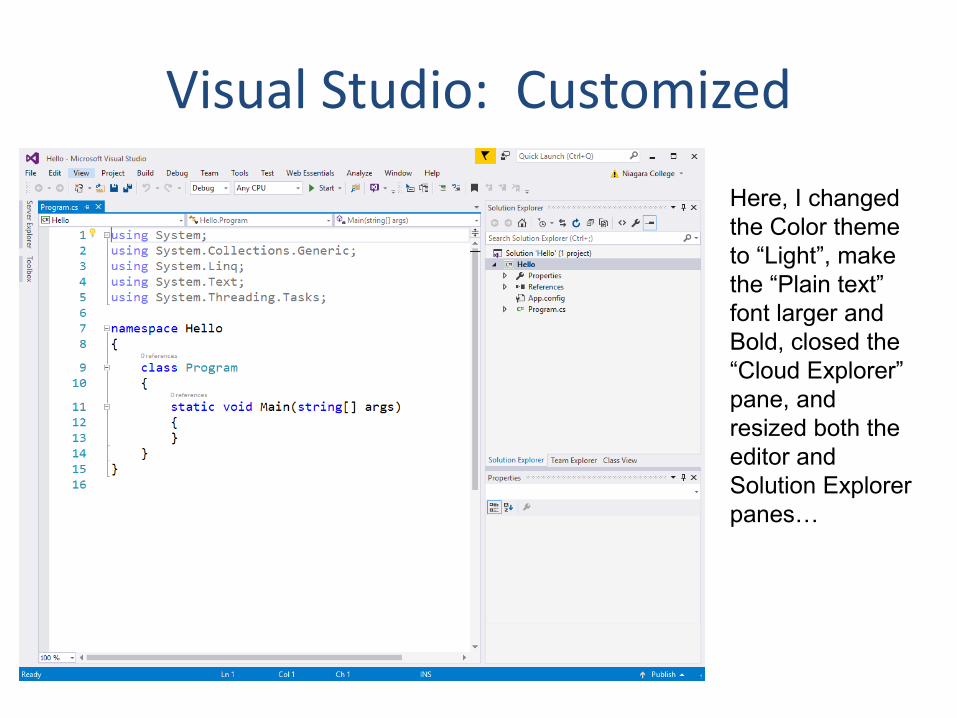
Visual Studio: Customized
Here, I changed
the Color theme
to “Light”, make
the “Plain text”
font larger and
Bold, closed the
“Cloud Explorer”
pane, and
resized both the
editor and
Solution Explorer
panes…
CREATING A C# CONSOLE APPLICATION
The following example uses Visual Studio 2013 under Windows 7, but the same procedures and principles apply to Visual Studio 2015 under Windows 10…
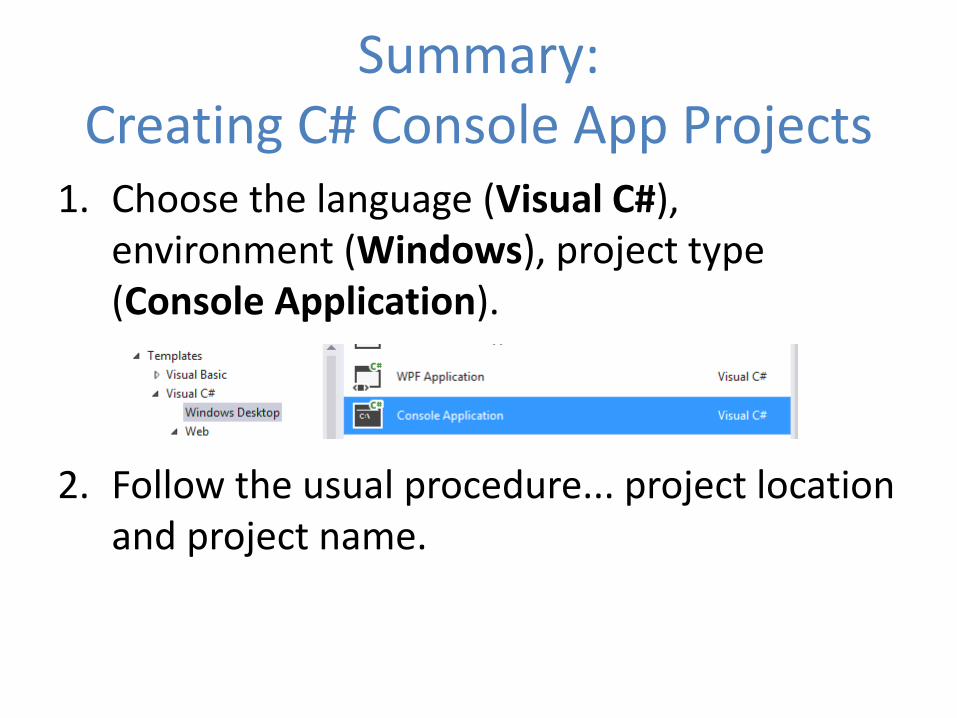
Summary: Creating C# Console App Projects
1. Choose the language (Visual C#), environment (Windows), project type (Console Application).
2. Follow the usual procedure... project location and project name.

C# Console App Project
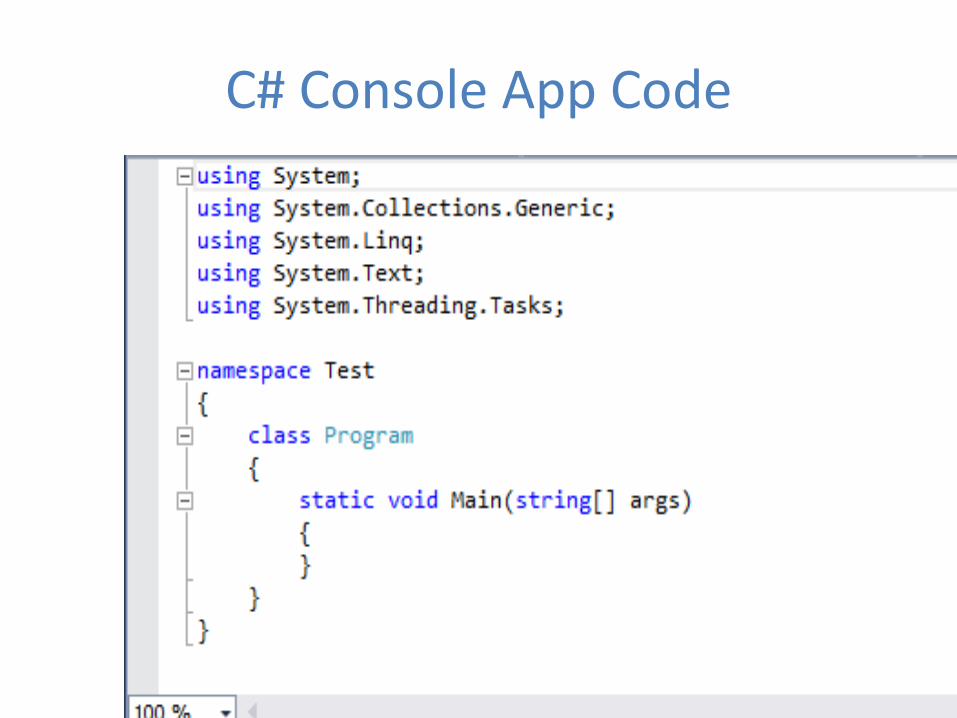
C# Console App Code

C# Console App Code (2)
• The C# using keyword includes .Net libraries.
• The C# namespace keyword is used because .Net classes are organized in assemblies.
• Your project is an assembly.

C# Console App Code (3)
• Like Java, each C# program must have consist of at least one class.
• The program entry point is “main”, but C# capitalizes the name to Main (so does VB).
• The fully-qualified name of the class in this example is Test.Program

C# Console App Files
• Don’t mess with the Properties folder!
• The bin and obj folders are used for building (they can be safely deleted).
• Don’t forget the secret hidden .suo file.

Contrived C# Console Program Example - Code

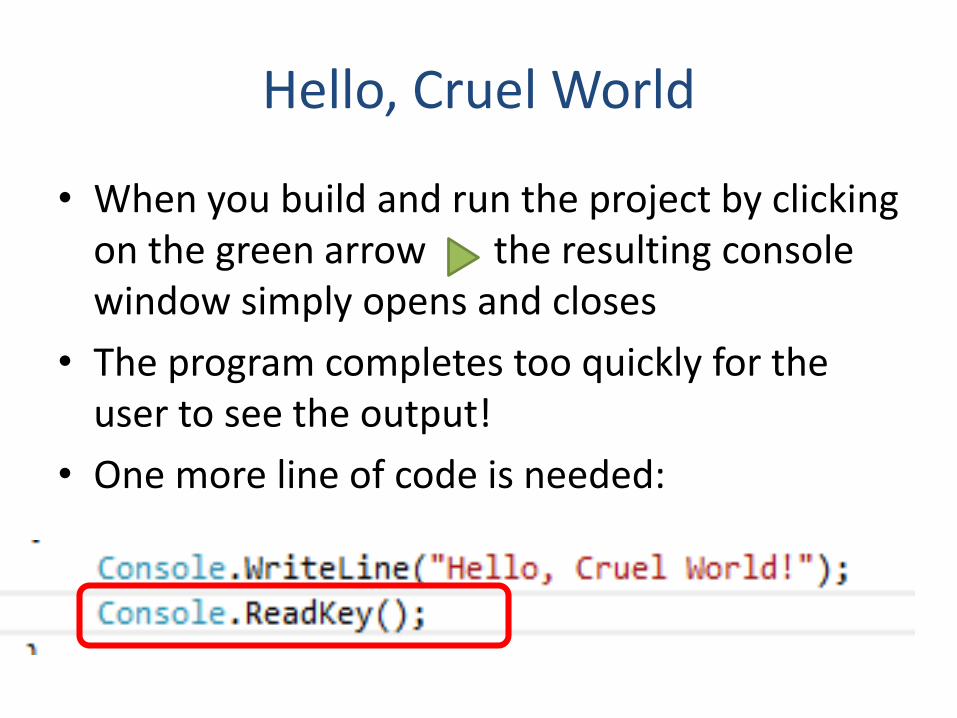
Hello, Cruel World
• Create a new project called “HelloWorld”
• Enter one line of code:
Hello, Cruel World
• When you build and run the project by clicking on the green arrow the resulting console window simply opens and closes
• The program completes too quickly for the user to see the output!
• One more line of code is needed:
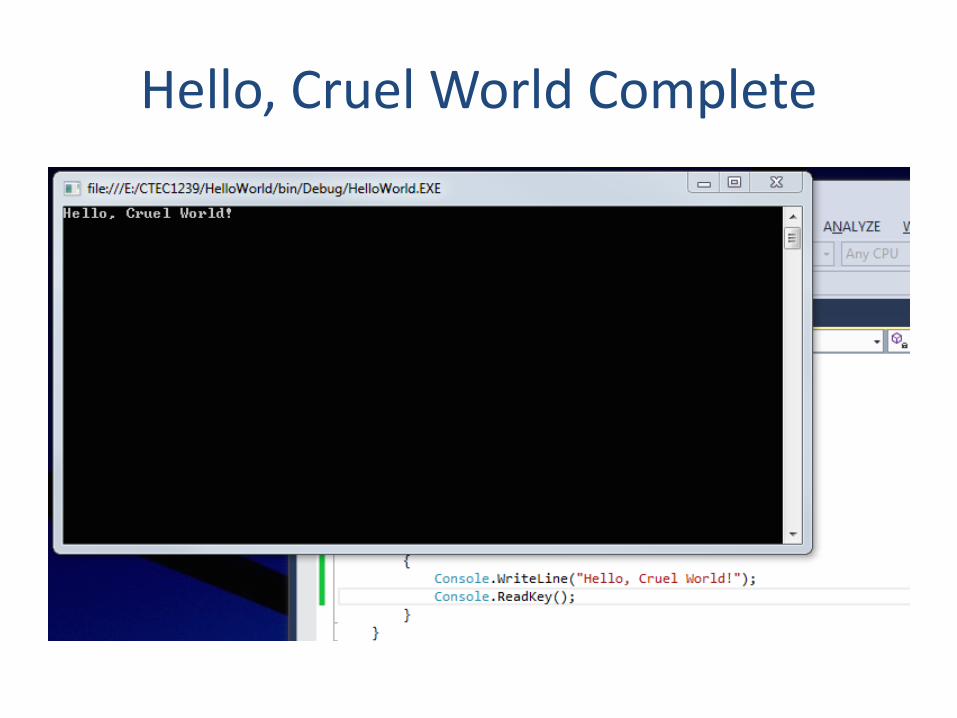
Hello, Cruel World Complete
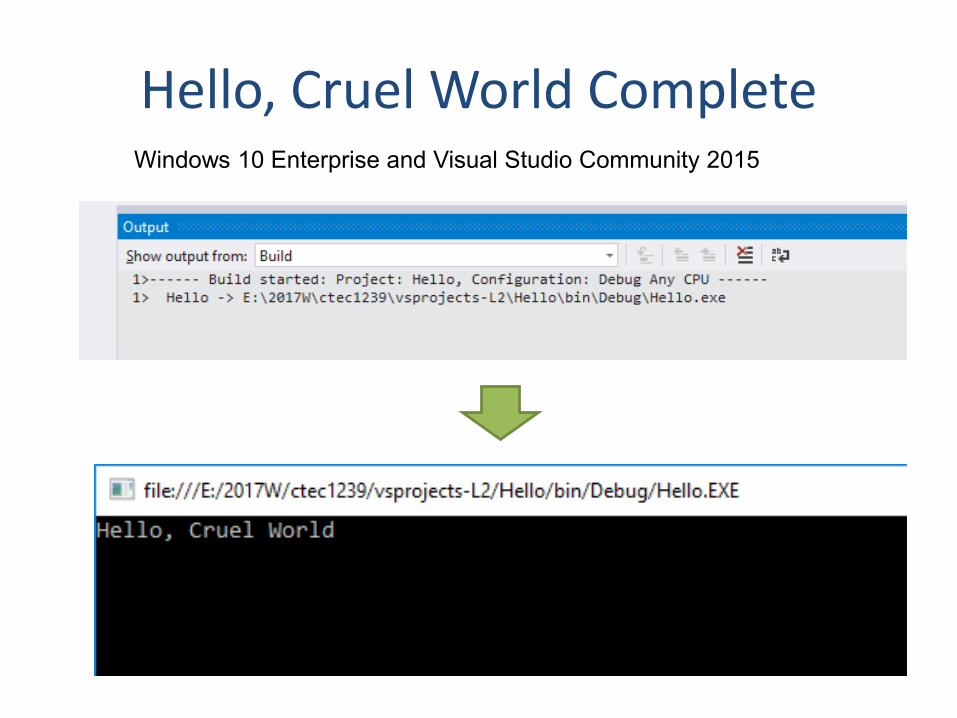
Hello, Cruel World CompleteWindows 10 Enterprise and Visual Studio Community 2015

Cleaning C# Projects
• Close the project in Visual Studio.
• Copy the .exe file from bin\Debug if necessary.
• Remove the bin and obj folders.
• Delete the secret hidden .suo file (VS2013 and older) or the secret hidden .vs folder (VS2015 and newer.)
– First, in Windows Explorer, click Organize, then Folder and Search Options, then from the View tab, click on “Show hidden files, folders, and drives”.
Archiving the Project
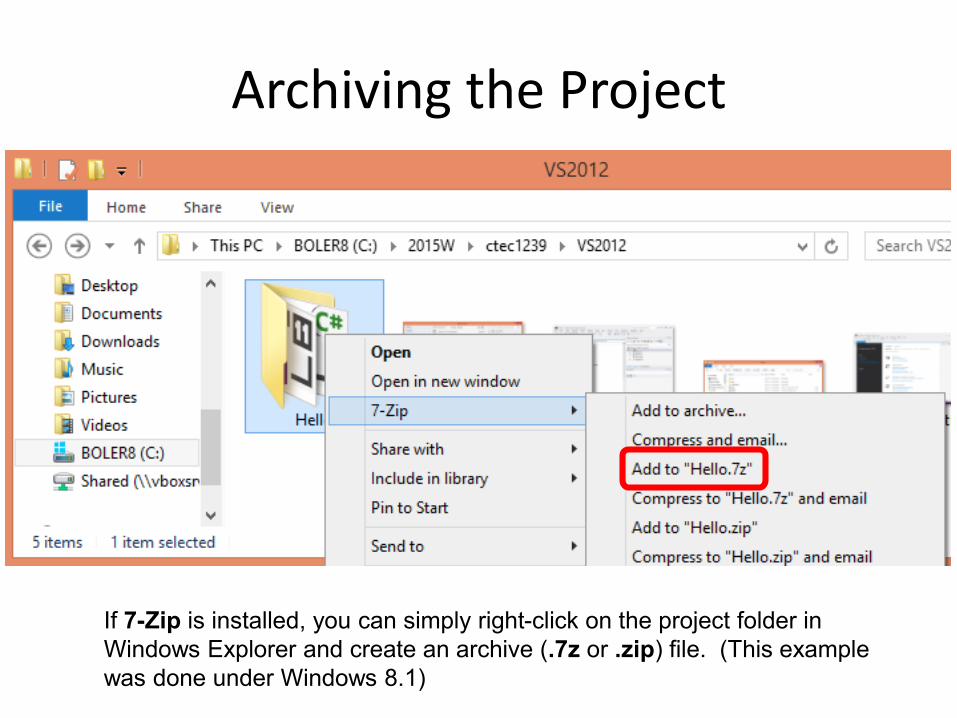
If 7-Zip is installed, you can simply right-click on the project folder in
Windows Explorer and create an archive (.7z or .zip) file. (This example
was done under Windows 8.1)
Archiving the Project
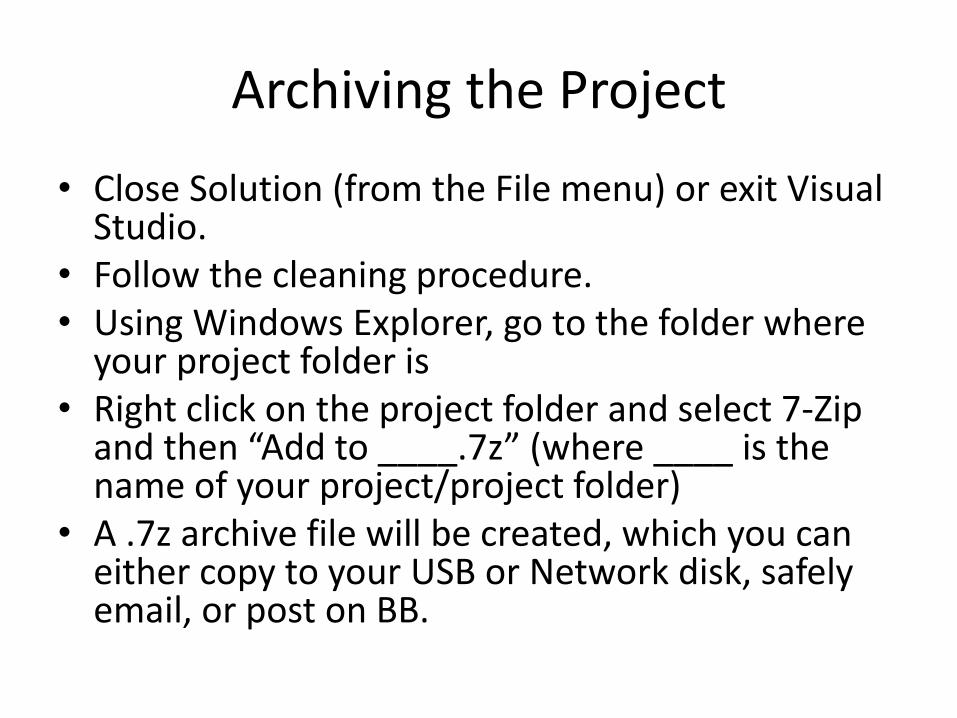
• Close Solution (from the File menu) or exit Visual Studio.
• Follow the cleaning procedure.• Using Windows Explorer, go to the folder where
your project folder is• Right click on the project folder and select 7-Zip
and then “Add to ____.7z” (where ____ is the name of your project/project folder)
• A .7z archive file will be created, which you can either copy to your USB or Network disk, safely email, or post on BB.