Embed Size (px)
Citation preview
8/11/2019 Crutchfield TB Radio
http://slidepdf.com/reader/full/crutchfield-tb-radio 1/5
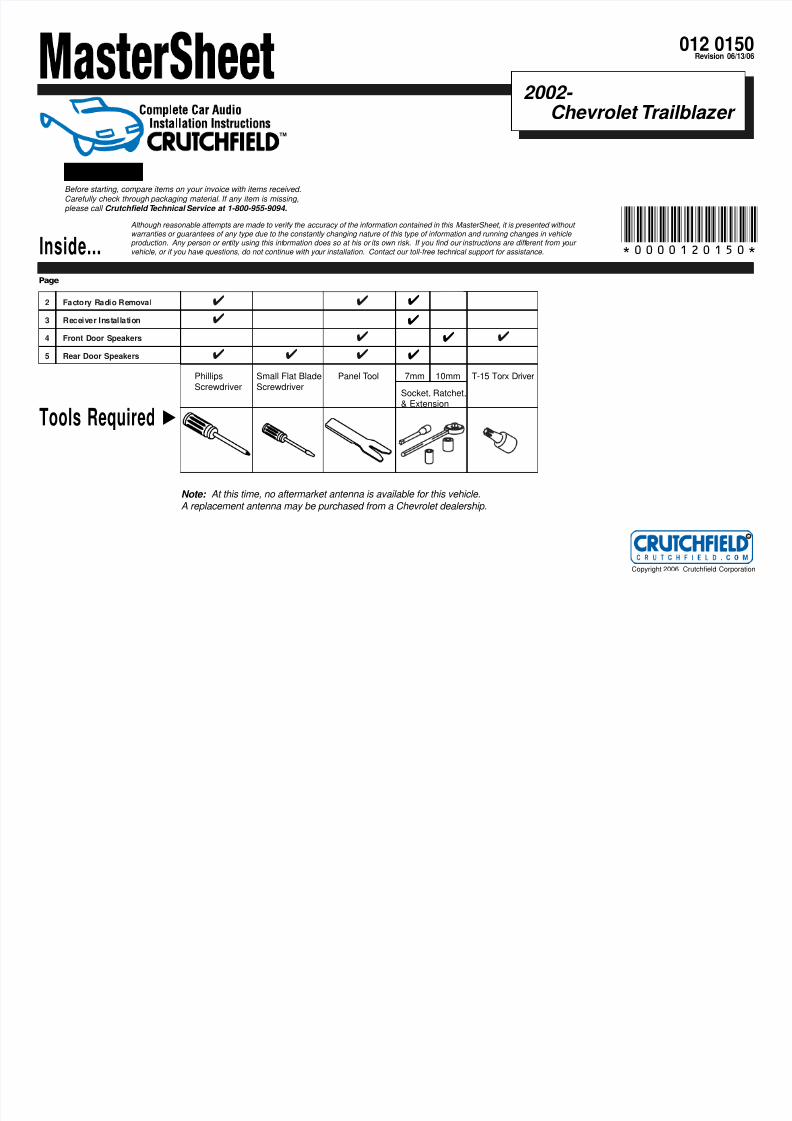
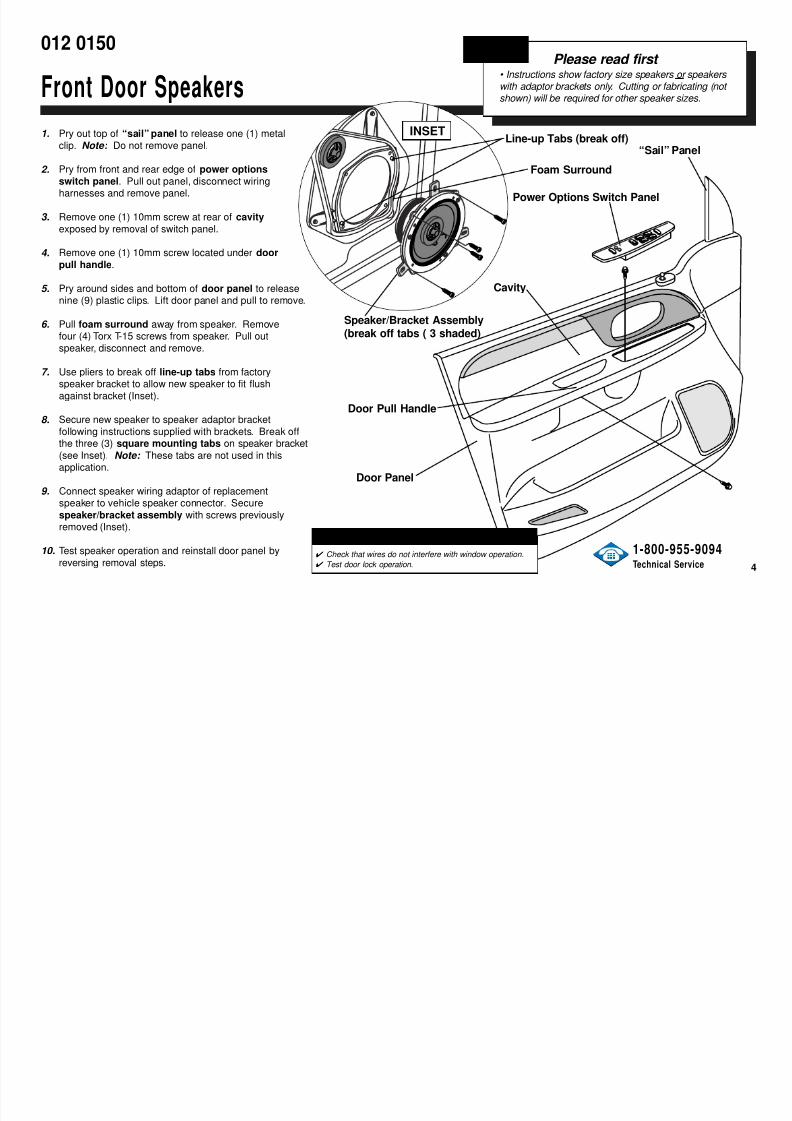
2 Factory Radio Removal ✔ ✔
3 Receiver Installation ✔4 Front Door Speakers ✔ ✔
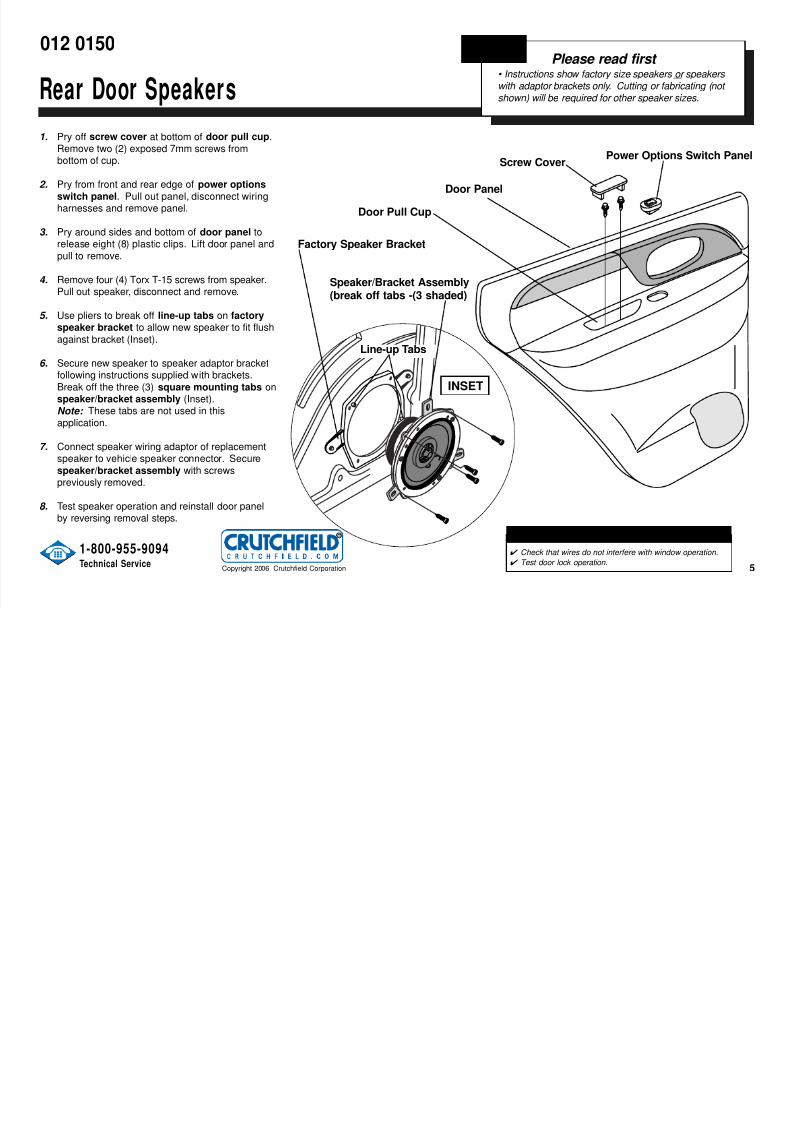
5 Rear Door Speakers ✔ ✔ ✔
TM
Inside...
Tools Required
012 0150Revision 06/13/06
2002-
Chevrolet Trailblazer
▲
Page
Phillips
Screwdriver
Small Flat Blade
Screwdriver
Panel Tool
Socket, Ratchet,& Extension
*0000120150*
T-15 Torx Driver
✔✔
✔
7mm 10mm
✔
Note: At this time, no aftermarket antenna is available for this vehicle.
A replacement antenna may be purchased from a Chevrolet dealership.
IM PORTANT
Before starting, compare items on your invoice with items received.Carefully check through packaging material. If any item is missing,please call Crutchfield Technical Service at 1-800-955-9094.
Although reasonable attempts are made to verify the accuracy of the information contained in this MasterSheet, it is presented withoutwarranties or guarantees of any type due to the constantly changing nature of this type of information and running changes in vehicleproduction. Any person or entity using this information does so at his or its own risk. If you find our instructions are different from yourvehicle, or if you have questions, do not continue with your installation. Contact our toll-free technical support for assistance.
®
Copyright 2006 Crutchfield Corporation
R
R
8/11/2019 Crutchfield TB Radio
http://slidepdf.com/reader/full/crutchfield-tb-radio 2/5
012 0150
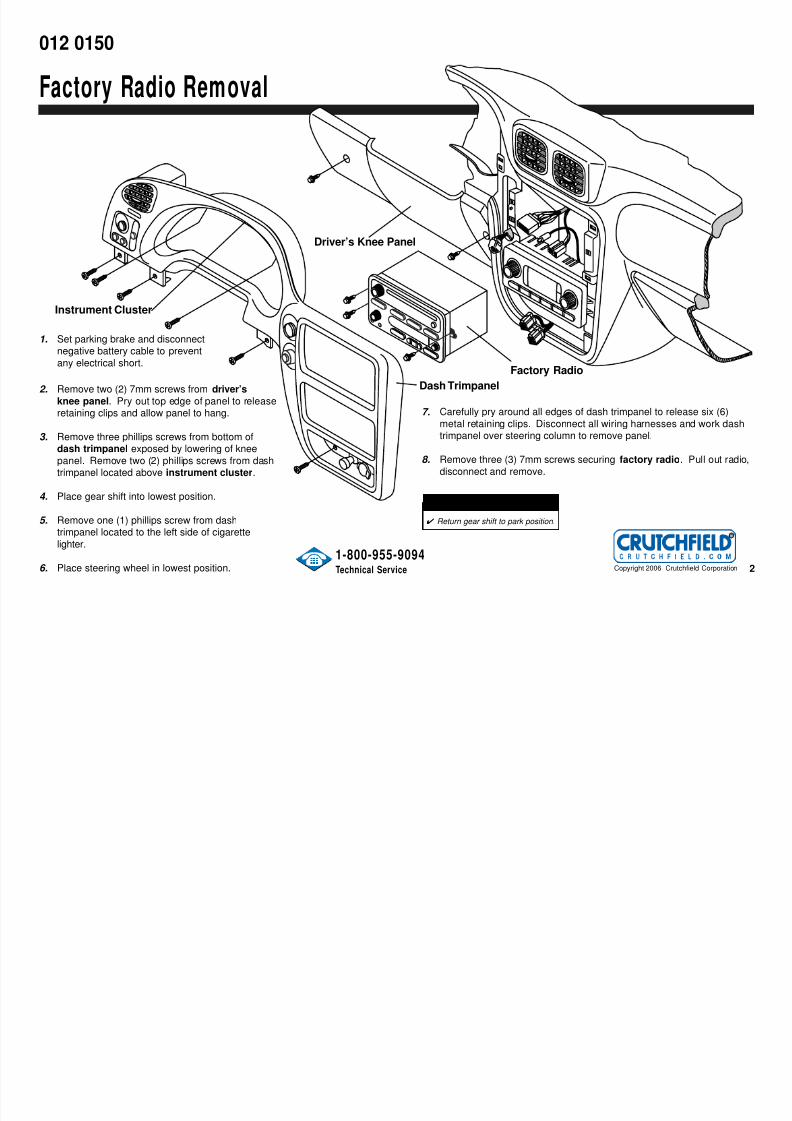
Factory Radio Removal
2
Dash Trimpanel
1. Set parking brake and disconnectnegative battery cable to prevent
any electrical short.
2. Remove two (2) 7mm screws from driver’s
knee panel. Pry out top edge of panel to releaseretaining clips and allow panel to hang.
3. Remove three phillips screws from bottom ofdash trimpanel exposed by lowering of knee
panel. Remove two (2) phillips screws from dashtrimpanel located above instrument cluster.
4. Place gear shift into lowest position.
5. Remove one (1) phillips screw from dash
trimpanel located to the left side of cigarettelighter.
6. Place steering wheel in lowest position.
7. Carefully pry around all edges of dash trimpanel to release six (6)
metal retaining clips. Disconnect all wiring harnesses and work dashtrimpanel over steering column to remove panel.
8. Remove three (3) 7mm screws securing factory radio. Pull out radio,
disconnect and remove.
1-800-955-9094
Technical Service
Factory Radio
Instrument Cluster
Driver’s Knee Panel
✔ Return gear shift to park position.
SAFETY CHECK
®
Copyright 2006 Crutchfield Corporation
R
R
8/11/2019 Crutchfield TB Radio
http://slidepdf.com/reader/full/crutchfield-tb-radio 3/5
012 0150
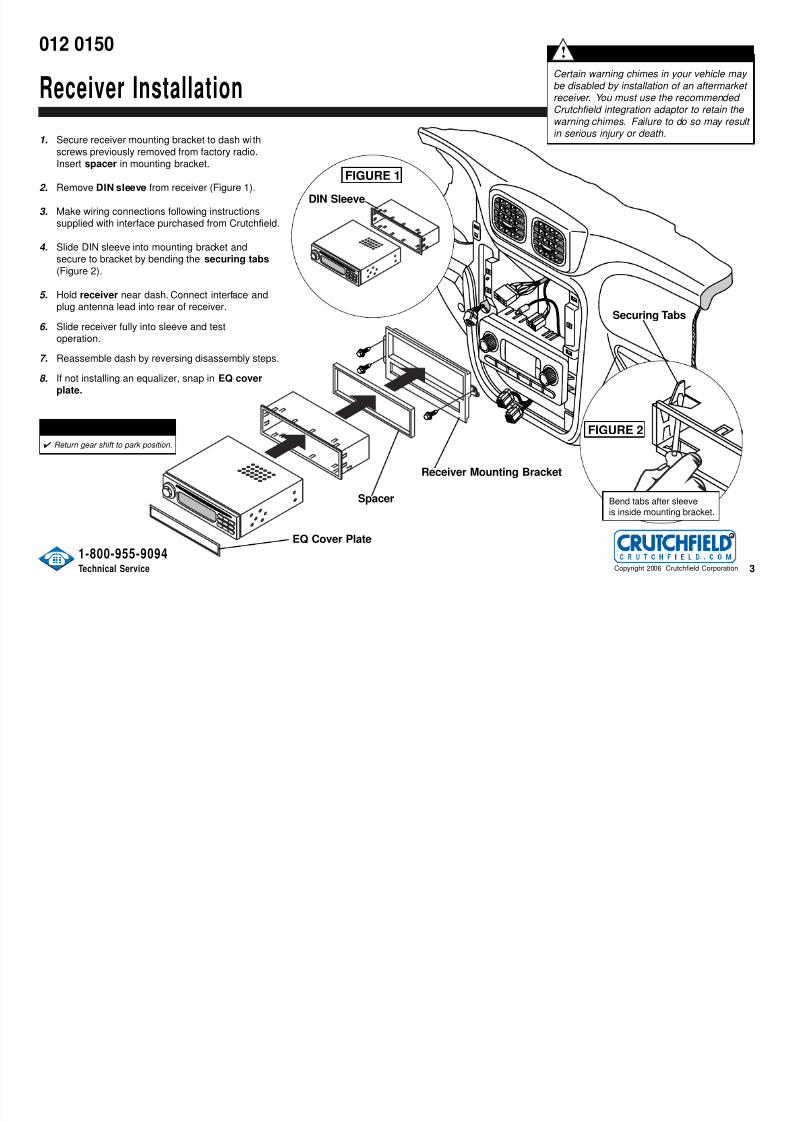
Receiver Installation
3
Bend tabs after sleeve
is inside mounting bracket.
FIGURE 1
FIGURE 2
DIN Sleeve
1-800-955-9094
Technical Service
1. Secure receiver mounting bracket to dash with
screws previously removed from factory radio.Insert spacer in mounting bracket.
2. Remove DIN sleeve from receiver (Figure 1).
3. Make wiring connections following instructionssupplied with interface purchased from Crutchfield.
4. Slide DIN sleeve into mounting bracket andsecure to bracket by bending the securing tabs
(Figure 2).
5. Hold receiver near dash. Connect interface andplug antenna lead into rear of receiver.
6. Slide receiver fully into sleeve and testoperation.
7. Reassemble dash by reversing disassembly steps.
8. If not installing an equalizer, snap in EQ coverplate.
Receiver Mounting Bracket
Spacer
EQ Cover Plate
Securing Tabs
Certain warning chimes in your vehicle may
be disabled by installation of an aftermarket receiver. You must use the recommended
Crutchfield integration adaptor to retain the warning chimes. Failure to do so may result in serious injury or death.
IMPORTANT SAFETY WARNING: !
✔ Return gear shift to park position.
SAFETY CHECK
®
Copyright 2006 Crutchfield Corporation
R
R
8/11/2019 Crutchfield TB Radio
http://slidepdf.com/reader/full/crutchfield-tb-radio 4/5
8/11/2019 Crutchfield TB Radio
http://slidepdf.com/reader/full/crutchfield-tb-radio 5/5