Embed Size (px)
Citation preview
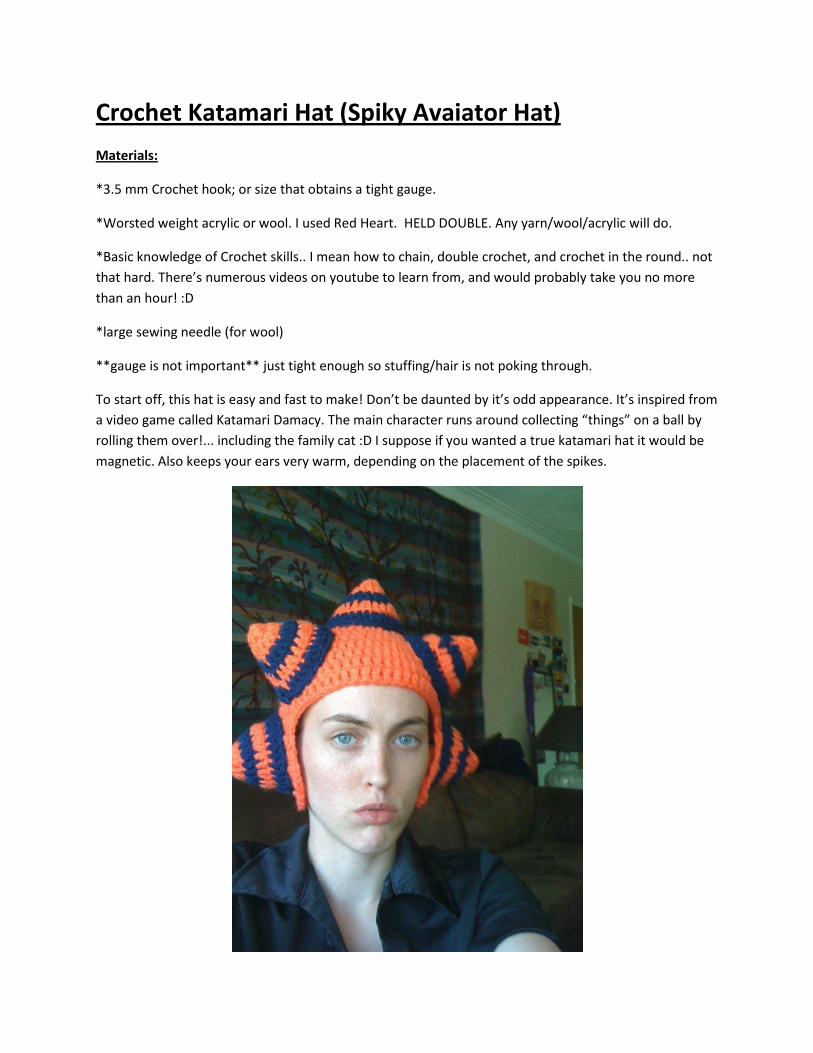
Crochet Katamari Hat (Spiky Avaiator Hat)
Materials:
*3.5 mm Crochet hook; or size that obtains a tight gauge.
*Worsted weight acrylic or wool. I used Red Heart. HELD DOUBLE. Any yarn/wool/acrylic will do.
*Basic knowledge of Crochet skills.. I mean how to chain, double crochet, and crochet in the round.. not
that hard. There’s numerous videos on youtube to learn from, and would probably take you no more
than an hour! :D
*large sewing needle (for wool)
**gauge is not important** just tight enough so stuffing/hair is not poking through.
To start off, this hat is easy and fast to make! Don’t be daunted by it’s odd appearance. It’s inspired from
a video game called Katamari Damacy. The main character runs around collecting “things” on a ball by
rolling them over!... including the family cat :D I suppose if you wanted a true katamari hat it would be
magnetic. Also keeps your ears very warm, depending on the placement of the spikes.

Abbreviations:
Ch – chain
Dc – double crochet
Ch 2 (counts as 1st double crochet)
Pattern:
Spike:
1. Ch 3, Slip into first ch to form a loop.
2. Ch 2 (counts as 1st dc), dc 6 stitches in loop. *(7 stitches)*
3. Slip stitch into 2nd ch of ch 2.
4. Ch 2, 2 dc in each dc. *(14 stitches)*
Start new colour.
5. Slip stich into 2nd ch of ch 2.
6. Ch 2, {1 dc in dc, 2 dc in dc} repeat {} until end. *(21 stitches)*
Start new colour.
7. Slip stitch into 2nd ch of ch 2.
8. Ch 2, {1 dc in dc, 1 dc in dc, 2 dc in dc} repeat {} until end. *(28 stitches)*
Pull yarn through. (Bind off.)
I try to remember it as this:
2-2-2.. (14 sts)
1-2---1-2---1-2.. (21 sts)
1-1-2---1-1-2---1-1-2.. (28 sts)
Make 8- 10, or as many/ few as you wish. Placement is also up to you ;)

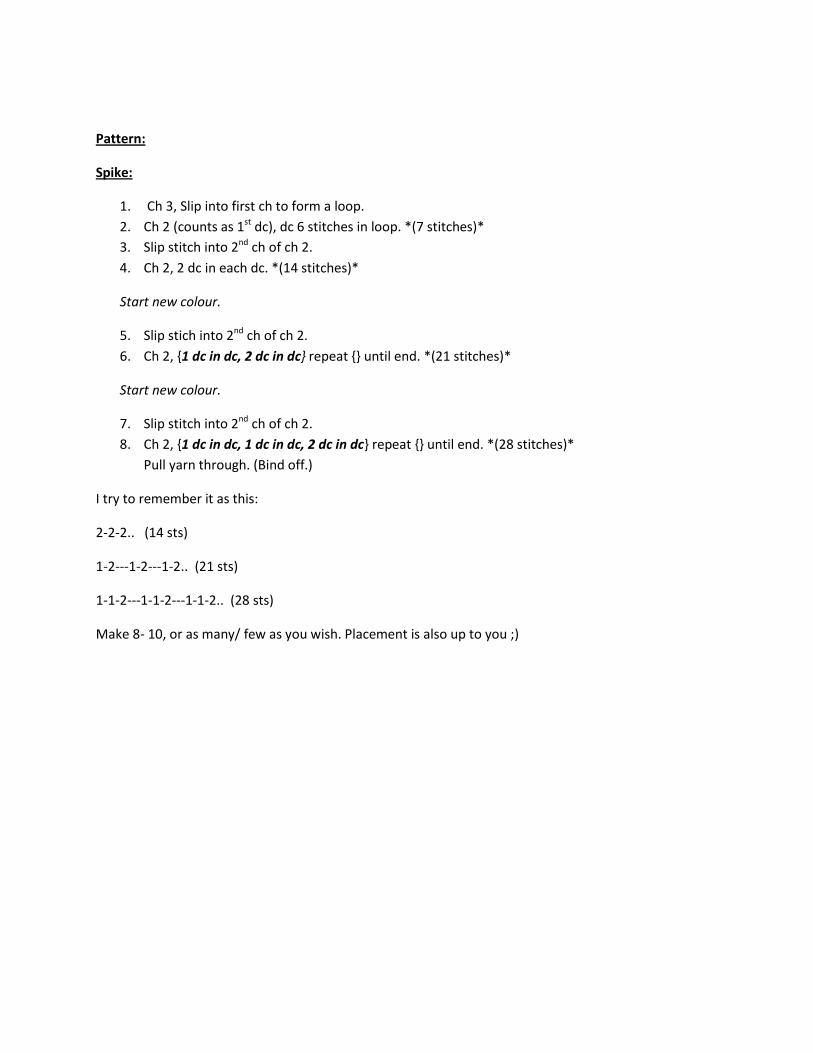
Hat:
*I count the Ch 2 as a double crochet, and double crochet into the same base (so there’s two “double
crochets” in the same stitch) this makes the joins less apparent, and holes less frequent. Count these 2
stitches in your final count.
If your row says *(16 stitches)* use the row instructions for it, so dc in each dc (base) but if your number
is off, by all means decrease, or “mess” up the pattern.
(As long as your end number is right the next row will work out fine.) I’ve done many hats like this, and
you really can’t tell ;)
....good for us modifiers or those who dislike tedious instructions!
1. Ch 3. Slip stitch in 1st ch. Ch 2. Dc 7 stitches in loop. *(8 stitches)*
2. Ch 2. 2 Dc in each Dc. *(16 stitches)*
3. Ch 2. {Dc in Dc, 2 Dc in Dc} repeat {} until end. *(24 stitches)*
4. Ch 2. {Dc in DC, Dc in Dc, 2 Dc in Dc} repeat {} until end *(32 stitches)*
5. Ch 2. {Dc in Dc, Dc in Dc, Dc in Dc, 2 Dc in Dc} repeat {} until end *( 40 stitches)*
6. Ch 2. { Dc in Dc, Dc in Dc, Dc in Dc, Dc in Dc, 2 Dc in Dc} *(48 stitches)*
7. Ch 2. { Dc in Dc, Dc in Dc, Dc in Dc, Dc in Dc, Dc in Dc, 2 Dc in Dc} *(56 stitches)*
8. Ch 2. { Dc in Dc, Dc in Dc, Dc in Dc, Dc in Dc, Dc in Dc, Dc in Dc, 2 Dc in Dc} *(64 stitches)*
~ this is the “sweet spot” ... stop! Put the hat on your head. Does it cover most of your
crown/top of head? (with about a half inch of leeway and stretch) if it does continue on as
follows... if not, don’t worry! Just add in a few increases, or decreases, like the previous rows,
until it looks like a oversized yamica. ~
(beginning of ear flap)
9. Ch 2. Dc in Dc across. *(64 stitches)*
10. Ch 2. Dc in Dc across. *(64 stitches)*
11. Ch 2. Dc in Dc across. *(64 stitches)*
12. Ch 2. Dc in Dc across 44 stitches ONLY. Turn. (Leaving 20 stitches “out” for face) *(44 stitches)*
13. Ch 2. Dc in Dc, working 5 decreases across the row evenly. *(39 stitches)*
14. Ch 2. Dc in Dc, working 2 decreases after the first 6 stitches and before the last 6 stitches.
*(37 stitches)*
15. Ch 2. Dc in Dc, working 3 decreases across the row evenly. *(34 stitches)*
16. Ch 2. Dc in Dc, working 4 decreases across the row evenly. *( 30 stitches)*
17. Ch 2. Dc in Dc across. *( 30 stitches)*
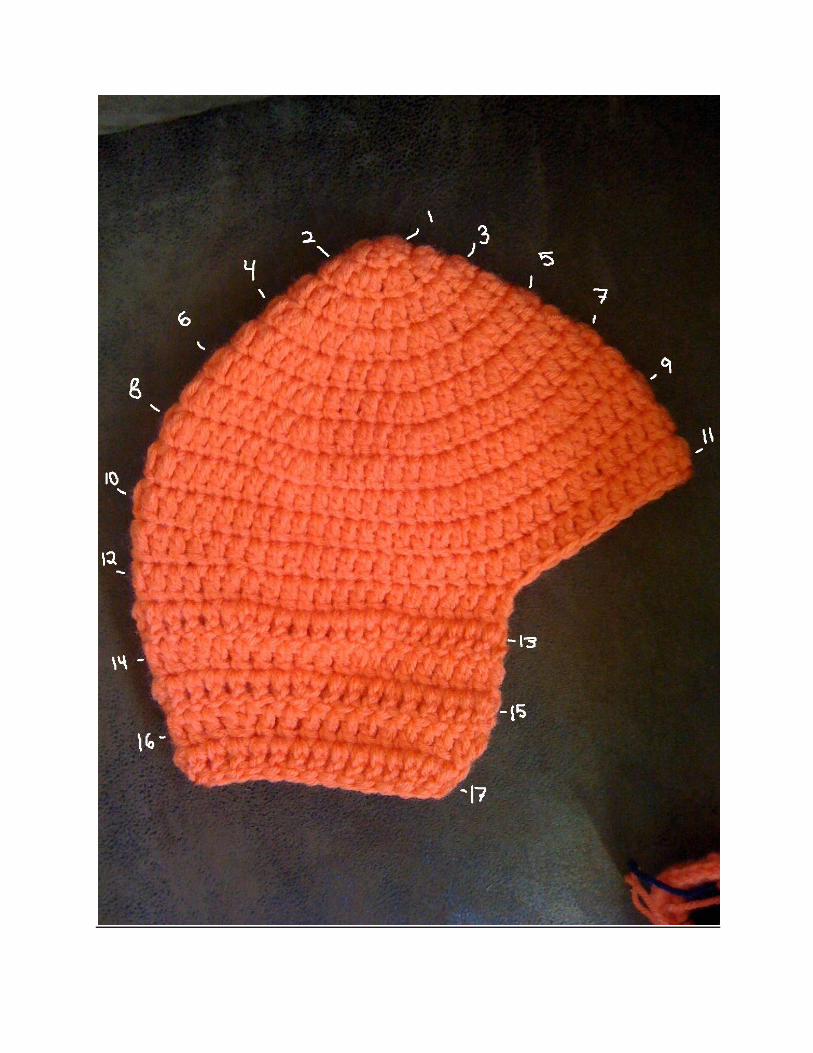
Finishing:
Sew spikes to hat, leaving a small portion unattached to fill stuffing. Fill loosely! (If it’s too much
the hat won’t fit properly.) For edging, hold yarn double and stitch through the outside edges of
the hat.
Enjoy!
Pattern made by : Deatheater (Ravelry name)