Embed Size (px)
Citation preview
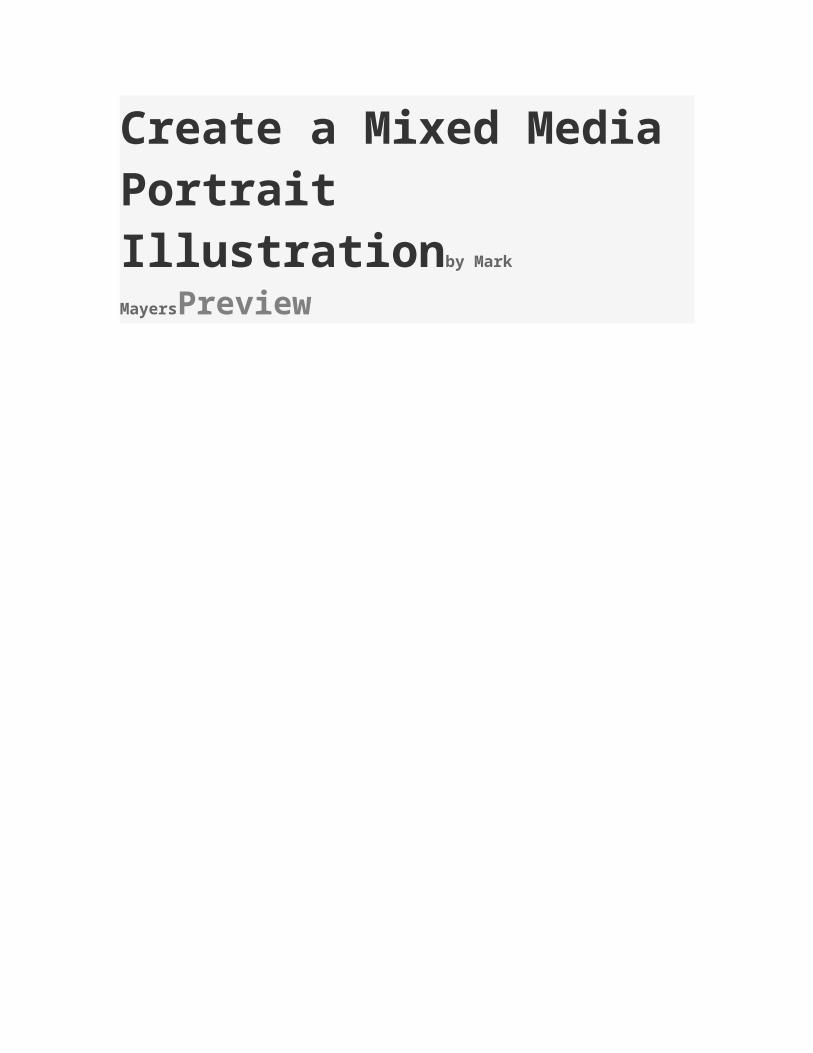
Create a Mixed Media Portrait Illustrationby Mark
MayersPreview
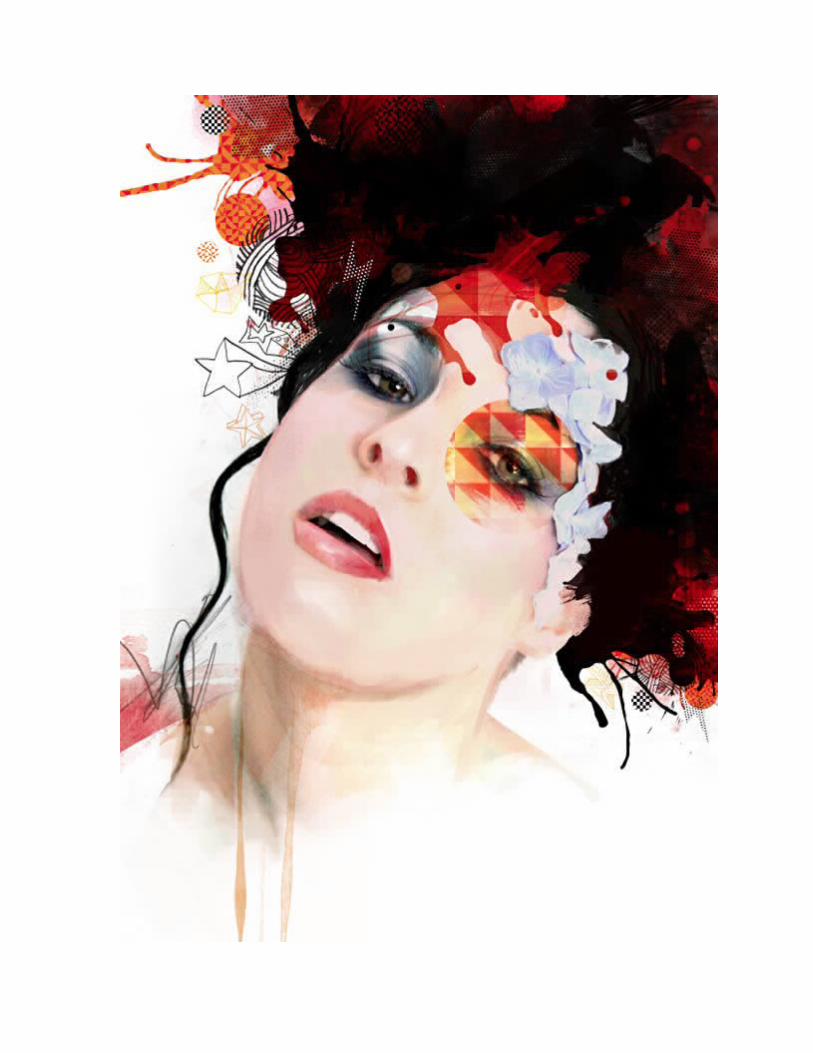
Tutorial DetailsProgram: Adobe Photoshop CS6Difficulty: AdvancedEstimated Completion Time: 3h +Updated: August 1, 2012Join to Access Photoshop cannot replicate the spontaneity of a paint splash or an ink splatter. In the first part of this tutorial you’ll be encouraged to step away from your screen and get down and dirty to create your own textures. Once these are digitized, you’ll combine them with model photography (thanks to Bekki Werren) to create a unique illustration that Photoshop alone would be hard-pressed to achieve. We’ll also briefly touch on how Illustrator can be utilized to make Custom Shapes and Pattern Fills. Let’s get started!
Tutorial AssetsI’ve provided all the files required to complete this tutorial in the "source" folder apart from these brushes. Brush pack (under tutorials) Other assets included in source file download
PreparationIf you want to incorporate your own textures, grab yourself the following materials: A pad of heavy-weight watercolor paper, around 230gsm – make
sure it’s got a nicetoothy texture too. Some various sized paintbrushes, pencils/pens, watercolor paints, or some jars of liquid acrylic – the type with a pipette in the cap are a good choice.
A pad of heavy-weight cartridge paper (again, around 230gsm is fine) and a jar of black indian ink.
An old toothbrush.Making your own brushes can be both fun and rewarding. The brushes used in this project were created by applying cellulose auto spray and
water-based poster paint onto cartridge paper. I also experimented using the same technique on paper that had been soaked in water, which gave an interesting marbling effect.
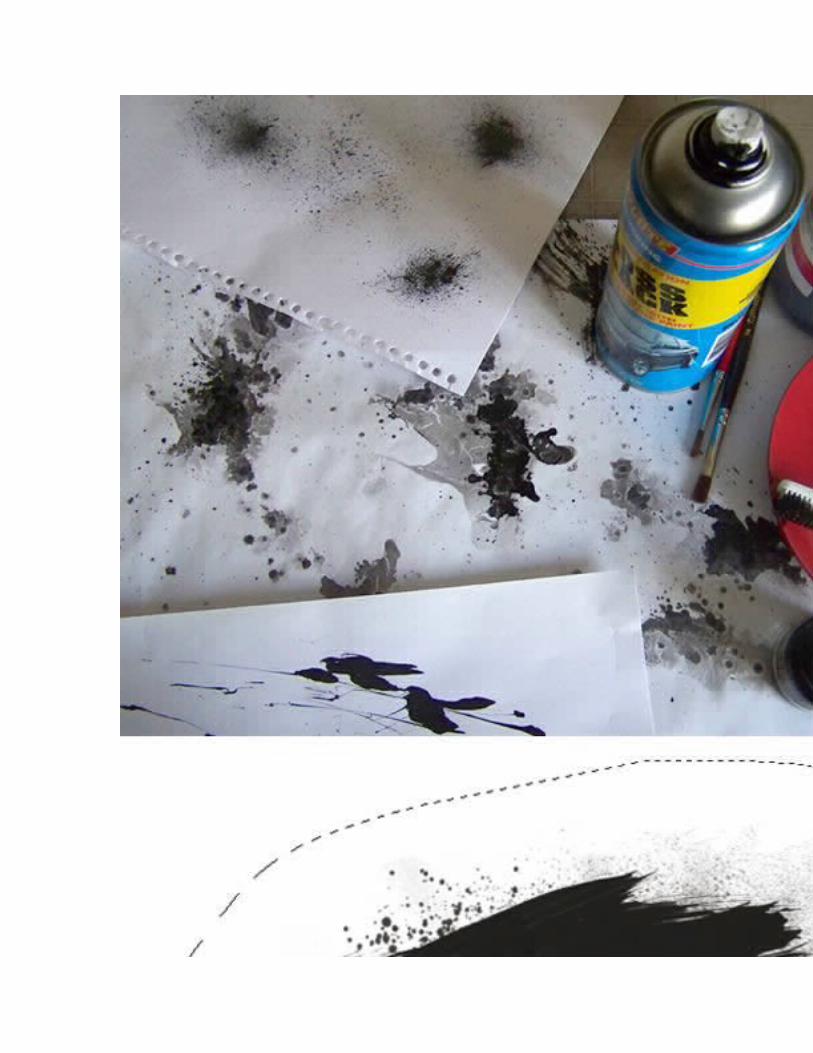
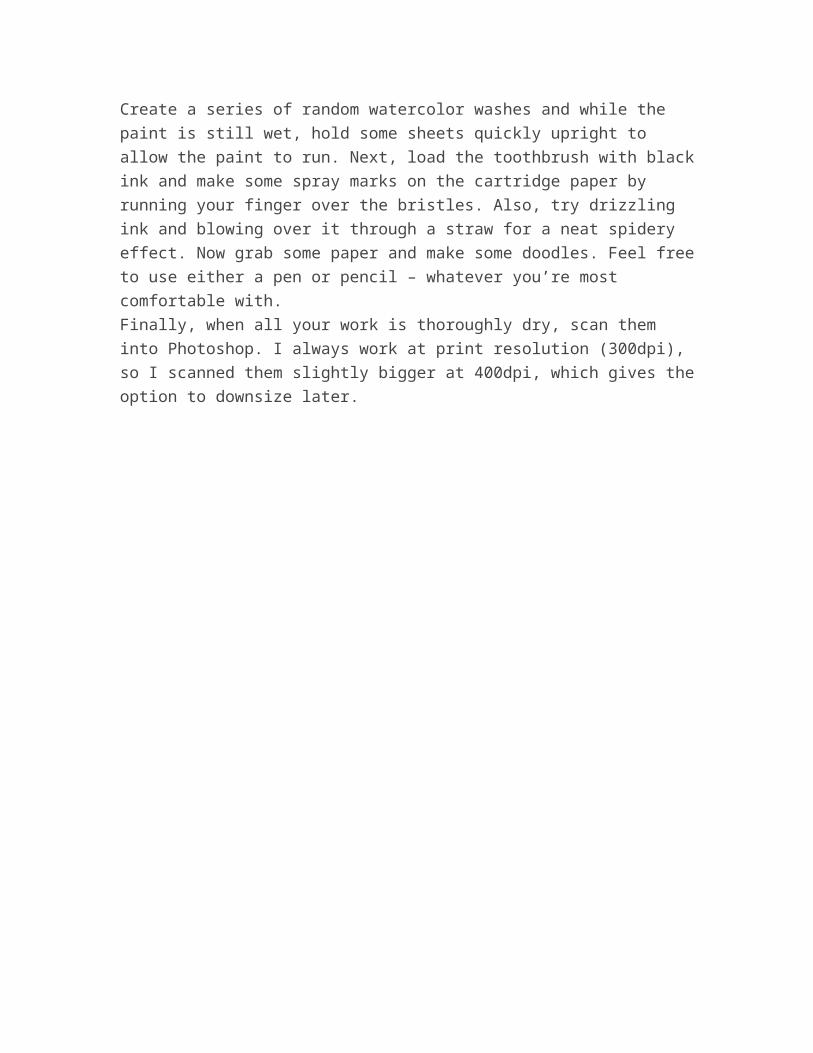
Create a series of random watercolor washes and while the paint is still wet, hold some sheets quickly upright to allow the paint to run. Next, load the toothbrush with black ink and make some spray marks on the cartridge paper by running your finger over the bristles. Also, try drizzling ink and blowing over it through a straw for a neat spidery effect. Now grab some paper and make some doodles. Feel free to use either a pen or pencil – whatever you’re most comfortable with.Finally, when all your work is thoroughly dry, scan them into Photoshop. I always work at print resolution (300dpi), so I scanned them slightly bigger at 400dpi, which gives the option to downsize later.
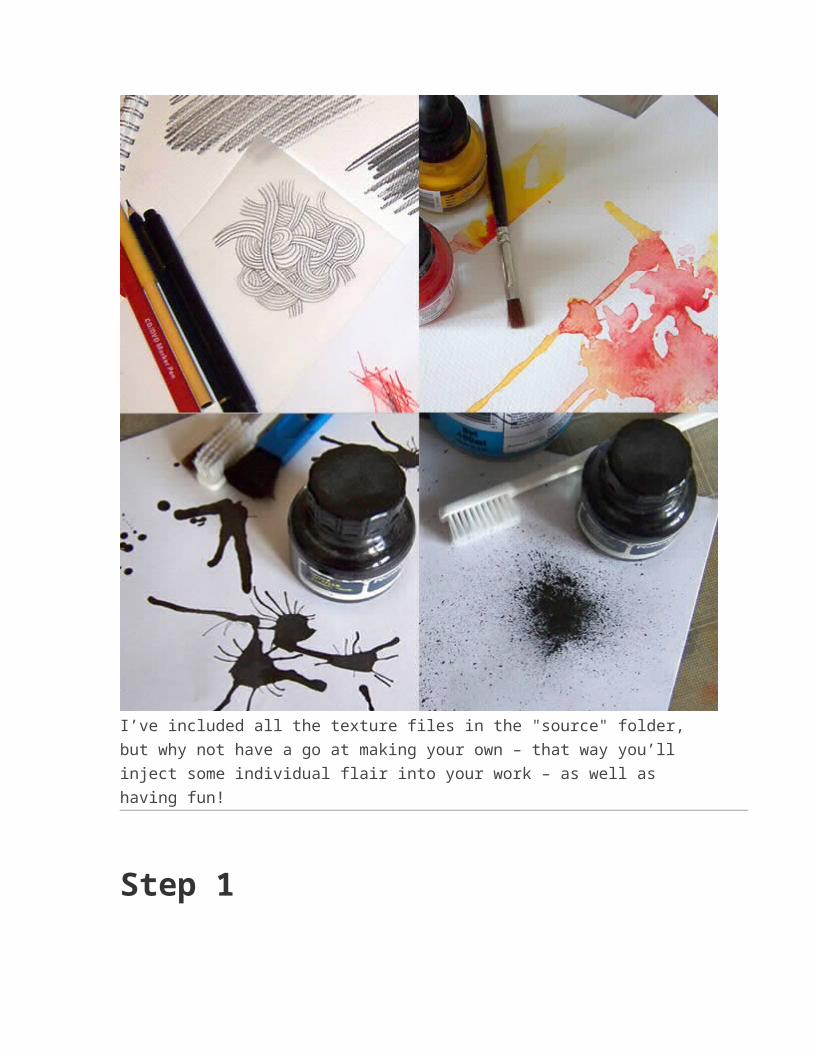
I’ve included all the texture files in the "source" folder, but why not have a go at making your own – that way you’ll inject some individual flair into your work – as well as having fun!
Step 1
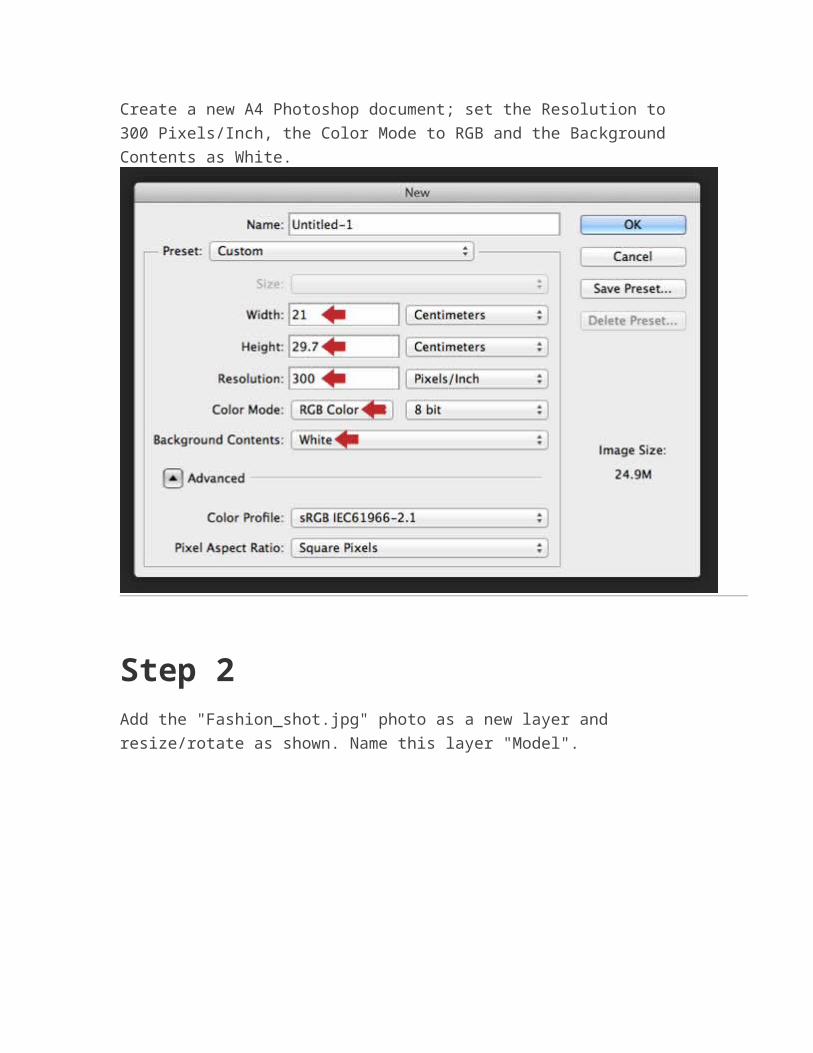
Create a new A4 Photoshop document; set the Resolution to 300 Pixels/Inch, the Color Mode to RGB and the Background Contents as White.
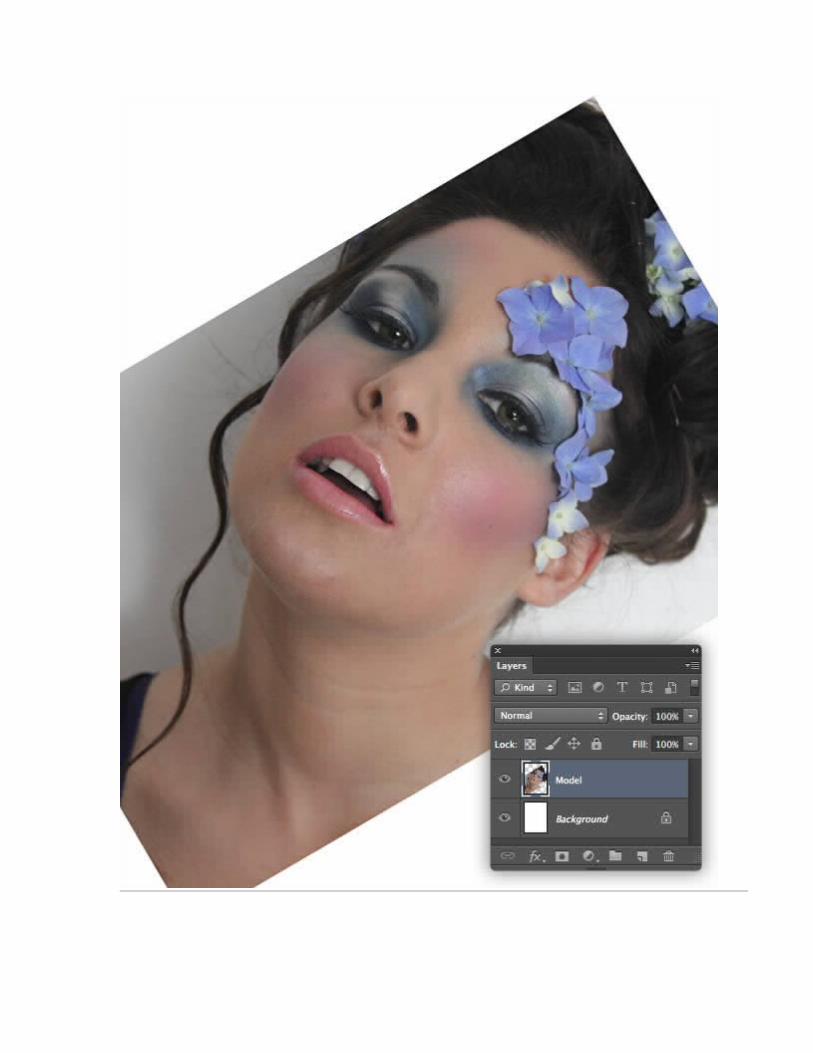
Step 2Add the "Fashion_shot.jpg" photo as a new layer and resize/rotate as shown. Name this layer "Model".
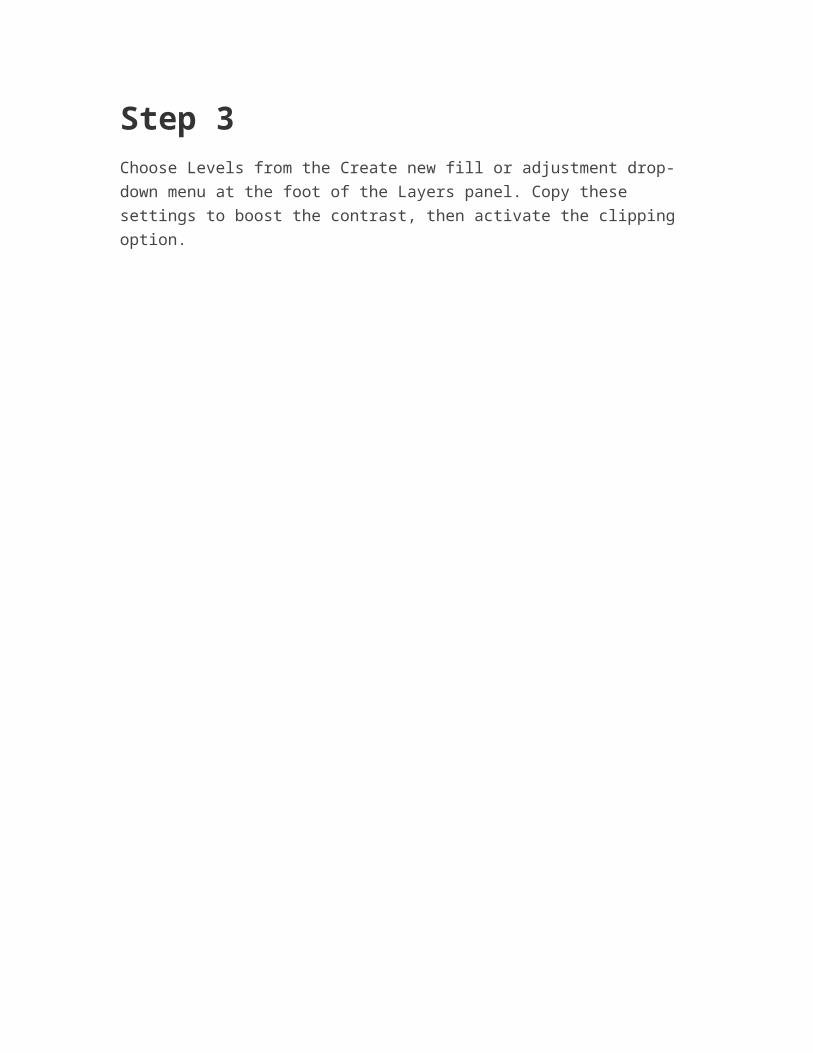
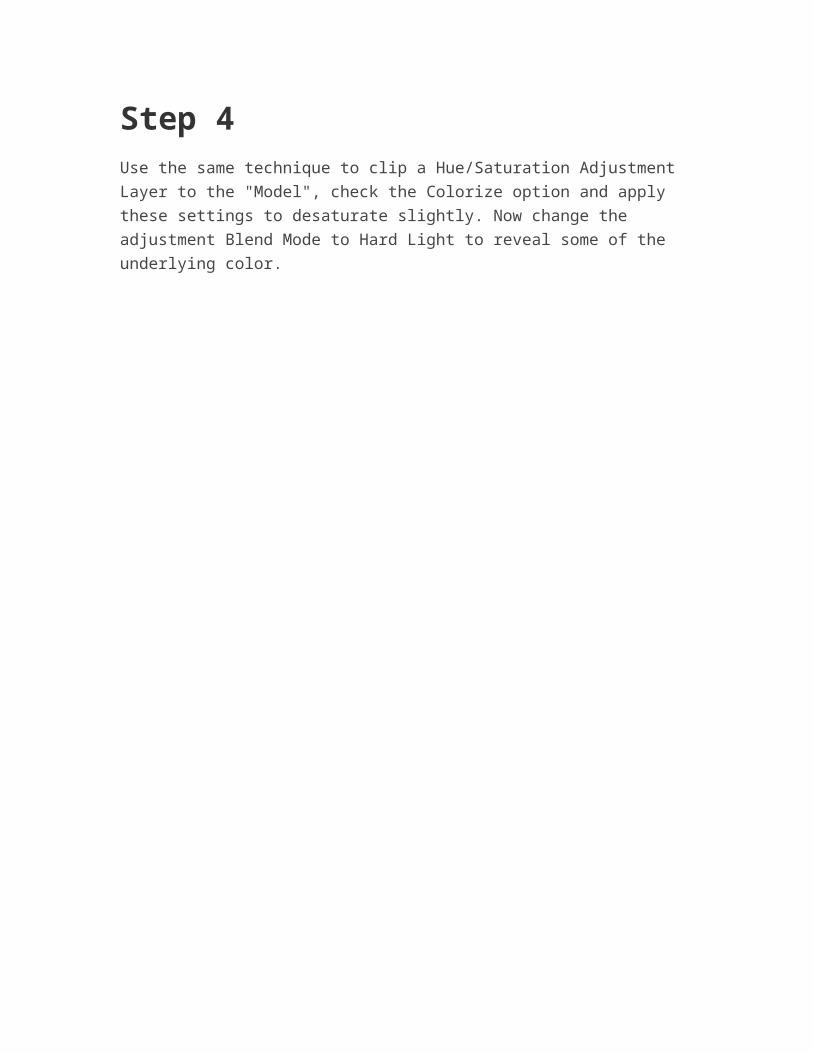
Step 3Choose Levels from the Create new fill or adjustment drop-down menu at the foot of the Layers panel. Copy these settings to boost the contrast, then activate the clipping option.
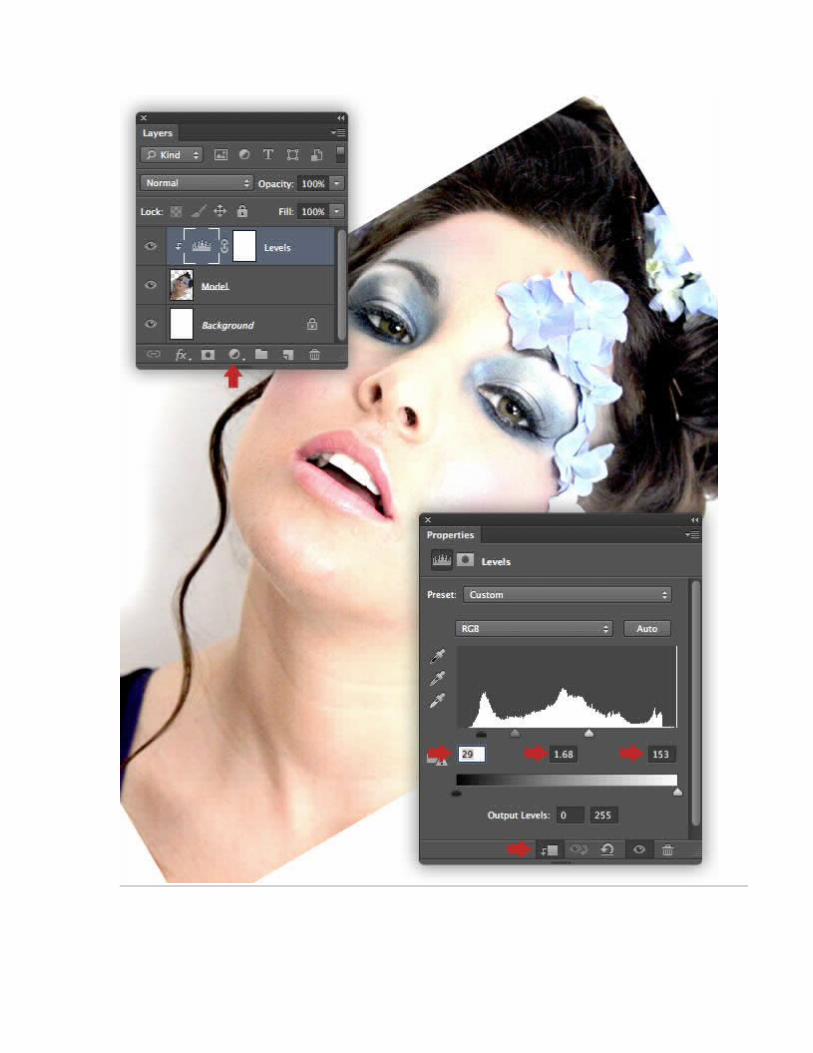
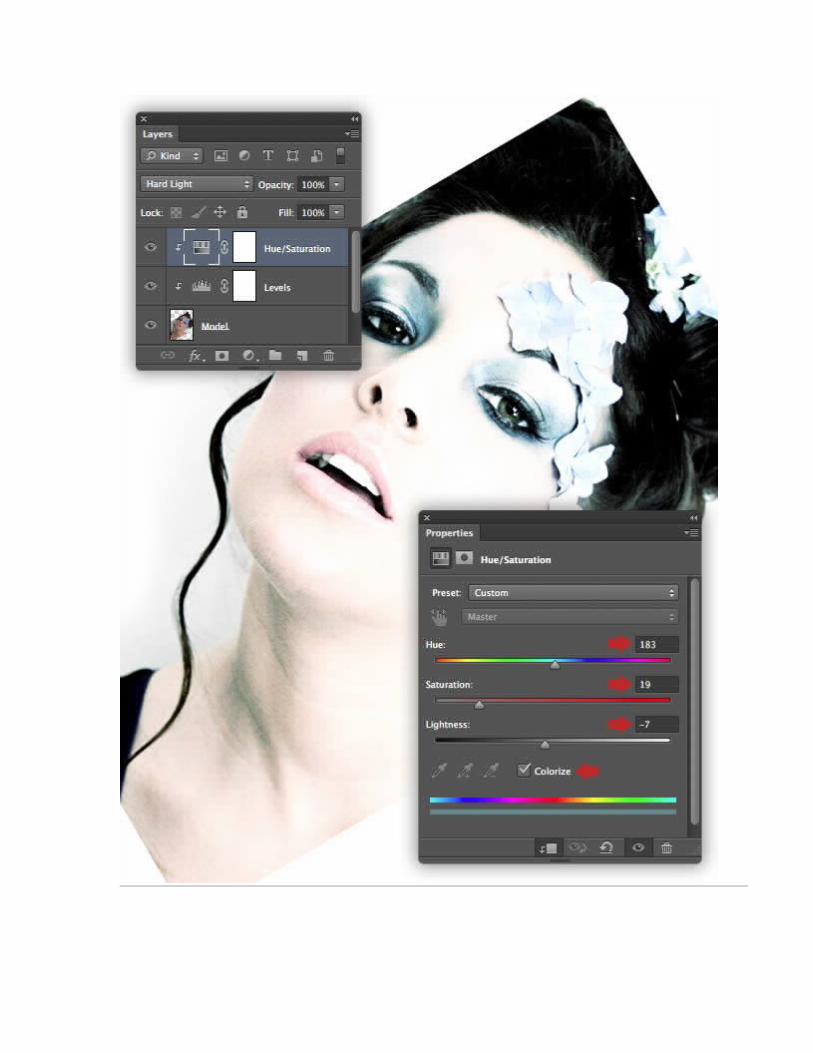
Step 4Use the same technique to clip a Hue/Saturation Adjustment Layer to the "Model", check the Colorize option and apply these settings to desaturate slightly. Now change the adjustment Blend Mode to Hard Light to reveal some of the underlying color.

Step 5To keep your layers organized, highlight the top adjustment thumbnail, then Shift-click the previous adjustment, then the "Model". Now Choose New Group from Layers from the top right fly-out menu, name the group "MODEL" in the next window and click OK.
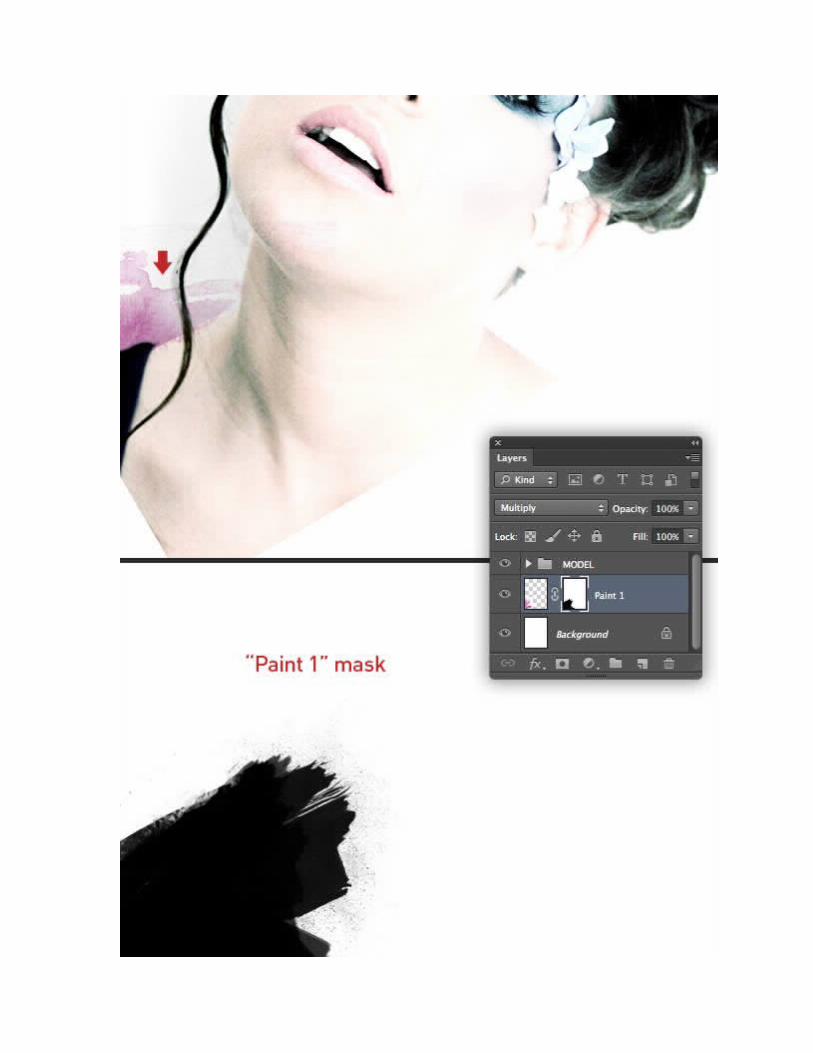
Step 6
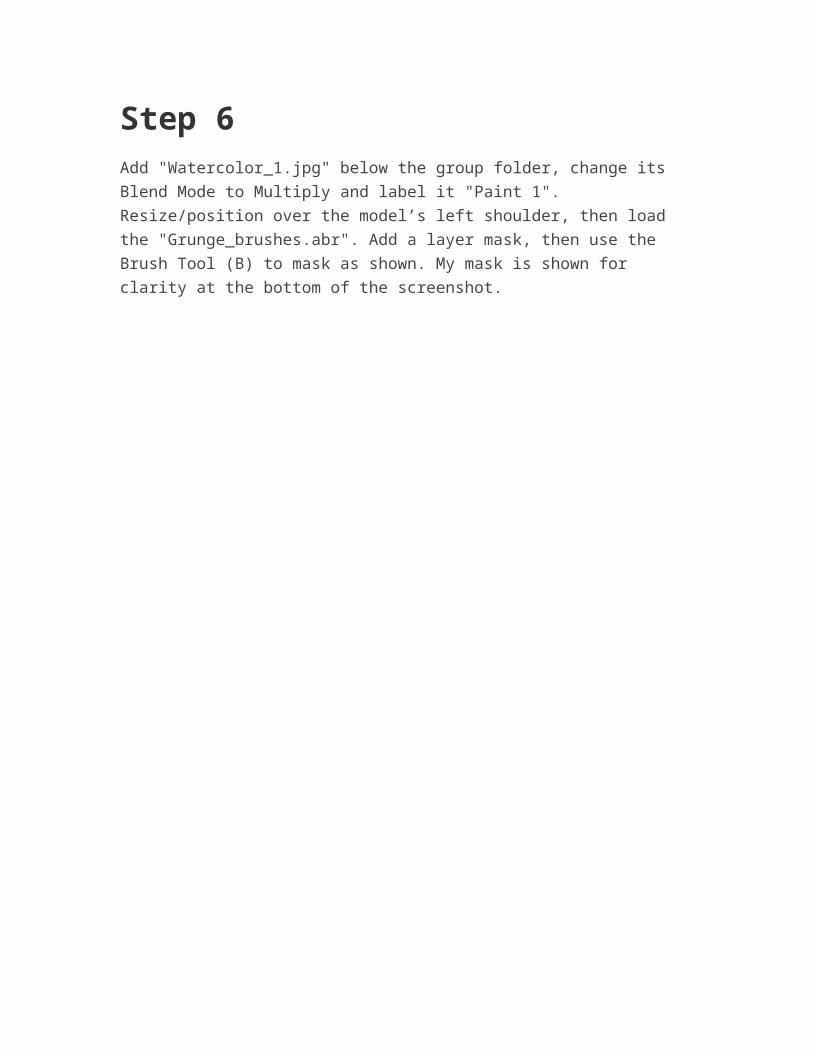
Add "Watercolor_1.jpg" below the group folder, change its Blend Mode to Multiply and label it "Paint 1". Resize/position over the model’s left shoulder, then load the "Grunge_brushes.abr". Add a layer mask, then use the Brush Tool (B) to mask as shown. My mask is shown for clarity at the bottom of the screenshot.
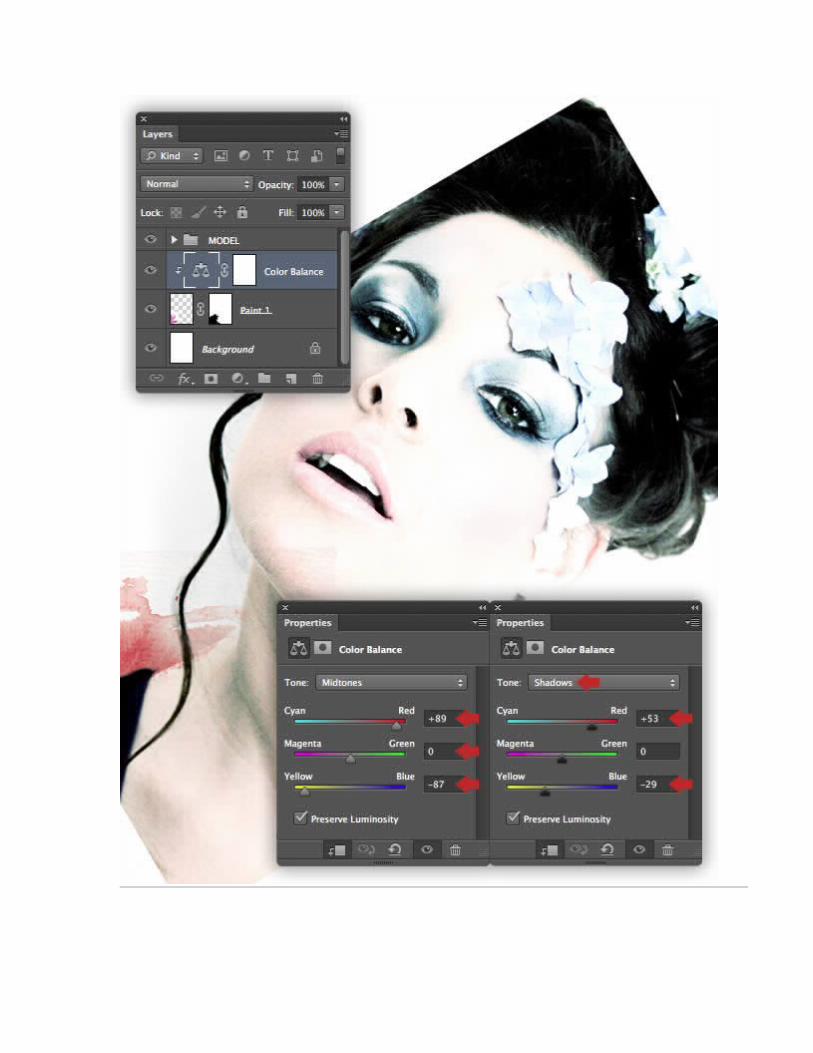
Step 7Clip a Color Balance adjustment to "Paint 1" and set the Midtone sliders as shown, then select the Shadows and apply these settings.
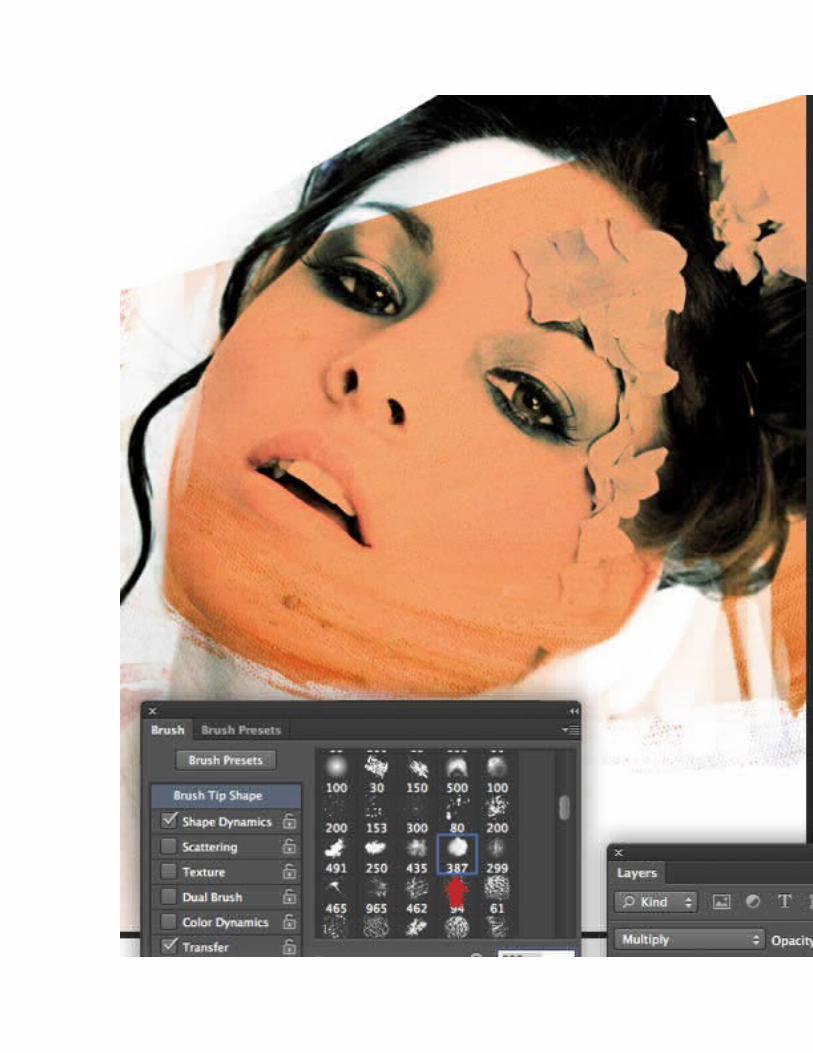
Step 8Place "Watercolor_2.jpg" as a new layer above the Color Balance adjustment and name it "Paint 2". Change the Blend Mode to Multiply and position over the model’s face. Add a mask, load these brushes (under tutorials) and use brush tip 387 to hide the areas as shown.
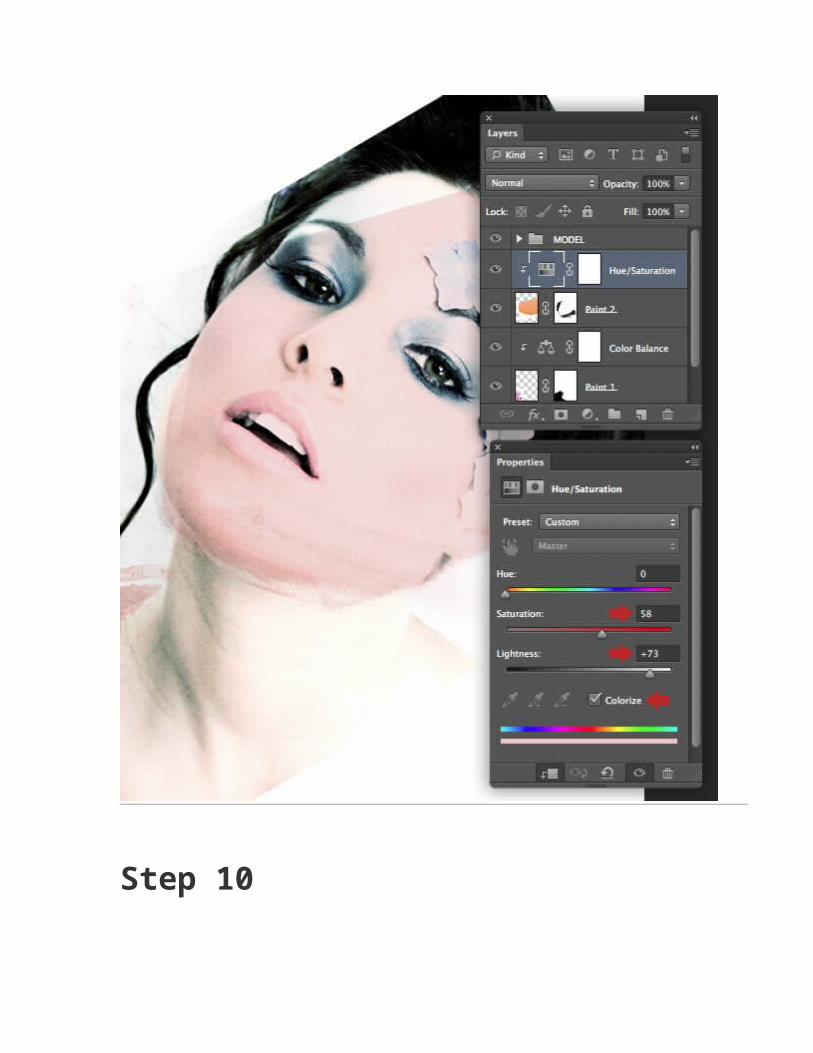
Step 9The color below the model’s face is too strong, so clip a Hue/Saturation adjustment to "Paint 2", check colorize and set the Saturation and Lightness sliders as shown.
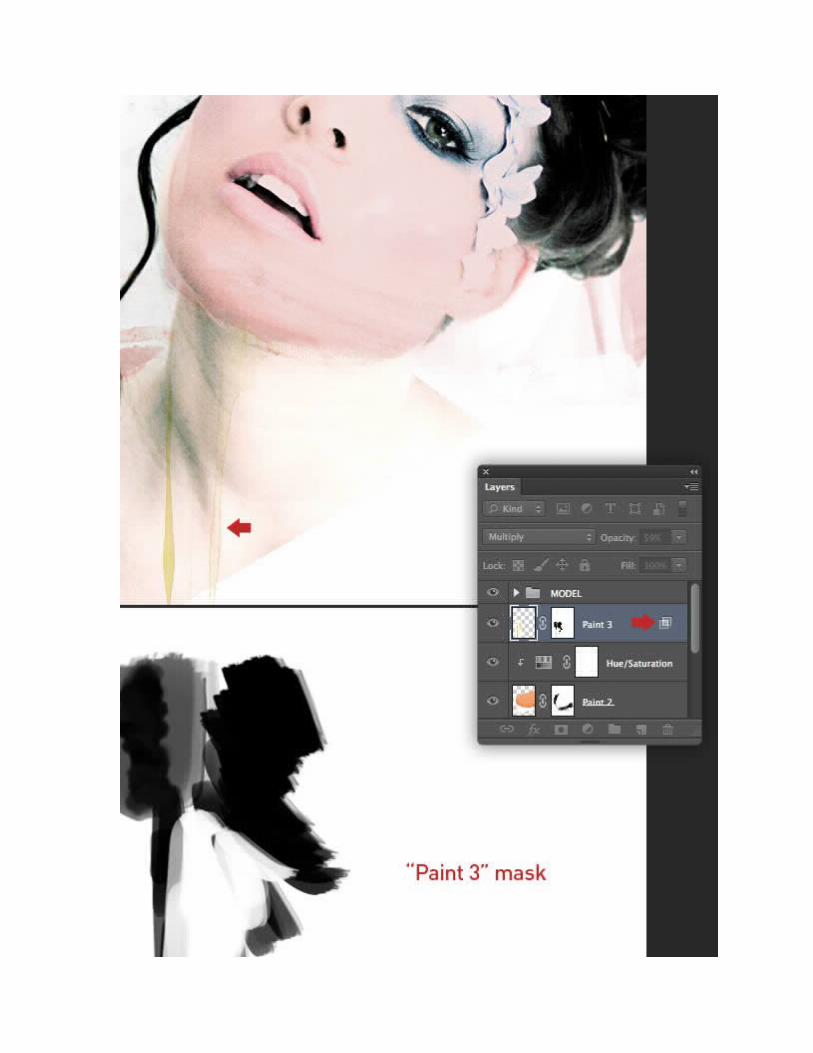
Step 10Import "Watercolor_3.jpg" as a new layer above the previous adjustment and name it "Paint 3". Resize/position below the model’s
chin, change the Blend Mode to Multiply and reduce the Opacity to 59%. Add a mask, then Use an assortment of custom brushes as shown.Now double-click the layer thumbnail to access the Blending Options window and Opt/Alt click, drag (to split) the top right Blend If slider to 206, (to force any grey canvas tones invisible). This modification is now indicated by the icon next to the layer name.