Embed Size (px)
Citation preview

Crazy CrittersA FunArtLessons.com AWESOME ART ACTIVITY
By Kari Wilson
1
An Awesome Art Activity appropriate for students age 8-16 in art classes, scout troops, recreation classes, after school clubs, independent study, home school settings
© 2009 www.funartlessons.com
© 2009 www.funartlessons.com
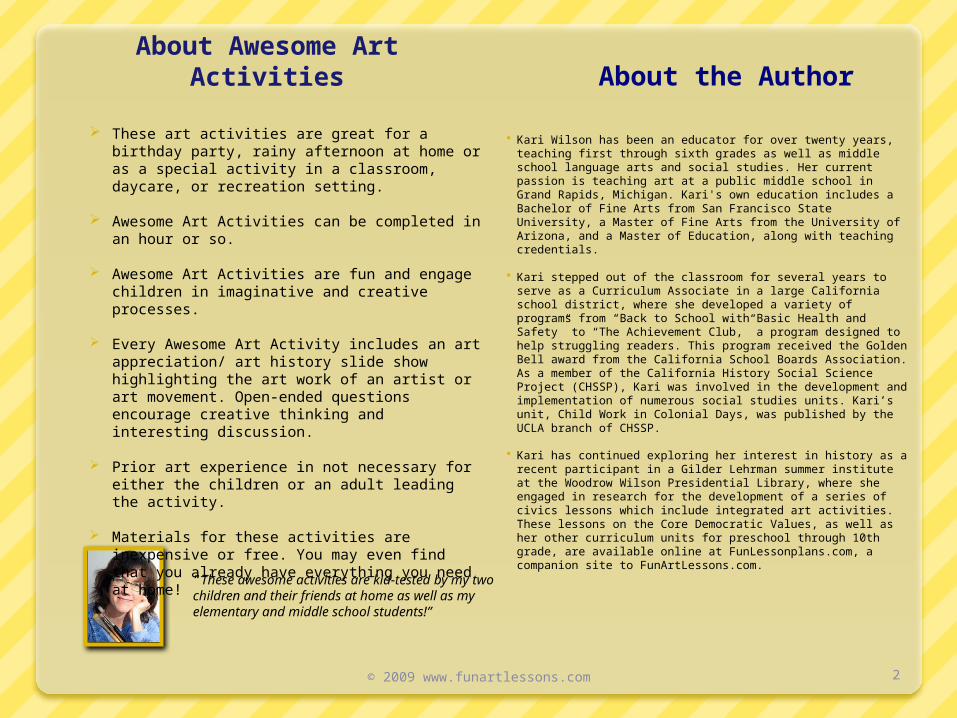
About the Author
Kari Wilson has been an educator for over twenty years, teaching first through sixth grades as well as middle school language arts and social studies. Her current passion is teaching art at a public middle school in Grand Rapids, Michigan. Kari's own education includes a Bachelor of Fine Arts from San Francisco State University, a Master of Fine Arts from the University of Arizona, and a Master of Education, along with teaching credentials.
Kari stepped out of the classroom for several years to serve as a Curriculum Associate in a large California school district, where she developed a variety of programs from “Back to School with Basic Health and Safety” to “The Achievement Club,” a program designed to help struggling readers. This program received the Golden Bell award from the California School Boards Association. As a member of the California History Social Science Project (CHSSP), Kari was involved in the development and implementation of numerous social studies units. Kari’s unit, Child Work in Colonial Days, was published by the UCLA branch of CHSSP.
Kari has continued exploring her interest in history as a recent participant in a Gilder Lehrman summer institute at the Woodrow Wilson Presidential Library, where she engaged in research for the development of a series of civics lessons which include integrated art activities. These lessons on the Core Democratic Values, as well as her other curriculum units for preschool through 10th grade, are available online at FunLessonplans.com, a companion site to FunArtLessons.com.
About Awesome Art Activities
These art activities are great for a birthday party, rainy afternoon at home or as a special activity in a classroom, daycare, or recreation setting.
Awesome Art Activities can be completed in an hour or so.
Awesome Art Activities are fun and engage children in imaginative and creative processes.
Every Awesome Art Activity includes an art appreciation/ art history slide show highlighting the art work of an artist or art movement. Open-ended questions encourage creative thinking and interesting discussion.
Prior art experience in not necessary for either the children or an adult leading the activity.
Materials for these activities are inexpensive or free. You may even find that you already have everything you need at home!
“These awesome activities are kid-tested by my two children and their friends at home as well as my elementary and middle school students!”
2
Getting Started
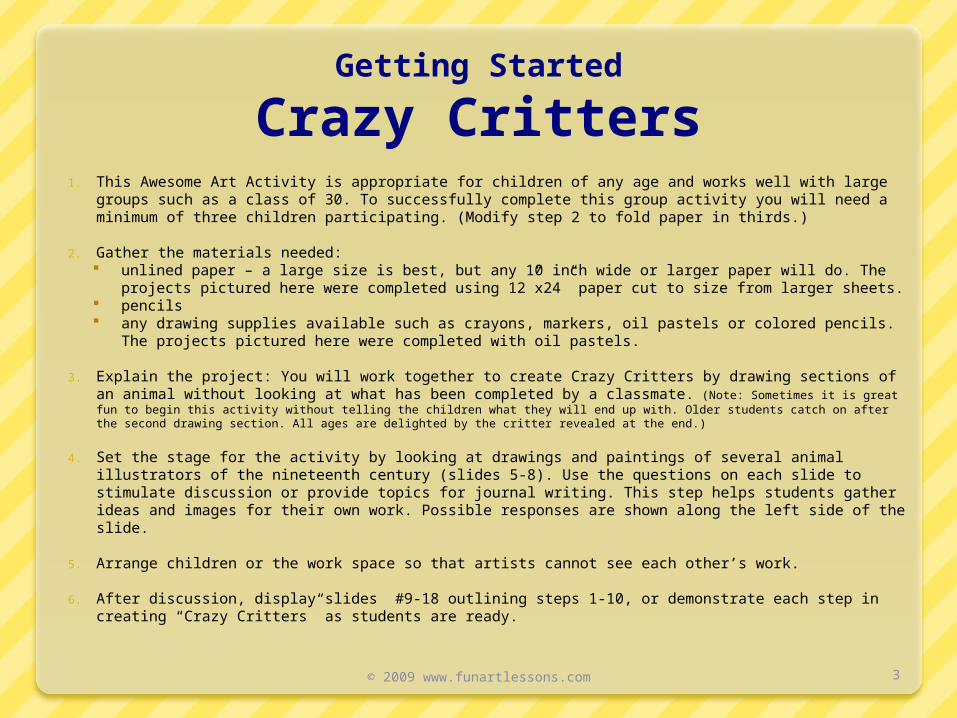
Crazy Critters1. This Awesome Art Activity is appropriate for children of any age and works well with large groups
such as a class of 30. To successfully complete this group activity you will need a minimum of three children participating. (Modify step 2 to fold paper in thirds.)
2. Gather the materials needed: unlined paper – a large size is best, but any 10 inch wide or larger paper will do. The projects
pictured here were completed using 12”x24” paper cut to size from larger sheets. pencils any drawing supplies available such as crayons, markers, oil pastels or colored pencils. The
projects pictured here were completed with oil pastels.
3. Explain the project: You will work together to create Crazy Critters by drawing sections of an animal without looking at what has been completed by a classmate. (Note: Sometimes it is great fun to begin this activity without telling the children what they will end up with. Older students catch on after the second drawing section. All ages are delighted by the critter revealed at the end.)
4. Set the stage for the activity by looking at drawings and paintings of several animal illustrators of the nineteenth century (slides 5-8). Use the questions on each slide to stimulate discussion or provide topics for journal writing. This step helps students gather ideas and images for their own work. Possible responses are shown along the left side of the slide.
5. Arrange children or the work space so that artists cannot see each other’s work.
6. After discussion, display slides #9-18 outlining steps 1-10, or demonstrate each step in creating “Crazy Critters” as students are ready.
3© 2009 www.funartlessons.com
Animal Illustrators
© 2009 www.funartlessons.com 4
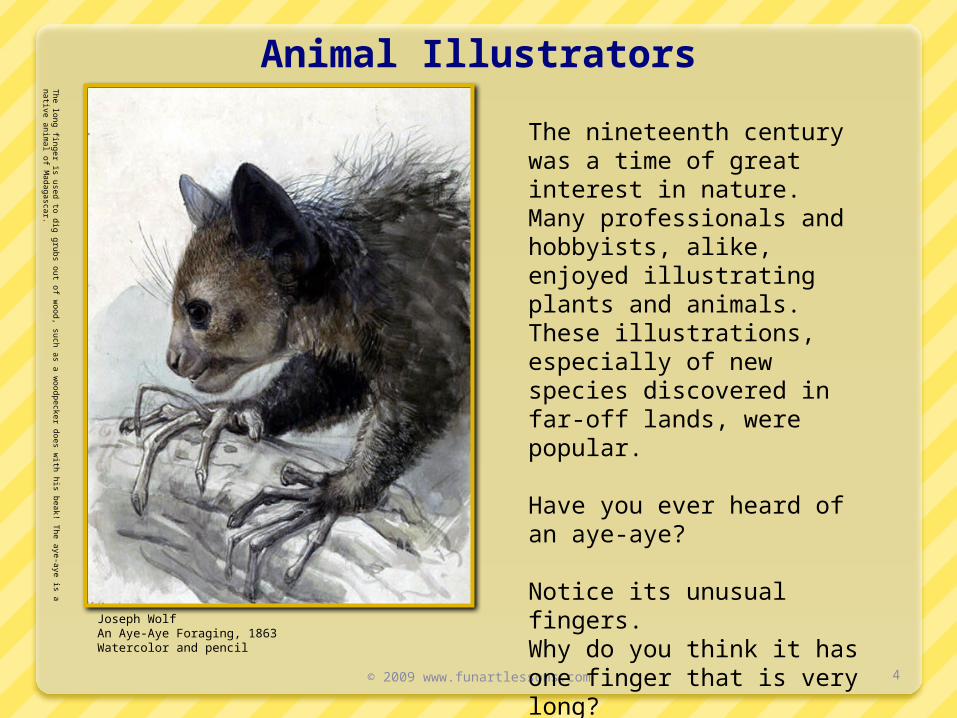
Joseph WolfAn Aye-Aye Foraging, 1863Watercolor and pencil
The nineteenth century was a time of great interest in nature. Many professionals and hobbyists, alike, enjoyed illustrating plants and animals. These illustrations, especially of new species discovered in far-off lands, were popular.
Have you ever heard of an aye-aye?
Notice its unusual fingers.Why do you think it has one finger that is very long?
Th
e long
finger is u
sed to
dig
grub
s out o
f woo
d, such as a w
oodp
ecker do
es with his be
ak! The
aye
-aye is a na
tive a
nimal of M
adag
ascar.
Wild Sheep of Corsica
© 2009 www.funartlessons.com 5
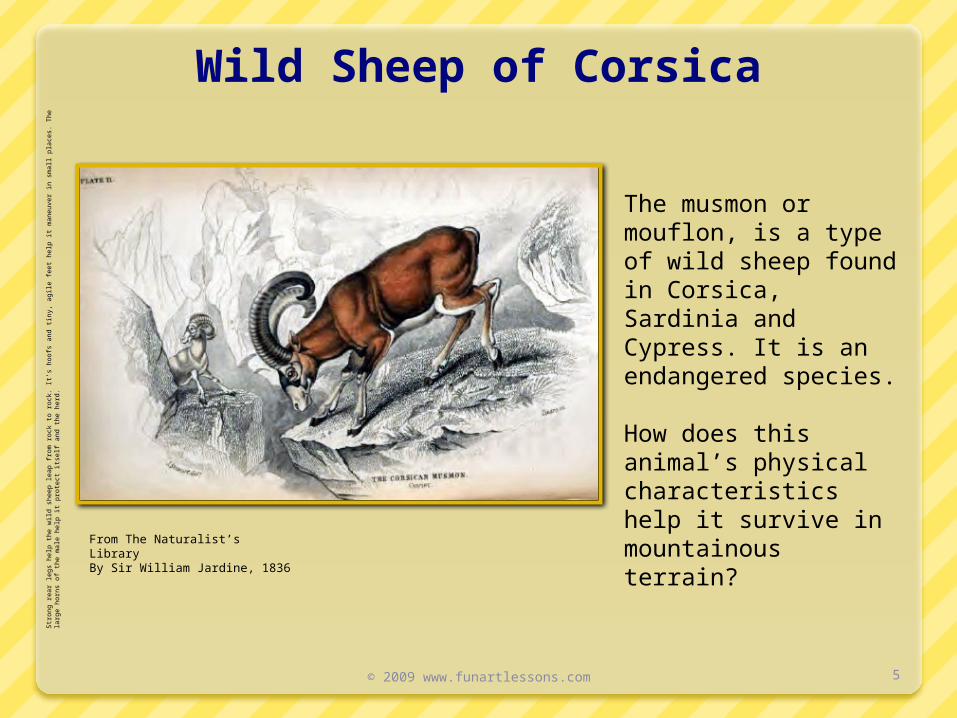
From The Naturalist’s LibraryBy Sir William Jardine, 1836
The musmon or mouflon, is a type of wild sheep found in Corsica, Sardinia and Cypress. It is an endangered species.
How does this animal’s physical characteristics help it survive in mountainous terrain?
Str
ong
rear
legs
hel
p th
e w
ild s
heep
leap
fro
m r
ock
to r
ock.
It’s
hoo
fs a
nd t
iny,
agi
le f
eet
help
it m
aneu
ver
in s
mal
l pla
ces.
The
larg
e ho
rns
of t
he m
ale
help
it p
rote
ct it
self
and
the
herd
.
Tasmanian Wolf
© 2009 www.funartlessons.com 6
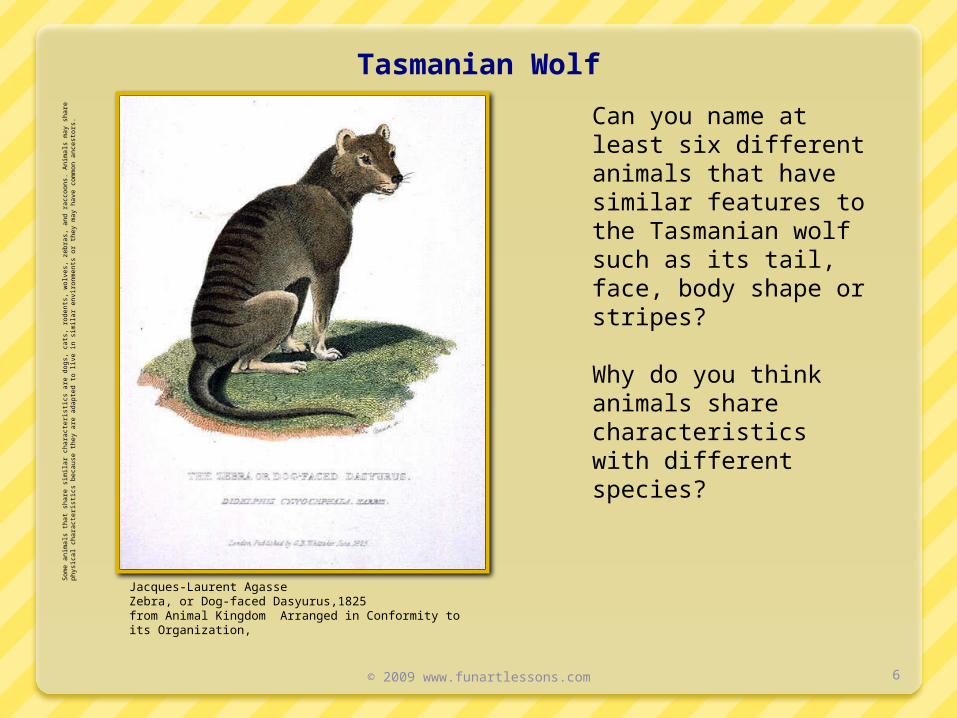
Jacques-Laurent AgasseZebra, or Dog-faced Dasyurus,1825from Animal Kingdom Arranged in Conformity to its Organization,
Can you name at least six different animals that have similar features to the Tasmanian wolf such as its tail, face, body shape or stripes?
Why do you think animals share characteristics with different species?
Som
e an
imal
s th
at s
hare
sim
ilar
char
acte
ristic
s ar
e do
gs,
cats
, ro
dent
s, w
olve
s, z
ebra
s, a
nd r
acco
ons.
Ani
mal
s m
ay s
hare
phy
sica
l cha
ract
eris
tics
beca
use
they
are
ad
apte
d to
live
in s
imila
r en
viro
nmen
ts o
r th
ey m
ay h
ave
com
mon
anc
esto
rs.
Tortoise
© 2009 www.funartlessons.com 7
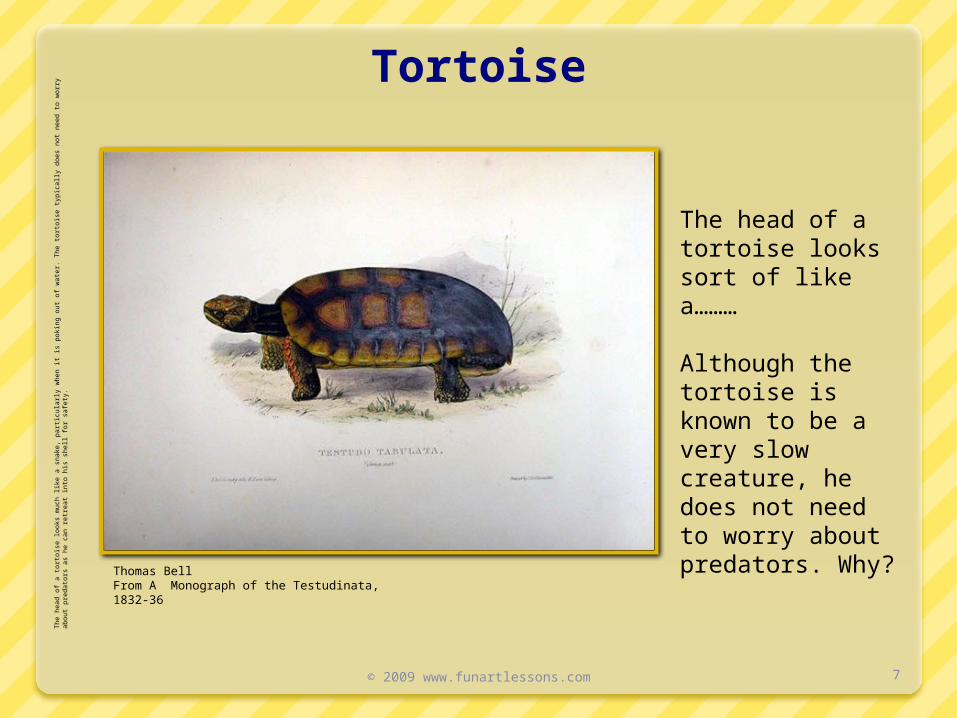
Thomas BellFrom A Monograph of the Testudinata, 1832-36
The head of a tortoise looks sort of like a………
Although the tortoise is known to be a very slow creature, he does not need to worry about predators. Why?
The
hea
d of
a t
orto
ise
look
s m
uch
like
a sn
ake,
par
ticul
arly
whe
n it
is p
okin
g ou
t of
wat
er. T
he t
orto
ise
typi
cally
doe
s no
t ne
ed t
o w
orry
abo
ut p
reda
tors
as
he c
an r
etre
at in
to h
is s
hell
for
safe
ty.
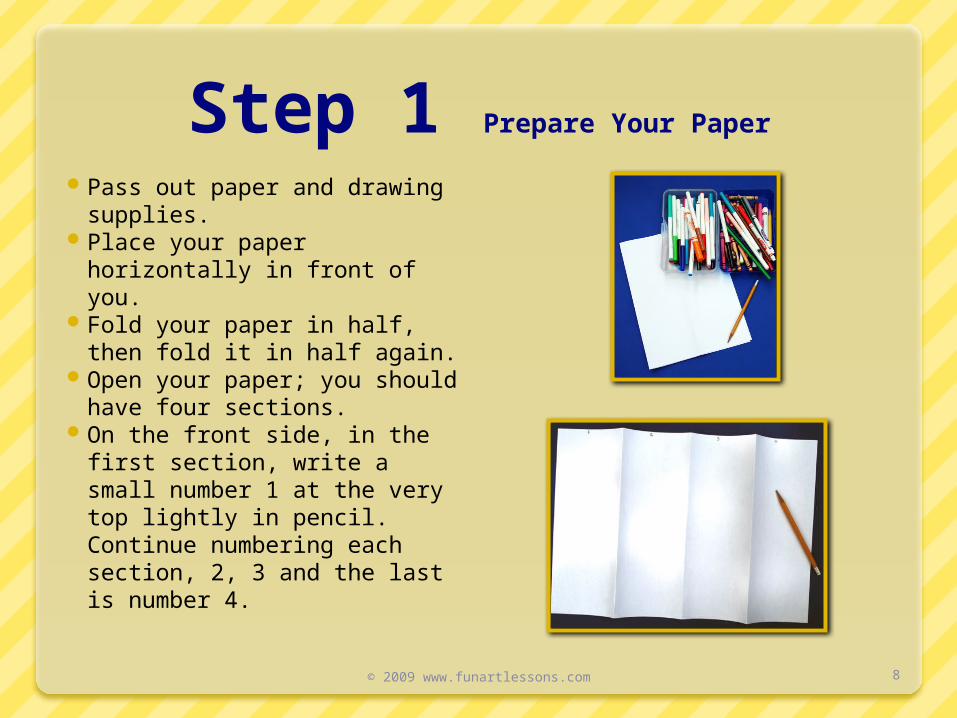
Step 1 Prepare Your Paper
Pass out paper and drawing supplies.
Place your paper horizontally in front of you.
Fold your paper in half, then fold it in half again.
Open your paper; you should have four sections.
On the front side, in the first section, write a small number 1 at the very top lightly in pencil. Continue numbering each section, 2, 3 and the last is number 4.
© 2009 www.funartlessons.com 8
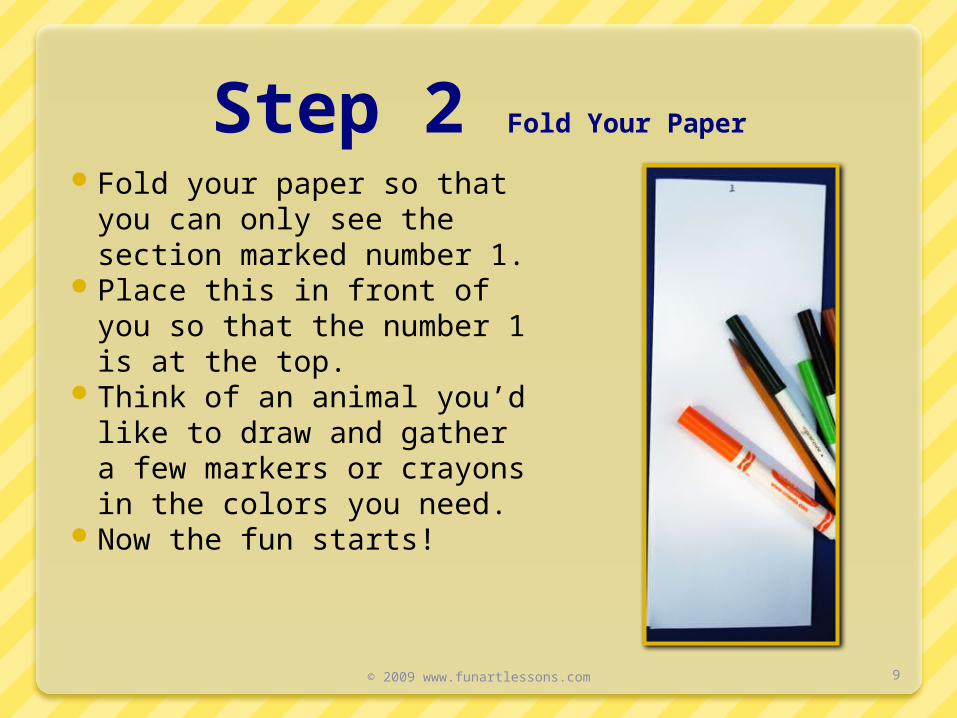
Step 2 Fold Your Paper
Fold your paper so that you can only see the section marked number 1.
Place this in front of you so that the number 1 is at the top.
Think of an animal you’d like to draw and gather a few markers or crayons in the colors you need.
Now the fun starts!
© 2009 www.funartlessons.com 9
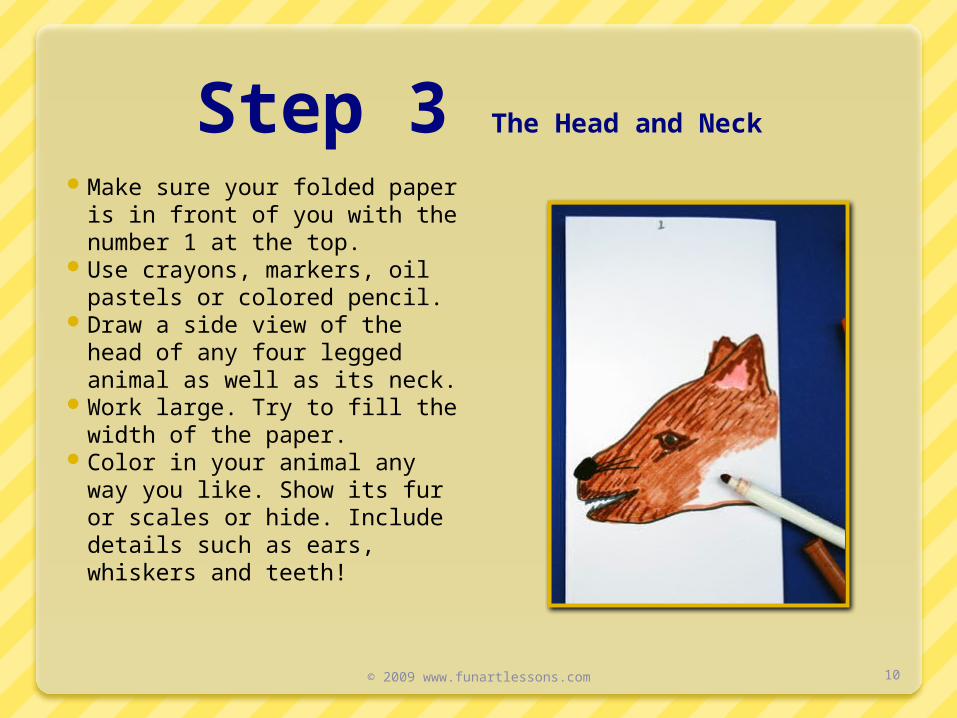
Step 3 The Head and Neck
Make sure your folded paper is in front of you with the number 1 at the top.
Use crayons, markers, oil pastels or colored pencil.
Draw a side view of the head of any four legged animal as well as its neck.
Work large. Try to fill the width of the paper.
Color in your animal any way you like. Show its fur or scales or hide. Include details such as ears, whiskers and teeth!
© 2009 www.funartlessons.com 10
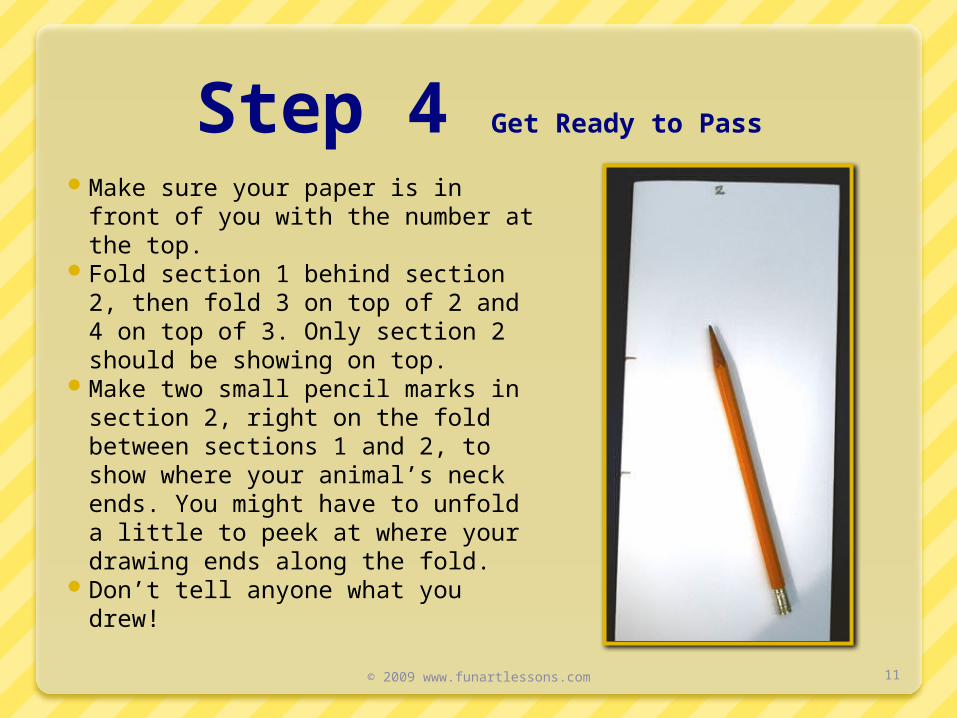
Step 4 Get Ready to Pass
Make sure your paper is in front of you with the number at the top.
Fold section 1 behind section 2, then fold 3 on top of 2 and 4 on top of 3. Only section 2 should be showing on top.
Make two small pencil marks in section 2, right on the fold between sections 1 and 2, to show where your animal’s neck ends. You might have to unfold a little to peek at where your drawing ends along the fold.
Don’t tell anyone what you drew!
© 2009 www.funartlessons.com 11
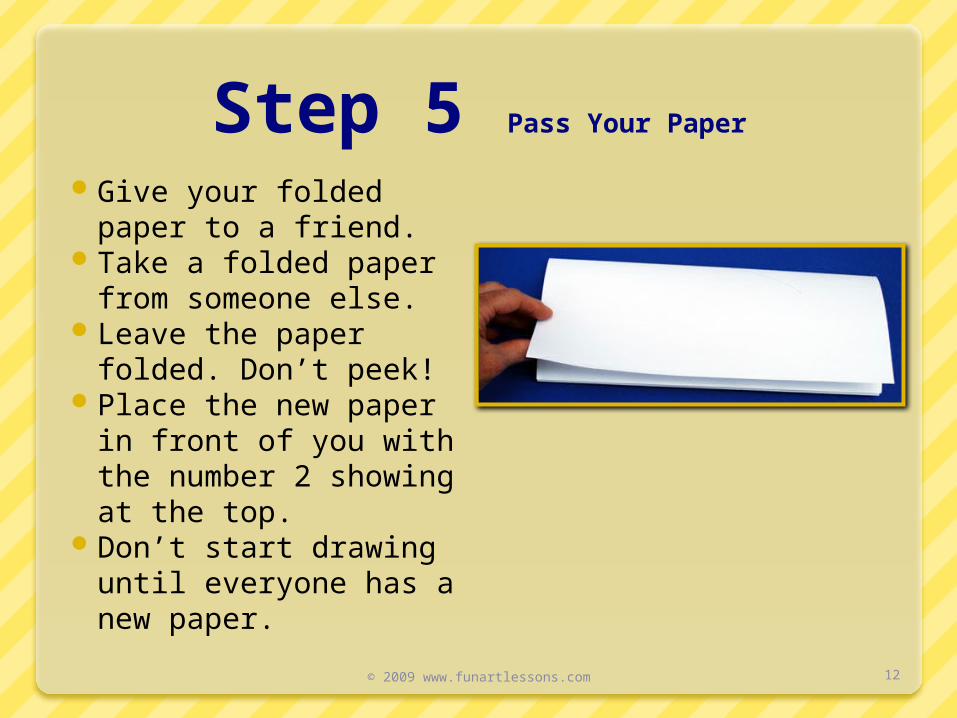
Step 5 Pass Your Paper
Give your folded paper to a friend.
Take a folded paper from someone else.
Leave the paper folded. Don’t peek!
Place the new paper in front of you with the number 2 showing at the top.
Don’t start drawing until everyone has a new paper.
© 2009 www.funartlessons.com 12
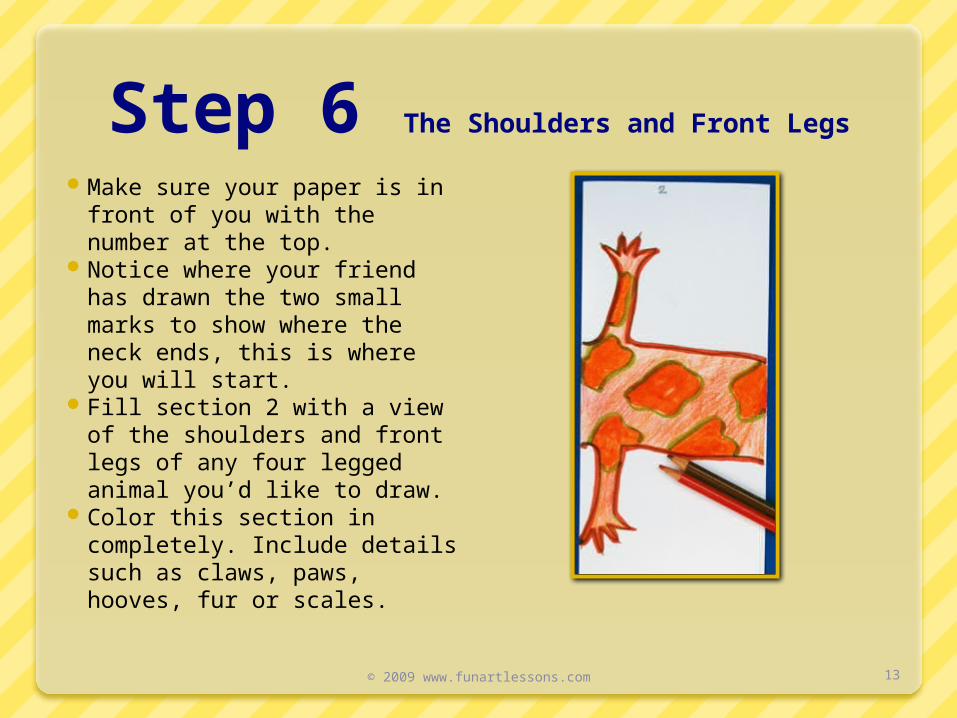
Step 6 The Shoulders and Front Legs
Make sure your paper is in front of you with the number at the top.
Notice where your friend has drawn the two small marks to show where the neck ends, this is where you will start.
Fill section 2 with a view of the shoulders and front legs of any four legged animal you’d like to draw.
Color this section in completely. Include details such as claws, paws, hooves, fur or scales.
© 2009 www.funartlessons.com 13

Step 7 The Belly of the Beast
Once again fold your paper so that sections 1 and 2 do not show.
Make small pencil marks on the fold of section 3 to show where the mid-section or chest area behind the legs of your animal ended.
Pass your paper to a friend and take a paper from someone else.
Make sure your new paper is in front of you with the number 3 at the top.
Notice where your friend has drawn the two small marks to show where their body section ends, this is where you will start.
Fill section 3 with the side view of the mid-section or belly of any four legged animal you’d like to draw.
Color this section in completely. Include details such as the textures or patterns in the fur, hide or scales.
© 2009 www.funartlessons.com 14
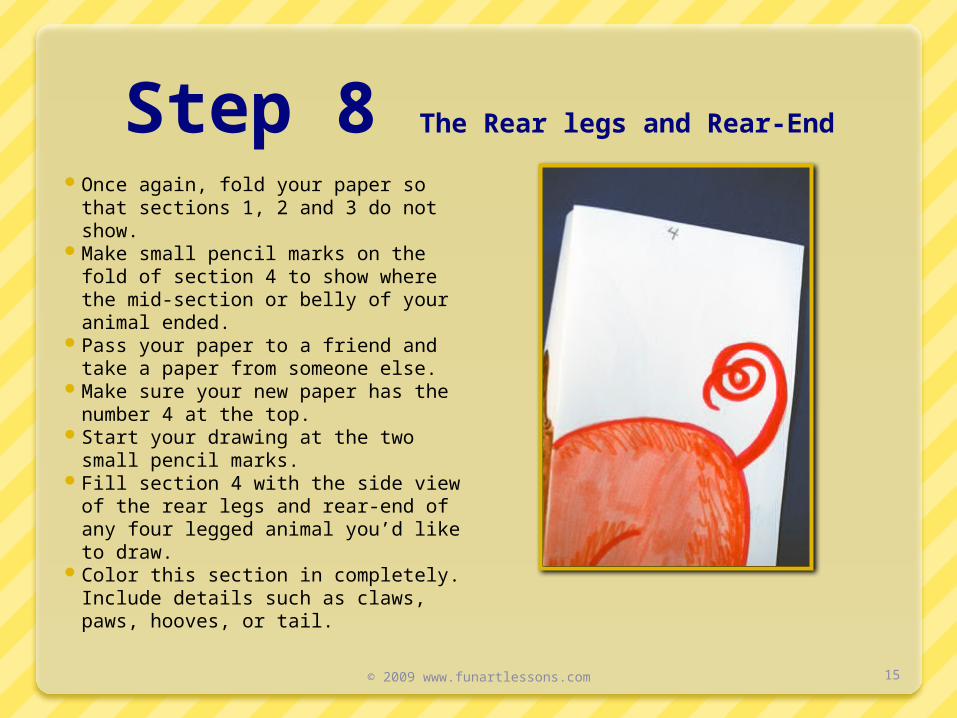
Step 8 The Rear legs and Rear-End
Once again, fold your paper so that sections 1, 2 and 3 do not show.
Make small pencil marks on the fold of section 4 to show where the mid-section or belly of your animal ended.
Pass your paper to a friend and take a paper from someone else.
Make sure your new paper has the number 4 at the top.
Start your drawing at the two small pencil marks.
Fill section 4 with the side view of the rear legs and rear-end of any four legged animal you’d like to draw.
Color this section in completely. Include details such as claws, paws, hooves, or tail.
© 2009 www.funartlessons.com 15
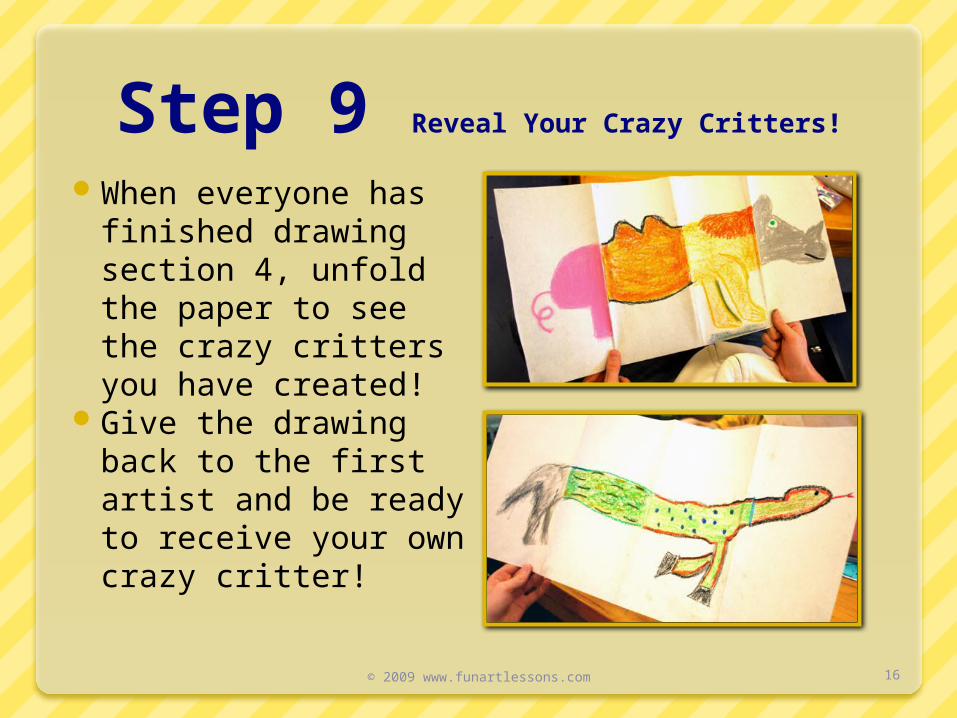
Step 9 Reveal Your Crazy Critters!
When everyone has finished drawing section 4, unfold the paper to see the crazy critters you have created!
Give the drawing back to the first artist and be ready to receive your own crazy critter!
© 2009 www.funartlessons.com 16
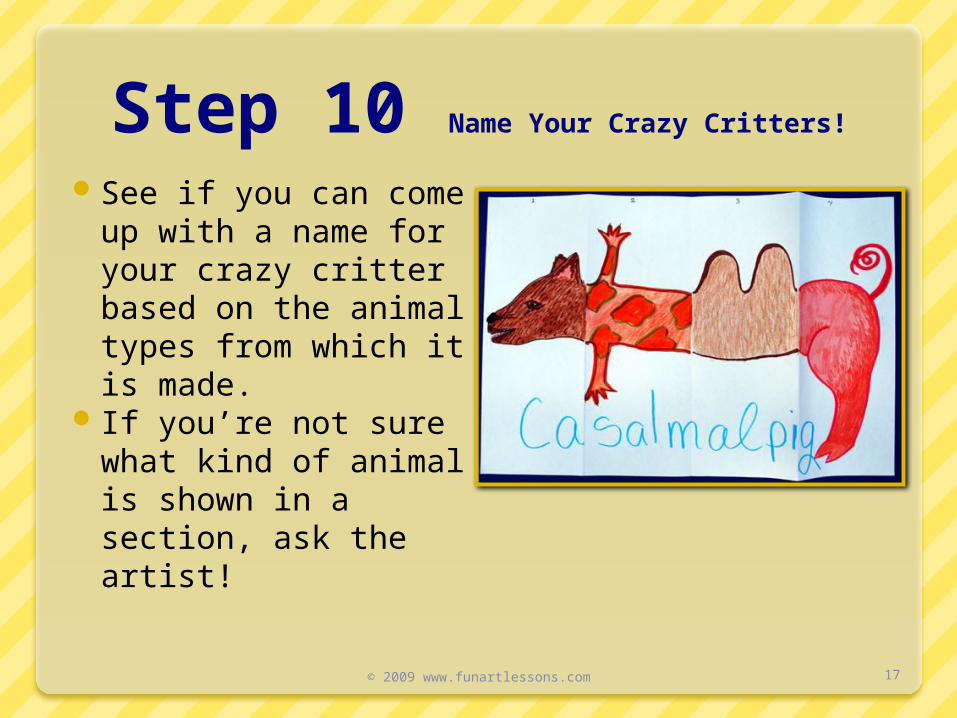
Step 10 Name Your Crazy Critters!
See if you can come up with a name for your crazy critter based on the animal types from which it is made.
If you’re not sure what kind of animal is shown in a section, ask the artist!
© 2009 www.funartlessons.com 17
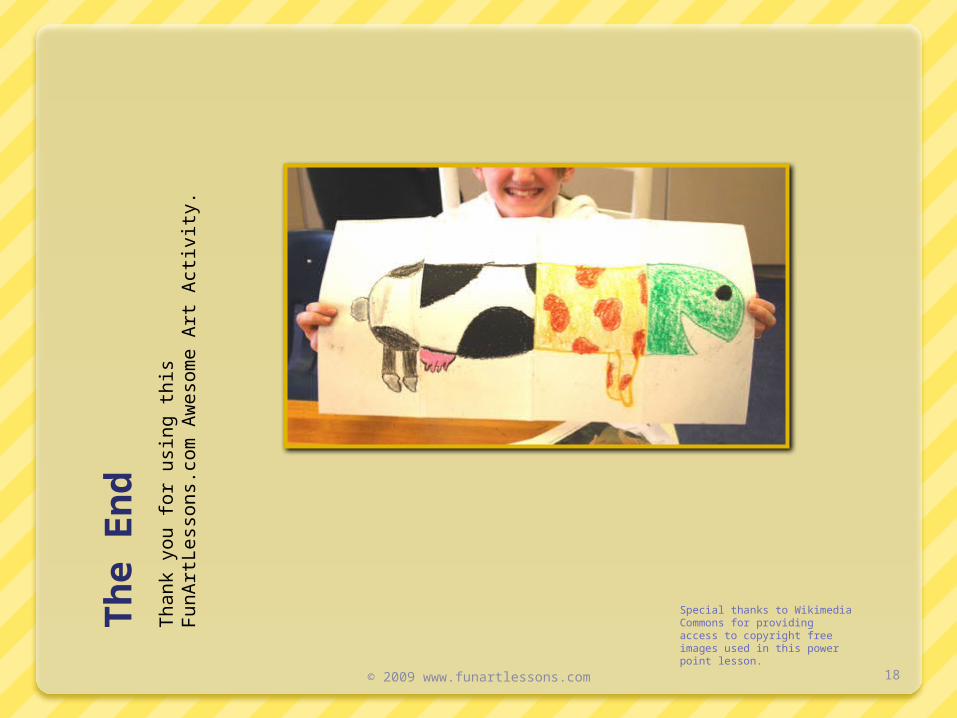
Th
e E
nd
Thank y
ou
for
usi
ng t
his
Fu
nA
rtLe
ssons.
com
Aw
eso
me A
rt A
ctiv
ity.
18© 2009 www.funartlessons.com
Special thanks to Wikimedia Commons for providing access to copyright free images used in this power point lesson.