Embed Size (px)
Citation preview
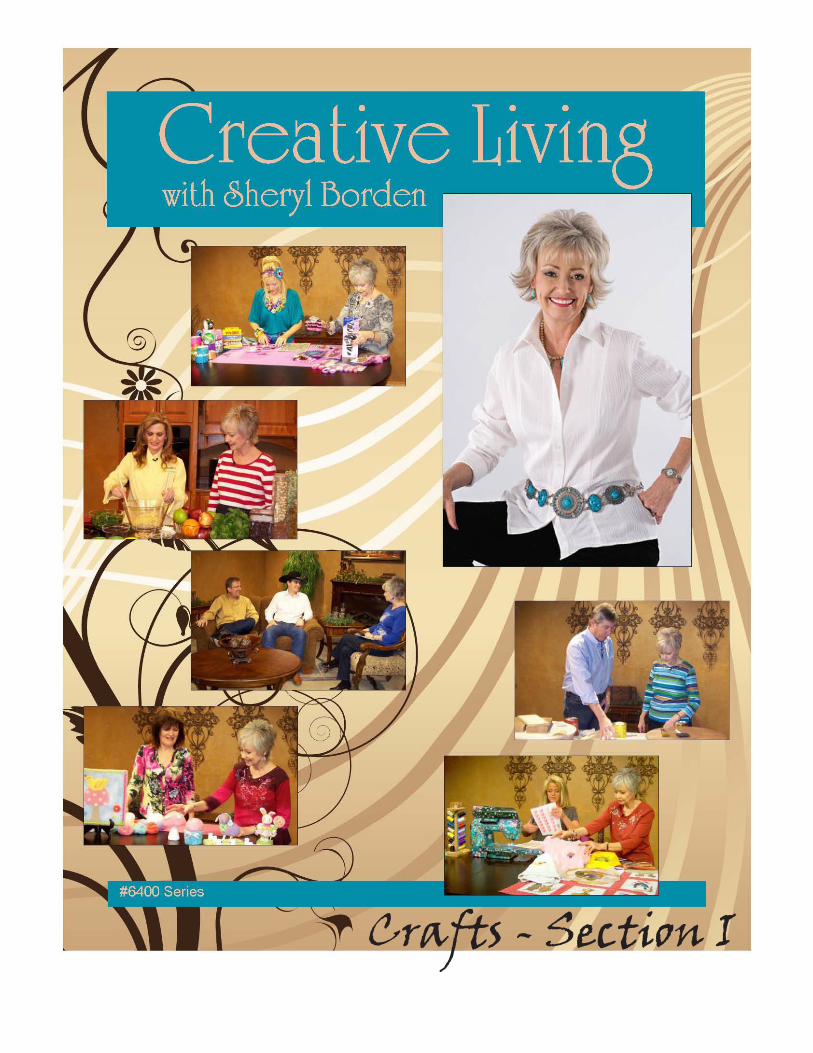
Crafts - Section I
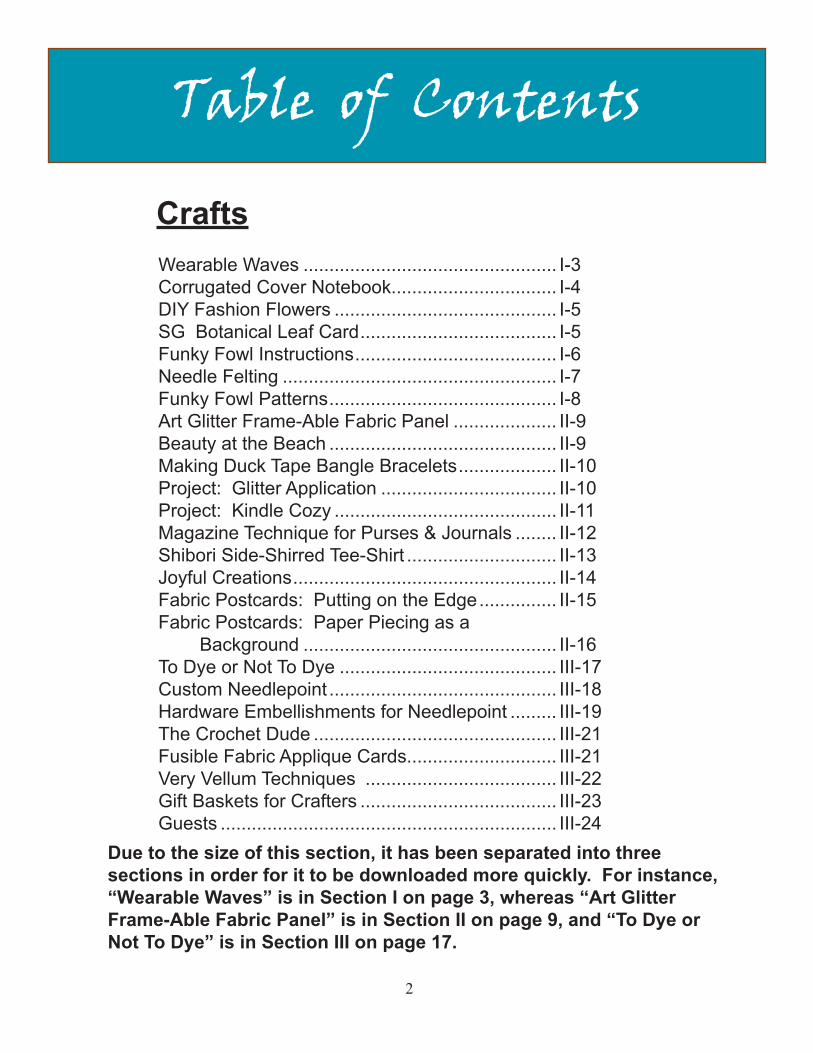
CraftsWearable Waves ................................................. I-3Corrugated Cover Notebook................................ I-4DIY Fashion Flowers ........................................... I-5SG Botanical Leaf Card ...................................... I-5Funky Fowl Instructions ....................................... I-6Needle Felting ..................................................... I-7Funky Fowl Patterns ............................................ I-8Art Glitter Frame-Able Fabric Panel .................... II-9Beauty at the Beach ............................................ II-9Making Duck Tape Bangle Bracelets ................... II-10Project: Glitter Application .................................. II-10Project: Kindle Cozy ........................................... II-11Magazine Technique for Purses & Journals ........ II-12Shibori Side-Shirred Tee-Shirt ............................. II-13Joyful Creations ................................................... II-14Fabric Postcards: Putting on the Edge ............... II-15Fabric Postcards: Paper Piecing as a Background ................................................. II-16To Dye or Not To Dye .......................................... III-17Custom Needlepoint ............................................ III-18Hardware Embellishments for Needlepoint ......... III-19The Crochet Dude ............................................... III-21Fusible Fabric Applique Cards............................. III-21Very Vellum Techniques ..................................... III-22Gift Baskets for Crafters ...................................... III-23Guests ................................................................. III-24
Table of Contents
2
Due to the size of this section, it has been separated into three sections in order for it to be downloaded more quickly. For instance, “Wearable Waves” is in Section I on page 3, whereas “Art Glitter Frame-Able Fabric Panel” is in Section II on page 9, and “To Dye or Not To Dye” is in Section III on page 17.
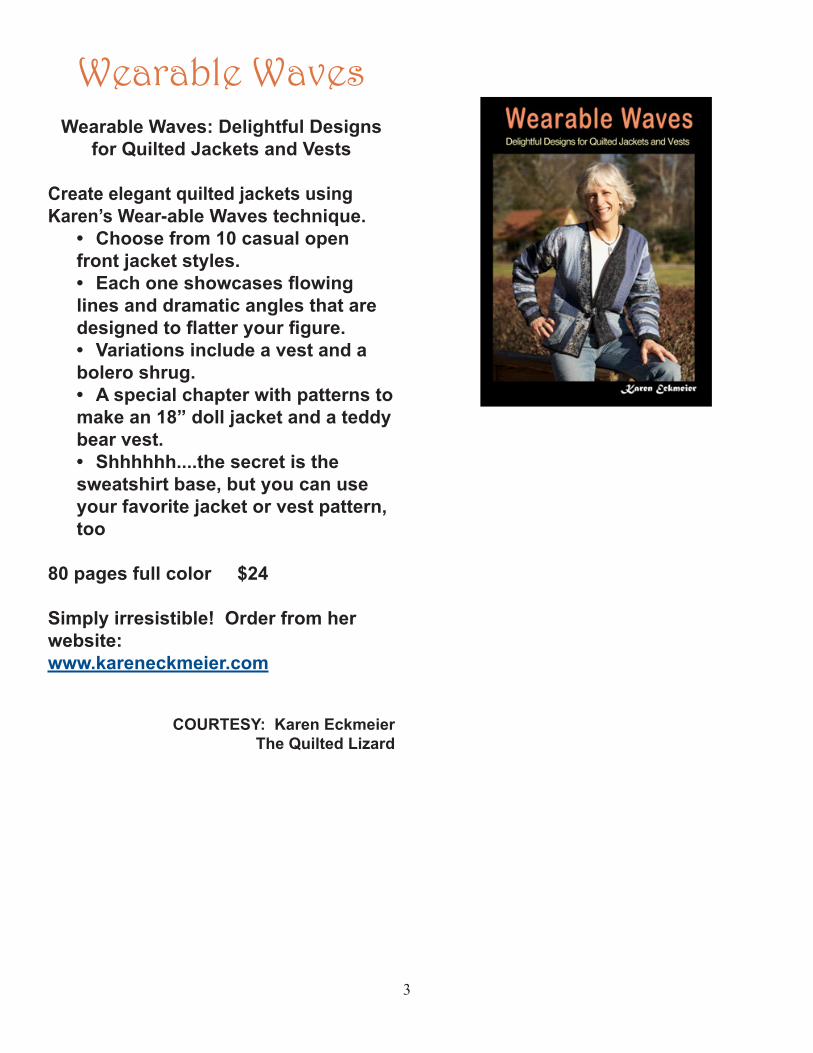
Wearable Waves: Delightful Designs for Quilted Jackets and Vests
Create elegant quilted jackets using Karen’s Wear-able Waves technique.
• Choose from 10 casual open front jacket styles.• Each one showcases flowing lines and dramatic angles that are designed to flatter your figure.• Variations include a vest and a bolero shrug.• A special chapter with patterns to make an 18” doll jacket and a teddy bear vest. • Shhhhhh....the secret is the sweatshirt base, but you can use your favorite jacket or vest pattern, too
80 pages full color $24
Simply irresistible! Order from her website:www.kareneckmeier.com
COURTESY: Karen EckmeierThe Quilted Lizard
Wearable Waves
3
4
Products used in Donna’s project of making a Cor-rugated Cover Notebook include:
• Spellbinders - Grand Calibur machine• Zutter - Distress-it-All• Corrugated Board• Bind-it-All Machine• Clearsnap - color collection of Smooch
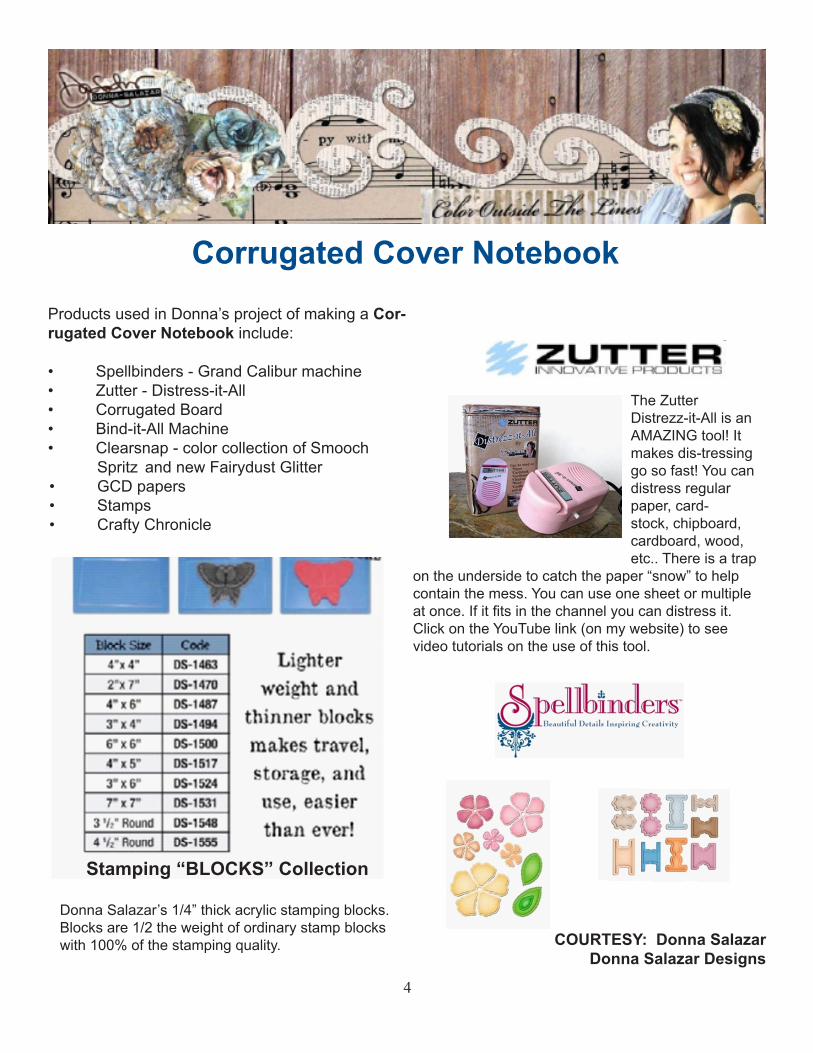
The Zutter Distrezz-it-All is an AMAZING tool! It makes dis-tressing go so fast! You can distress regular paper, card-stock, chipboard, cardboard, wood, etc.. There is a trap
on the underside to catch the paper “snow” to help contain the mess. You can use one sheet or multiple at once. If it fits in the channel you can distress it. Click on the YouTube link (on my website) to see video tutorials on the use of this tool.
COURTESY: Donna SalazarDonna Salazar Designs
Stamping “BLOCKS” Collection
Donna Salazar’s 1/4” thick acrylic stamping blocks. Blocks are 1/2 the weight of ordinary stamp blocks with 100% of the stamping quality.
Corrugated Cover Notebook
Spritz and new Fairydust Glitter • GCD papers• Stamps• Crafty Chronicle
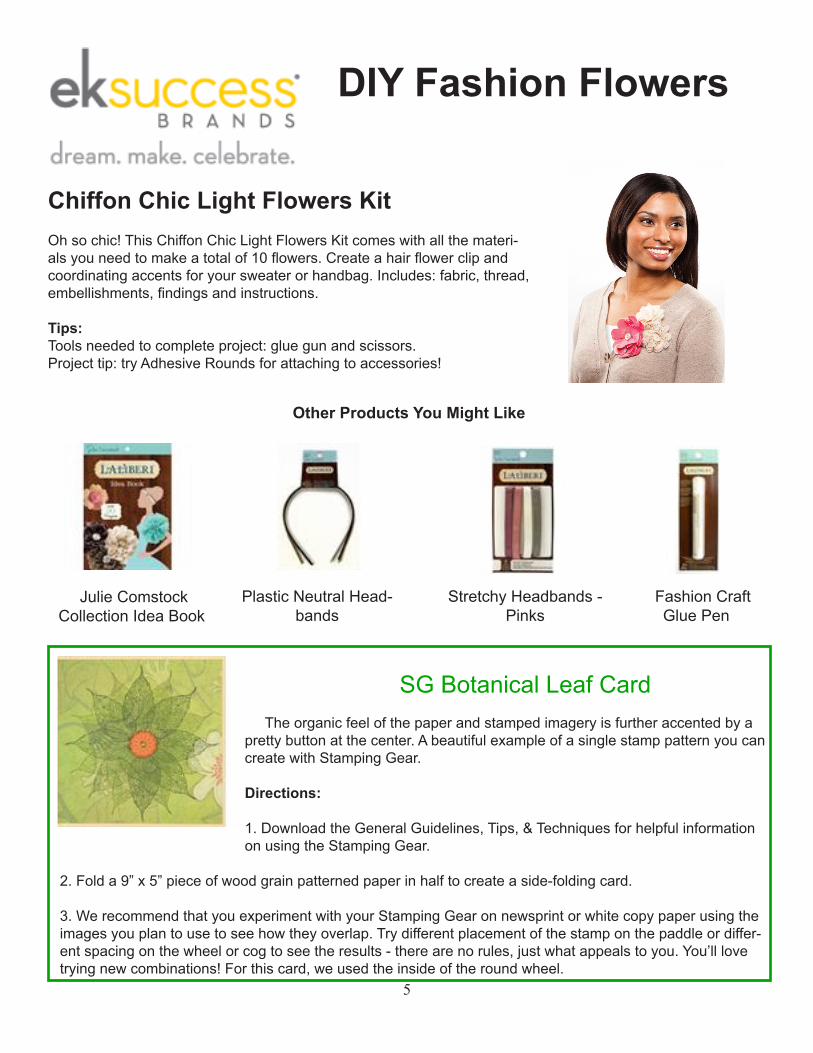
Chiffon Chic Light Flowers KitOh so chic! This Chiffon Chic Light Flowers Kit comes with all the materi-als you need to make a total of 10 flowers. Create a hair flower clip and coordinating accents for your sweater or handbag. Includes: fabric, thread, embellishments, findings and instructions.
Tips:Tools needed to complete project: glue gun and scissors. Project tip: try Adhesive Rounds for attaching to accessories!
Other Products You Might Like
DIY Fashion Flowers
Julie Comstock Collection Idea Book
Plastic Neutral Head-bands
Stretchy Headbands - Pinks
Fashion Craft Glue Pen
SG Botanical Leaf Card The organic feel of the paper and stamped imagery is further accented by a pretty button at the center. A beautiful example of a single stamp pattern you can create with Stamping Gear.
Directions:
1. Download the General Guidelines, Tips, & Techniques for helpful information on using the Stamping Gear.
2. Fold a 9” x 5” piece of wood grain patterned paper in half to create a side-folding card. 3. We recommend that you experiment with your Stamping Gear on newsprint or white copy paper using the images you plan to use to see how they overlap. Try different placement of the stamp on the paddle or differ-ent spacing on the wheel or cog to see the results - there are no rules, just what appeals to you. You’ll love trying new combinations! For this card, we used the inside of the round wheel.
5
6
4. Trim green patterned paper to 4 3/4” x 4 3/4”. Center your wheel over the paper with the four outer notches pointing north, south, east, and west. Use the leaf stamp with green ink and stamp the first im-age two slots to the right of 12:00 on the inside of the wheel. Continue to stamp every four slots around the inside of the round wheel. 5. Using dark green ink, stamp the first image at 12:00 on the inside of the wheel and continue around stamping every four slots.
6. Adhere the panel to the center of the card front, then add your button embellishment to the center of the leaf design.
COURTESY: Megan ThomeE K Success Brands
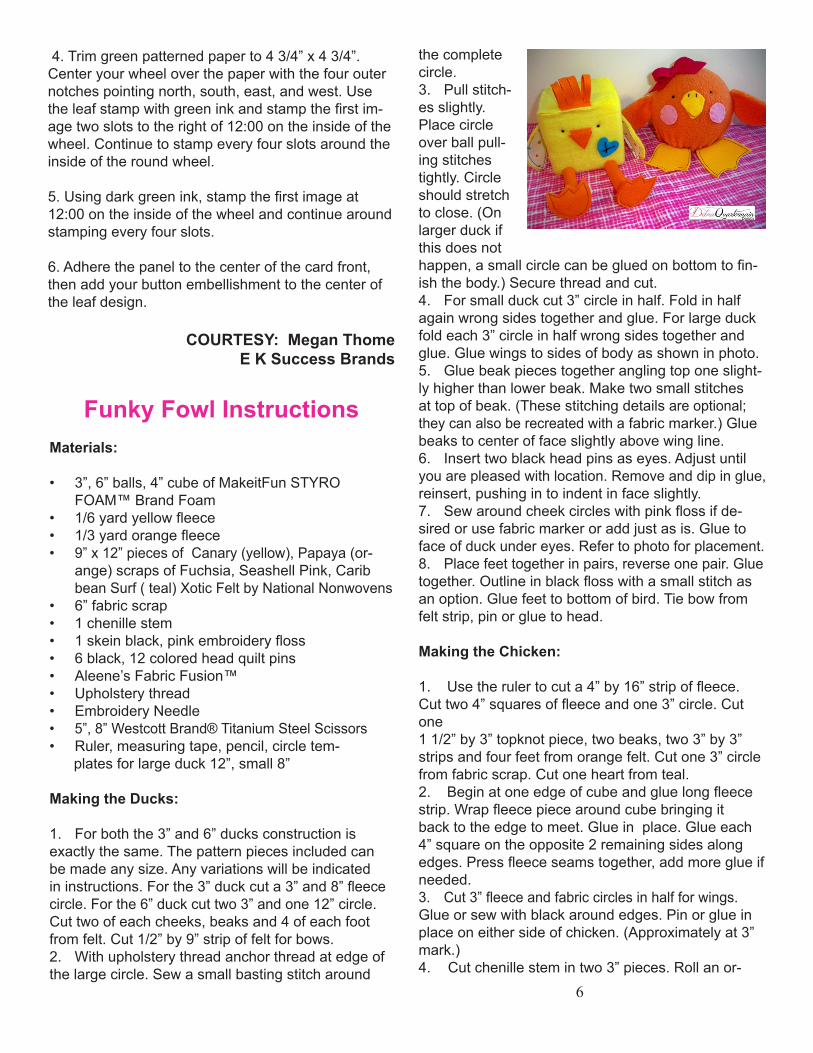
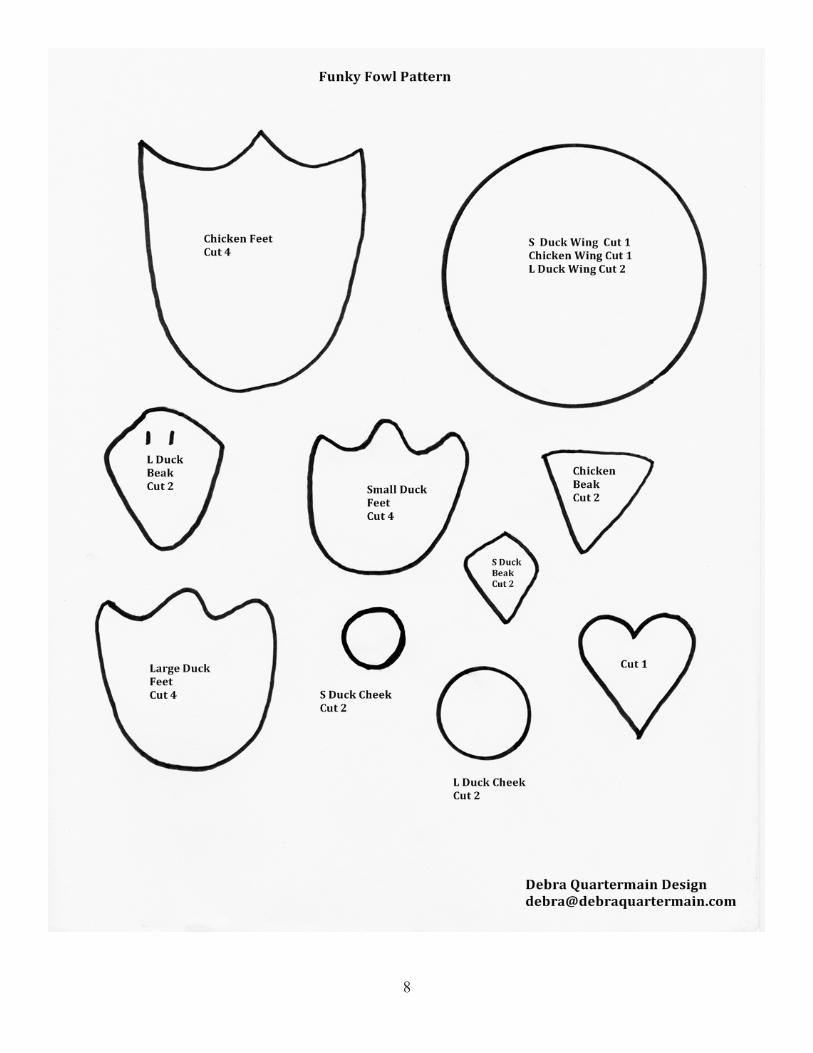
Funky Fowl InstructionsMaterials:
• 3”, 6” balls, 4” cube of MakeitFun STYRO FOAM™ Brand Foam • 1/6 yard yellow fleece• 1/3 yard orange fleece• 9” x 12” pieces of Canary (yellow), Papaya (or- ange) scraps of Fuchsia, Seashell Pink, Carib bean Surf ( teal) Xotic Felt by National Nonwovens• 6” fabric scrap• 1 chenille stem• 1 skein black, pink embroidery floss• 6 black, 12 colored head quilt pins• Aleene’s Fabric Fusion™• Upholstery thread• Embroidery Needle• 5”, 8” Westcott Brand® Titanium Steel Scissors• Ruler, measuring tape, pencil, circle tem- plates for large duck 12”, small 8”
Making the Ducks:
1. For both the 3” and 6” ducks construction is exactly the same. The pattern pieces included can be made any size. Any variations will be indicated in instructions. For the 3” duck cut a 3” and 8” fleece circle. For the 6” duck cut two 3” and one 12” circle. Cut two of each cheeks, beaks and 4 of each foot from felt. Cut 1/2” by 9” strip of felt for bows.2. With upholstery thread anchor thread at edge of the large circle. Sew a small basting stitch around
the complete circle. 3. Pull stitch-es slightly. Place circle over ball pull-ing stitches tightly. Circle should stretch to close. (On larger duck if this does not happen, a small circle can be glued on bottom to fin-ish the body.) Secure thread and cut.4. For small duck cut 3” circle in half. Fold in half again wrong sides together and glue. For large duck fold each 3” circle in half wrong sides together and glue. Glue wings to sides of body as shown in photo.5. Glue beak pieces together angling top one slight-ly higher than lower beak. Make two small stitches at top of beak. (These stitching details are optional; they can also be recreated with a fabric marker.) Glue beaks to center of face slightly above wing line.6. Insert two black head pins as eyes. Adjust until you are pleased with location. Remove and dip in glue, reinsert, pushing in to indent in face slightly.7. Sew around cheek circles with pink floss if de-sired or use fabric marker or add just as is. Glue to face of duck under eyes. Refer to photo for placement.8. Place feet together in pairs, reverse one pair. Glue together. Outline in black floss with a small stitch as an option. Glue feet to bottom of bird. Tie bow from felt strip, pin or glue to head.
Making the Chicken:
1. Use the ruler to cut a 4” by 16” strip of fleece. Cut two 4” squares of fleece and one 3” circle. Cut one 1 1/2” by 3” topknot piece, two beaks, two 3” by 3” strips and four feet from orange felt. Cut one 3” circle from fabric scrap. Cut one heart from teal.2. Begin at one edge of cube and glue long fleece strip. Wrap fleece piece around cube bringing it back to the edge to meet. Glue in place. Glue each 4” square on the opposite 2 remaining sides along edges. Press fleece seams together, add more glue if needed.3. Cut 3” fleece and fabric circles in half for wings. Glue or sew with black around edges. Pin or glue in place on either side of chicken. (Approximately at 3” mark.)4. Cut chenille stem in two 3” pieces. Roll an or-
ange strip around each leg and glue. Place feet in pairs reversing one set. Glue or topstitch in black around edges. Glue to end of each leg. Glue to edge of body. 5. Glue beak pieces together with top one slightly above lower beak. Glue to face. Insert two black head pin eyes. Add glue to ends and reinsert, in-denting slightly.6. Fold topknot in half, cut through from fold to 1/4 “ from ends. Glue to top of head. Stitch through heart with black floss. (Optional or use fabric mark-er.) Glue heart to body.
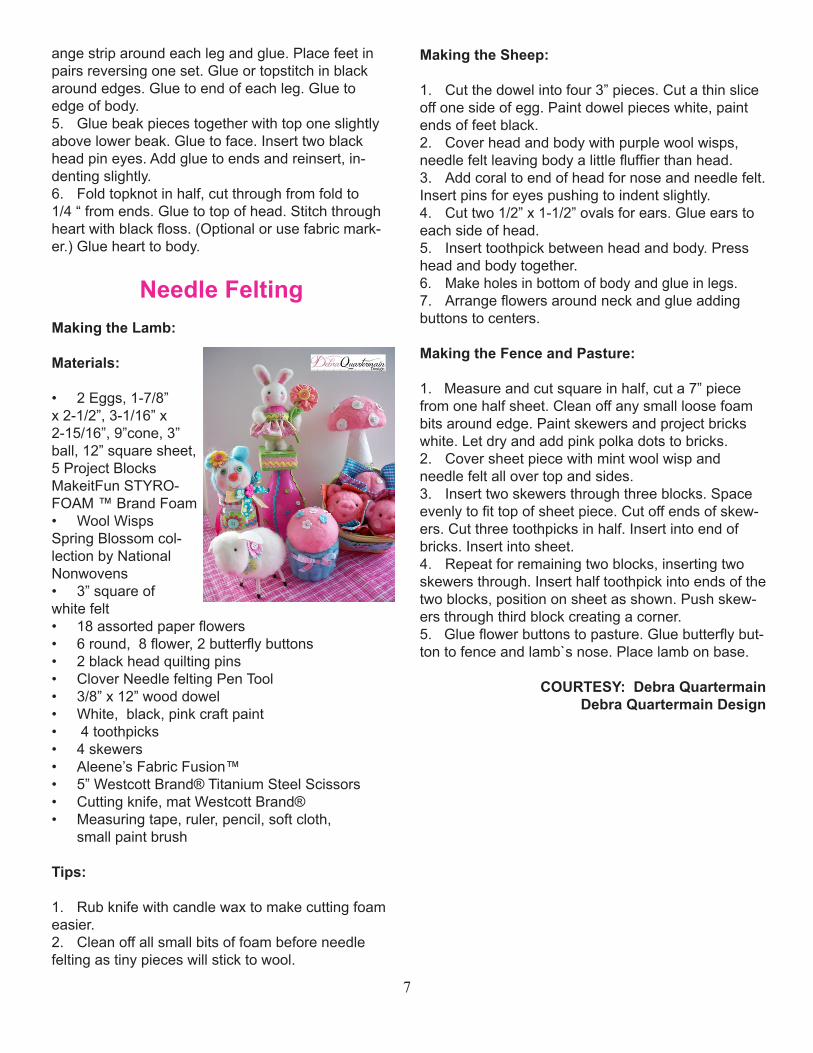
Needle Felting Making the Lamb:
Materials:
• 2 Eggs, 1-7/8” x 2-1/2”, 3-1/16” x 2-15/16”, 9”cone, 3” ball, 12” square sheet, 5 Project Blocks MakeitFun STYRO-FOAM ™ Brand Foam • Wool Wisps Spring Blossom col-lec tion by National Nonwovens• 3” square of white felt • 18 assorted paper flowers• 6 round, 8 flower, 2 butterfly buttons• 2 black head quilting pins• Clover Needle felting Pen Tool• 3/8” x 12” wood dowel • White, black, pink craft paint• 4 toothpicks• 4 skewers• Aleene’s Fabric Fusion™• 5” Westcott Brand® Titanium Steel Scissors• Cutting knife, mat Westcott Brand® • Measuring tape, ruler, pencil, soft cloth, small paint brush
Tips:
1. Rub knife with candle wax to make cutting foam easier.2. Clean off all small bits of foam before needle felting as tiny pieces will stick to wool.
Making the Sheep:
1. Cut the dowel into four 3” pieces. Cut a thin slice off one side of egg. Paint dowel pieces white, paint ends of feet black. 2. Cover head and body with purple wool wisps, needle felt leaving body a little fluffier than head.3. Add coral to end of head for nose and needle felt. Insert pins for eyes pushing to indent slightly.4. Cut two 1/2” x 1-1/2” ovals for ears. Glue ears to each side of head. 5. Insert toothpick between head and body. Press head and body together.6. Make holes in bottom of body and glue in legs.7. Arrange flowers around neck and glue adding buttons to centers.
Making the Fence and Pasture:
1. Measure and cut square in half, cut a 7” piece from one half sheet. Clean off any small loose foam bits around edge. Paint skewers and project bricks white. Let dry and add pink polka dots to bricks.2. Cover sheet piece with mint wool wisp and needle felt all over top and sides.3. Insert two skewers through three blocks. Space evenly to fit top of sheet piece. Cut off ends of skew-ers. Cut three toothpicks in half. Insert into end of bricks. Insert into sheet.4. Repeat for remaining two blocks, inserting two skewers through. Insert half toothpick into ends of the two blocks, position on sheet as shown. Push skew-ers through third block creating a corner. 5. Glue flower buttons to pasture. Glue butterfly but-ton to fence and lamb`s nose. Place lamb on base.
COURTESY: Debra QuartermainDebra Quartermain Design
7
8


![[may] sequine shoulder chiffon toms dress](https://img.pdfslide.us/doc/110x75/568c4af01a28ab49169a3f4d/may-sequine-shoulder-chiffon-toms-dress.jpg)