Embed Size (px)
Citation preview
22
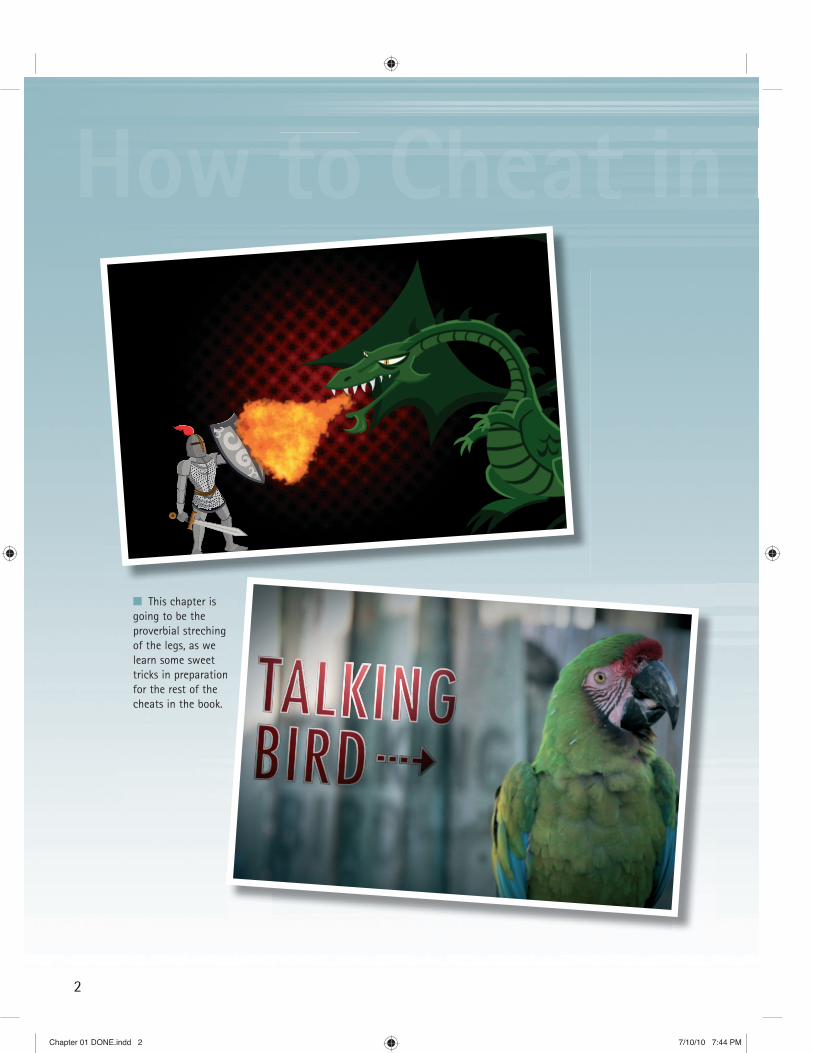
■ This chapter is going to be the proverbial streching of the legs, as we learn some sweet tricks in preparation for the rest of the cheats in the book.
Chapter 01 DONE.indd 2Chapter 01 DONE.indd 2 7/10/10 7:44 PM7/10/10 7:44 PM
Cool Tricks Appetizer!WE’VE GOT A LOT OF JUICY STUFF TO COVER IN THIS BOOK. So let’s get warmed up by just getting the sampler platter of sweet After Effects tricks at the outset.
This chapter will be a great warm-up for the rest of the book, and we’ll even conclude this chapter with a small section about getting extra help in case you find yourself stuck as you go through the cheats.
3
Chapter 01 DONE.indd 3Chapter 01 DONE.indd 3 7/10/10 7:44 PM7/10/10 7:44 PM
CCCooooooll TTrriiicckksss AAAppppeetttiiizzzzeeeerrrrCCCoooolll TTTriiicckkkkss AAApppettttiiiizzeerCC TT ii kkk AA ppeetttii
4
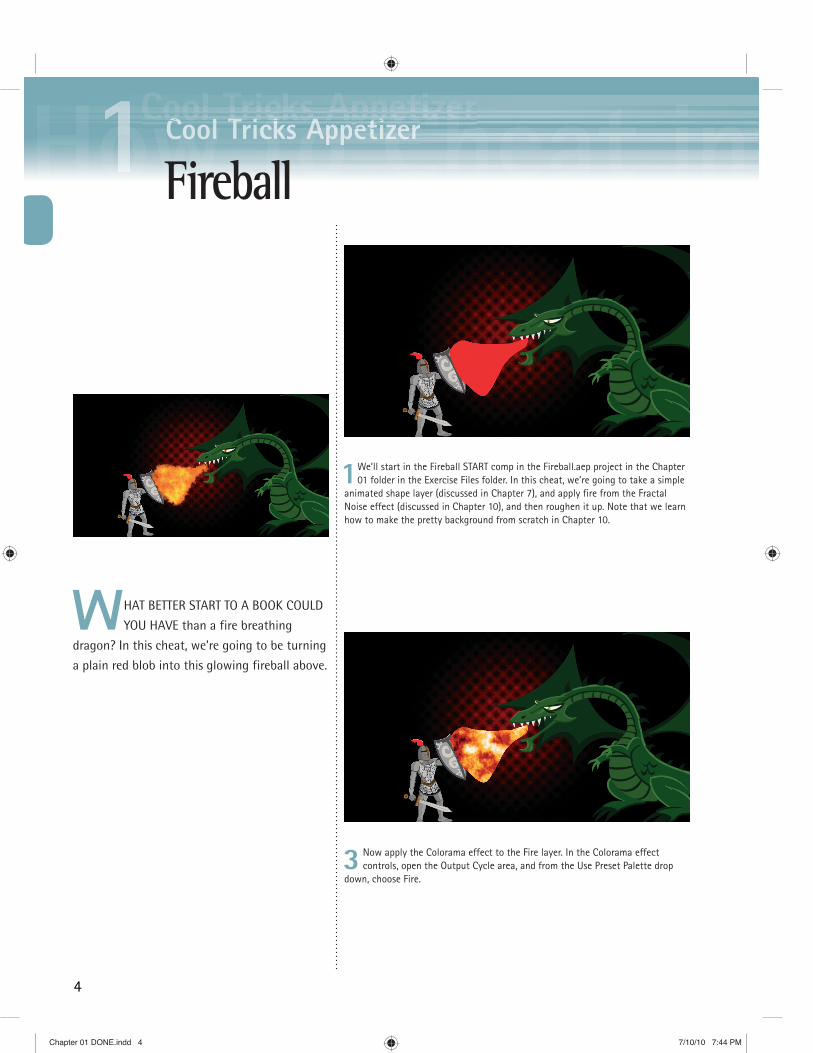
1We’ll start in the Fireball START comp in the Fireball.aep project in the Chapter 01 folder in the Exercise Files folder. In this cheat, we’re going to take a simple
animated shape layer (discussed in Chapter 7), and apply fire from the Fractal Noise effect (discussed in Chapter 10), and then roughen it up. Note that we learn how to make the pretty background from scratch in Chapter 10.
3 Now apply the Colorama effect to the Fire layer. In the Colorama effect controls, open the Output Cycle area, and from the Use Preset Palette drop
down, choose Fire.
WHAT BETTER START TO A BOOK COULD
YOU HAVE than a fire breathing
dragon? In this cheat, we’re going to be turning
a plain red blob into this glowing fireball above.
Fireball
Chapter 01 DONE.indd 4Chapter 01 DONE.indd 4 7/10/10 7:44 PM7/10/10 7:44 PM
HHHHHHHHooooooowwwwwww ttttttttooooooo CCCCCChhhhhhheeeeeeaaaaaatttttt iiiiiinnnnnn AAAAAAAfffffttttteeeeerrrrr EEEEEffffeeeeccccttttsss
5
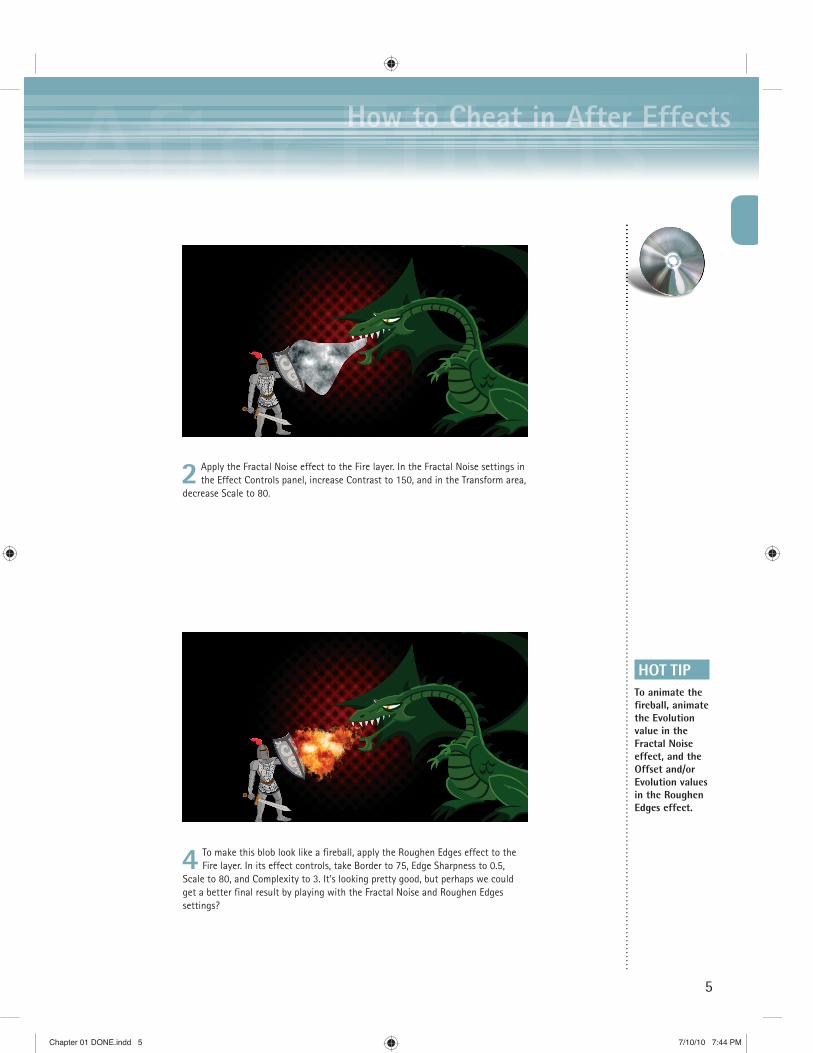
2 Apply the Fractal Noise effect to the Fire layer. In the Fractal Noise settings in the Effect Controls panel, increase Contrast to 150, and in the Transform area,
decrease Scale to 80.
4 To make this blob look like a fireball, apply the Roughen Edges effect to the Fire layer. In its effect controls, take Border to 75, Edge Sharpness to 0.5,
Scale to 80, and Complexity to 3. It’s looking pretty good, but perhaps we could get a better final result by playing with the Fractal Noise and Roughen Edges settings?
HOT TIPTo animate the fireball, animate the Evolution value in the Fractal Noise effect, and the Offset and/or Evolution values in the Roughen Edges effect.
Chapter 01 DONE.indd 5Chapter 01 DONE.indd 5 7/10/10 7:44 PM7/10/10 7:44 PM

CCCooooooll TTrriiicckksss AAAppppeetttiiizzzzeeeerrrrCCCoooolll TTTriiicckkkkss AAApppettttiiiizzeerCC TT ii kkk AA ppeetttii
6
1Start out in the Growing Vines START comp in the Growing Vines.aep project in the Chapter 01 folder of the exercise files. This contains a few vine layers from
Adobe Illustrator. It’s very important for this trick that the vines are cut up into separate components like this. I’m going to solo just the Main Vine layer and work on it first.
3 Once you’ve completed painting the vine, go back to the Write-on effect controls and change the Paint Style to Reveal Original Image. Now, there’s
no more paint. Your “paint” is just unmasking your layer. This is how the growing vines effect is created. You then repeat this for each vine and time their reveals so that it appears that they are growing together.
THIS CHEAT IS A LITTLE MORE INVOLVED
and takes a bit more time than the others
in this chapter. But nevertheless, having vines or
filigree grow is a very common trick. It’s a great
way to draw a viewer’s attention to something
important.
Growing Vines
Chapter 01 DONE.indd 6Chapter 01 DONE.indd 6 7/10/10 7:44 PM7/10/10 7:44 PM
HHHHHHHHooooooowwwwwww ttttttttooooooo CCCCCChhhhhhheeeeeeaaaaaatttttt iiiiiinnnnnn AAAAAAAfffffttttteeeeerrrrr EEEEEffffeeeeccccttttsss
7
SHORTCUTSMAC WIN BOTH
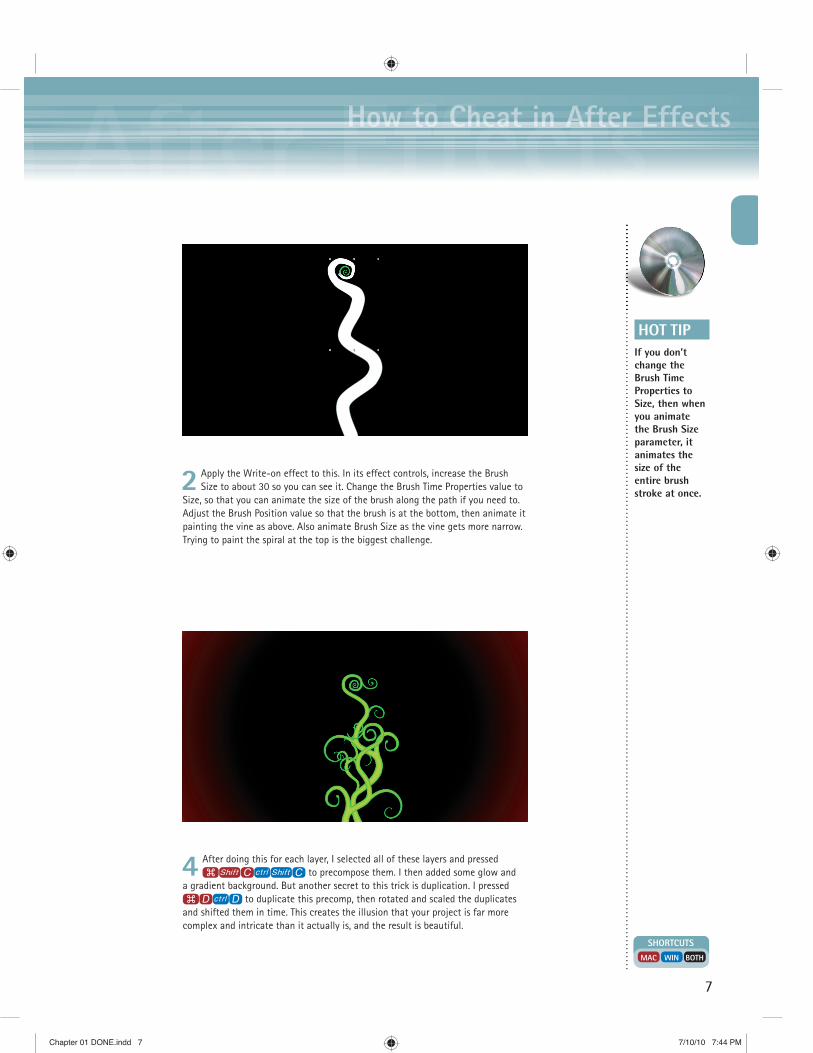
2 Apply the Write-on effect to this. In its effect controls, increase the Brush Size to about 30 so you can see it. Change the Brush Time Properties value to
Size, so that you can animate the size of the brush along the path if you need to. Adjust the Brush Position value so that the brush is at the bottom, then animate it painting the vine as above. Also animate Brush Size as the vine gets more narrow. Trying to paint the spiral at the top is the biggest challenge.
4 After doing this for each layer, I selected all of these layers and pressed CScLSc to precompose them. I then added some glow and
a gradient background. But another secret to this trick is duplication. I pressed CdLd to duplicate this precomp, then rotated and scaled the duplicates and shifted them in time. This creates the illusion that your project is far more complex and intricate than it actually is, and the result is beautiful.
HOT TIPIf you don’t change the Brush Time Properties to Size, then when you animate the Brush Size parameter, it animates the size of the entire brush stroke at once.
Chapter 01 DONE.indd 7Chapter 01 DONE.indd 7 7/10/10 7:44 PM7/10/10 7:44 PM
CCCooooooll TTrriiicckksss AAAppppeetttiiizzzzeeeerrrrCCCoooolll TTTriiicckkkkss AAApppettttiiiizzeerCC TT ii kkk AA ppeetttii
8
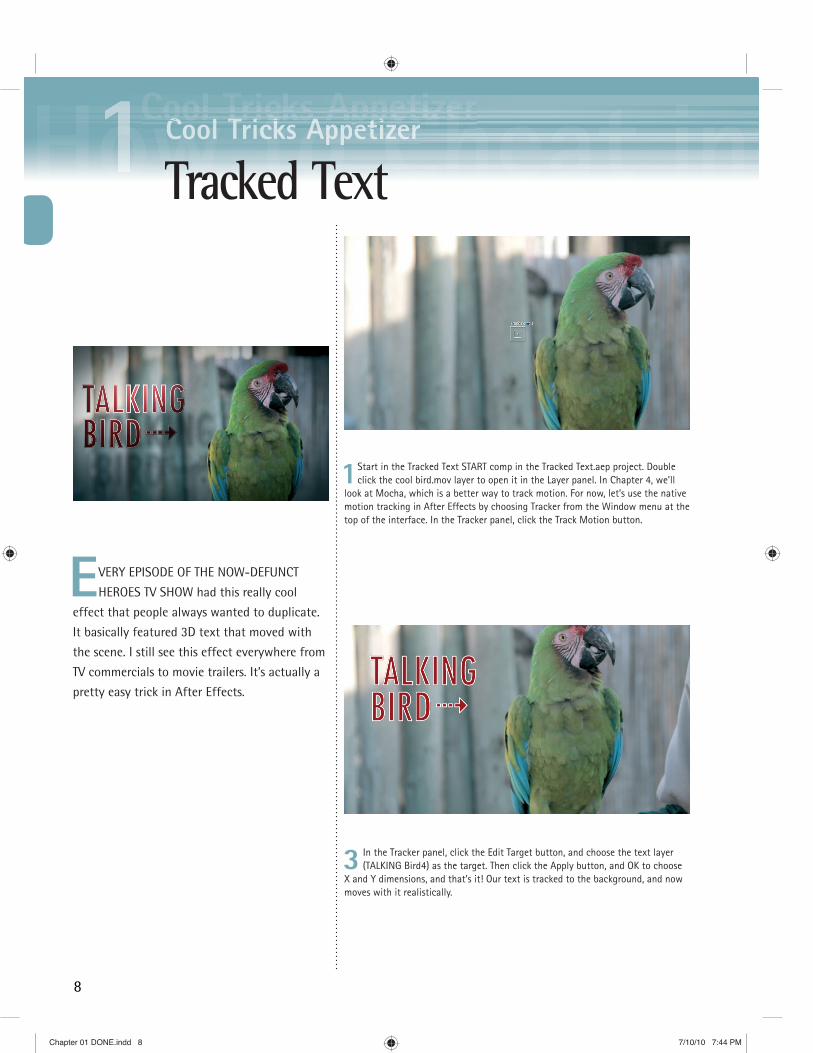
1Start in the Tracked Text START comp in the Tracked Text.aep project. Double click the cool bird.mov layer to open it in the Layer panel. In Chapter 4, we’ll
look at Mocha, which is a better way to track motion. For now, let’s use the native motion tracking in After Effects by choosing Tracker from the Window menu at the top of the interface. In the Tracker panel, click the Track Motion button.
3 In the Tracker panel, click the Edit Target button, and choose the text layer (TALKING Bird4) as the target. Then click the Apply button, and OK to choose
X and Y dimensions, and that’s it! Our text is tracked to the background, and now moves with it realistically.
EVERY EPISODE OF THE NOW-DEFUNCT
HEROES TV SHOW had this really cool
effect that people always wanted to duplicate.
It basically featured 3D text that moved with
the scene. I still see this effect everywhere from
TV commercials to movie trailers. It’s actually a
pretty easy trick in After Effects.
Tracked Text
Chapter 01 DONE.indd 8Chapter 01 DONE.indd 8 7/10/10 7:44 PM7/10/10 7:44 PM
HHHHHHHHooooooowwwwwww ttttttttooooooo CCCCCChhhhhhheeeeeeaaaaaatttttt iiiiiinnnnnn AAAAAAAfffffttttteeeeerrrrr EEEEEffffeeeeccccttttsss
9
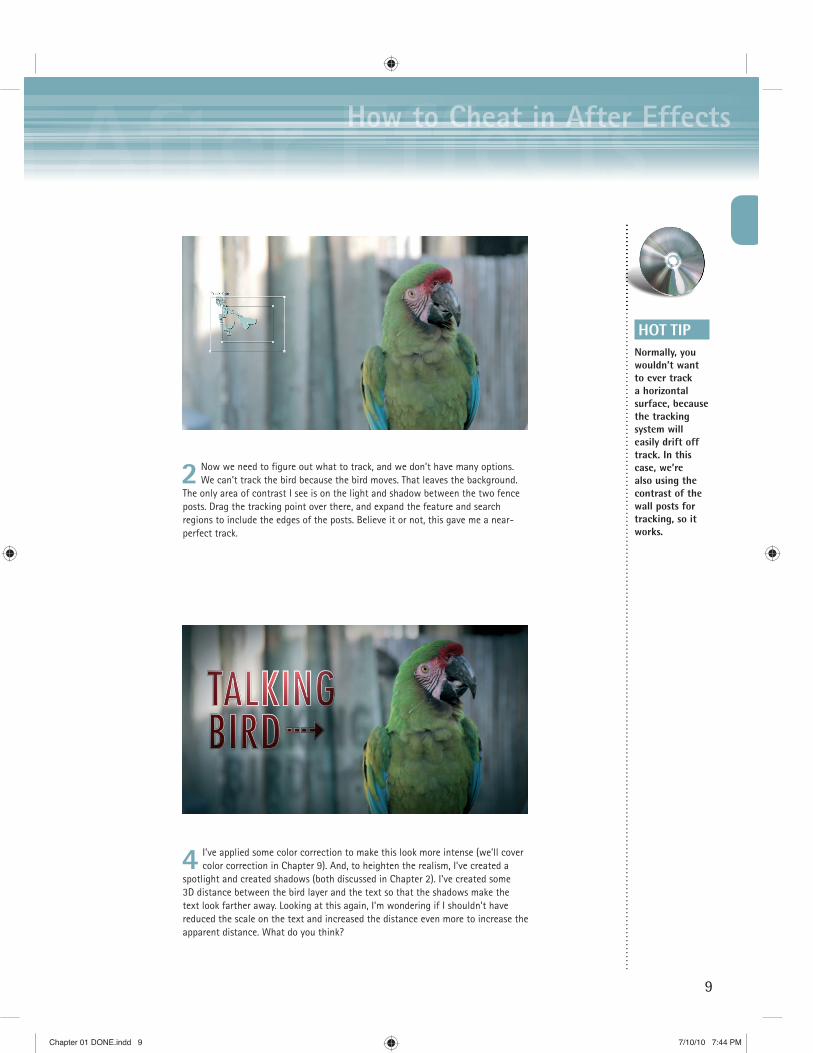
2 Now we need to figure out what to track, and we don’t have many options. We can’t track the bird because the bird moves. That leaves the background.
The only area of contrast I see is on the light and shadow between the two fence posts. Drag the tracking point over there, and expand the feature and search regions to include the edges of the posts. Believe it or not, this gave me a near-perfect track.
4 I’ve applied some color correction to make this look more intense (we’ll cover color correction in Chapter 9). And, to heighten the realism, I’ve created a
spotlight and created shadows (both discussed in Chapter 2). I’ve created some 3D distance between the bird layer and the text so that the shadows make the text look farther away. Looking at this again, I’m wondering if I shouldn’t have reduced the scale on the text and increased the distance even more to increase the apparent distance. What do you think?
HOT TIPNormally, you wouldn’t want to ever track a horizontal surface, because the tracking system will easily drift off track. In this case, we’re also using the contrast of the wall posts for tracking, so it works.
Chapter 01 DONE.indd 9Chapter 01 DONE.indd 9 7/10/10 7:44 PM7/10/10 7:44 PM
CCCooooooll TTrriiicckksss AAAppppeetttiiizzzzeeeerrrrCCCoooolll TTTriiicckkkkss AAApppettttiiiizzeerCC TT ii kkk AA ppeetttii
10
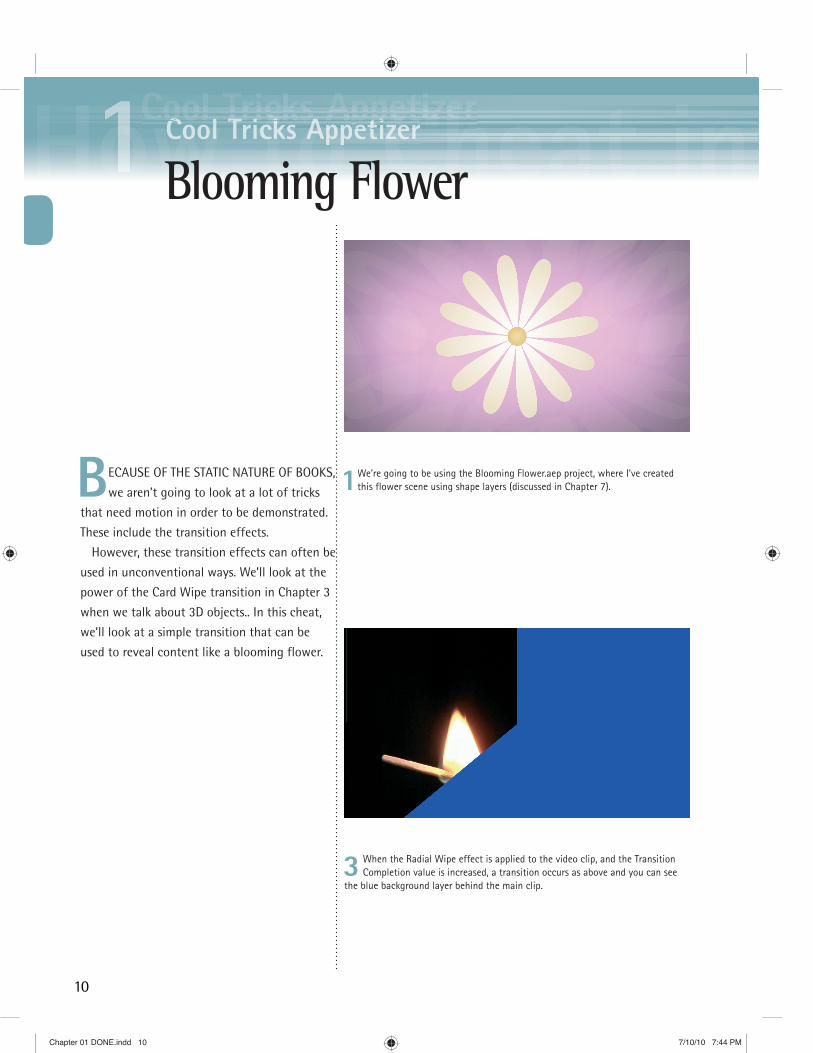
1We’re going to be using the Blooming Flower.aep project, where I’ve created this flower scene using shape layers (discussed in Chapter 7).
3 When the Radial Wipe effect is applied to the video clip, and the Transition Completion value is increased, a transition occurs as above and you can see
the blue background layer behind the main clip.
BECAUSE OF THE STATIC NATURE OF BOOKS,
we aren’t going to look at a lot of tricks
that need motion in order to be demonstrated.
These include the transition effects.
However, these transition effects can often be
used in unconventional ways. We’ll look at the
power of the Card Wipe transition in Chapter 3
when we talk about 3D objects.. In this cheat,
we’ll look at a simple transition that can be
used to reveal content like a blooming flower.
Blooming Flower
Chapter 01 DONE.indd 10Chapter 01 DONE.indd 10 7/10/10 7:44 PM7/10/10 7:44 PM