Embed Size (px)
Citation preview
CODE B18.0r1.11 LINUX INSTALLATION INSTRUCTIONS
Created by: Brian Klein, Think Tank, Inc. Last modification: 04/10/2018
1
What’s New:
• Full support of 64-bit Redhat 7/CentOS 7 operating system. • Operational support for MESO-SAILS that enables up to 3 extra low level elevation
scans in a volume scan. • Addition of the Hail Size Discrimination Algorithm to the Hydrometeor Classification
Algorithm and associated products. • Addition of atmospheric model data to the level 2 data stream with playback
capability. • Removal of the following legacy products (product codes): 3-bit Reflectivity (16, 17,
18), 4-bit Reflectivity (21), 3-bit Velocity (22, 23, 24), 3-bit Spectrum Width (29), 3-bit Composite Reflectivity (35), 3-bit Cross Section (85, 86), 4-bit Dual Pol (158, 160, 162, 164), SuperOb (136).
• Removal of VCPs 11, 21, 211 and 221 from the WSR-88D baseline. (Playback of archived cases still supported.)
• Addition of VCPs 35 and 215 to the WSR-88D baseline.
Concise examples of successful command checklists for installation of the most recent CODE
B18.0r1.11 are provided here for your reference.
A "quick install" checklist can simplify your process, and is helpful when you need to quickly make
clones of your initial installation. Checklists ensure uniformity of installations. Use of a command set
as similar as possible to the one provided above will make it easier for CODE maintainers to provide
fast and efficient assistance, by quickly pinpointing where you are in the installation process.
All commands provided are written in the C shell, as that is the required shell for compilation and
execution of the ORPG. Understand that these command sets may or may not work "as is" on your
system due to possible differences in directory names on your system. Placement of these
commands in a single script is not recommended due to execution requirements of the various
commands, including occasional need for root privileges.
CODE B18.0r1.11 LINUX INSTALLATION INSTRUCTIONS
Created by: Brian Klein, Think Tank, Inc. Last modification: 04/10/2018
2
NWS & PUBLIC EDITIONS Installation & Configuring Linux for ORPG Checking Operating System Modifying /etc/hosts Modifying /etc/sysconfig/network
Modifying /etc/sysconfig/network-scripts/ifcfg-eth0
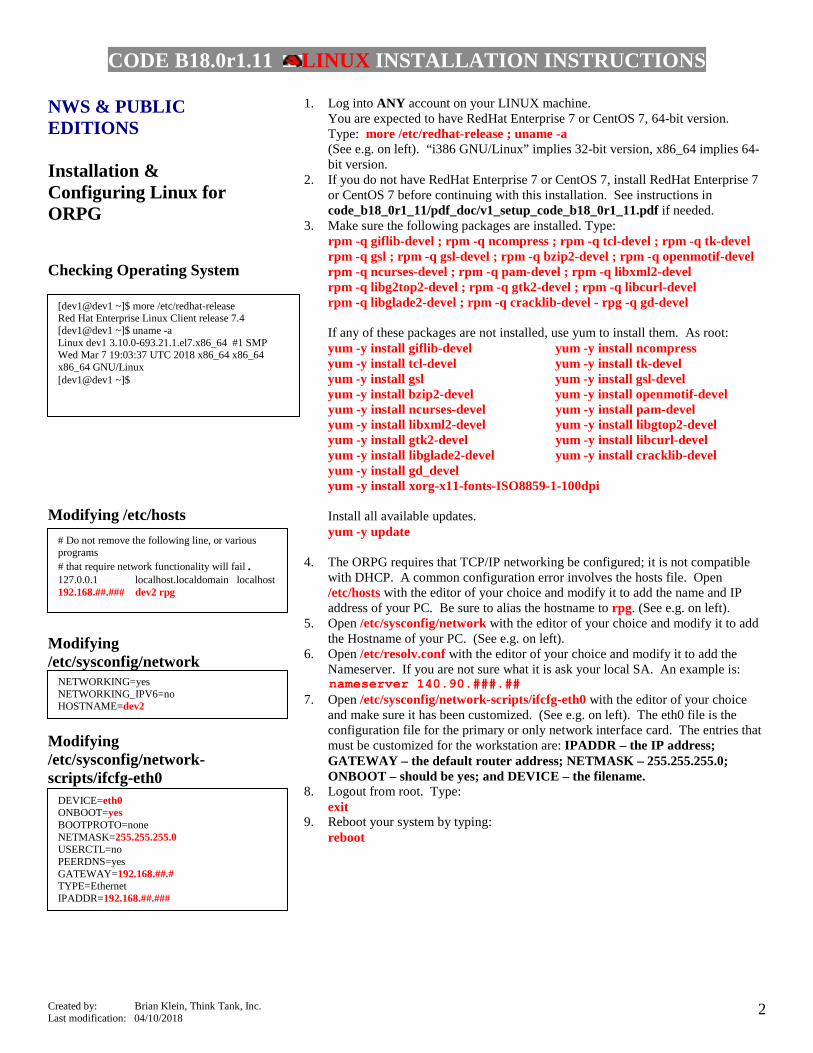
1. Log into ANY account on your LINUX machine. You are expected to have RedHat Enterprise 7 or CentOS 7, 64-bit version. Type: more /etc/redhat-release ; uname -a
(See e.g. on left). “i386 GNU/Linux” implies 32-bit version, x86_64 implies 64-bit version.
2. If you do not have RedHat Enterprise 7 or CentOS 7, install RedHat Enterprise 7 or CentOS 7 before continuing with this installation. See instructions in code_b18_0r1_11/pdf_doc/v1_setup_code_b18_0r1_11.pdf if needed.
3. Make sure the following packages are installed. Type: rpm -q giflib-devel ; rpm -q ncompress ; rpm -q tcl-devel ; rpm -q tk-devel rpm -q gsl ; rpm -q gsl-devel ; rpm -q bzip2-devel ; rpm -q openmotif-devel rpm -q ncurses-devel ; rpm -q pam-devel ; rpm -q libxml2-devel rpm -q libg2top2-devel ; rpm -q gtk2-devel ; rpm -q libcurl-devel rpm -q libglade2-devel ; rpm -q cracklib-devel - rpg -q gd-devel If any of these packages are not installed, use yum to install them. As root: yum -y install giflib-devel yum -y install ncompress yum -y install tcl-devel yum -y install tk-devel yum -y install gsl yum -y install gsl-devel yum -y install bzip2-devel yum -y install openmotif-devel yum -y install ncurses-devel yum -y install pam-devel yum -y install libxml2-devel yum -y install libgtop2-devel yum -y install gtk2-devel yum -y install libcurl-devel yum -y install libglade2-devel yum -y install cracklib-devel yum -y install gd_devel yum -y install xorg-x11-fonts-ISO8859-1-100dpi Install all available updates. yum -y update
4. The ORPG requires that TCP/IP networking be configured; it is not compatible with DHCP. A common configuration error involves the hosts file. Open /etc/hosts with the editor of your choice and modify it to add the name and IP address of your PC. Be sure to alias the hostname to rpg. (See e.g. on left).
5. Open /etc/sysconfig/network with the editor of your choice and modify it to add the Hostname of your PC. (See e.g. on left).
6. Open /etc/resolv.conf with the editor of your choice and modify it to add the Nameserver. If you are not sure what it is ask your local SA. An example is:
nameserver 140.90.###.## 7. Open /etc/sysconfig/network-scripts/ifcfg-eth0 with the editor of your choice
and make sure it has been customized. (See e.g. on left). The eth0 file is the configuration file for the primary or only network interface card. The entries that must be customized for the workstation are: IPADDR – the IP address; GATEWAY – the default router address; NETMASK – 255.255.255.0; ONBOOT – should be yes; and DEVICE – the filename.
8. Logout from root. Type: exit
9. Reboot your system by typing: reboot
[dev1@dev1 ~]$ more /etc/redhat-release Red Hat Enterprise Linux Client release 7.4 [dev1@dev1 ~]$ uname -a Linux dev1 3.10.0-693.21.1.el7.x86_64 #1 SMP Wed Mar 7 19:03:37 UTC 2018 x86_64 x86_64 x86_64 GNU/Linux [dev1@dev1 ~]$
# Do not remove the following line, or various programs # that require network functionality will fail. 127.0.0.1 localhost.localdomain localhost 192.168.##.### dev2 rpg
NETWORKING=yes NETWORKING_IPV6=no HOSTNAME=dev2
DEVICE=eth0 ONBOOT=yes BOOTPROTO=none NETMASK=255.255.255.0 USERCTL=no PEERDNS=yes GATEWAY=192.168.##.# TYPE=Ethernet IPADDR=192.168.##.###
CODE B18.0r1.11 LINUX INSTALLATION INSTRUCTIONS
Created by: Brian Klein, Think Tank, Inc. Last modification: 04/10/2018
3
Creating a New Account Summary of Commands
1. From the RedHat Welcome Screen, enter your Username and Password to log
into ANY account on your LINUX machine. 2. Open a terminal and type: su (login as root with root password) 3. Determine your new user account name, parent directory, home directory, data
directory, group name, etc. then write them down. Whenever you see a command with < > brackets around it, refer to the table below. Here are some suggested examples. Add your own names:
COMMANDS DEFINED EXAMPLES <user18_0r1_11> code18_0r1_11 <parent_dir> /home <home_dir> <parent_dir>/<user18_0r1_11> /home/code18_0r1_11 <group_name> rpg <ip_address> 192.168.##.###
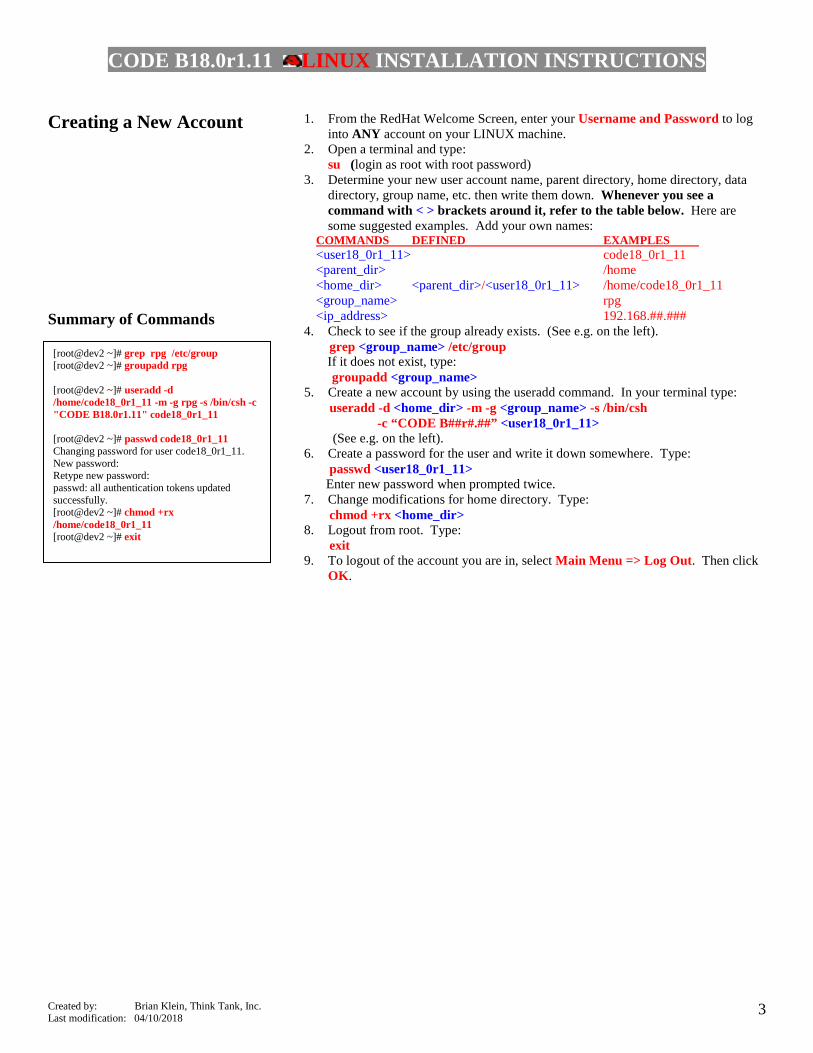
4. Check to see if the group already exists. (See e.g. on the left). grep <group_name> /etc/group If it does not exist, type:
groupadd <group_name> 5. Create a new account by using the useradd command. In your terminal type: useradd -d <home_dir> -m -g <group_name> -s /bin/csh -c “CODE B##r#.##” <user18_0r1_11> (See e.g. on the left). 6. Create a password for the user and write it down somewhere. Type: passwd <user18_0r1_11> Enter new password when prompted twice. 7. Change modifications for home directory. Type: chmod +rx <home_dir> 8. Logout from root. Type: exit 9. To logout of the account you are in, select Main Menu => Log Out. Then click
OK.
[root@dev2 ~]# grep rpg /etc/group [root@dev2 ~]# groupadd rpg [root@dev2 ~]# useradd -d /home/code18_0r1_11 -m -g rpg -s /bin/csh -c "CODE B18.0r1.11" code18_0r1_11 [root@dev2 ~]# passwd code18_0r1_11 Changing password for user code18_0r1_11. New password: Retype new password: passwd: all authentication tokens updated successfully. [root@dev2 ~]# chmod +rx /home/code18_0r1_11 [root@dev2 ~]# exit
CODE B18.0r1.11 LINUX INSTALLATION INSTRUCTIONS
Created by: Brian Klein, Think Tank, Inc. Last modification: 04/10/2018
4
Installing RPG & CODE Software Modifying orpg_env_cshrc
1. Login using your new <user18_0r1_11> account and password. 2. Obtain the CODE B18.0r1.3 CD, copy folder code_b18_0r1_11 (for NWS
Edition) or pub_code_b18_0r1_11 (for Public Edition) to your home directory. 3. Go to the home directory to make sure the folder has been downloaded by typing:
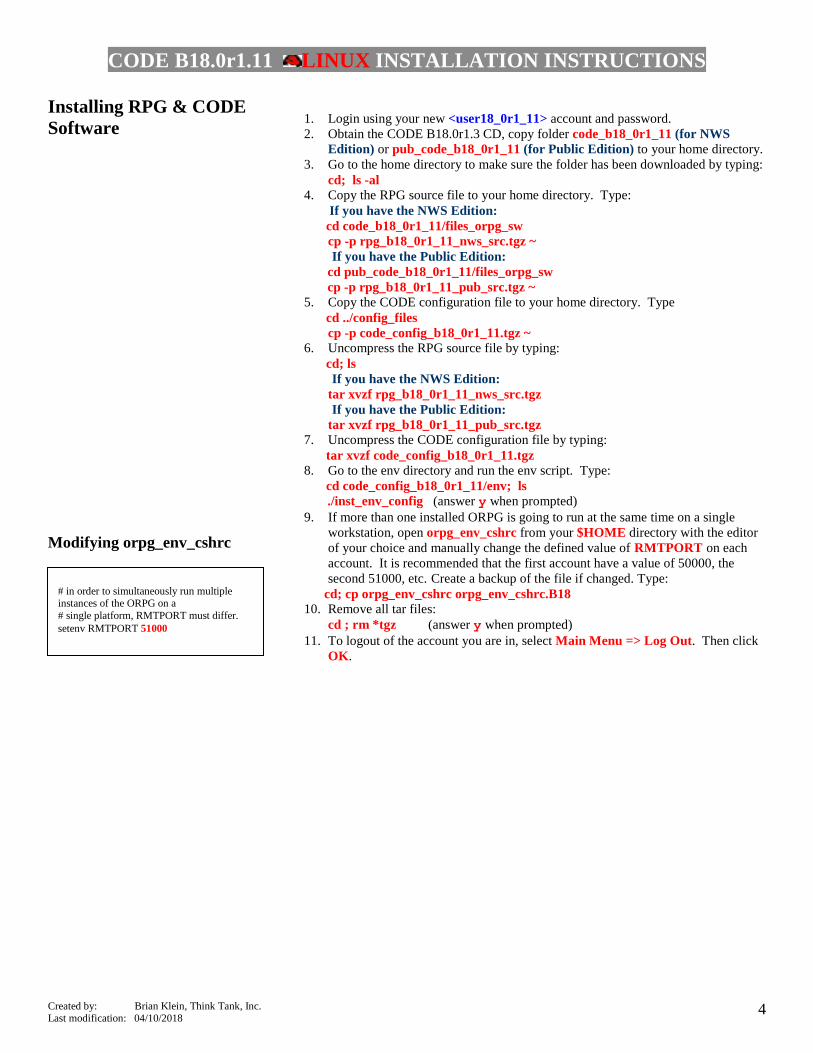
cd; ls -al 4. Copy the RPG source file to your home directory. Type: If you have the NWS Edition: cd code_b18_0r1_11/files_orpg_sw cp -p rpg_b18_0r1_11_nws_src.tgz ~ If you have the Public Edition: cd pub_code_b18_0r1_11/files_orpg_sw cp -p rpg_b18_0r1_11_pub_src.tgz ~ 5. Copy the CODE configuration file to your home directory. Type cd ../config_files cp -p code_config_b18_0r1_11.tgz ~ 6. Uncompress the RPG source file by typing: cd; ls If you have the NWS Edition: tar xvzf rpg_b18_0r1_11_nws_src.tgz If you have the Public Edition: tar xvzf rpg_b18_0r1_11_pub_src.tgz 7. Uncompress the CODE configuration file by typing: tar xvzf code_config_b18_0r1_11.tgz 8. Go to the env directory and run the env script. Type: cd code_config_b18_0r1_11/env; ls ./inst_env_config (answer y when prompted) 9. If more than one installed ORPG is going to run at the same time on a single
workstation, open orpg_env_cshrc from your $HOME directory with the editor of your choice and manually change the defined value of RMTPORT on each account. It is recommended that the first account have a value of 50000, the second 51000, etc. Create a backup of the file if changed. Type:
cd; cp orpg_env_cshrc orpg_env_cshrc.B18 10. Remove all tar files:
cd ; rm *tgz (answer y when prompted) 11. To logout of the account you are in, select Main Menu => Log Out. Then click
OK.
# in order to simultaneously run multiple instances of the ORPG on a # single platform, RMTPORT must differ. setenv RMTPORT 51000
CODE B18.0r1.11 LINUX INSTALLATION INSTRUCTIONS
Created by: Brian Klein, Think Tank, Inc. Last modification: 04/10/2018
5
Compiling & Configuring the RPG Modify the .rssd.conf file
1. From the RedHat Welcome Screen, enter your Username and Password to login using your new <user18_0r1_11> account and password. Open a terminal console and verify your environment variables. Make sure your $HOME is set to the correct paths. Type:
env | grep -e HOME 2. To conduct a quick test compile of a portion of the source code, type:
cd; ls test_make_cpc100 $HOME >& test_make_cpc100.out After compilation has finished, check for errors. Type: grep -e ‘Error [1-9]’ test_make_cpc100.out If there are errors, check the file: code_b18_0r1_11/pdf_doc/v1_setup_code_b18_0r1_11.pdf 3. To compile the RPG, type: make_rpg $HOME >& make_rpg.out
After compilation has finished, check for errors. Type: grep -e ‘Error [1-9]’ make_rpg.out If there are errors, check the file: code_b18_0r1_11/pdf_doc/v1_setup_code_b18_0r1_11.pdf 4. Install the ORPG configuration files by typing: cd code_config_b18_0r1_11/orpg; ls ./inst_orpg_config (answer y when prompted)
Note: You need answer ‘N’ for NWS Edition or ‘P’ for Public Edition when prompted to install the right version of task_tables.
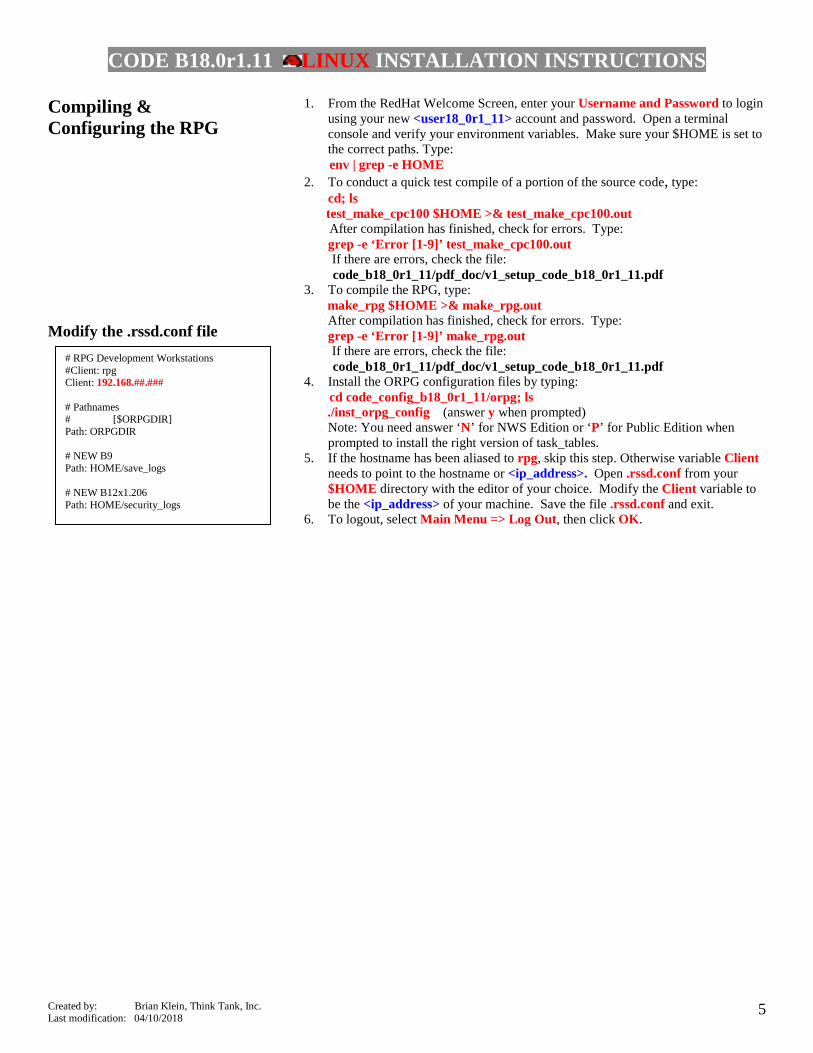
5. If the hostname has been aliased to rpg, skip this step. Otherwise variable Client needs to point to the hostname or <ip_address>. Open .rssd.conf from your $HOME directory with the editor of your choice. Modify the Client variable to be the <ip_address> of your machine. Save the file .rssd.conf and exit.
6. To logout, select Main Menu => Log Out, then click OK.
# RPG Development Workstations #Client: rpg Client: 192.168.##.### # Pathnames # [$ORPGDIR] Path: ORPGDIR # NEW B9 Path: HOME/save_logs # NEW B12x1.206 Path: HOME/security_logs
CODE B18.0r1.11 LINUX INSTALLATION INSTRUCTIONS
Created by: Brian Klein, Think Tank, Inc. Last modification: 04/10/2018
6
Testing the RPG & Installing CODE Software (1 of 2) Testing the RPG: Steps 1-9 Using the HCI & play_a2 Tools Option 1 – Install CODE software: Steps 10-14
• Sample Algorithms
• Dual Pol Test Products 340-344 600-605 700-705
1. From the RedHat Welcome Screen, enter your Username and Password to login using your new < user18_0r1_11 > account and password.
2. Open a terminal for testing the RPG. If errors, check the file: code_b18_0r1_11/pdf_doc/v1_setup_code_b18_0r1_11.pdf. Type: mrpg -p -v startup Note: User should ignore below error message about syslog.lb. At the RPG startup with option –p, syslog.lb is deleted first thus cannot be opened. It will be re-created by the RPG. 18:40:10 mrpg: ORPGDA: RSS_orpgda_lb_open $(ORPGDIR)/mngrpg/syslog.lb failed (ret = -43) 18:40:10 mrpg: ORPGDA_write ORPGDAT_SYSLOG failed (ret -43)
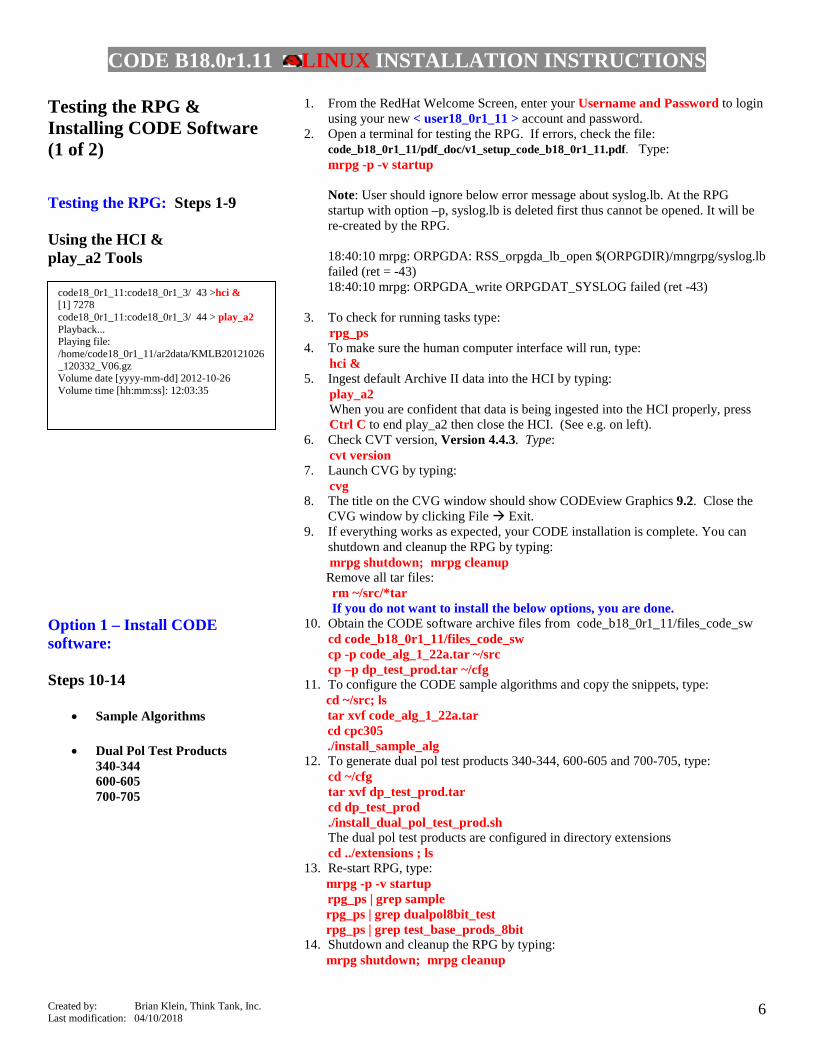
3. To check for running tasks type: rpg_ps 4. To make sure the human computer interface will run, type: hci & 5. Ingest default Archive II data into the HCI by typing: play_a2 When you are confident that data is being ingested into the HCI properly, press Ctrl C to end play_a2 then close the HCI. (See e.g. on left). 6. Check CVT version, Version 4.4.3. Type: cvt version 7. Launch CVG by typing: cvg 8. The title on the CVG window should show CODEview Graphics 9.2. Close the
CVG window by clicking File Exit. 9. If everything works as expected, your CODE installation is complete. You can
shutdown and cleanup the RPG by typing: mrpg shutdown; mrpg cleanup
Remove all tar files: rm ~/src/*tar If you do not want to install the below options, you are done. 10. Obtain the CODE software archive files from code_b18_0r1_11/files_code_sw
cd code_b18_0r1_11/files_code_sw cp -p code_alg_1_22a.tar ~/src cp –p dp_test_prod.tar ~/cfg
11. To configure the CODE sample algorithms and copy the snippets, type: cd ~/src; ls tar xvf code_alg_1_22a.tar cd cpc305 ./install_sample_alg 12. To generate dual pol test products 340-344, 600-605 and 700-705, type:
cd ~/cfg tar xvf dp_test_prod.tar cd dp_test_prod ./install_dual_pol_test_prod.sh The dual pol test products are configured in directory extensions cd ../extensions ; ls
13. Re-start RPG, type: mrpg -p -v startup rpg_ps | grep sample rpg_ps | grep dualpol8bit_test rpg_ps | grep test_base_prods_8bit 14. Shutdown and cleanup the RPG by typing: mrpg shutdown; mrpg cleanup
code18_0r1_11:code18_0r1_3/ 43 >hci & [1] 7278 code18_0r1_11:code18_0r1_3/ 44 > play_a2 Playback... Playing file: /home/code18_0r1_11/ar2data/KMLB20121026_120332_V06.gz Volume date [yyyy-mm-dd] 2012-10-26 Volume time [hh:mm:ss]: 12:03:35
CODE B18.0r1.11 LINUX INSTALLATION INSTRUCTIONS
Created by: Brian Klein, Think Tank, Inc. Last modification: 04/10/2018
7
Testing the RPG & Installing CODE Software (2 of 2) Option 3 – Install level II data: Steps 15-23 Modifying the .cshrc File
15. A suggested location to install all of the desired CODE Archive II data sets is
/opt/code/data/ar2data. Your local procedures might establish a different location. Check for the ar2data directory by typing:
cd /opt/code/data/ar2data su (login as root with root password) If the directory has been created already, go to next step. (This directory might be different on your machine). If the directory has not been created, create the directories. Type: cd /opt; mkdir code cd code; mkdir data cd data; mkdir ar2data cd ar2data; 16. To install archive II data sets, obtain the CODE B18.0r1.11 CD, copy the desired
data sets in ar2data directory to /opt/code/data/ar2data. exit (to logout as root)
17. Check the .cshrc file to see if AR2_DIR has been set already. Type: more ~/.cshrc | grep AR2_DIR If the $AR2_DIR has not been set to /opt/…. directory, open .cshrc from your $HOME directory with the editor of your choice. Modify the setenv AR2_DIR line to point to /opt/code/data/ar2data. (See e.g. on left). Save the file .cshrc and exit the editor that you used.
18. Create a backup of the file, by typing: cp .cshrc .cshrc.B18 19. For each console that is opened, type: source .cshrc 20. Start the ORPG for testing Archive II data. If errors, check the file:
code_b18_0r1_11/pdf_doc/v1_setup_code_b18_0r1_11.pdf. Type: mrpg -p -v startup
21. To start the human computer interface, type: hci & 22. Ingest default Archive II data into the HCI by typing: play_a2 -d f_load (If you downloaded another directory from the CD, replace f_load with the name of the downloaded directory). When you are confident that data is being ingested into the HCI properly, press Ctrl C to end play_a2 then close the HCI. 23. Shutdown and cleanup the RPG by typing: mrpg shutdown; mrpg cleanup 24. Installation is done.
The End
setenv AR2_DIR /opt/code/data/ar2data