Embed Size (px)
Citation preview
www.restek.com www.restek.com
3000Centrifuge
Centrifuge Operator / Service Manualcat.# 26230 & 26231
The Q-sep 3000 centrifuge complies with all requirements of UL standard 3101–20,Can/CSA C22.2 No. 1010.1, and Can/CSA C22.2 No. 1010.2.20.
2 www.restek.com
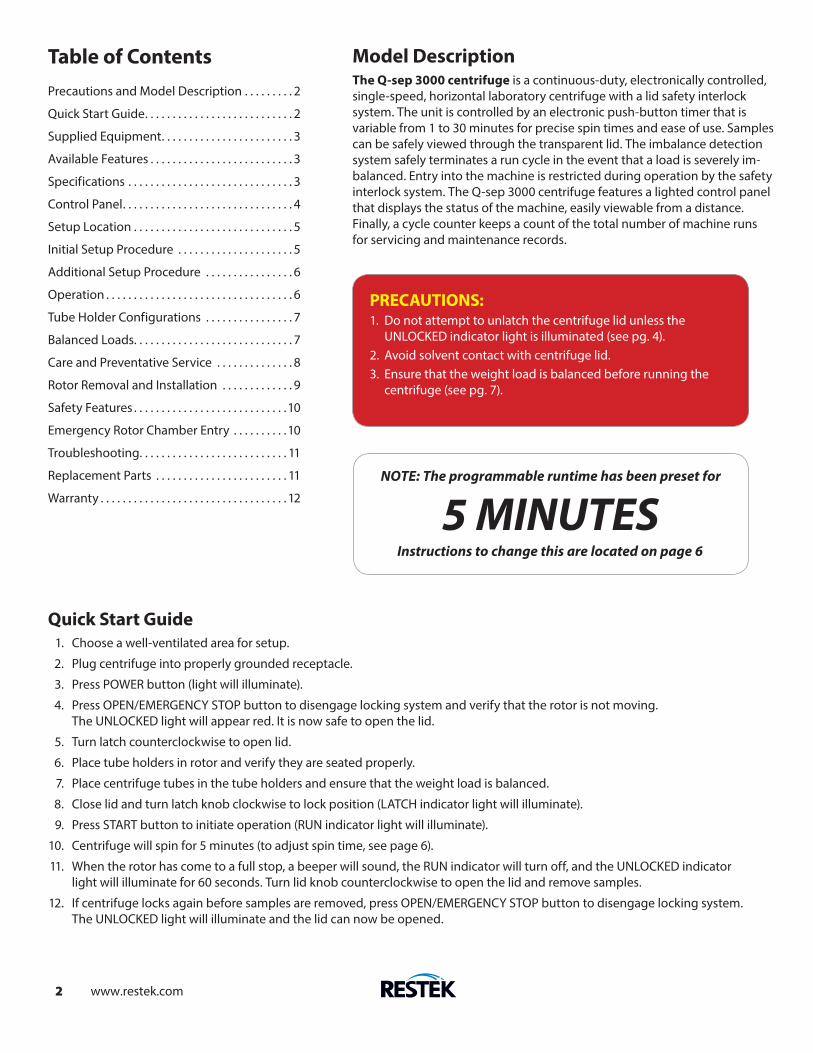
Table of ContentsPrecautions and Model Description . . . . . . . . . 2
Quick Start Guide. . . . . . . . . . . . . . . . . . . . . . . . . . . 2
Supplied Equipment. . . . . . . . . . . . . . . . . . . . . . . . 3
Available Features . . . . . . . . . . . . . . . . . . . . . . . . . . 3
Specifications . . . . . . . . . . . . . . . . . . . . . . . . . . . . . . 3
Control Panel. . . . . . . . . . . . . . . . . . . . . . . . . . . . . . . 4
Setup Location . . . . . . . . . . . . . . . . . . . . . . . . . . . . . 5
Initial Setup Procedure . . . . . . . . . . . . . . . . . . . . . 5
Additional Setup Procedure . . . . . . . . . . . . . . . . 6
Operation . . . . . . . . . . . . . . . . . . . . . . . . . . . . . . . . . . 6
Tube Holder Configurations . . . . . . . . . . . . . . . . 7
Balanced Loads. . . . . . . . . . . . . . . . . . . . . . . . . . . . . 7
Care and Preventative Service . . . . . . . . . . . . . . 8
Rotor Removal and Installation . . . . . . . . . . . . . 9
Safety Features . . . . . . . . . . . . . . . . . . . . . . . . . . . .10
Emergency Rotor Chamber Entry . . . . . . . . . .10
Troubleshooting. . . . . . . . . . . . . . . . . . . . . . . . . . . 11
Replacement Parts . . . . . . . . . . . . . . . . . . . . . . . . 11
Warranty . . . . . . . . . . . . . . . . . . . . . . . . . . . . . . . . . . 12
Model DescriptionThe Q-sep 3000 centrifuge is a continuous-duty, electronically controlled, single-speed, horizontal laboratory centrifuge with a lid safety interlock system. The unit is controlled by an electronic push-button timer that is variable from 1 to 30 minutes for precise spin times and ease of use. Samples can be safely viewed through the transparent lid. The imbalance detection system safely terminates a run cycle in the event that a load is severely im-balanced. Entry into the machine is restricted during operation by the safety interlock system. The Q-sep 3000 centrifuge features a lighted control panel that displays the status of the machine, easily viewable from a distance. Finally, a cycle counter keeps a count of the total number of machine runs for servicing and maintenance records.
Quick Start Guide 1. Choose a well-ventilated area for setup.
2. Plug centrifuge into properly grounded receptacle.
3. Press POWER button (light will illuminate).
4. Press OPEN/EMERGENCY STOP button to disengage locking system and verify that the rotor is not moving. The UNLOCKED light will appear red. It is now safe to open the lid.
5. Turn latch counterclockwise to open lid.
6. Place tube holders in rotor and verify they are seated properly.
7. Place centrifuge tubes in the tube holders and ensure that the weight load is balanced.
8. Close lid and turn latch knob clockwise to lock position (LATCH indicator light will illuminate).
9. Press START button to initiate operation (RUN indicator light will illuminate).
10. Centrifuge will spin for 5 minutes (to adjust spin time, see page 6).
11. When the rotor has come to a full stop, a beeper will sound, the RUN indicator will turn off, and the UNLOCKED indicator light will illuminate for 60 seconds. Turn lid knob counterclockwise to open the lid and remove samples.
12. If centrifuge locks again before samples are removed, press OPEN/EMERGENCY STOP button to disengage locking system. The UNLOCKED light will illuminate and the lid can now be opened.
PRECAUTIONS:1. Do not attempt to unlatch the centrifuge lid unless the UNLOCKED indicator light is illuminated (see pg. 4).2. Avoid solvent contact with centrifuge lid.3. Ensure that the weight load is balanced before running the centrifuge (see pg. 7).
NOTE: The programmable runtime has been preset for
5 MINUTESInstructions to change this are located on page 6

www.restek.com 3
Q-sep 3000 Supplied Equipment*The following items come standard with each Q-sep 3000 centrifuge:
1. One (1) six-place horizontal rotor 2. Six (6) 50 mL single-place tube holders 3. Six (6) 50 mL conical tube inserts 4. Six (6) 15 mL four-place tube holders 5. Twenty-four (24) 2 mL tube adapters 6. One (1) Operator’s Manual
Q-sep 3000 Features• Swing-out horizontal rotor design incorporating a unique test tube holder that produces horizontally separated samples while requiring no additional parts.
• Fixed speed of 4,130 rpm (3,000 xg).
• Cool-flow air design that prevents overheating of samples.
• Heavy gauge steel construction for safety and durability.
• Lid safety switch that prevents the centrifuge from operating unless the lid is closed and latched.
• Removable rotor for easy cleaning.
• Locking lid that allows entry into the centrifuge only after the rotor has completely stopped.
• Brushless DC motor; requires no routine maintenance, cool running.
• Clear lid for safe observation of samples and optical calibration of speed.
• Electronically controlled timed operation, variable from 1 to 30 minutes.
• Push-button operation.
• Indicator lights: RUN green -lights when power is applied to the motor LATCH yellow -lights when the lid is closed and latched UNLOCKED red -lights when the lock system is deactivated
• Cycle counter to monitor machine use.
• Audible indicator at the end of each run.
Q-sep 3000 SpecificationsMotor Speed and Force Rating: 4,130 rpm, 3,000 xgMaximum Capacity with 6-Place Horizontal Rotor: 6 x 50 mL tubes, 18 x 15 mL tubes, 24 x 2 mL tubesMotor: 1/2 HP brushless DCNominal Acceleration Time: 45 secondsNominal Braking Time: 60 secondsTimer (electronic): 1 to 30 minutes +/-1%Requirement: 2.0 or 1.0 ampsCurrent Voltage Requirement: 115 or 230 (+/-10%) voltsFrequency: 50 / 60 HzCentrifuge Protection Breaker: 4 amp resettableOverall Dimensions (H x W x D): 9 in (22.9 cm) x 14.5 in (36.8 cm) x 17 in (43.2 cm)Weight: 39 lbs (17.7 kg)
See page 11 for replacement part catalog numbers and ordering information.*The rotor and rotor accessories are rated for a rotation frequency of 4,130 rpm, (a force of 3000 xg with the 15 mL tube holders).
1. 2. 3.
4. 5. 6.

4 www.restek.com
Control Panel
POWER (on/off) Button: This button controls the power to the centrifuge. The power is on when the button is illuminated.
RUN Indicator: Lights up when the centrifuge is in operation (power is being applied to the motor).
LATCH Indicator: Lights up when the lid has been closed and latched properly.
UNLOCKED Indicator: Lights up to indicate that the locking mechanism has been deactivated, allowing access to the rotorchamber.
START Button: Begins a new run (the lid must be closed).
OPEN/EMERGENCY STOP Button: Allows access to the rotor chamber by disengaging the locking mechanism. Entry isonly permitted when the rotor is stopped. Pressing this button during operation will terminate the run and unlock the lidwhen the rotor has come to a stop.
Lid Safety Switch: The lid safety switch prevents the centrifuge from operating while the lid is open. If the knob is notturned completely clockwise to its stop position, the centrifuge cannot operate. Programming functions are accessed byfirst opening the lid safety switch.
Cycle Counter: This counter increments once for each run of the centrifuge. This count is used for both warranty purposesand routine maintenance.
Lid Safety Switch
RUNIndicator
LATCHIndicator
UNLOCKED Indicator
STARTButton
OPEN EMERG. STOP Button
CYCLECOUNTER
POWER (On/Off)

www.restek.com 5
Setup Location 1. Unpack the centrifuge and verify that all of the supplied equipment is present.
2. Choose a setup location that meets the following criteria: Be sure the outlet is always within easy reach as the power cord is the only means of emergency disconnection! a) A benchtop clearance height of 24" (60 cm) is required in order to open the lid. b) The clearance envelope is the space around the centrifuge that is required for safety. Choose a setup location that will allow for a clearance envelope of at least 30" (76 cm) x 30" (76 cm), with the centrifuge at the center. No person or hazardous material should be permitted in the clearance envelope during operation. The operator time within the envelope should be limited to the time necessary for loading, unloading, and centrifuge operation only. c) Proper ventilation is necessary to prevent the overheating of samples as well as premature failure of the centrifuge. Choose an area that will allow unencumbered airflow. d) No adjustment is necessary for leveling the centrifuge; however, the surface should be flat and level.
Initial Setup ProcedureIf any problems are found during the initial setup procedure, refer to the troubleshooting section on page 11. 1. Plug the power cord into the rear of the centrifuge. Plug the other end into an approved electrical outlet. For electrical safety, the unit must always be properly grounded.
2. Engage the power button on the front of the centrifuge (lower, left-hand side). The button will illuminate when it is activated.
3. For safety purposes, the locking system is always activated. To deactivate the system (in order to insert or retrieve samples) press the OPEN/EMERGENCY STOP button on the control panel. The UNLOCKED indicator light should illuminate. If it does not, refer to page 11 on troubleshooting. The lid will be unlocked for 15 seconds after pushing the OPEN/EMERGENCY STOP button.
4. Turn the latch counterclockwise and open the lid.
5. Spin the rotor by hand; check for free and level rotation. If the rotor does not spin freely, refer to pg. 11 on troubleshooting.
6. Check the thumbscrew in the middle of the rotor to make sure that it is tight.
7. Place the test tube holders inside the rotor and verify that they are seated properly.
8. Close the lid. Rotate the lid knob clockwise to its complete stop position. The LATCH indicator light should be illuminated. If it is not, make sure that the lid is latched properly. The centrifuge will not run unless the lid is latched and the LATCH light is on.
9. Turn the centrifuge on by pushing the START button.
10. The RUN indicator light will illuminate.
11. The unit will accelerate to its set speed.
12. Listen to the sound of the centrifuge. A smooth, whirring sound should be heard. If there are any loud or unusual sounds, stop the centrifuge by pushing the OPEN/EMERGENCY STOP button immediately and refer to page 11 on troubleshooting.
13. While the machine is running, gently try to turn the latch counterclockwise. Power may be cut to the motor, but you should not be able to fully turn the latch. If it is possible to turn the latch and open the lid while the unit is running, contact Restek Corporation or your local distributor. Close and latch the lid.
14. Push the OPEN/EMERGENCY STOP button. The RUN indicator light should go out and the motor should slow to a stop.
15. The lid should remain locked until the rotor has stopped. If the machine unlocks prematurely, contact Restek Corporation or your local distributor. Once the rotor has stopped, a beeper will sound and the interlock system will become disengaged for sixty (60) seconds. The UNLOCKED indicator light will be illuminated during this time.
16. To gain entry into the centrifuge after this period has ended, simply press the OPEN/EMERGENCY STOP button. The lid will unlock for fifteen (15) additional seconds. Repeat if necessary.
After the centrifuge has passed this procedure, it is ready for operation.If you would like to make adjustments to your machine’s settings, please continue on to "Additional Setup Procedures".
6 www.restek.com
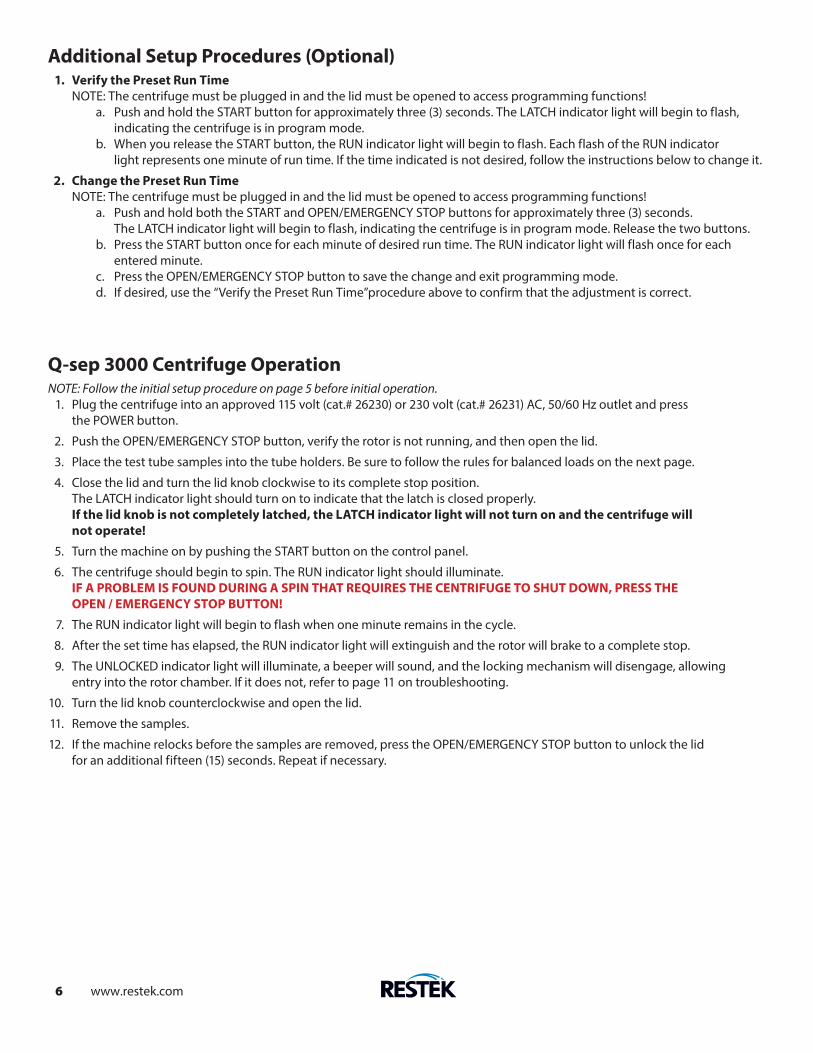
Additional Setup Procedures (Optional) 1. Verify the Preset Run Time NOTE: The centrifuge must be plugged in and the lid must be opened to access programming functions! a. Push and hold the START button for approximately three (3) seconds. The LATCH indicator light will begin to flash, indicating the centrifuge is in program mode. b. When you release the START button, the RUN indicator light will begin to flash. Each flash of the RUN indicator light represents one minute of run time. If the time indicated is not desired, follow the instructions below to change it.
2. Change the Preset Run Time NOTE: The centrifuge must be plugged in and the lid must be opened to access programming functions! a. Push and hold both the START and OPEN/EMERGENCY STOP buttons for approximately three (3) seconds. The LATCH indicator light will begin to flash, indicating the centrifuge is in program mode. Release the two buttons. b. Press the START button once for each minute of desired run time. The RUN indicator light will flash once for each entered minute. c. Press the OPEN/EMERGENCY STOP button to save the change and exit programming mode. d. If desired, use the “Verify the Preset Run Time”procedure above to confirm that the adjustment is correct.
Q-sep 3000 Centrifuge OperationNOTE: Follow the initial setup procedure on page 5 before initial operation. 1. Plug the centrifuge into an approved 115 volt (cat.# 26230) or 230 volt (cat.# 26231) AC, 50/60 Hz outlet and press the POWER button.
2. Push the OPEN/EMERGENCY STOP button, verify the rotor is not running, and then open the lid.
3. Place the test tube samples into the tube holders. Be sure to follow the rules for balanced loads on the next page.
4. Close the lid and turn the lid knob clockwise to its complete stop position. The LATCH indicator light should turn on to indicate that the latch is closed properly. If the lid knob is not completely latched, the LATCH indicator light will not turn on and the centrifuge will not operate!
5. Turn the machine on by pushing the START button on the control panel.
6. The centrifuge should begin to spin. The RUN indicator light should illuminate. IF A PROBLEM IS FOUND DURING A SPIN THAT REQUIRES THE CENTRIFUGE TO SHUT DOWN, PRESS THE OPEN / EMERGENCY STOP BUTTON!
7. The RUN indicator light will begin to flash when one minute remains in the cycle.
8. After the set time has elapsed, the RUN indicator light will extinguish and the rotor will brake to a complete stop.
9. The UNLOCKED indicator light will illuminate, a beeper will sound, and the locking mechanism will disengage, allowing entry into the rotor chamber. If it does not, refer to page 11 on troubleshooting.
10. Turn the lid knob counterclockwise and open the lid.
11. Remove the samples.
12. If the machine relocks before the samples are removed, press the OPEN/EMERGENCY STOP button to unlock the lid for an additional fifteen (15) seconds. Repeat if necessary.

www.restek.com 7
Tube Holder Configuration for Q-sep 3000 CentrifugeThe Q-sep 3000 centrifuge has been designed to work with 50, 15, and 2 mL centrifuge tubes using the appropriate accessories.The purple tube holders are designed to hold 50 mL round or conical bottom centrifuge tubes. Up to 6, 50 mL tubes can be pro-cessed at the same time. When using 50 mL conical bottom centrifuge tubes, place conical tube inserts into the bottom of the 50 mL tube holder to prevent damage to the centrifuge tubes. The red tube holders and four-position inserts are designed to hold 15 mL round or conical bottom centrifuge tubes. Up to eighteen, 15 mL tubes can be processed at the same time. When processing 15 mL tubes, one of the inner positions in the tube holder must be left empty to prevent the tubes from contacting each other when the holder moves into the horizontal position. Note that either the left or right position may be left empty, but this must be consistent across all holders to maintain a balanced load. Purple inserts can be used to adapt the red tube holder for use with 2 mL round or conical bottom centrifuge tubes. Up to twenty-four, 2 mL tubes can be processed at the same time using these inserts. Different sizes of tubes can be processed simultaneously, as long as the balance is properly maintained (see Balanced Loads below).
Balanced LoadsYour centrifuge must contain a balanced load in order to work properly. To ensure that the load is balanced, keep these rulesin mind when inserting test tube samples: 1. Opposing tube holders must be identical.
2. Opposing tube holders must be empty or loaded with an equal number of equally weighted samples.
3. If an odd number of samples is to be spun, use a water-filled tube to balance the unpaired one. NOTE: The Q-sep 3000 centrifuge is designed to detect serious, out-of-balance situations and will safely terminate an unbalanced run by cutting the power to the motor. If this occurs, wait for the rotor to stop spinning before unlocking. Balance the load before restarting the centrifuge motor.
4. When loading tubes into opposing holders, the holders will be balanced when the tubes are loaded diagonally from one another. See the illustration below.
Note: When loading 15 mL tubes, the maximum capacity is three (3) tubes per holder. Keep a lower position empty to preventtubes from contacting each other when the holder moves to the horizontal position. See diagram to properly balance holderswith empty positions.
For 15 mL tubes, leave one inner position empty.
Tube Loading Configurations
Tube Size (mL)
21550
Holder Color
red (use tube adapters)red
purple
Max Number of Tubes per Load
24186

8 www.restek.com
Care and Preventative ServiceWith proper care and maintenance, your Q-sep 3000 centrifuge will provide years of laboratory service. For proper care,the following steps should be taken:
1. Provide Adequate Ventilation: For cooling purposes, the Q-sep 3000 centrifuge draws in ambient air through the rear of the lid and exhausts this air out the rear of the base. Do not block the rear of the centrifuge as this will not allow the machine to properly ventilate itself.
2. Always Spin Balanced Loads: Make certain that opposing tube holders are filled with an equal volume sample or an equivalent-weight, water-filled tube. The Q-sep 3000 centrifuge has a cushioned motor mounting design that, along with its rubber feet, produces excellent vibration dampening. However, out-of-balance loads may break glass test tubes or produce unsatisfactory separation results. Proper load balancing will improve sample separation and extend the life of the centrifuge. Refer to page 7 for additional information on balancing the load.
3. Keep the Tube Holders Clean: NOTE: Always follow the safety guidelines of your laboratory to properly clean up and/or dispose of materials if a potentially toxic substance is spilled in or on the centrifuge. If a spill occurs in the centrifuge or tube holder, thoroughly clean the rotor and both the inside and outside of the tube holder or replace the tube holder if necessary. Replacement parts can be found on page 11.
4. Motor and Electrical Maintenance: The Q-sep 3000 centrifuge uses a brushless DC motor with high-quality electrical components. It should not need service for the life of the centrifuge.
5. Keep the Rotor Chamber Clean: Every six months, or whenever a tube breaks, (refer to the note in #3), it may be necessary to remove the rotor and clean the rotor chamber. Follow the instructions on page 9 to remove and reinstall the rotor.
CAUTION: • Once the lid has been opened, unplug the power cord from the electrical outlet to eliminate the risk of electric shock during cleaning.
• The rotor chamber, rotor, and accessories should be thoroughly cleaned using either methanol and/or soap and water.
• The use of halogenated solvents, ketones, esters, or other solvents not prescribed by the manufacturer may cause damage to the rotor and tube holders and should not be used.
• Apply cleaning solutions with a towel or cloth. Do not submerge the centrifuge in water or other cleaning solutions as this will cause damage and void the warranty!
6. Rotor and Tube Holders: It is recommended that the tube holders be replaced after 24 months of use or 25,000 cycles, whichever comes first. Periodically check the thumbscrew in the center of the rotor to ensure that it remains tight.

www.restek.com 9
Rotor Removal and InstallationTo remove the rotor: 1. Unlock the centrifuge by pushing the OPEN/EMERGENCY STOP button, then unlatch and open the lid. CAUTION: Unplug the centrifuge from the electrical outlet at this time to eliminate the possibility of electrical shock or other injury.
2. Remove the test tube holders.
3. Remove the thumbscrew in the center of the rotor.
4. Pull up on the rotor until it is clear of the motor shaft.
5. Remove the rotor from the rotor chamber.
To install the rotor: 1. Place the rotor straight down onto the motor shaft, taking care to line up the slot in the bottom of the rotor with the pin in the motor shaft (see picture). The rotor should slide onto the shaft freely and the rotor should be level. Be sure that the slot in the underside of the rotor lines up with the pin going through the motor shaft or the centrifuge may be damaged!
2. Once a proper fit has been achieved, replace the thumbscrew and tighten. The thumbscrew must be properly tightened or the rotor may be damaged.
3. Replace the tube holders and verify that they are seated properly.
4. It is recommended that the initial setup procedures on page 5 be performed to ensure that the rotor has been installed correctly and that no damage has been done to the centrifuge during the rotor installation or chamber cleaning.
The slot in the bottom of the rotor must be alignedwith the pin in the motor shaft!

10 www.restek.com
Safety FeaturesLid Safety Switch: The Q-sep 3000 centrifuge lid is secured to the top of the cabinet by a latching knob and pawl system.When the knob is rotated clockwise, the pawl grips the underside of the cabinet opening and prevents the lid from opening.A mechanical stop positions the pawl and prevents it from rotating completely. When rotated to the stop position, thepawl makes contact with a microswitch mounted underneath the cabinet top. The lid safety switch prevents the centrifugefrom operating while the lid is open. An indicator light on the front of the machine will illuminate when the lid hasbeen latched properly.
Lid Safety Interlock System: In addition to the Lid Safety Switch, the Q-sep 3000 centrifuge has a true “0 rpm” lid-lockingsystem. The lid safety interlock system keeps the lid locked at all times (even during power failure) and requires that therotor be at rest in order to unlock the lid. The centrifuge will not allow entry into the rotor chamber unless the centrifugehas power and the rotor is stopped. To open the lid, make sure that the centrifuge is plugged in and, with the rotor stopped,press the OPEN/EMERGENCY STOP button.
Note: After the centrifuge has started spinning, it may be possible to rotate the lid knob enough to cause the pawl to lose contactwith the lid safety switch. If this happens, the centrifuge motor may lose power, but the lid will still remain locked. If the knobis accidentally moved and this situation should occur, rotate the knob fully clockwise to its stop position and the centrifuge willresume operation after a few seconds.
Circuit Breaker: The Q-sep 3000 centrifuge is protected with a 4 amp circuit breaker located at the rear of the machineand mounted to the base. Any electrical short circuit will cause the breaker to cut power to the machine.
Imbalance Detection System: In the event that an imbalanced load is spun in this centrifuge, the run will be aborted. Acontinuous, two-count flash of the RUN and LATCH indicator lights signals that an imbalance was detected. Once the centrifugehas safely come to a complete stop and is unlocked, press the OPEN button or open the lid to reset the fault. Correctthe imbalance before proceeding.
Emergency Rotor Chamber EntryIn the event of power failure, it may be impossible to unlock the lid by conventional means. In this case, entry into the rotorchamber may be made by removing the latch label and using a pen to manually disengage the locking mechanism (see photo). Pull the mechanism towards the control panel, then unlatch and open the lid. If the unit is damaged, contact RestekCorporation or your distributor.

www.restek.com 11
Replacement Parts for Q-sep 3000 CentrifugePart No. Description26232 50 mL single-place tube holder (2-pk.)26233 15 mL four-place tube holder (2-pk.)26234 2 mL tube adapters (4-pk.)26249 50 mL conical tube inserts (6-pk.)
Troubleshooting
26232 26234 2624926233
The rotor does not spin freely.
• Make sure nothing has fallen into the rotor chamber.• If nothing is obstructing the rotor, contact Restek Corporation or your distributor for further assistance.
Excessive noise when the machine is running.
• Check to see that the load is balanced.• Make sure that nothing has fallen into the rotor chamber.• Make sure that the rotor is installed correctly and that the center thumbscrew is tight.
The latch light does not come on when the lid is closed.
• Make sure that the unit has power.• Make sure the lid latch is turned completely clockwise to its stop position. The latch makes contact with a switch underneath the front top of the cabinet. If this switch is not activated, the light will not turn on and the machine will not run.
The machine does not unlock after a run has completed.
The lid should remain locked until the rotor has come to a complete stop and then unlock for 60 seconds. Ifadditional unlock time is needed, press the “OPEN/EMERGENCY STOP” button with the machine plugged inand the rotor stopped. If the lid remains locked after this and will not unlock, the electronics may have beendamaged. Contact Restek Corporation, or your authorized distributor. To access the rotor chamber, follow theprocedure on page 10, “Emergency Rotor Chamber Entry.”
The run time is not set to the desired length.
Check the preset run time by following the instructions on page 6. If the preset run time is not the desiredlength, follow the instructions on page 6 to change it.
The centrifuge does not run.
• The Q-sep 3000 centrifuge is equipped with severe out-of-balance detection. If a severely unbalanced load is run, the unit may terminate the run shortly after it begins. Balance the load and restart.• Check the electrical outlet.• Make sure that the power button is depressed. The centrifuge has power when this button is illuminated.• Make sure the lid latch is turned completely clockwise to its stop position. When the lid is closed properly, the latch light on the control panel will illuminate.• Check the circuit breaker switch at the bottom right of the machine. If the switch is white, the breaker has tripped. Contact Restek Corporation or your authorized distributor for assistance.• The printed circuit board may be damaged. Contact Restek Corporation or your distributor for assistance.
1. Problem:
Solutions:
2. Problem:
Solutions:
3. Problem:
Solutions:
6. Problem:
Solutions:
4. Problem:
Solutions:
5. Problem:
Solutions:

Questions about this or any other Restek product? Contact us or your local Restek representative (www.restek.com/contact-us).Restek patents and trademarks are the property of Restek Corporation. (See www.restek.com/Patents-Trademarks for full list.) Other trademarks in Restek literature or on its website are the property of their respective owners. Restek registered trademarks are registered in the U.S. and may also be registered in other countries.
© 2017 Restek Corporation. All rights reserved. Printed in the U.S.A.
www.restek.com
Lit. Cat.# GNOT1203B-UNV
WARRANTYRestek Corporation guarantees that this centrifuge is free from defects in
materials and workmanship for 5,000 cycles or 12 months, whichevercomes first. Should the centrifuge require warranty or out-of-warranty
service, please contact Restek Corporation or your local distributor.
3000Centrifuge
Centrifuge Operator / Service Manualcat.# 26230 & 26231