Embed Size (px)
Citation preview
cellophane faerie wings
By: RioDancerCO
http://www.burdastyle.com/projects/cellophane-faerie-wings
Wire veined, cellophane faerie wings
Materials
14g wire, floral tape, FabriTac glue, cellophane
Step 1 — Designing Your Wings
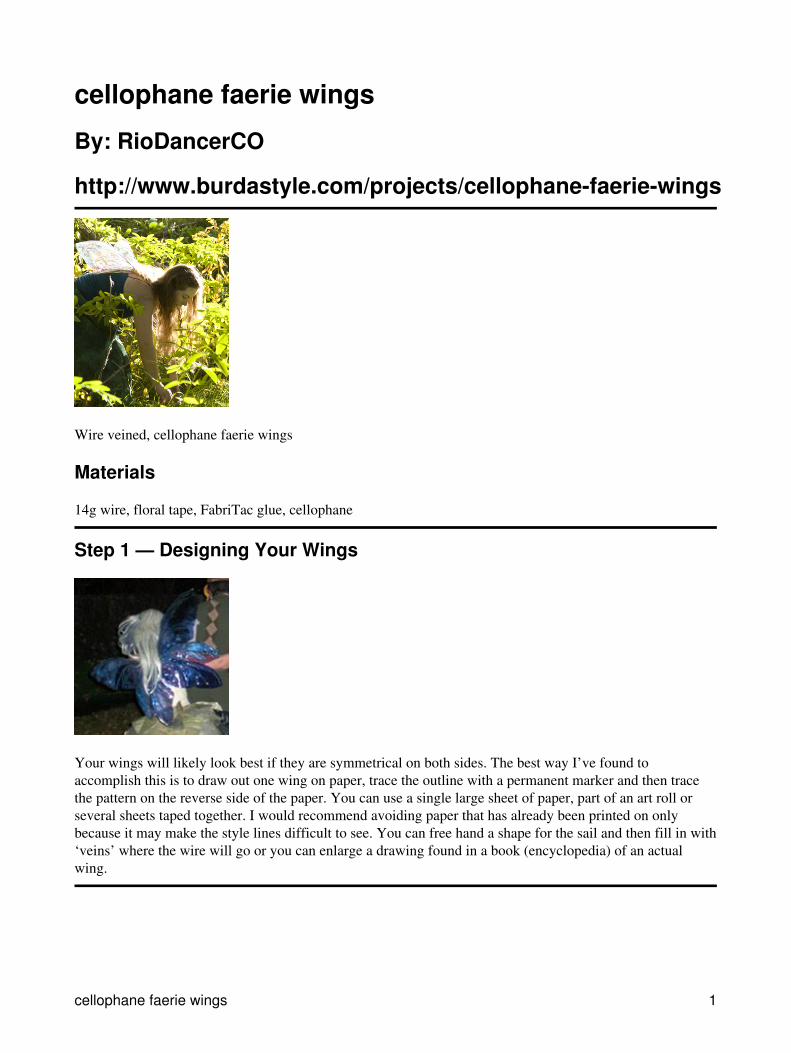
Your wings will likely look best if they are symmetrical on both sides. The best way I’ve found toaccomplish this is to draw out one wing on paper, trace the outline with a permanent marker and then tracethe pattern on the reverse side of the paper. You can use a single large sheet of paper, part of an art roll orseveral sheets taped together. I would recommend avoiding paper that has already been printed on onlybecause it may make the style lines difficult to see. You can free hand a shape for the sail and then fill in with‘veins’ where the wire will go or you can enlarge a drawing found in a book (encyclopedia) of an actualwing.
cellophane faerie wings 1

Step 2 — Forming the Wire Frame
The toughest part of all of this (in my opinion) is forming the wire. These instructions are for open framewings which means that the wing frames have wires extending out like spokes to support the sail. There is asecond type of frame called a closed frame where wire is formed in an outline. This style of frame is mostlyused for nylon mesh wings.
I choose to use 14 gauge stainless steel wire that I find at an ACE hardware store in a bundle of 100 feet. Ifyour wings are smaller and/or you use more ‘spokes’ in your frame, you may be able to use a lighter gauge ofwire. For those who don’t regularly work with wire, the smaller the gauge number, the larger the wirediameter. Beware of what type of wire you’re getting. Copper is soft and so is aluminum. I’ve not workedwith them but I’d guess they’d support less weight than stainless steel when used in the same gauge.
The strongest sections of your frame should be the upper edge and the center back brace. Build your frameup in layers. Lay out your paper wing pattern with lines marked in for wire shape/placement. You may wantto tape this to the floor or table top so it doesn’t slide around while you’re working with the wire over top.Wire lines should extend from one wing tip, swirl through the center making a long narrow loop with sometwists and then out to the other wing tip in one solid piece of wire. Think of it like an M shape with a loop inthe center instead of a sharp V. You want it to be about 3" at the widest and taper at the bottom portion of theloop. Each main section of ‘vein’ should have a center brace loop.
Step 3 — Wrapping Wire Frame
Step 2 — Forming the Wire Frame 2
To hold the multiple wire pieces together, promote better glue adhesion later and limit rusting, it is veryhelpful to coat the wires with floral tape. I tear off strips that are about 10" long so that they’re easier to workwith. Keep some tension on the tape as you wrap so that it sticks to itself as strongly as possible. You willcover the wires completely and use some of the floral tape to join the different pieces anywhere the framestouch. This will give you a strong bond between the separate parts of the frame and really reinforce the centerback brace. When you reach the end of a wire, wrap the tape until it extends past the end by the width of thetape, then fold it over down the length of the wire and wrap over it. This gives you a double thickness overthe potentially sharp end of wire.
Step 4 — Gluing Cellophane Sails
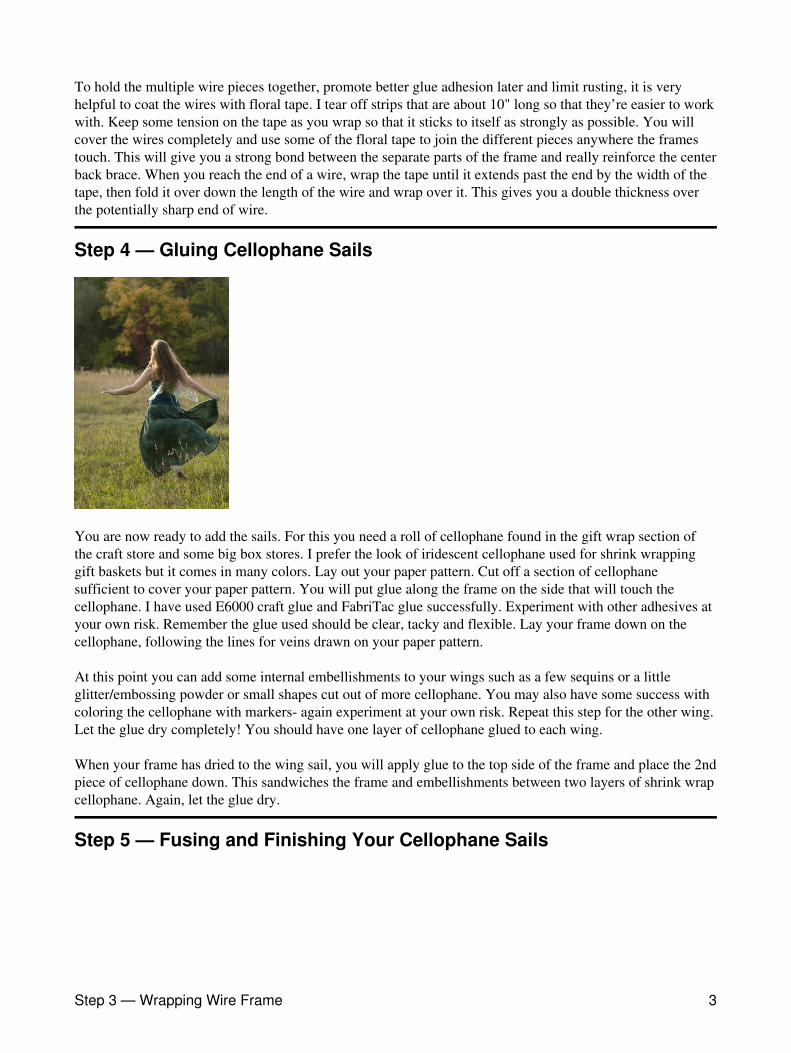
You are now ready to add the sails. For this you need a roll of cellophane found in the gift wrap section ofthe craft store and some big box stores. I prefer the look of iridescent cellophane used for shrink wrappinggift baskets but it comes in many colors. Lay out your paper pattern. Cut off a section of cellophanesufficient to cover your paper pattern. You will put glue along the frame on the side that will touch thecellophane. I have used E6000 craft glue and FabriTac glue successfully. Experiment with other adhesives atyour own risk. Remember the glue used should be clear, tacky and flexible. Lay your frame down on thecellophane, following the lines for veins drawn on your paper pattern.
At this point you can add some internal embellishments to your wings such as a few sequins or a littleglitter/embossing powder or small shapes cut out of more cellophane. You may also have some success withcoloring the cellophane with markers- again experiment at your own risk. Repeat this step for the other wing.Let the glue dry completely! You should have one layer of cellophane glued to each wing.
When your frame has dried to the wing sail, you will apply glue to the top side of the frame and place the 2ndpiece of cellophane down. This sandwiches the frame and embellishments between two layers of shrink wrapcellophane. Again, let the glue dry.
Step 5 — Fusing and Finishing Your Cellophane Sails
Step 3 — Wrapping Wire Frame 3
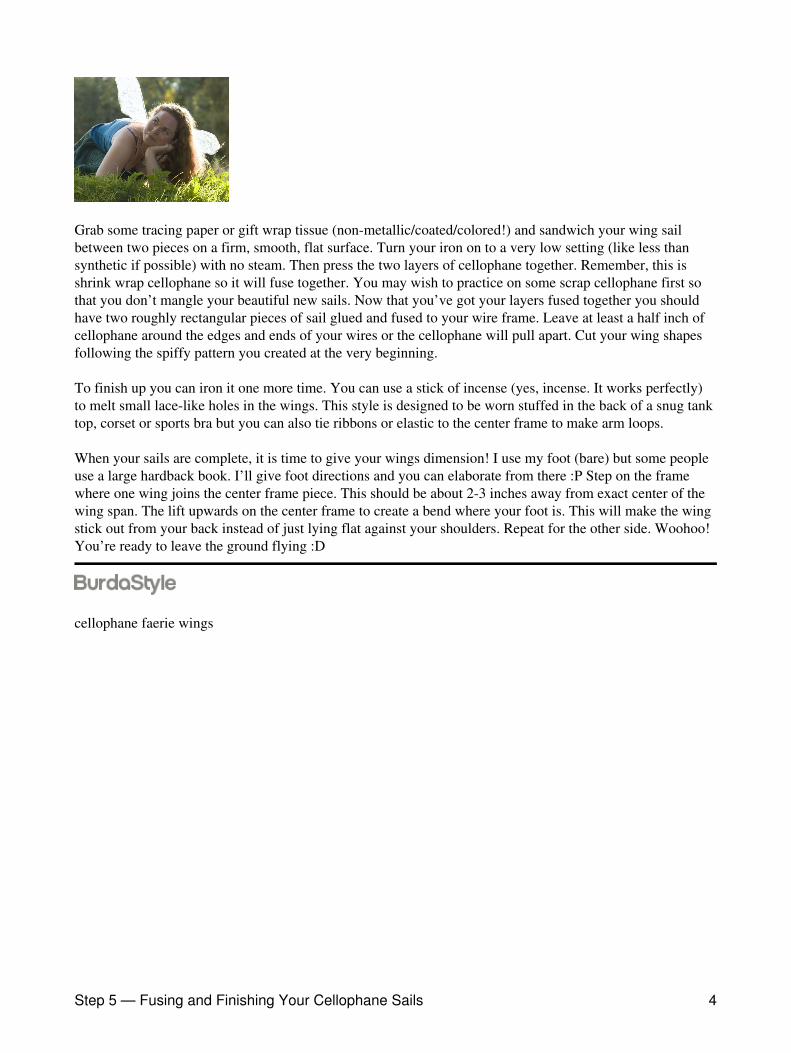
Grab some tracing paper or gift wrap tissue (non-metallic/coated/colored!) and sandwich your wing sailbetween two pieces on a firm, smooth, flat surface. Turn your iron on to a very low setting (like less thansynthetic if possible) with no steam. Then press the two layers of cellophane together. Remember, this isshrink wrap cellophane so it will fuse together. You may wish to practice on some scrap cellophane first sothat you don’t mangle your beautiful new sails. Now that you’ve got your layers fused together you shouldhave two roughly rectangular pieces of sail glued and fused to your wire frame. Leave at least a half inch ofcellophane around the edges and ends of your wires or the cellophane will pull apart. Cut your wing shapesfollowing the spiffy pattern you created at the very beginning.
To finish up you can iron it one more time. You can use a stick of incense (yes, incense. It works perfectly)to melt small lace-like holes in the wings. This style is designed to be worn stuffed in the back of a snug tanktop, corset or sports bra but you can also tie ribbons or elastic to the center frame to make arm loops.
When your sails are complete, it is time to give your wings dimension! I use my foot (bare) but some peopleuse a large hardback book. I’ll give foot directions and you can elaborate from there :P Step on the framewhere one wing joins the center frame piece. This should be about 2-3 inches away from exact center of thewing span. The lift upwards on the center frame to create a bend where your foot is. This will make the wingstick out from your back instead of just lying flat against your shoulders. Repeat for the other side. Woohoo!You’re ready to leave the ground flying :D
cellophane faerie wings
Step 5 — Fusing and Finishing Your Cellophane Sails 4