Embed Size (px)
Citation preview


Carefully study the grid image on the left for about a minute.
Try to commit its visual appearance to memory.
Now, reproduce what you saw in the grid provided.

Did you place all the right objects in the right places?
How about more specific details:
Is the tree in 4 separate sections?
Is the pig facing right?
Did you draw strings on the guitar when there aren’t any?
Did you draw a cord on the phone?
What way does the umbrella handle face?
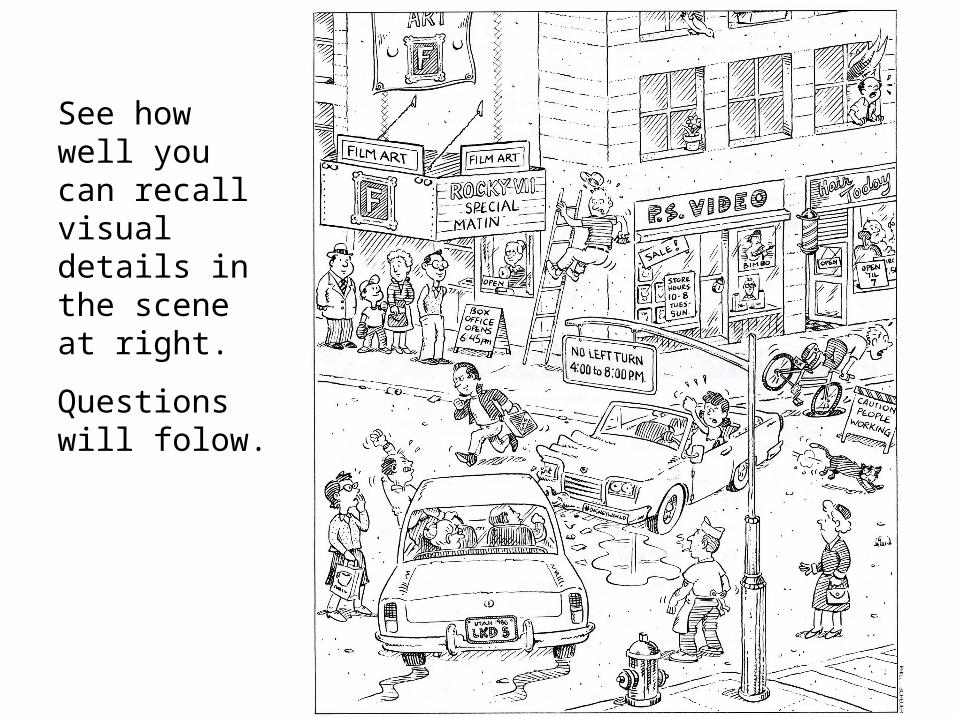
See how well you can recall visual details in the scene at right.
Questions will folow.
Some different approaches to drawing and different kinds of drawing can help you focus on the important visual characteristics of
what you are seeing.

CONTOUR DRAWING
Draw only the outline of your subject (like a silhouette) carefully investigating the outside edge to see where it takes you. Make sure your hand is perfectly coordinated with you eye. Draw at a snail’s pace so as not to miss any detail, change in direction or angle…
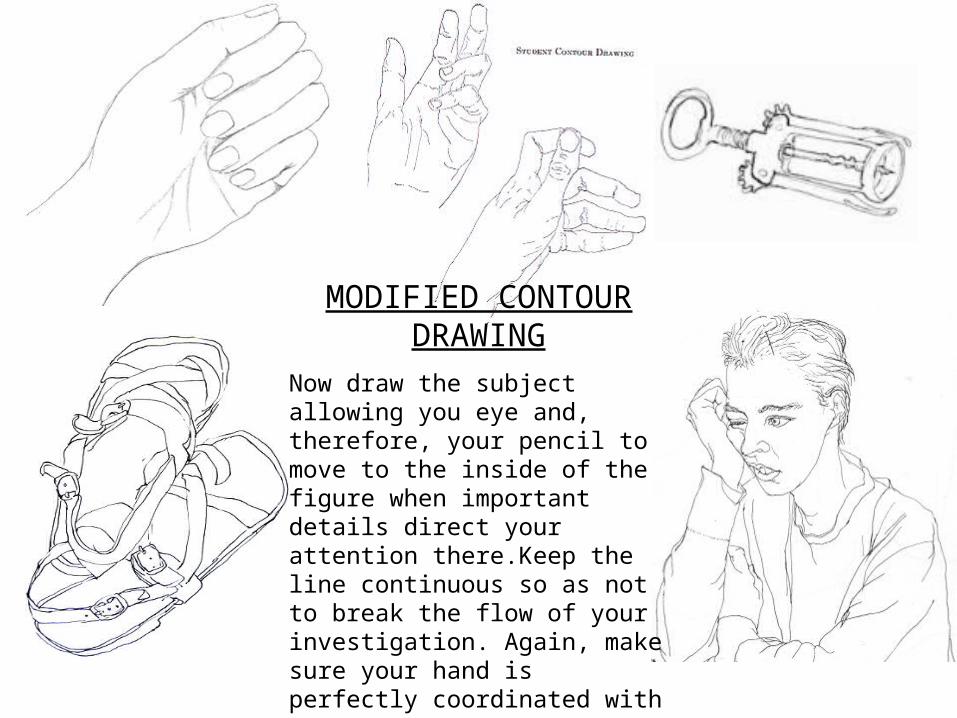
MODIFIED CONTOUR DRAWING
Now draw the subject allowing you eye and, therefore, your pencil to move to the inside of the figure when important details direct your attention there.Keep the line continuous so as not to break the flow of your investigation. Again, make sure your hand is perfectly coordinated with you eye and draw at a snail’s pace so as not to miss any detail, change in direction or angle…
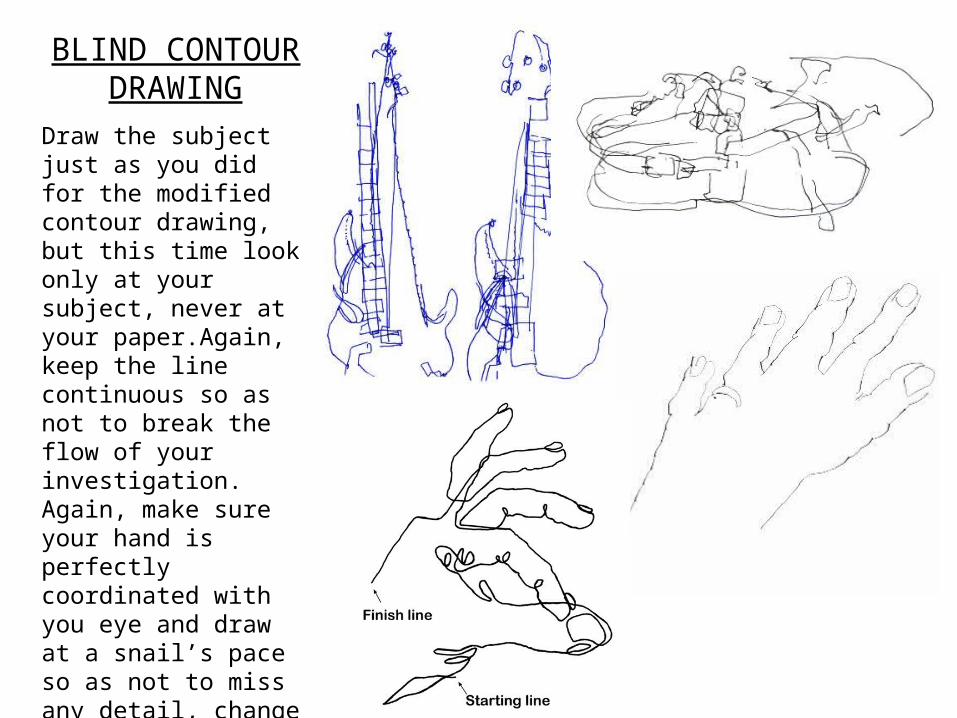
BLIND CONTOUR DRAWING
Draw the subject just as you did for the modified contour drawing, but this time look only at your subject, never at your paper.Again, keep the line continuous so as not to break the flow of your investigation. Again, make sure your hand is perfectly coordinated with you eye and draw at a snail’s pace so as not to miss any detail, change in direction or angle…You will mess up on proportions but your hand-eye coordination will gradually improve with this exercise

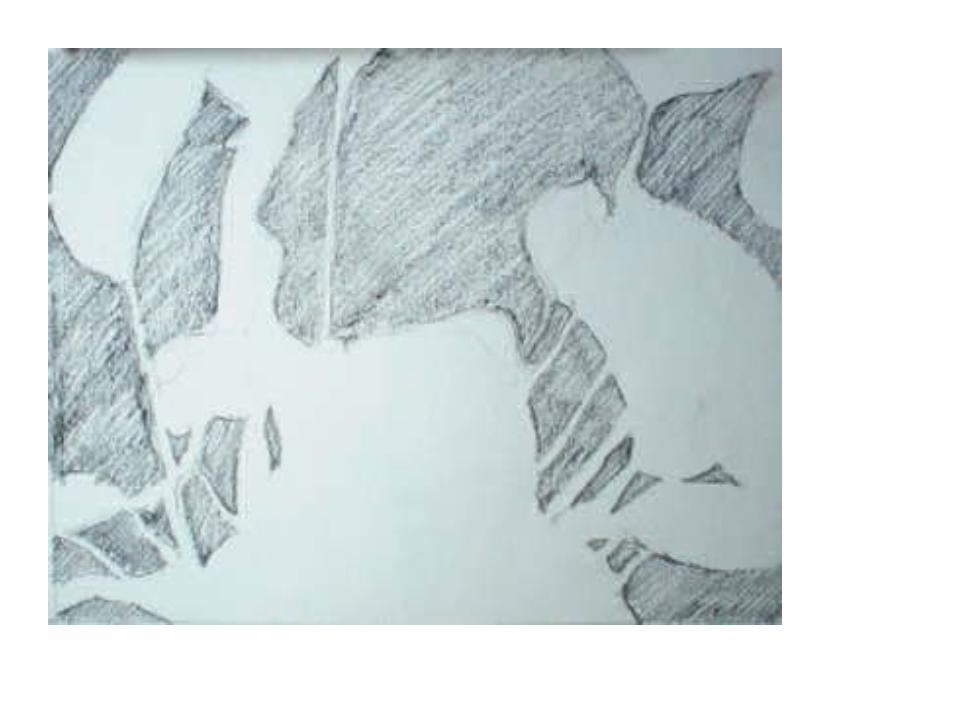
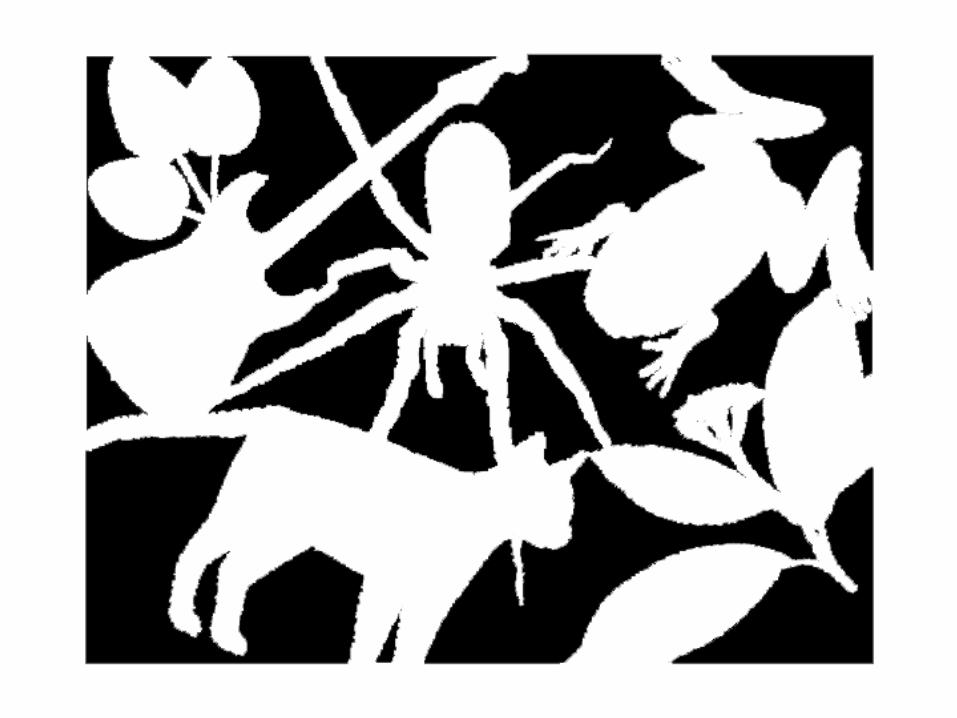
DRAW THE NEGATIVE SPACE
That is, look at the 'empty' shapes adjacent to the shape you are trying to draw. The shape between the nose and lip, or the space between the limbs of the tree. Practice doing some Negative Space drawing exercises so that you become used to observing Negative Space and can use it when working on a more important piece. Though it seems difficult at first, after a while, it becomes second nature.

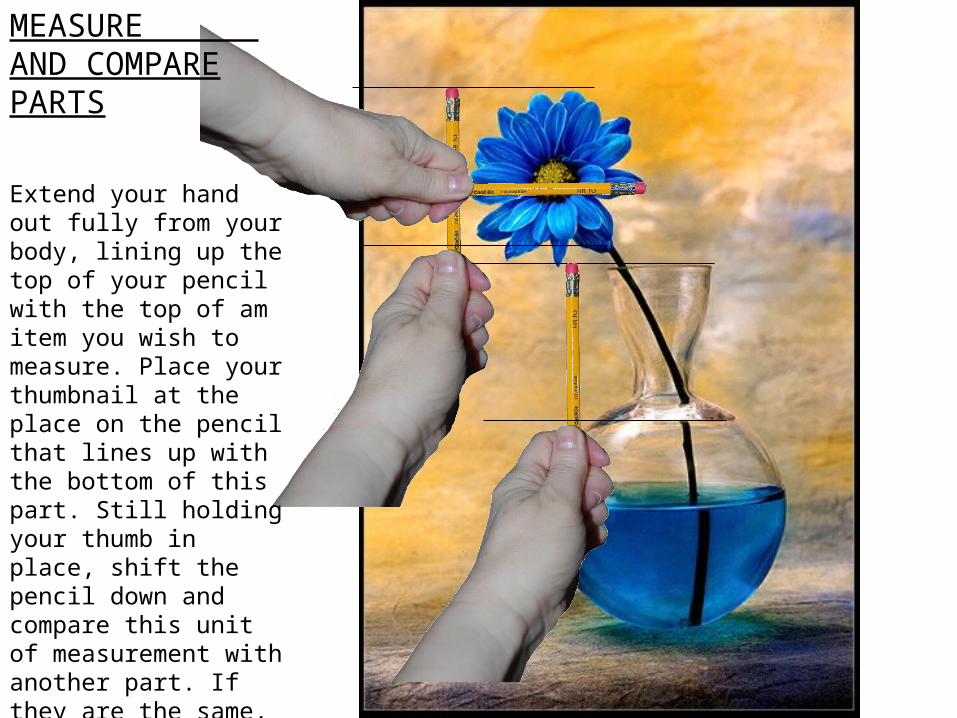
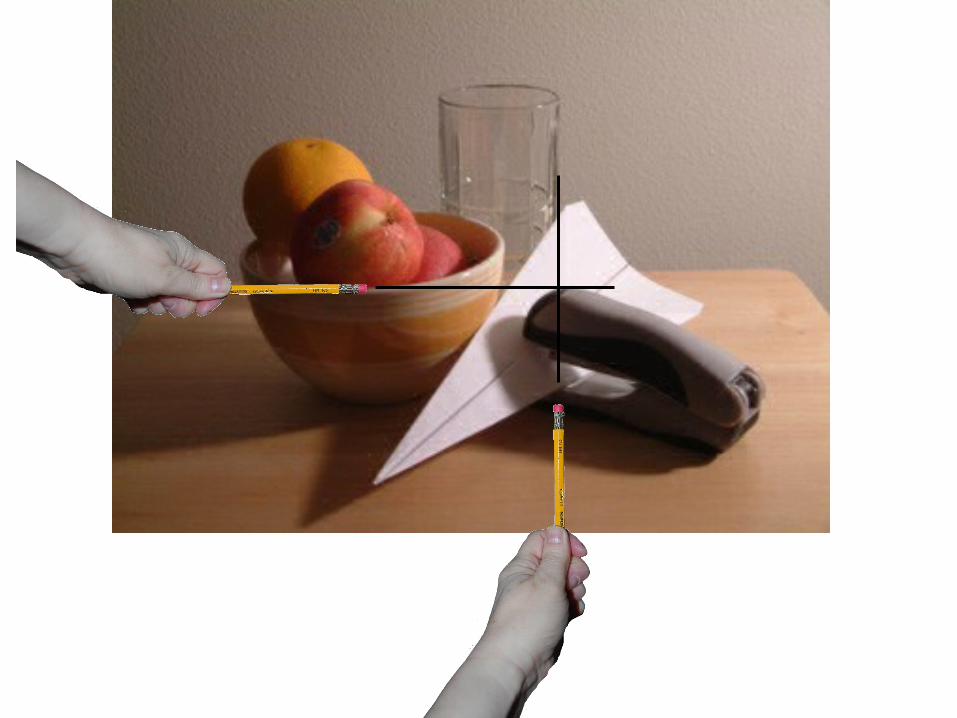
MEASURE AND COMPARE PARTS
Extend your hand out fully from your body, lining up the top of your pencil with the top of am item you wish to measure. Place your thumbnail at the place on the pencil that lines up with the bottom of this part. Still holding your thumb in place, shift the pencil down and compare this unit of measurement with another part. If they are the same, be sure to make them equally sized in your drawing.
You can also compare a vertical measurement to a horizontal one.
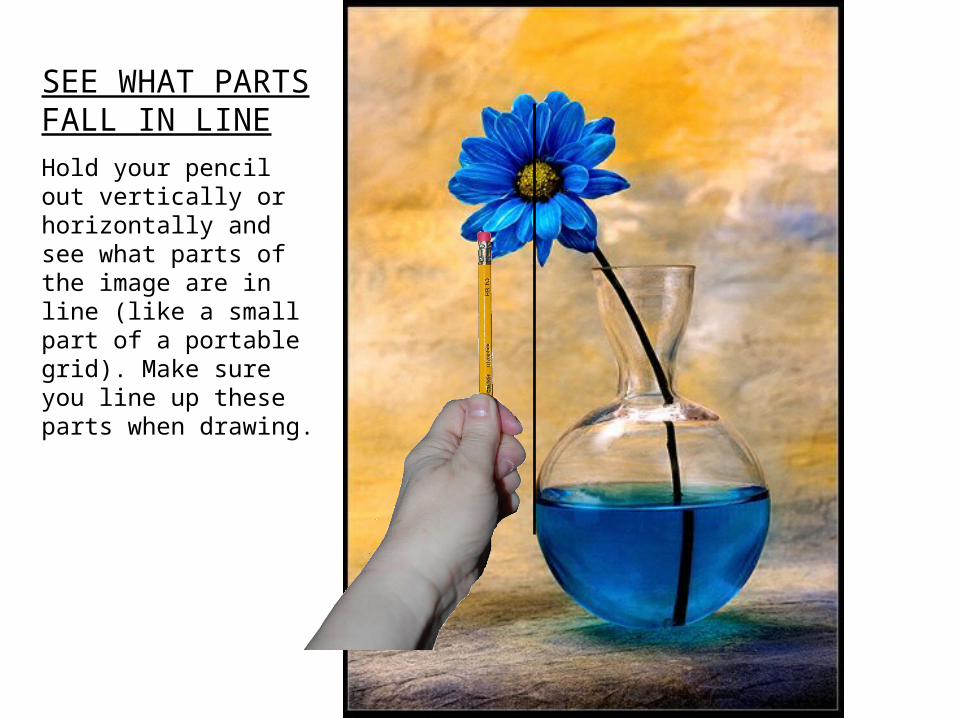
SEE WHAT PARTS FALL IN LINE
Hold your pencil out vertically or horizontally and see what parts of the image are in line (like a small part of a portable grid). Make sure you line up these parts when drawing.
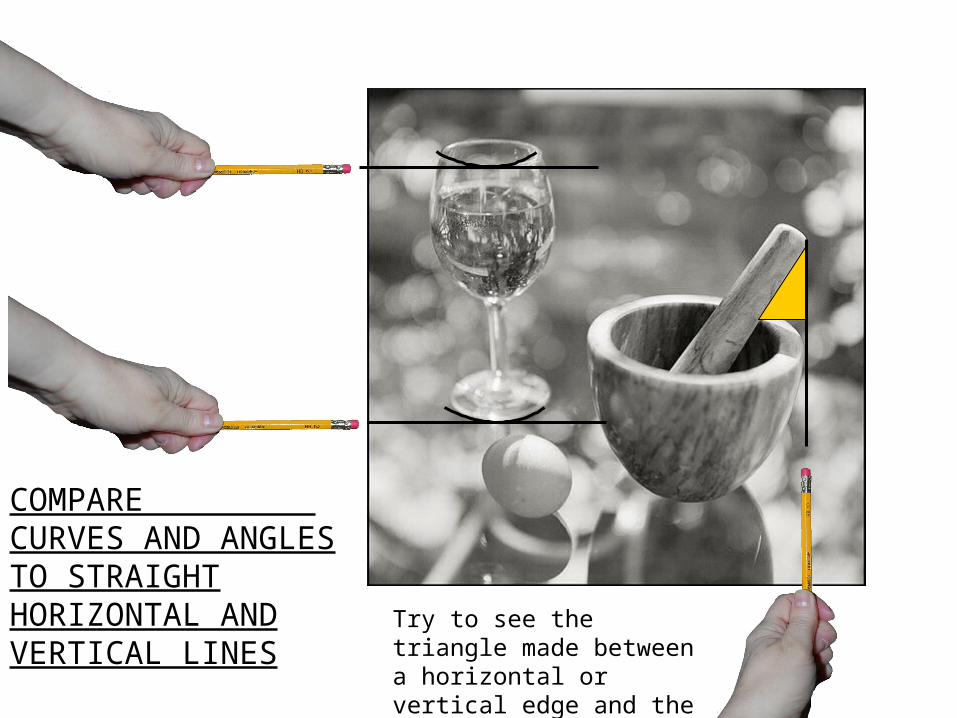
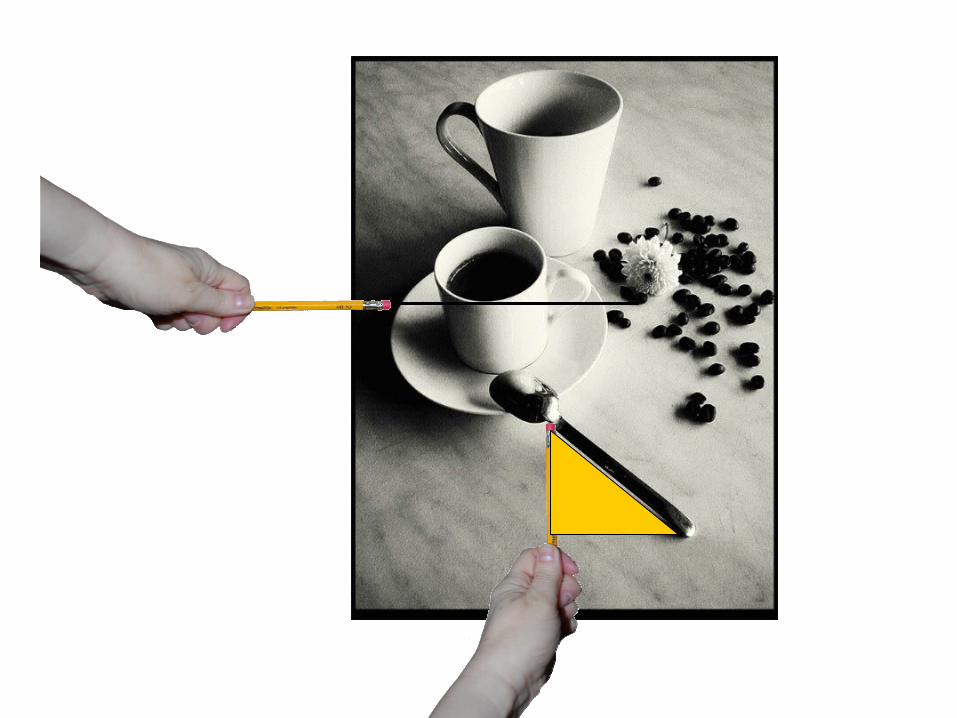
COMPARE CURVES AND ANGLES TO STRAIGHT HORIZONTAL AND VERTICAL LINES
Try to see the triangle made between a horizontal or vertical edge and the angle of an object.
Adding Values to a Drawing:
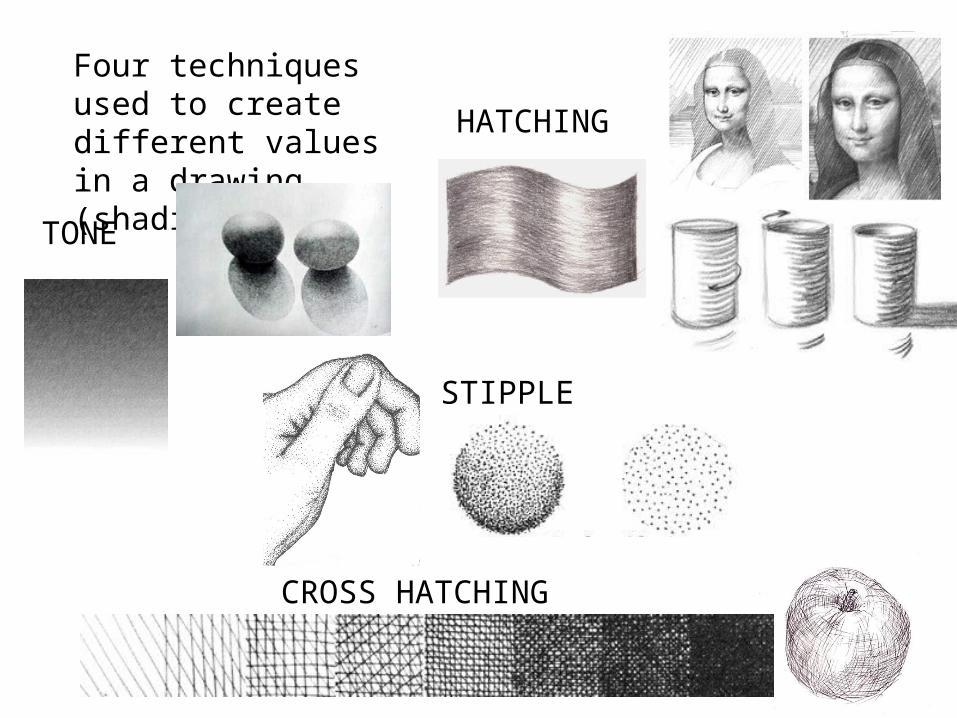
Four techniques used to create different values in a drawing (shading) are:
TONE
STIPPLE
CROSS HATCHING
HATCHING

Don’t use outlines.The aim of realist value drawing is to show the light and shadow and
surface tones, creating a three-dimensional illusion. Outlines only define visible edges and don’t tell us anything about light and dark.
Linear drawing and value drawing are two different ’systems’ of representation. Mixing up the two can be confusing, if realistic
drawing is your aim.
You need to shift out of line-drawing mode, and the best way to do this is to forbid yourself to draw a line, and focus on
areas of value. You might use the lightest of lines to get down the basic shapes. From there, build up the shading. Often the ‘outline’ will be at
the join between two different values, and is created by the contrast between the light and dark area.
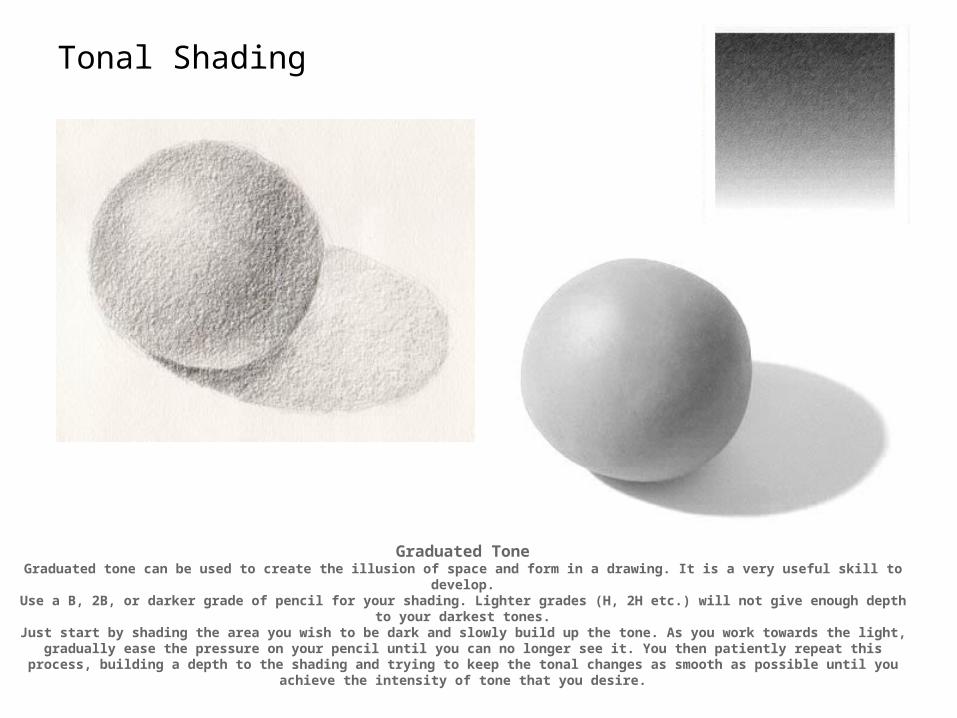
Tonal Shading
Graduated ToneGraduated tone can be used to create the illusion of space and form in a drawing. It is a very useful skill to develop.
Use a B, 2B, or darker grade of pencil for your shading. Lighter grades (H, 2H etc.) will not give enough depth to your darkest tones.Just start by shading the area you wish to be dark and slowly build up the tone. As you work towards the light, gradually ease the pressure on your pencil until you can no longer see it. You then patiently repeat this process, building a depth to the shading and trying to keep the tonal
changes as smooth as possible until you achieve the intensity of tone that you desire.

Building up of dark value by means of thin parallel lines. Apply one layer of lines parallel to each other using an even pressure all the way across. Go back over them when necessary to darken the tone.
Hatching
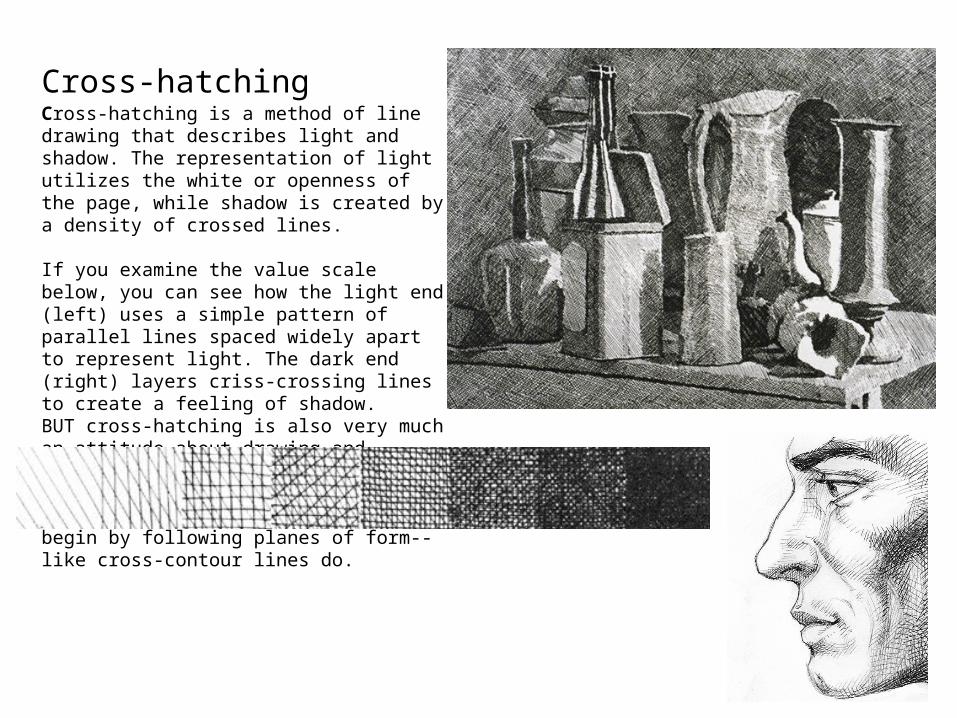
Cross-hatchingCross-hatching is a method of line drawing that describes light and shadow. The representation of light utilizes the white or openness of the page, while shadow is created by a density of crossed lines.
If you examine the value scale below, you can see how the light end (left) uses a simple pattern of parallel lines spaced widely apart to represent light. The dark end (right) layers criss-crossing lines to create a feeling of shadow.BUT cross-hatching is also very much an attitude about drawing and understanding what you see. The lines and marks that make up cross-hatching describe planes of form and begin by following planes of form--like cross-contour lines do.
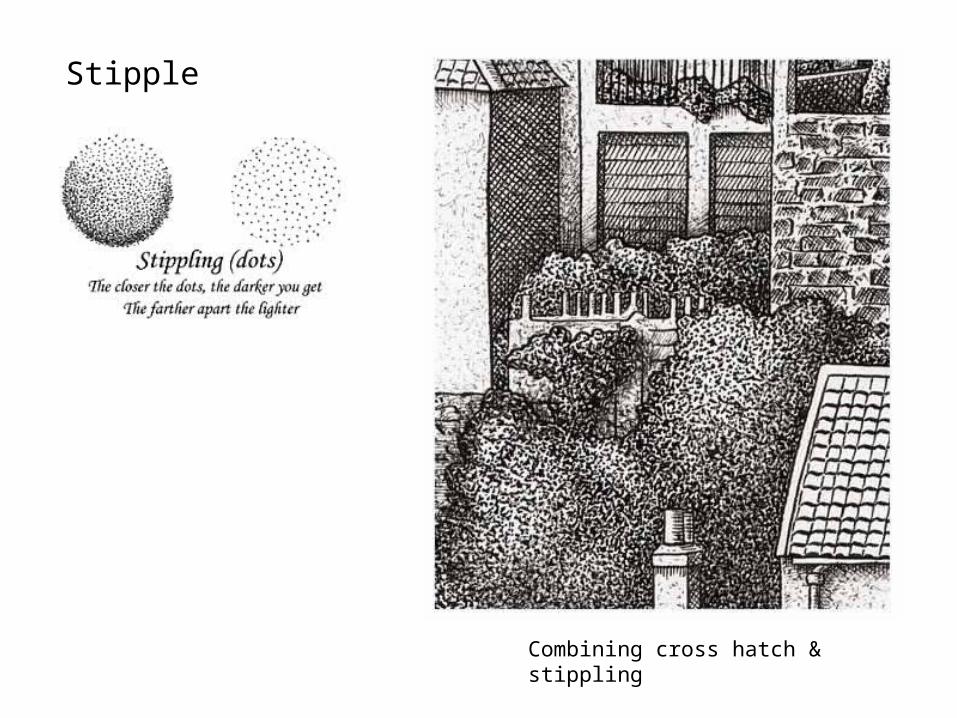
Stipple
Combining cross hatch & stippling
![INDEX [ptgmedia.pearsoncmg.com] · 2009. 6. 9. · two-phase commit protocol, 369 Web services transactions, support for, 371 Commit, 7 two-phase, 7–8 Commit check, 132 Commit command,](https://img.pdfslide.us/doc/110x75/5fe1ed01a48cc3790b473c6a/index-2009-6-9-two-phase-commit-protocol-369-web-services-transactions.jpg)