Embed Size (px)
Citation preview
1
CAMM-1 GR How To Guide: Offline Cutting with CutStudio Plugin
for Adobe™ Illustrator
August 11, 2017
Table of Contents
Summary _________________________________________________________________ 1
Adding Crop Marks in Adobe Illustrator _________________________________________ 2
Outputting to the CAMM-1 GR Cutter __________________________________________ 7
Summary This document provides step-by-step instructions for a print then cut workflow with the CAMM-1 GR cutter using the CutStudio Plugin for Adobe Illustrator. This document is useful for a workflow that consists of:
• Non-Roland printers
• Third party RIPs that do not support the CAMM-1 GR cutter series (i.e. the RIP does not have a driver available for the GR)
• Roland printers that only run on VersaWorks (original)
System Requirements
The following lists a series of requirements for this workflow.
• Adobe Illustrator o Adobe Illustrator is a design software available for purchase at www.adobe.com.
• CutStudio Plugin for Adobe Illustrator o CutStudio software is included with the purchase of each CAMM-1 GR cutter. It is available for
download from OnSupport upon registration. The plugin is available free-of-charge from the Adobe Creative Cloud website. Step-by-step installation instructions are available on the Roland Support webpages.
2
How To Guide CAMM-1 GR
Adding Crop Marks in Adobe Illustrator The steps below summarize how to add crop marks using Adobe Illustrator and the CutStudio Plugin. The design file does not have to be created in Adobe Illustrator but the file must be able to be imported into the design software. The follow steps assume you have already installed Adobe Illustrator and have installed the CutStudio Plugin. Launch Adobe Illustrator software.
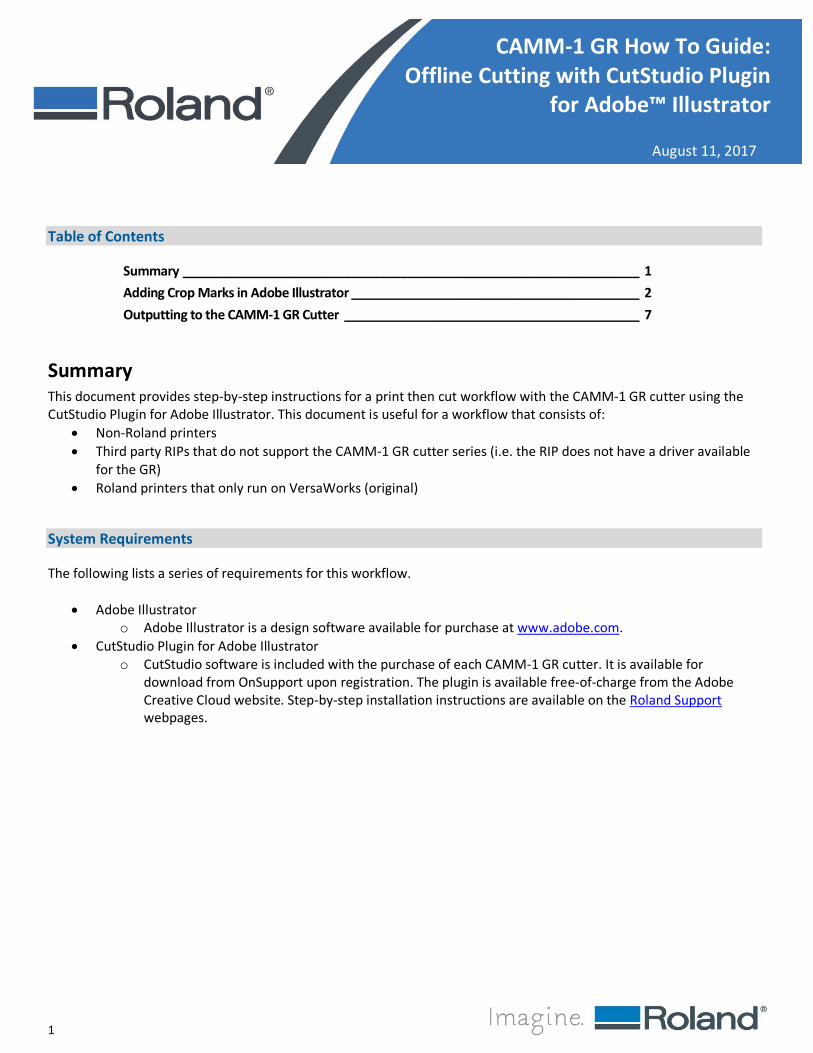
1. Launch Adobe Illustrator.
3
How To Guide CAMM-1 GR
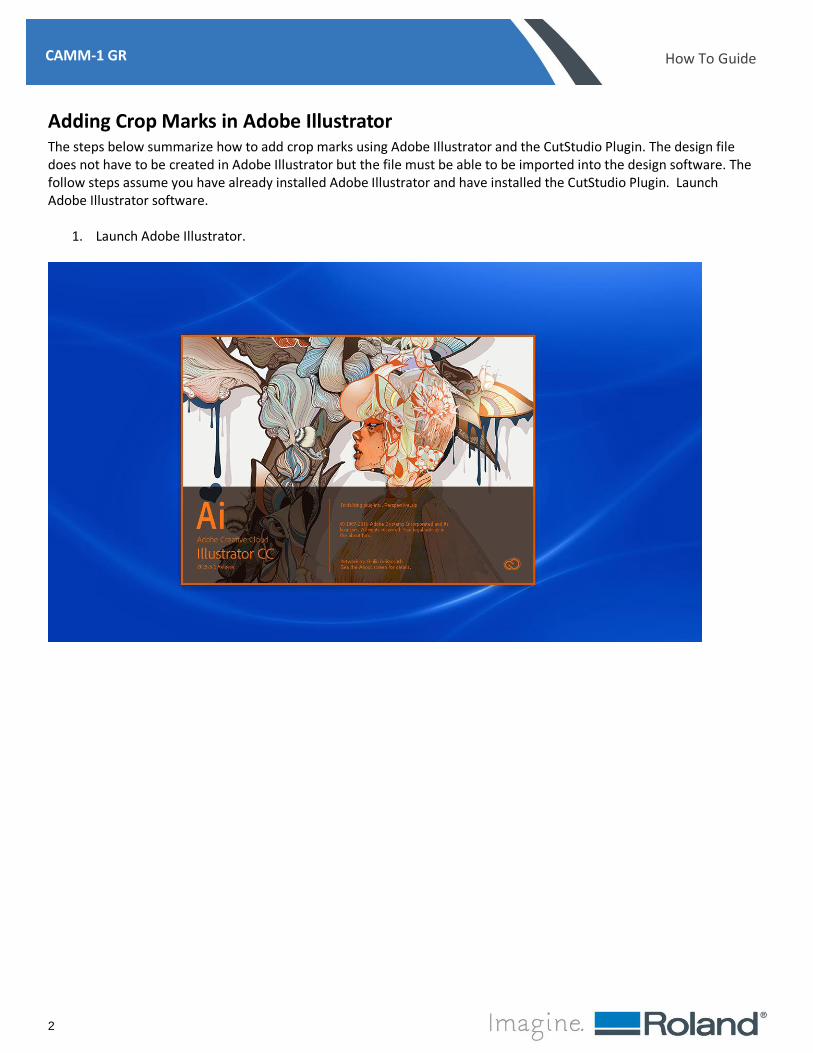
2. Create your design file or import your design file into Adobe Illustrator. a. To open an existing design file, go to “File – Open” and browse to your design file.
3. In the CutStudio Plugin Menu, select your cutter model from the “Model” dropdown field.
4
How To Guide CAMM-1 GR
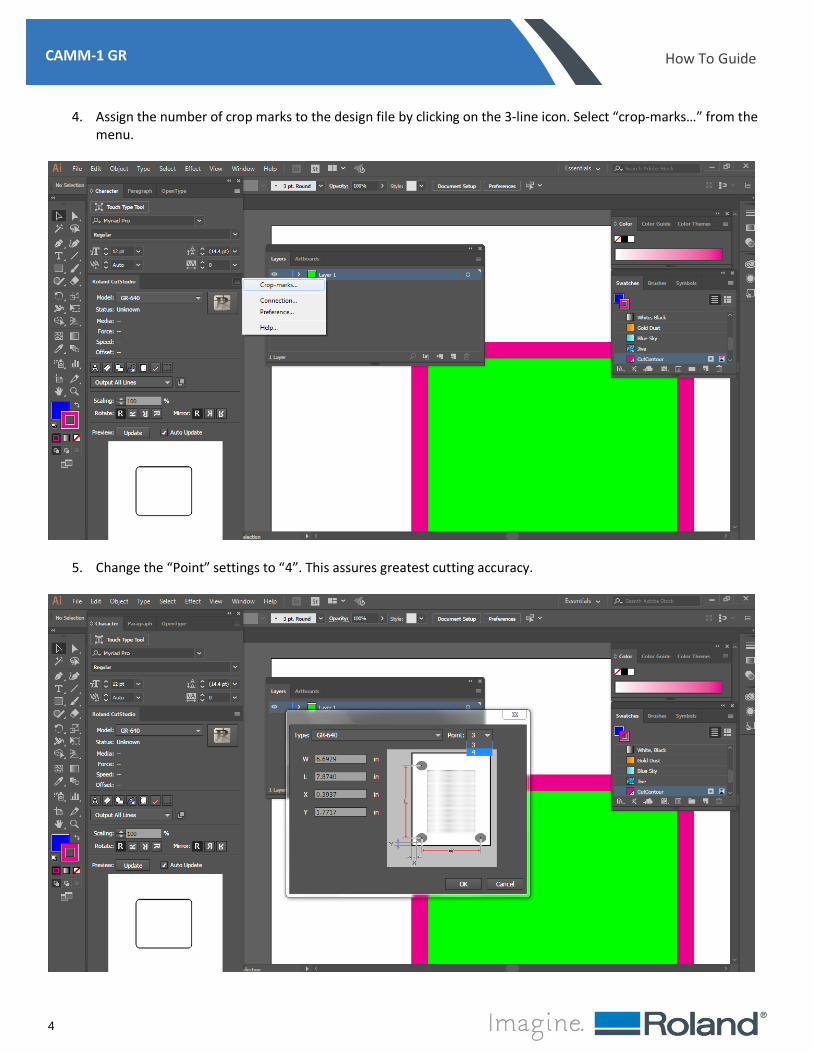
4. Assign the number of crop marks to the design file by clicking on the 3-line icon. Select “crop-marks…” from the menu.
5. Change the “Point” settings to “4”. This assures greatest cutting accuracy.
5
How To Guide CAMM-1 GR
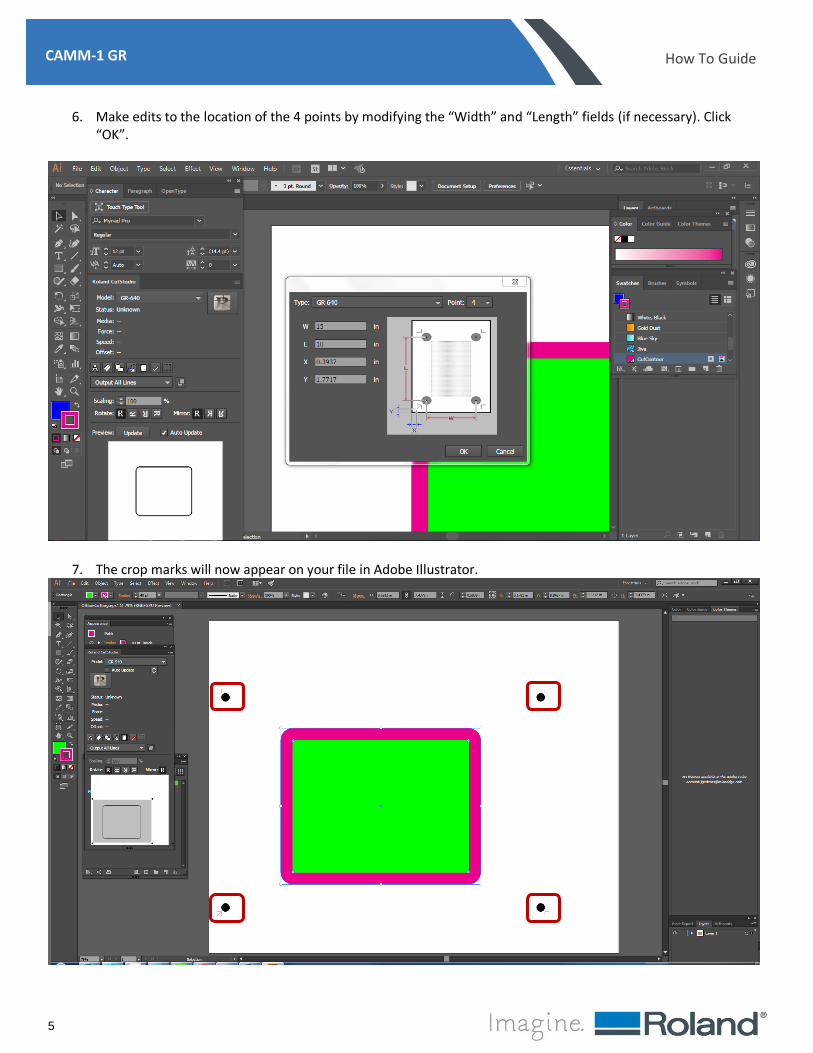
6. Make edits to the location of the 4 points by modifying the “Width” and “Length” fields (if necessary). Click “OK”.
7. The crop marks will now appear on your file in Adobe Illustrator.
6
How To Guide CAMM-1 GR
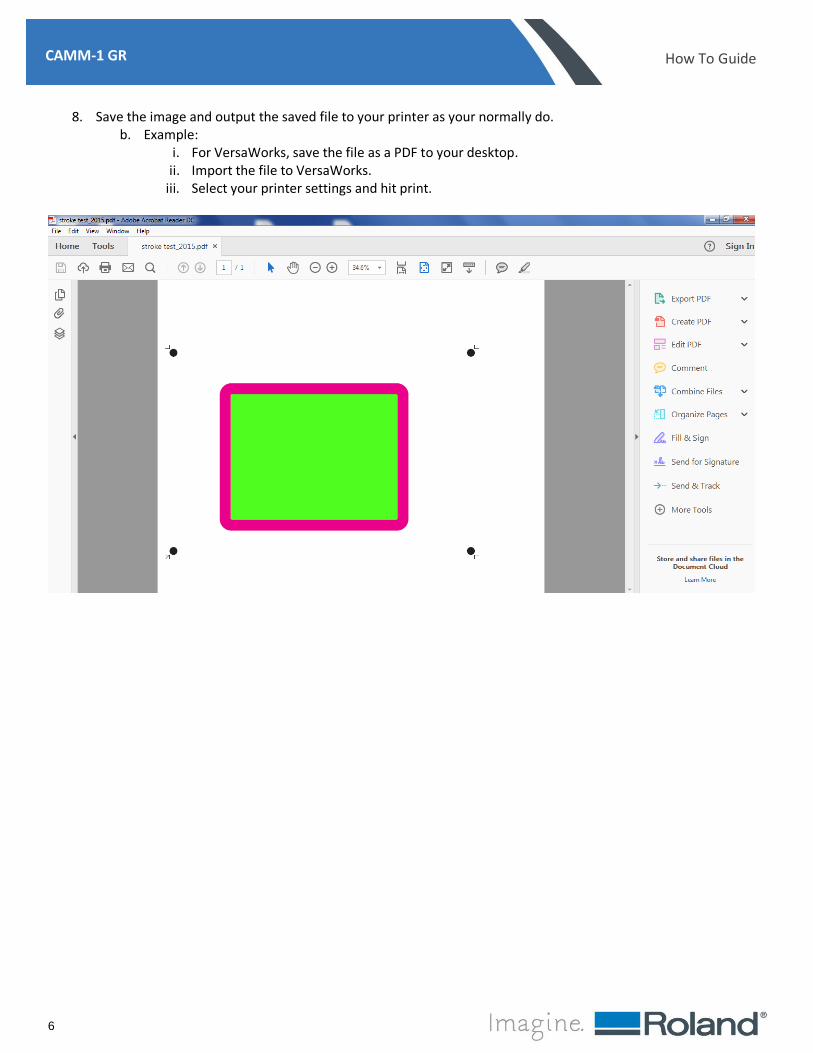
8. Save the image and output the saved file to your printer as your normally do. b. Example:
i. For VersaWorks, save the file as a PDF to your desktop. ii. Import the file to VersaWorks.
iii. Select your printer settings and hit print.
7
How To Guide CAMM-1 GR
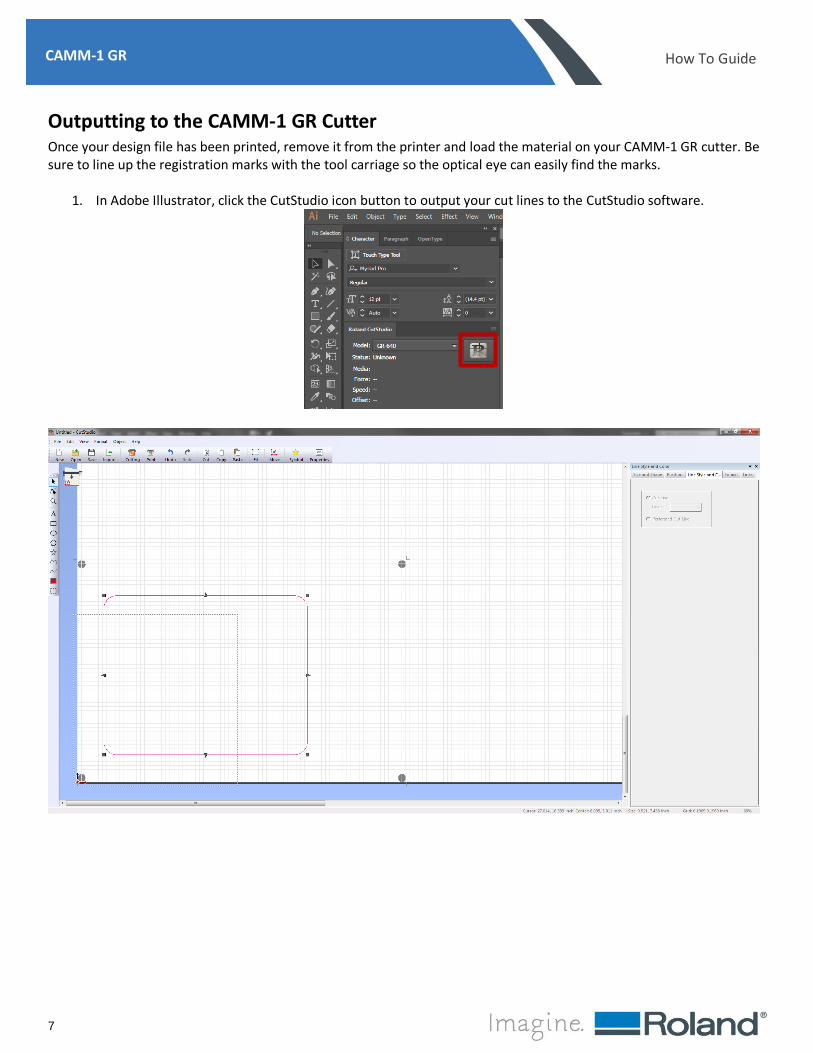
Outputting to the CAMM-1 GR Cutter Once your design file has been printed, remove it from the printer and load the material on your CAMM-1 GR cutter. Be sure to line up the registration marks with the tool carriage so the optical eye can easily find the marks.
1. In Adobe Illustrator, click the CutStudio icon button to output your cut lines to the CutStudio software.
8
How To Guide CAMM-1 GR
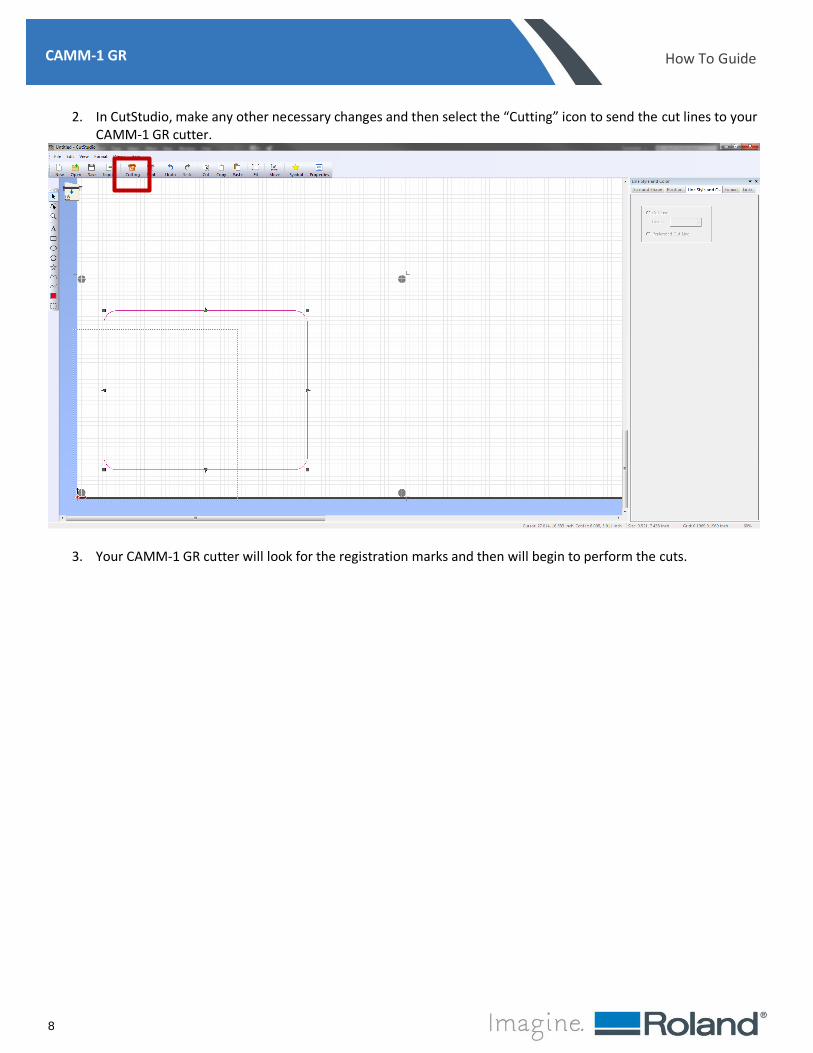
2. In CutStudio, make any other necessary changes and then select the “Cutting” icon to send the cut lines to your CAMM-1 GR cutter.
3. Your CAMM-1 GR cutter will look for the registration marks and then will begin to perform the cuts.