Embed Size (px)
Citation preview

TECHNICALSCambridge
CAMBRIDGE TECHNICALS IN ENGINEERINGLEVEL 3 UNIT 13 – MECHANICAL OPERATIONS
DELIVERY GUIDEVersion 1
OCR LEVEL 3 CA
MBRID
GE TECH
NICA
LS IN EN
GIN
EERING
MECH
AN
ICAL O
PERATION
S
2
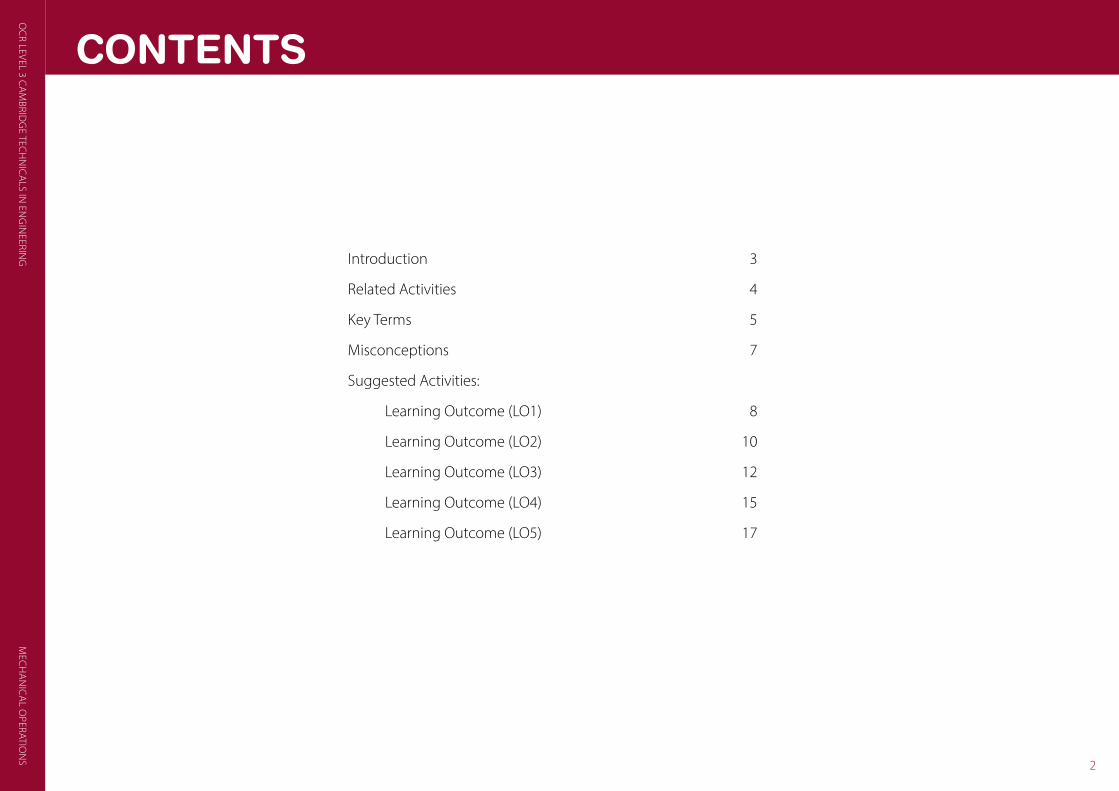
CONTENTS
Introduction 3
Related Activities 4
Key Terms 5
Misconceptions 7
Suggested Activities:
Learning Outcome (LO1) 8
Learning Outcome (LO2) 10
Learning Outcome (LO3) 12
Learning Outcome (LO4) 15
Learning Outcome (LO5) 17

OCR
LEV
EL 3
CA
MBR
IDG
E TE
CHN
ICA
LS IN
EN
GIN
EERI
NG
MEC
HA
NIC
AL
OPE
RATI
ON
S
3 3
INTRODUCTIONThis Delivery Guide has been developed to provide practitioners with a variety of creative and practical ideas to support the delivery of this qualification. The Guide is a collection of lesson ideas with associated activities, which you may find helpful as you plan your lessons.
OCR has collaborated with current practitioners to ensure that the ideas put forward in this Delivery Guide are practical, realistic and dynamic. The Guide is structured by learning outcome so you can see how each activity helps you cover the requirements of this unit.
We appreciate that practitioners are knowledgeable in relation to what works for them and their learners. Therefore, the resources we have produced should not restrict or impact on practitioners’ creativity to deliver excellent learning opportunities.
Whether you are an experienced practitioner or new to the sector, we hope you find something in this guide which will help you to deliver excellent learning opportunities.
If you have any feedback on this Delivery Guide or suggestions for other resources you would like OCR to develop, please email [email protected].
Unit aimProduction and manufacturing businesses depend on a team that can actually plan production, carry out production with the appropriate equipment, and quality assure what they have physically produced.
The aim of this unit is for learners to develop the ability to plan for production, and to manufacture components safely. Learners will develop their knowledge of manufacturing techniques to include marking out, use of hand tools and the operation of manually controlled machines such as lathes and milling and drilling machines. They will produce mechanical components and will be able to quality assure their own work as being fit for purpose.
Unit 3 Principles of mechanical engineering
LO1 Be able to plan for production in mechanical engineering
LO2 Be able to use bench processes, tools and equipment to produce quality components
LO3 Be able to use the centre lathe to produce quality components
LO4 Be able to use drilling and milling machines to produce quality components
LO5 Be able to quality assure components
Opportunities for English and maths skills developmentWe believe that being able to make good progress in English and maths is essential to learners in both of these contexts and on a range of learning programmes. To help you enable your learners to progress in these subjects, we have signposted opportunities for English and maths skills practice within this resource. These suggestions are for guidance only. They are not designed to replace your own subject knowledge and expertise in deciding what is most appropriate for your learners.
English Maths
Please note
The timings for the suggested activities in this Delivery Guide DO NOT relate to the Guided Learning Hours (GLHs) for each unit.
Assessment guidance can be found within the Unit document available from www.ocr.org.uk.
The latest version of this Delivery Guide can be downloaded from the OCR website.
OCR LEVEL 3 CA
MBRID
GE TECH
NICA
LS IN EN
GIN
EERING
MECH
AN
ICAL O
PERATION
S
4
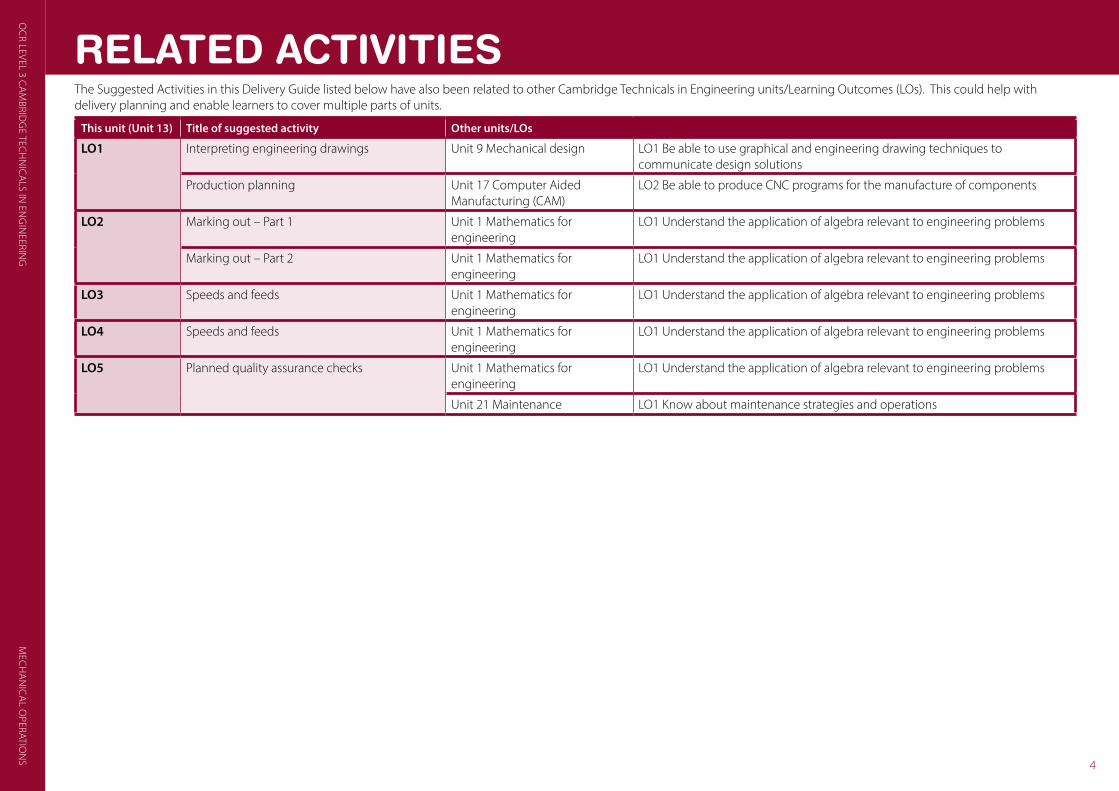
This unit (Unit 13) Title of suggested activity Other units/LOs
LO1 Interpreting engineering drawings Unit 9 Mechanical design LO1 Be able to use graphical and engineering drawing techniques to communicate design solutions
Production planning Unit 17 Computer Aided Manufacturing (CAM)
LO2 Be able to produce CNC programs for the manufacture of components
LO2 Marking out – Part 1 Unit 1 Mathematics for engineering
LO1 Understand the application of algebra relevant to engineering problems
Marking out – Part 2 Unit 1 Mathematics for engineering
LO1 Understand the application of algebra relevant to engineering problems
LO3 Speeds and feeds Unit 1 Mathematics for engineering
LO1 Understand the application of algebra relevant to engineering problems
LO4 Speeds and feeds Unit 1 Mathematics for engineering
LO1 Understand the application of algebra relevant to engineering problems
LO5 Planned quality assurance checks Unit 1 Mathematics for engineering
LO1 Understand the application of algebra relevant to engineering problems
Unit 21 Maintenance LO1 Know about maintenance strategies and operations
The Suggested Activities in this Delivery Guide listed below have also been related to other Cambridge Technicals in Engineering units/Learning Outcomes (LOs). This could help with delivery planning and enable learners to cover multiple parts of units.
RELATED ACTIVITIES

OCR
LEV
EL 3
CA
MBR
IDG
E TE
CHN
ICA
LS IN
EN
GIN
EERI
NG
MEC
HA
NIC
AL
OPE
RATI
ON
S
5
KEY TERMSUNIT 13 – MECHANICAL OPERATIONS
Explanations of the key terms used within this unit, in the context of this unit
Key term Explanation
Calliper A calliper is an instrument consisting of two hinged legs, used to measure thickness and distances.
Clamp A clamp is a fastening device to hold or secure objects tightly together to prevent movement or separation. Clamps are used when performing engineering operations to hold the work piece securely and safely.
Codes and Standards
A Standard can be defined as a set of technical definitions and guidelines that function as instructions for designers, manufacturers, operators, or users of equipment.
A Standard becomes a Code when it has been adopted by one or more governmental bodies and is enforceable by law, or when it has been incorporated into a business contract.
Standards are often used as a means of complying with a piece of Legislation.
Die (thread) A die is a tool used to cut an external thread.
Dividing head An dividing head, also known as a indexing head or spiral head, is a specialized tool that allows a work piece to be circularly indexed; that is, easily and precisely rotated to preset angles or circular divisions
Drilling Drilling is the process of using a drill - an implement with cutting edges or a pointed end for boring holes in hard materials, usually by a rotating abrasion.
File A file is a tool used to cut fine amounts of material from a work piece. There are many different types of file, with the two basic filing techniques being cross and draw filing.
Hand tools Hand tools are tools that are not electrically powered such as a screwdriver, pliers, cutters etc.
Lathe (turning) A lathe is a machine for shaping metal, or other material by means of a rotating drive which turns the piece being worked on against changeable cutting tools.
Legislation Legislation is the process of making or enacting laws. An example of Legislation is the Health and Safety at Work Act which has legal standing.
Marking out Marking out or layout is the process of transferring a design or pattern to a work piece, as the first step in the manufacturing process.
Method Statement A method statement (sometimes called a safe work method statement or SWMS) is a part of a workplace safety plan. It is a document that gives specific instructions on how to safely perform a work related task, or operate a piece of plant or equipment.
Micrometer A micrometer is a measuring device which measures small distances or thicknesses between its two faces, one of which can be moved away from or towards the other by turning a screw with a fine thread.
Milling Milling is a cutting process that uses a rotating milling cutter to remove material from the surface of a work piece.
Personal Protective Equipment (PPE)
Personal protective equipment (PPE) refers to protective clothing, helmets, goggles, or other garments or equipment designed to protect the wearer’s body from injury or infection.
Pitch Circle Diameter (PCD)
Pitch Circle Diameter (PCD) is a term used to describe the centerline diameter of a circular bolt spacing, the diameter of theoretical friction discs that would transmit the same velocity ratio as two meshing gears, or the diameter at which the thread tooth equals the thread spacing for screw threads.
OCR LEVEL 3 CA
MBRID
GE TECH
NICA
LS IN EN
GIN
EERING
MECH
AN
ICAL O
PERATION
S
6
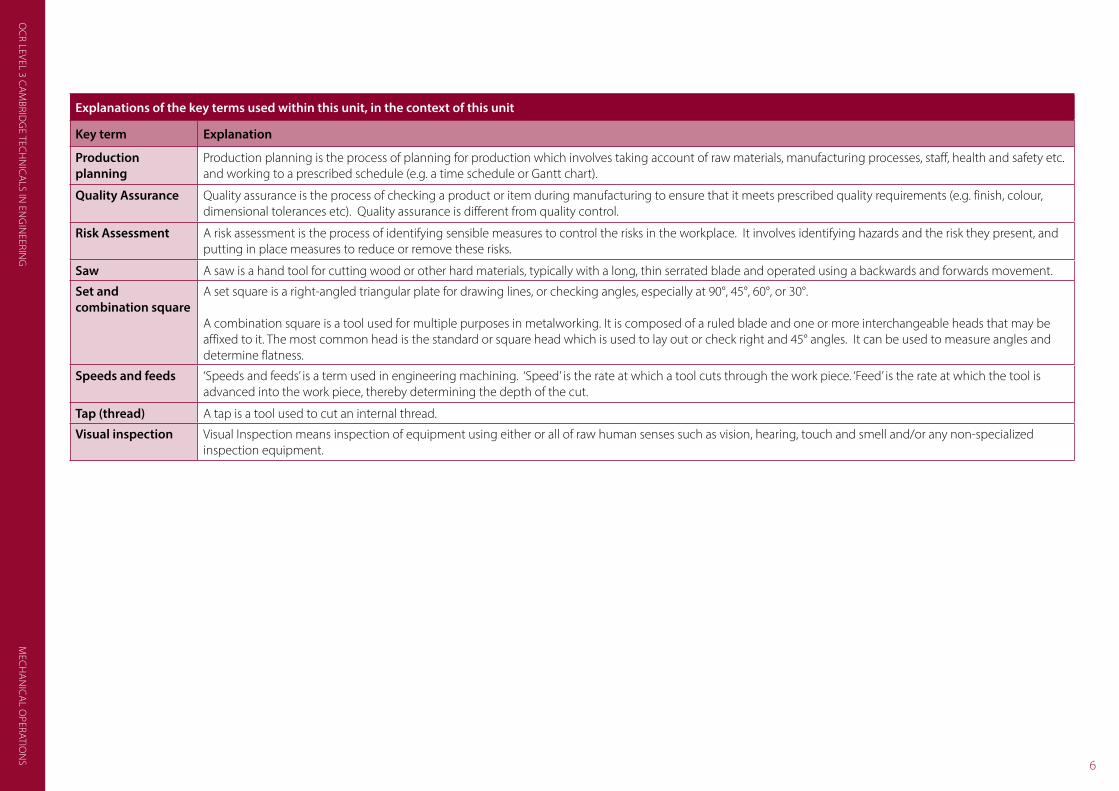
Explanations of the key terms used within this unit, in the context of this unit
Key term Explanation
Production planning
Production planning is the process of planning for production which involves taking account of raw materials, manufacturing processes, staff, health and safety etc. and working to a prescribed schedule (e.g. a time schedule or Gantt chart).
Quality Assurance Quality assurance is the process of checking a product or item during manufacturing to ensure that it meets prescribed quality requirements (e.g. finish, colour, dimensional tolerances etc). Quality assurance is different from quality control.
Risk Assessment A risk assessment is the process of identifying sensible measures to control the risks in the workplace. It involves identifying hazards and the risk they present, and putting in place measures to reduce or remove these risks.
Saw A saw is a hand tool for cutting wood or other hard materials, typically with a long, thin serrated blade and operated using a backwards and forwards movement.
Set and combination square
A set square is a right-angled triangular plate for drawing lines, or checking angles, especially at 90°, 45°, 60°, or 30°.
A combination square is a tool used for multiple purposes in metalworking. It is composed of a ruled blade and one or more interchangeable heads that may be affixed to it. The most common head is the standard or square head which is used to lay out or check right and 45° angles. It can be used to measure angles and determine flatness.
Speeds and feeds ‘Speeds and feeds’ is a term used in engineering machining. ‘Speed’ is the rate at which a tool cuts through the work piece. ‘Feed’ is the rate at which the tool is advanced into the work piece, thereby determining the depth of the cut.
Tap (thread) A tap is a tool used to cut an internal thread.
Visual inspection Visual Inspection means inspection of equipment using either or all of raw human senses such as vision, hearing, touch and smell and/or any non-specialized inspection equipment.
OCR
LEV
EL 3
CA
MBR
IDG
E TE
CHN
ICA
LS IN
EN
GIN
EERI
NG
MEC
HA
NIC
AL
OPE
RATI
ON
S
7
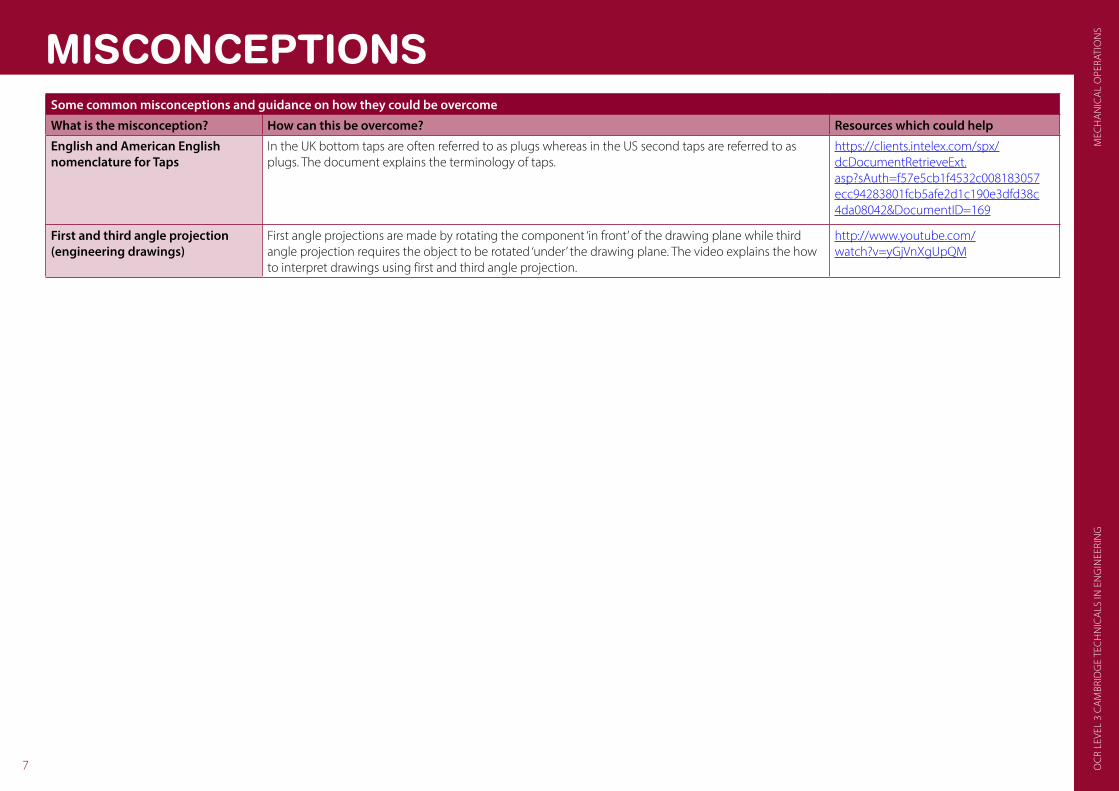
Some common misconceptions and guidance on how they could be overcome
What is the misconception? How can this be overcome? Resources which could help
English and American English nomenclature for Taps
In the UK bottom taps are often referred to as plugs whereas in the US second taps are referred to as plugs. The document explains the terminology of taps.
https://clients.intelex.com/spx/dcDocumentRetrieveExt. asp?sAuth=f57e5cb1f4532c008183057 ecc94283801fcb5afe2d1c190e3dfd38c 4da08042&DocumentID=169
First and third angle projection (engineering drawings)
First angle projections are made by rotating the component ‘in front’ of the drawing plane while third angle projection requires the object to be rotated ‘under’ the drawing plane. The video explains the how to interpret drawings using first and third angle projection.
http://www.youtube.com/watch?v=yGjVnXgUpQM
MISCONCEPTIONS
OCR LEVEL 3 CA
MBRID
GE TECH
NICA
LS IN EN
GIN
EERING
MECH
AN
ICAL O
PERATION
S
8
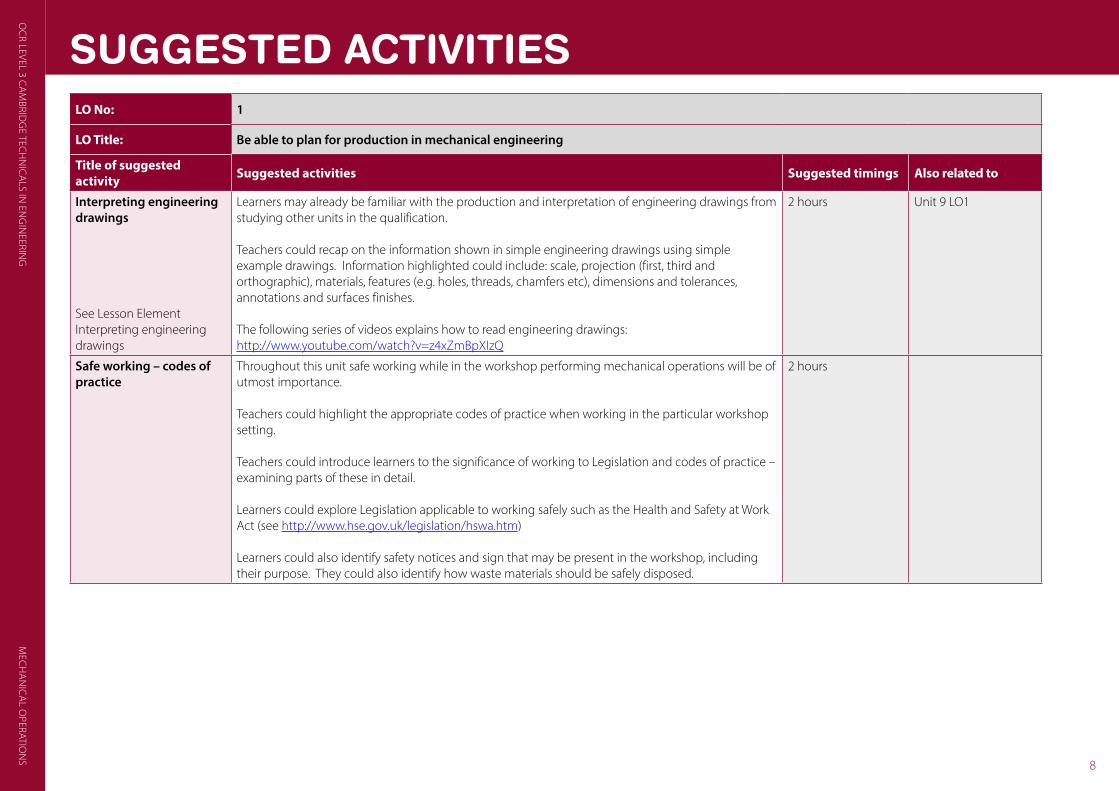
SUGGESTED ACTIVITIESLO No: 1
LO Title: Be able to plan for production in mechanical engineering
Title of suggested activity Suggested activities Suggested timings Also related to
Interpreting engineering drawings
See Lesson Element Interpreting engineering drawings
Learners may already be familiar with the production and interpretation of engineering drawings from studying other units in the qualification.
Teachers could recap on the information shown in simple engineering drawings using simple example drawings. Information highlighted could include: scale, projection (first, third and orthographic), materials, features (e.g. holes, threads, chamfers etc), dimensions and tolerances, annotations and surfaces finishes.
The following series of videos explains how to read engineering drawings: http://www.youtube.com/watch?v=z4xZmBpXIzQ
2 hours Unit 9 LO1
Safe working – codes of practice
Throughout this unit safe working while in the workshop performing mechanical operations will be of utmost importance.
Teachers could highlight the appropriate codes of practice when working in the particular workshop setting.
Teachers could introduce learners to the significance of working to Legislation and codes of practice – examining parts of these in detail.
Learners could explore Legislation applicable to working safely such as the Health and Safety at Work Act (see http://www.hse.gov.uk/legislation/hswa.htm)
Learners could also identify safety notices and sign that may be present in the workshop, including their purpose. They could also identify how waste materials should be safely disposed.
2 hours
OCR
LEV
EL 3
CA
MBR
IDG
E TE
CHN
ICA
LS IN
EN
GIN
EERI
NG
MEC
HA
NIC
AL
OPE
RATI
ON
S
9
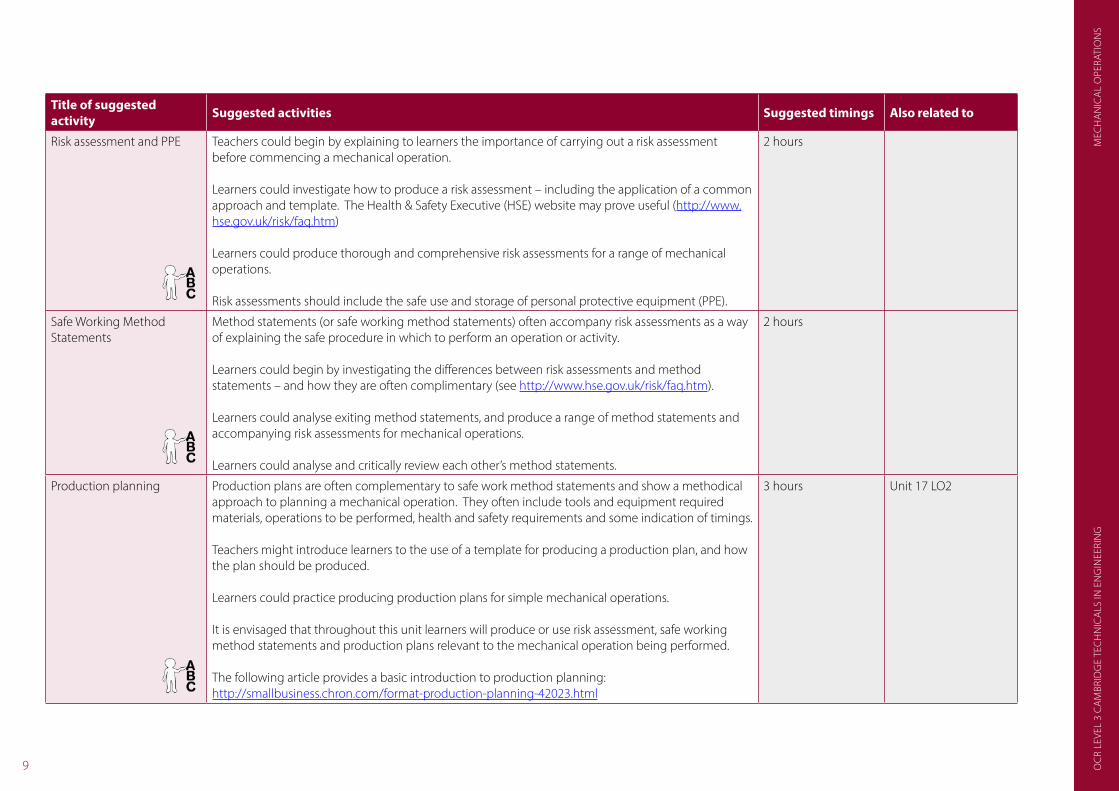
Title of suggested activity Suggested activities Suggested timings Also related to
Risk assessment and PPE Teachers could begin by explaining to learners the importance of carrying out a risk assessment before commencing a mechanical operation.
Learners could investigate how to produce a risk assessment – including the application of a common approach and template. The Health & Safety Executive (HSE) website may prove useful (http://www.hse.gov.uk/risk/faq.htm)
Learners could produce thorough and comprehensive risk assessments for a range of mechanical operations.
Risk assessments should include the safe use and storage of personal protective equipment (PPE).
2 hours
Safe Working Method Statements
Method statements (or safe working method statements) often accompany risk assessments as a way of explaining the safe procedure in which to perform an operation or activity.
Learners could begin by investigating the differences between risk assessments and method statements – and how they are often complimentary (see http://www.hse.gov.uk/risk/faq.htm).
Learners could analyse exiting method statements, and produce a range of method statements and accompanying risk assessments for mechanical operations.
Learners could analyse and critically review each other’s method statements.
2 hours
Production planning Production plans are often complementary to safe work method statements and show a methodical approach to planning a mechanical operation. They often include tools and equipment required materials, operations to be performed, health and safety requirements and some indication of timings.
Teachers might introduce learners to the use of a template for producing a production plan, and how the plan should be produced.
Learners could practice producing production plans for simple mechanical operations.
It is envisaged that throughout this unit learners will produce or use risk assessment, safe working method statements and production plans relevant to the mechanical operation being performed.
The following article provides a basic introduction to production planning: http://smallbusiness.chron.com/format-production-planning-42023.html
3 hours Unit 17 LO2
OCR LEVEL 3 CA
MBRID
GE TECH
NICA
LS IN EN
GIN
EERING
MECH
AN
ICAL O
PERATION
S
10
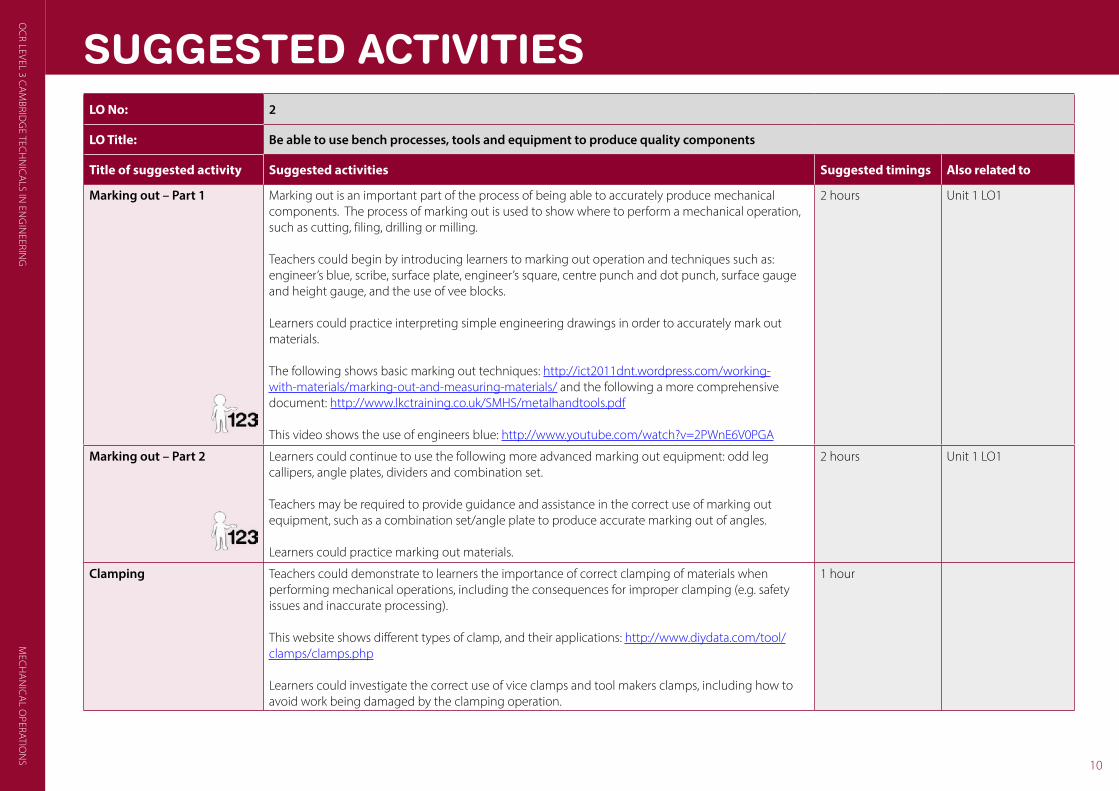
LO No: 2
LO Title: Be able to use bench processes, tools and equipment to produce quality components
Title of suggested activity Suggested activities Suggested timings Also related to
Marking out – Part 1 Marking out is an important part of the process of being able to accurately produce mechanical components. The process of marking out is used to show where to perform a mechanical operation, such as cutting, filing, drilling or milling.
Teachers could begin by introducing learners to marking out operation and techniques such as: engineer’s blue, scribe, surface plate, engineer’s square, centre punch and dot punch, surface gauge and height gauge, and the use of vee blocks.
Learners could practice interpreting simple engineering drawings in order to accurately mark out materials.
The following shows basic marking out techniques: http://ict2011dnt.wordpress.com/working-with-materials/marking-out-and-measuring-materials/ and the following a more comprehensive document: http://www.lkctraining.co.uk/SMHS/metalhandtools.pdf
This video shows the use of engineers blue: http://www.youtube.com/watch?v=2PWnE6V0PGA
2 hours Unit 1 LO1
Marking out – Part 2 Learners could continue to use the following more advanced marking out equipment: odd leg callipers, angle plates, dividers and combination set.
Teachers may be required to provide guidance and assistance in the correct use of marking out equipment, such as a combination set/angle plate to produce accurate marking out of angles.
Learners could practice marking out materials.
2 hours Unit 1 LO1
Clamping Teachers could demonstrate to learners the importance of correct clamping of materials when performing mechanical operations, including the consequences for improper clamping (e.g. safety issues and inaccurate processing).
This website shows different types of clamp, and their applications: http://www.diydata.com/tool/clamps/clamps.php
Learners could investigate the correct use of vice clamps and tool makers clamps, including how to avoid work being damaged by the clamping operation.
1 hour
SUGGESTED ACTIVITIES
OCR
LEV
EL 3
CA
MBR
IDG
E TE
CHN
ICA
LS IN
EN
GIN
EERI
NG
MEC
HA
NIC
AL
OPE
RATI
ON
S
11
Title of suggested activity Suggested activities Suggested timings Also related to
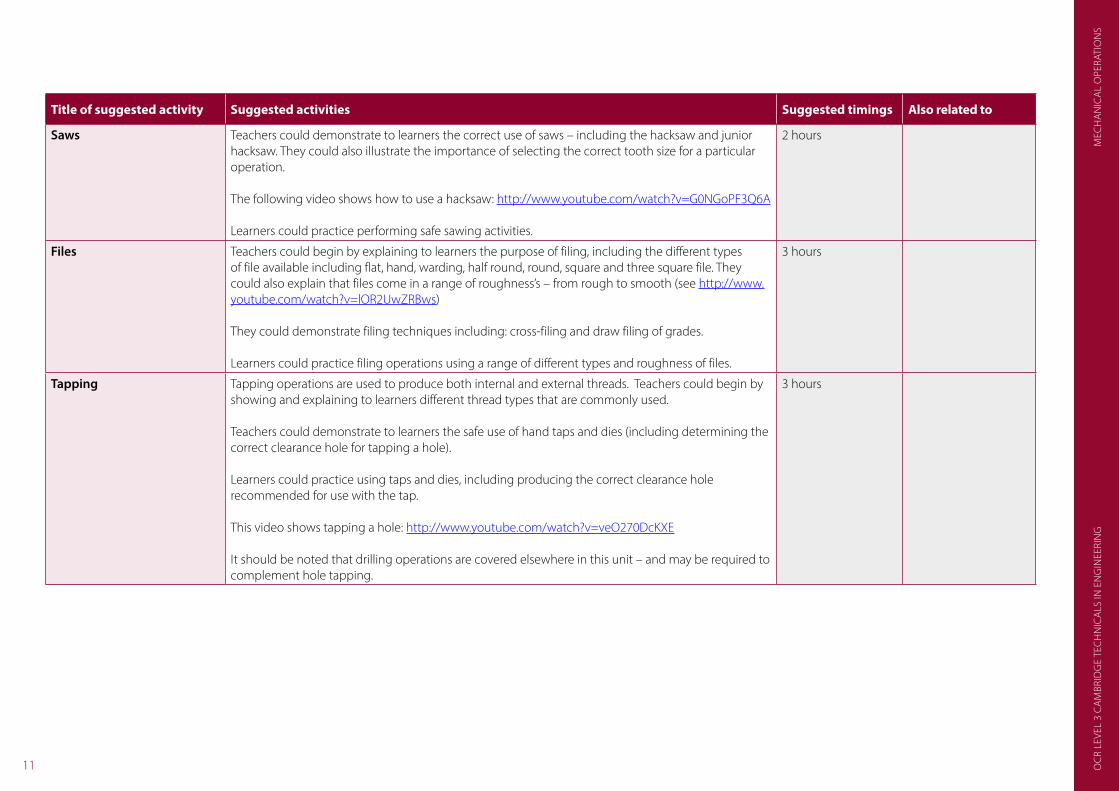
Saws Teachers could demonstrate to learners the correct use of saws – including the hacksaw and junior hacksaw. They could also illustrate the importance of selecting the correct tooth size for a particular operation.
The following video shows how to use a hacksaw: http://www.youtube.com/watch?v=G0NGoPF3Q6A
Learners could practice performing safe sawing activities.
2 hours
Files Teachers could begin by explaining to learners the purpose of filing, including the different types of file available including flat, hand, warding, half round, round, square and three square file. They could also explain that files come in a range of roughness’s – from rough to smooth (see http://www.youtube.com/watch?v=lOR2UwZRBws)
They could demonstrate filing techniques including: cross-filing and draw filing of grades.
Learners could practice filing operations using a range of different types and roughness of files.
3 hours
Tapping Tapping operations are used to produce both internal and external threads. Teachers could begin by showing and explaining to learners different thread types that are commonly used.
Teachers could demonstrate to learners the safe use of hand taps and dies (including determining the correct clearance hole for tapping a hole).
Learners could practice using taps and dies, including producing the correct clearance hole recommended for use with the tap.
This video shows tapping a hole: http://www.youtube.com/watch?v=veO270DcKXE
It should be noted that drilling operations are covered elsewhere in this unit – and may be required to complement hole tapping.
3 hours
OCR LEVEL 3 CA
MBRID
GE TECH
NICA
LS IN EN
GIN
EERING
MECH
AN
ICAL O
PERATION
S
12
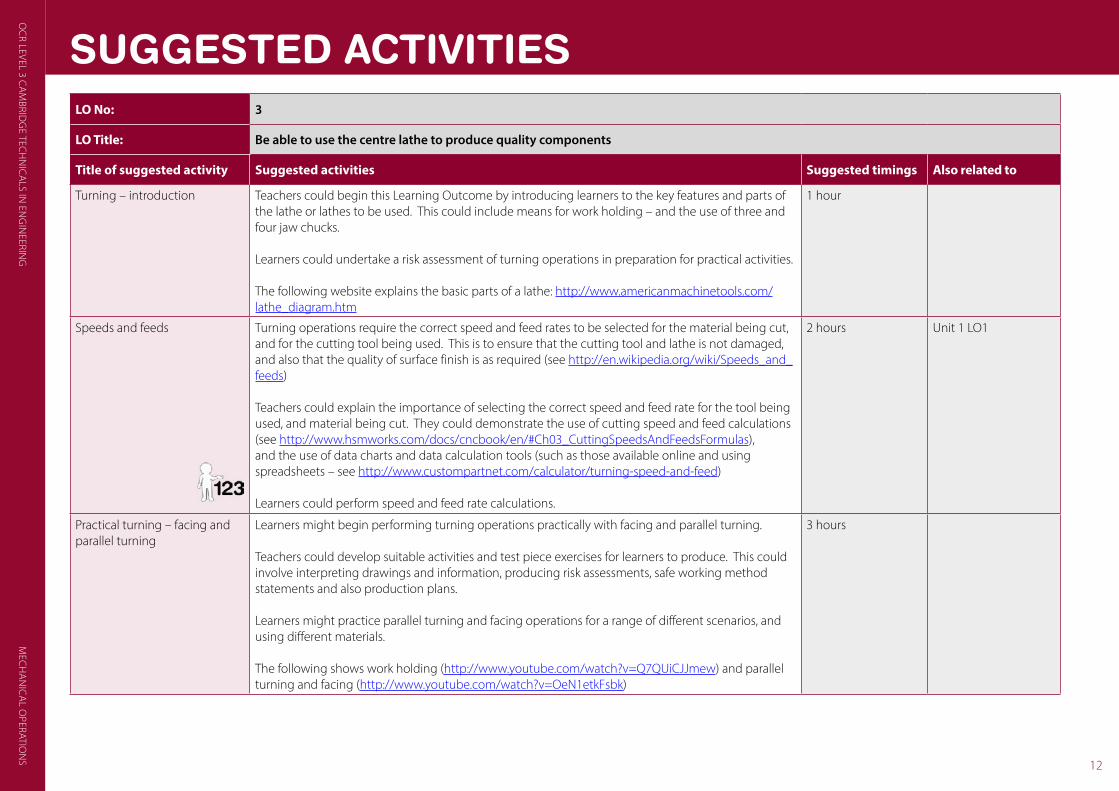
LO No: 3
LO Title: Be able to use the centre lathe to produce quality components
Title of suggested activity Suggested activities Suggested timings Also related to
Turning – introduction Teachers could begin this Learning Outcome by introducing learners to the key features and parts of the lathe or lathes to be used. This could include means for work holding – and the use of three and four jaw chucks.
Learners could undertake a risk assessment of turning operations in preparation for practical activities.
The following website explains the basic parts of a lathe: http://www.americanmachinetools.com/lathe_diagram.htm
1 hour
Speeds and feeds Turning operations require the correct speed and feed rates to be selected for the material being cut, and for the cutting tool being used. This is to ensure that the cutting tool and lathe is not damaged, and also that the quality of surface finish is as required (see http://en.wikipedia.org/wiki/Speeds_and_feeds)
Teachers could explain the importance of selecting the correct speed and feed rate for the tool being used, and material being cut. They could demonstrate the use of cutting speed and feed calculations (see http://www.hsmworks.com/docs/cncbook/en/#Ch03_CuttingSpeedsAndFeedsFormulas), and the use of data charts and data calculation tools (such as those available online and using spreadsheets – see http://www.custompartnet.com/calculator/turning-speed-and-feed)
Learners could perform speed and feed rate calculations.
2 hours Unit 1 LO1
Practical turning – facing and parallel turning
Learners might begin performing turning operations practically with facing and parallel turning.
Teachers could develop suitable activities and test piece exercises for learners to produce. This could involve interpreting drawings and information, producing risk assessments, safe working method statements and also production plans.
Learners might practice parallel turning and facing operations for a range of different scenarios, and using different materials.
The following shows work holding (http://www.youtube.com/watch?v=Q7QUiCJJmew) and parallel turning and facing (http://www.youtube.com/watch?v=OeN1etkFsbk)
3 hours
SUGGESTED ACTIVITIES
OCR
LEV
EL 3
CA
MBR
IDG
E TE
CHN
ICA
LS IN
EN
GIN
EERI
NG
MEC
HA
NIC
AL
OPE
RATI
ON
S
13
Title of suggested activity Suggested activities Suggested timings Also related to
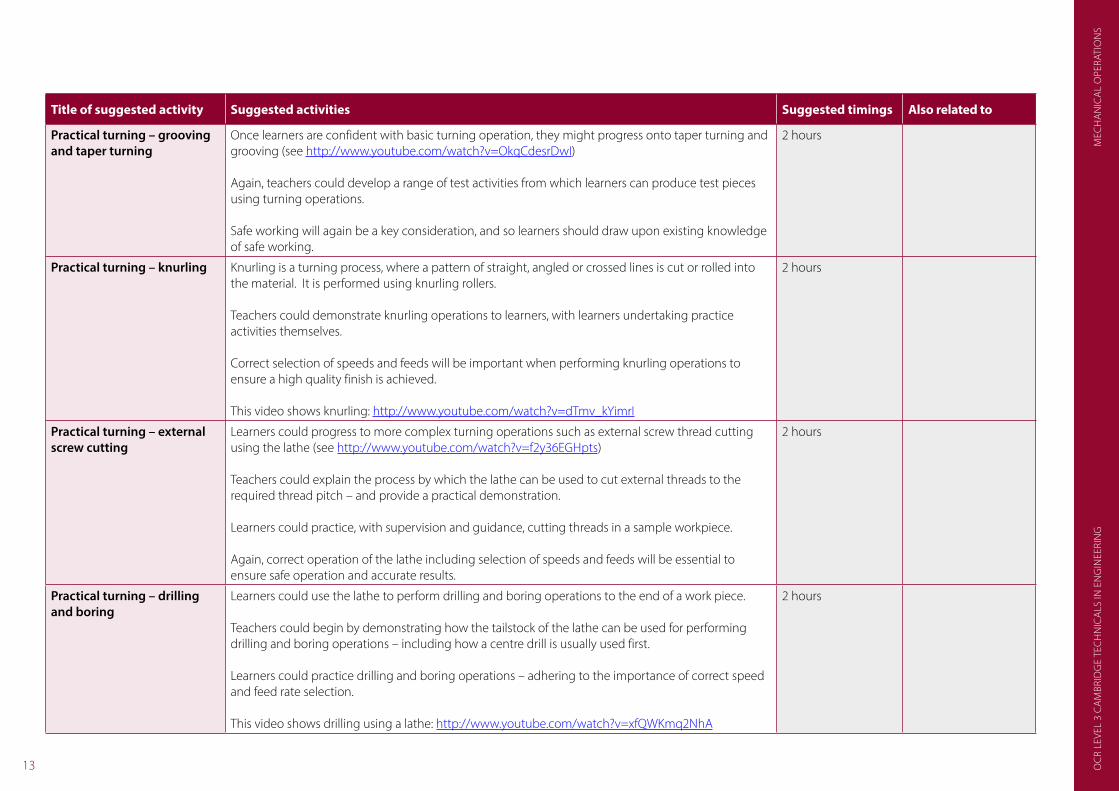
Practical turning – grooving and taper turning
Once learners are confident with basic turning operation, they might progress onto taper turning and grooving (see http://www.youtube.com/watch?v=OkqCdesrDwI)
Again, teachers could develop a range of test activities from which learners can produce test pieces using turning operations.
Safe working will again be a key consideration, and so learners should draw upon existing knowledge of safe working.
2 hours
Practical turning – knurling Knurling is a turning process, where a pattern of straight, angled or crossed lines is cut or rolled into the material. It is performed using knurling rollers.
Teachers could demonstrate knurling operations to learners, with learners undertaking practice activities themselves.
Correct selection of speeds and feeds will be important when performing knurling operations to ensure a high quality finish is achieved.
This video shows knurling: http://www.youtube.com/watch?v=dTmv_kYimrI
2 hours
Practical turning – external screw cutting
Learners could progress to more complex turning operations such as external screw thread cutting using the lathe (see http://www.youtube.com/watch?v=f2y36EGHpts)
Teachers could explain the process by which the lathe can be used to cut external threads to the required thread pitch – and provide a practical demonstration.
Learners could practice, with supervision and guidance, cutting threads in a sample workpiece.
Again, correct operation of the lathe including selection of speeds and feeds will be essential to ensure safe operation and accurate results.
2 hours
Practical turning – drilling and boring
Learners could use the lathe to perform drilling and boring operations to the end of a work piece.
Teachers could begin by demonstrating how the tailstock of the lathe can be used for performing drilling and boring operations – including how a centre drill is usually used first.
Learners could practice drilling and boring operations – adhering to the importance of correct speed and feed rate selection.
This video shows drilling using a lathe: http://www.youtube.com/watch?v=xfQWKmq2NhA
2 hours
OCR LEVEL 3 CA
MBRID
GE TECH
NICA
LS IN EN
GIN
EERING
MECH
AN
ICAL O
PERATION
S
14
Title of suggested activity Suggested activities Suggested timings Also related to
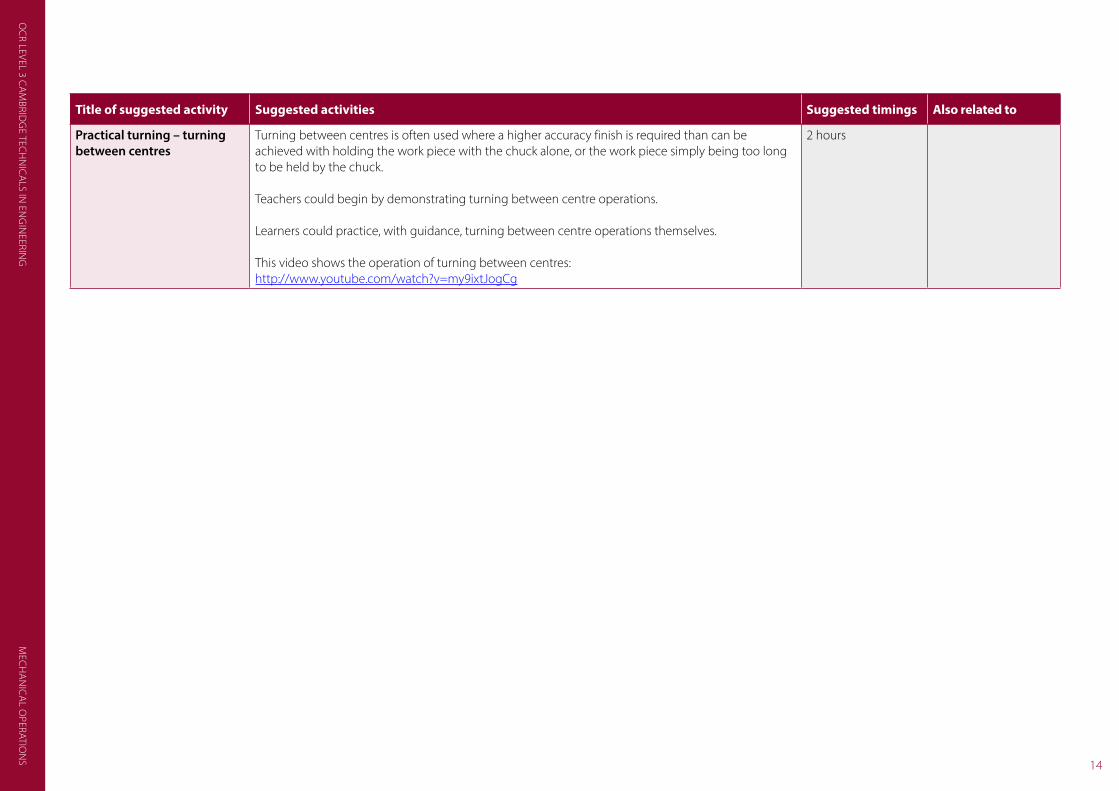
Practical turning – turning between centres
Turning between centres is often used where a higher accuracy finish is required than can be achieved with holding the work piece with the chuck alone, or the work piece simply being too long to be held by the chuck.
Teachers could begin by demonstrating turning between centre operations.
Learners could practice, with guidance, turning between centre operations themselves.
This video shows the operation of turning between centres: http://www.youtube.com/watch?v=my9ixtJogCg
2 hours
OCR
LEV
EL 3
CA
MBR
IDG
E TE
CHN
ICA
LS IN
EN
GIN
EERI
NG
MEC
HA
NIC
AL
OPE
RATI
ON
S
15
LO No: 4
LO Title: Be able to use drilling and milling machines to produce quality components
Title of suggested activity Suggested activities Suggested timings Also related to
Drilling and milling - introduction
Teachers could begin this Learning Outcome by introducing learners to the key features and parts of the milling and drilling machines to be used.
Learners could undertake a risk assessment of milling and drilling operations in preparation for practical activities.
This website shows the basic parts of a milling machine: http://engineerharry.wordpress.com/2012/04/21/parts-of-the-milling-machine/
1 hour
Speeds and feeds
See Lesson Element Speeds and feeds
Both milling and drilling operations require the correct speed and feed rates to be selected for the material being cut, and for the cutting tool (mill or drill) being used. This is to ensure that the cutting tool and machine is not damaged, and also that the quality of finish of the machining operation is as required.
Teachers could expand on previous knowledge of the importance of selecting the correct speed and feed rate for the tool being used, and material being cut. They could demonstrate the use of cutting speed and feed calculations for milling operations, and the use of data charts and data calculation tools (such as those available online and using spreadsheets).
Learners could perform speed and feed rate calculations for milling operations, and also use the drilling speed and feed rate formula throughout this Learning Outcome.
2 hours Unit 1 LO1
Correct work holding Teachers could highlight the importance of correct work holding using clamps and vices for both milling and drilling operations.
Learners could practice the safe holding of different shape workpieces before performing any milling or drilling operations.
The following illustrates a number of work holding techniques: http://4mechtech.blogspot.co.uk/2014/07/milling-machine-work-holding-devices.html
1 hour
SUGGESTED ACTIVITIES
OCR LEVEL 3 CA
MBRID
GE TECH
NICA
LS IN EN
GIN
EERING
MECH
AN
ICAL O
PERATION
S
16
Title of suggested activity Suggested activities Suggested timings Also related to
Practical drilling operations Teachers could demonstrate a range of practical operations using the drilling machine to drill, ream, counter bore and spot face.
The following video shows use of a pillar drill: http://www.youtube.com/watch?v=T62n26xQbmI
Teachers could develop suitable activities and test exercises for learners to perform using the drilling machine. This could involve interpreting drawings and information, producing risk assessments, safe working method statements and also simple production plans.
2 hours
Practical milling – vertical and horizontal milling
Teachers could demonstrate vertical and horizontal milling operations to learners (shown here: http://www.youtube.com/watch?v=M4kVm7lpMEQ)
Teachers could develop suitable activities and test exercises for learners to perform using the milling machine. This could again involve interpreting drawings and information, producing risk assessments, safe working method statements and also simple production plans.
3 hours
Practical milling – milling angles
Once learners are confident with the use of the milling machine to perform vertical and horizontal milling operations, they could progress to the milling of angles onto the work piece (see http://www.youtube.com/watch?v=V50o6nvcOms)
Teachers could once again develop suitable test exercises for learners to perform.
2 hours
Practical milling – the dividing head
Teachers could demonstrate to learners more advanced milling operations – such as the use of the dividing head and rotary table.
Learners could practice milling operations such as using the rotary table to mill a radius onto work piece, or use the dividing head to mill a flat onto a shaft.
The following video shows how the dividing head works, and how it can be used to mill flats: http://www.youtube.com/watch?v=MRA6d0fPqgI
2 hours
Practical drilling and milling – PCD
Teachers could begin by explaining to learners the meaning and applications of pitch circle diameter (PCD). Simple practical examples include the spacing of the wheel hub bolts on a car (see https://www.westerntowing.co.uk/acatalog/PCD_Calculation.html), with more complex examples including gear geometry.
Teachers could demonstrate how drilling and milling operations can be used to create, for example, to produce a series of holes to a specified PCD.
Learners could complete this Learning Outcome by performing practice PCD operations using the drilling and milling machine.
2 hours
OCR
LEV
EL 3
CA
MBR
IDG
E TE
CHN
ICA
LS IN
EN
GIN
EERI
NG
MEC
HA
NIC
AL
OPE
RATI
ON
S
17
LO No: 5
LO Title: Be able to quality assure components
Title of suggested activity Suggested activities Suggested timings Also related to
Planned quality assurance checks
See Lesson Element Planned quality assurance checks
Teachers could begin the final Learning Outcome by highlighting the reason for performing quality assurance checks on components.
They could explain how quality can be checked by: checking against drawings, identifying important dimensions, checking tolerances, checking concentricity, inspecting surface finish, by visual inspection and by random sampling.
Learners could perform basic quality assurance checks on sample workpieces, comparing these against expected parameters. They could perform more detailed quality assurance measurements once they are able to use more advanced measuring equipment.
The following explains how to check tolerance (http://www.technologystudent.com/despro_flsh/revise17.html) with the following illustrating visual inspection which is a non-destructive testing technique (http://www.youtube.com/watch?v=xDajhAzG16k)
2 hours Unit 1 LO1Unit 21 LO1
Measuring – set and combination squares
Teachers could demonstrate to learners how to use a combination set and engineer’s square to perform quality control measurements.
Learners could practice making quality assurance checks using sample workpieces – comparing measured values against those expected.
1 hour
Measuring – calipers Learners could continue developing knowledge of how to perform quality assurance measurements using vernier callipers and digital callipers (see http://www.youtube.com/watch?v=4hlNi0jdoeQ)
Learners could use callipers to determine lengths and diameters of test specimens or components they have produced themselves.
1 hour
Measuring – micrometer Teachers could conclude this Learning Outcome by demonstrating the correct use of the micrometer (see http://www.youtube.com/watch?v=O8vMFFYNIfo)
Learners could use the micrometer to make accurate measurements.
Teachers may be able to show learners different types of micrometer – including those to measure outside, inside and depth measurements.
1 hour
SUGGESTED ACTIVITIES

OCR
LEV
EL 3
CA
MBR
IDG
E TE
CHN
ICA
LS IN
EN
GIN
EERI
NG
MEC
HA
NIC
AL
OPE
RATI
ON
S
18
OCR Resources: the small printOCR’s resources are provided to support the teaching of OCR specifications, but in no way constitute an endorsed teaching method that is required by the Board, and the decision to use them lies with the individual teacher. Whilst every effort is made to ensure the accuracy of the content, OCR cannot be held responsible for any errors or omissions within these resources.
© OCR 2015 - This resource may be freely copied and distributed, as long as the OCR logo and this message remain intact and OCR is acknowledged as the originator of this work.
OCR acknowledges the use of the following content: English and Maths icon: Air0ne/Shutterstock.com. Thumbs up and down icons: alexwhite/Shutterstock.com
Please get in touch if you want to discuss the accessibility of resources we offer to support delivery of our qualifications: [email protected]
We’d like to know your view on the resources we produce. By clicking on the ‘Like’ or ‘Dislike’ button you can help us to ensure that our resources work for you. When the email template pops up please add additional comments if you wish and then just click ‘Send’. Thank you.
If you do not currently offer this OCR qualification but would like to do so, please complete the Expression of Interest Form which can be found here: www.ocr.org.uk/expression-of-interest

TECHNICALSCambridge
For staff training purposes and as part of our quality assurance programme your call may be recorded or monitored. © OCR 2015 Oxford Cambridge and RSA Examinations is a Company Limited by Guarantee. Registered in England. Registered office 1 Hills Road, Cambridge CB1 2EU. Registered company number 3484466. OCR is an exempt charity.
Contact us
Telephone: 02476 851509 Email: [email protected]
Staff at the OCR Customer Contact Centre are available to take your call
between 8am and 5.30pm, Monday to Friday.