Embed Size (px)
Citation preview

1
Bob's Card Models www.bobscardmodels.altervista.org and www.zealot.com [Resources]
Westland Lysander Mk III (“Lizzie“) Scale: 1:36 The Westland Lysander was a British army co-operation and liaison aircraft produced by Westland Aircraft immediately before and during 2nd World War. After becoming obsolete in the army co-operation role, the aircraft's exceptional short-field performance enabled clandestine missions using small, unprepared airstrips behind enemy lines to place or recover agents, particularly unoccupied France. Like other British army air co-operation aircraft it was given the name of a mythical or legendary leader, in this case the Spartan general Lysander. Wikipedia The V-9353 piloted by Flight-Lieutenant John Bridger DFC, was used on the night of 19-20 March 1943, to clandestinely drop, amongst others, General Derestraint and French hero Jean Moulin in the fields next to the river Loire in Burgundy, France. Note the white-painted ladder rungs which are to aid quick agent pick-ups. The Maly Modelarz Lysander gave me the idea of designing the plane, for printing at a better quality, and some parts may resemble those of Maly, but most have been quite radically changed.
Specifications (Wikipedia)
General characteristics
Crew : 1 pilot Capacity : 1 passenger Length : 9.29 m Wingspan : 15.24 m Height : 4.42 m

2
Wing area : 24.2 m2
Empty weight : 1.984 kg Max. take-off weight : 2.877 kg
Powerplant : 1 x Bristol Mercury XX radial engine, 870 hp (649 kW)
Performance
Maximum speed : 341 km/h at 1.520 m.
Range : 1.000 km
Service ceiling : 6.500 m.
Climb to 3.000 m : 8 minutes.
Takle-off run to 15 m : 279 m.
Armament
� Guns: Two forward-firing .303 in (7.7 mm) Browning machine guns in wheel fairings and two
.303 Lewis guns for the observer
� Bombs: Four 20 lb (9 kg) bombs under rear fuselage and 500 lb (227 kg) of bombs on stub
wings if fitted
------------------------------------
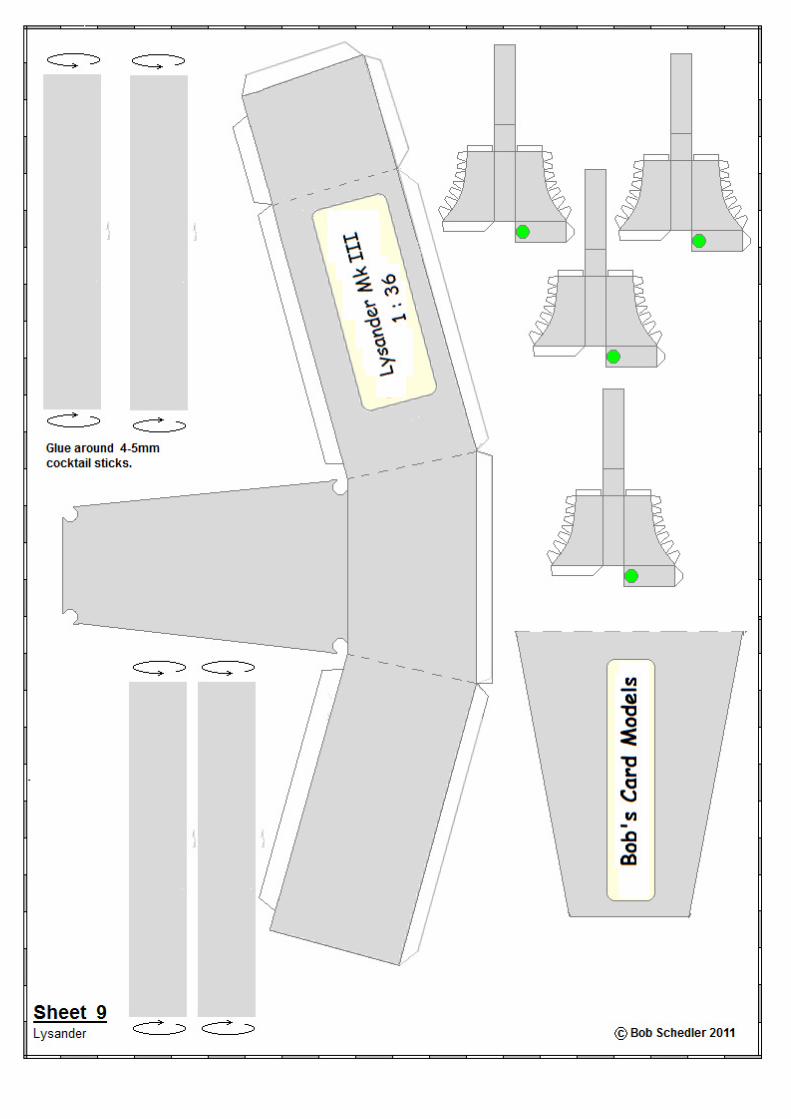
Building Instructions
Print all sheets on between 160g card, except Instructions and Sheet 3 which should be printed on 90g Paper.
Always carefully fit parts together before gluing, and make minor adjustments if necessary.
Bright Green areas must be cut out, BUT only after gluing any folds. The Instructions will tell you when!
Although the model is relatively small, bulkheads have also been used to keep the correct cross-sectional form of
the fuselage; therefore, they don't have to be glued all around, but rather tacked in place (do not tack on the
green areas, which will anyway be cut off). The bulkheads should not be pressed in firmly, but loosely,
otherwise after gluing, an unwanted ribbing effect is seen on the outside.
Make sure that the bulkheads are correctly installed - lined up with the external seam.

3
1. Cut out part 8, round with a rod, cut out green area for fin
2. Assemble and glue/close fin 16.
3. Bend fin tabs 90° outwards, insert and glue in place in 8.
4. Glue on tab 8/8A.
5. Glue on part 8A, then close/glue rear end.
6. Close/glue part 7, glue on the tab 7/8.
7. Join 7 and 8.
8. Insert/glue bulkhead C.
9. Close/glue part 6, glue on the tab 6/7.
10. Close/glue 5, and glue on the 2 tabs 5/6. Cut out green area in B/H B. Insert B/H B in position just
behind the 2 rear green points on the top of the cockpit (use a pin as barrier stop).
11. Join 6 to 7, then 5 to 6.
12. Join 4 to 5.
13. Close/glue 3, then 3A onto inside front of 3. Close/glue 2,then clap down and glue 1.Glue to the front
of 3.
14. From the rear of 3, insert/glue A into 3.
15. Insert 2 Main Wing supports through the green holes in the top of the cockpit. For these I use 2 tooth-
picks, ca. 8cm long. Glue spars in the positions shown.
MAIN WING
16. Cut out 9R, glue Wing Connector 10 in position, at present only gluing to the outer wing tip, and
close/glue the lower surface of the wing tip.
17. Glue/close inner surface of wing tip/.
18. Likewise for the left wing 9L.
19. Finish off the join wing-fuselage with the 2 parts of flashing 11L and 11R, if necessary
.
UNDERCARRIAGE / WHEELS
20. Assemble 12. When dry, cut out all green areas, and bend down the tiny tabs on top of the unit. Trim A
to size.
21. Assemble Drop Fuel Tank 26, and glue in place under the fuselage in the green slit marked.

4
22. Cut out and assemble wheel strut 13, pass through fuselage (green slits cut out on either side of the front
of the cockpit). Glue in place bending to the correct angle. Insert a tooth-pick inside the external arms
to give a bit of profile; glue in place inside the respective wheel casings.
23. Assemble the 2 wheel casings 12, glue onto ends of 13., and bend each so that they make an angle of
90° to each other.
24. Assemble and glue the slanting struts 14, and glue in place under the wings and on the wheel strut 13.
25. Assemble the 2 main wheels 20,
26. Assemble rear wheel 19, and glue in place on 18.
REAR WINGS and FIN
27. Cut out rear wings 17, glue spar 17B in place on the lower surface, close/glue wing. Insert in slit in
fuselage, and glue in place.
PROPELLER
28. Assemble 21, glue on nose cone 22, and glue onto a tooth-pick or cocktail stick.
Add the Agent’s Ladder 23 and aerial 24 under fuselage, as well as the exhaust 25 .
Where necessary, cut flashing from Sheet 8 to cover construction numbers (wing struts) and any wing joins.

5
---oooOooo---