Embed Size (px)
Citation preview

BioShock little sister syringeCreated by Ruiz Brothers
Last updated on 2016-01-11 03:30:39 PM EST

233344
677889
1010
11111212141515
1616171718192020212122
Guide Contents
Guide ContentsOverview
Making Cosplay Props with 3D Printing + DIY ElectronicsProject ExpectationsPartsTools & Supplies
Circuit Diagram3D Printing
PLA FilamentSlicing SoftwareClean upTest snap fitPrepare standoffsThread mouting holes
PolishingPolishing brushes and buffsPolishing speedsPolishing techniquesPolishing compoundBuffComparision
AssemblyMeasure wiresTin wires and copper tapeLEDCoin cell connectionFit circuit into bodySecure tactile buttonAssemble NeedleAttach bottle and needleAlign both piecesNinjaFlex rubber nipple
© AdafruitIndustries
https://learn.adafruit.com/bioshock-little-sister-syringe Page 2 of 23

Overview
Making Cosplay Props with 3D Printing + DIY Electronics
Build a creepy cosplay prop with a 3D printing, copper filament and simple electronics! This propfeatures a built-in trigger that actuates a momentary push button to make an eerie red glow. Thisguide will walk you through the steps of 3d printing, polishing, soldering and assembling of thisproject.
Project Expectations
This project is geared towards makers who have basic 3D printing skills and access to a 3D printer.The circuit is very beginner friendly and easily to solder. The 3D parts were designed for large buildplatforms. The large parts can be split to fit smaller pieces using a tool like MeshMixer fromAutodesk. Printing these parts can take up to 24 hours and about 100 grams of material.
© AdafruitIndustries
https://learn.adafruit.com/bioshock-little-sister-syringe Page 3 of 23
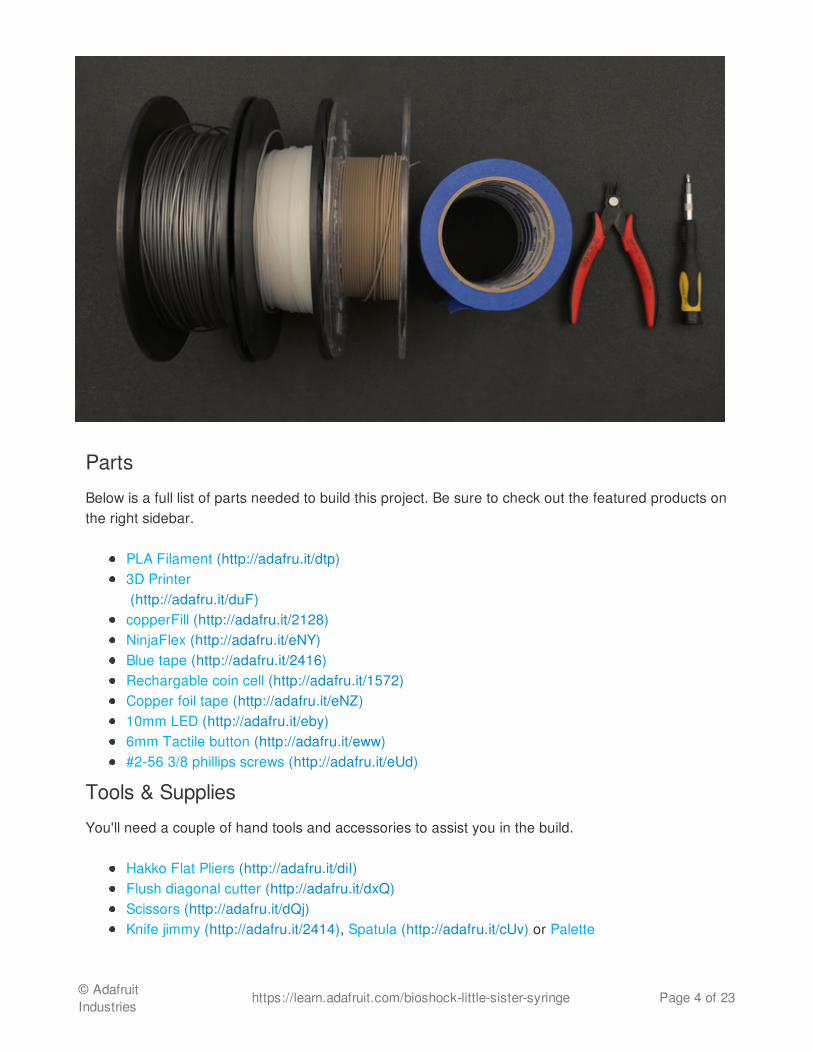
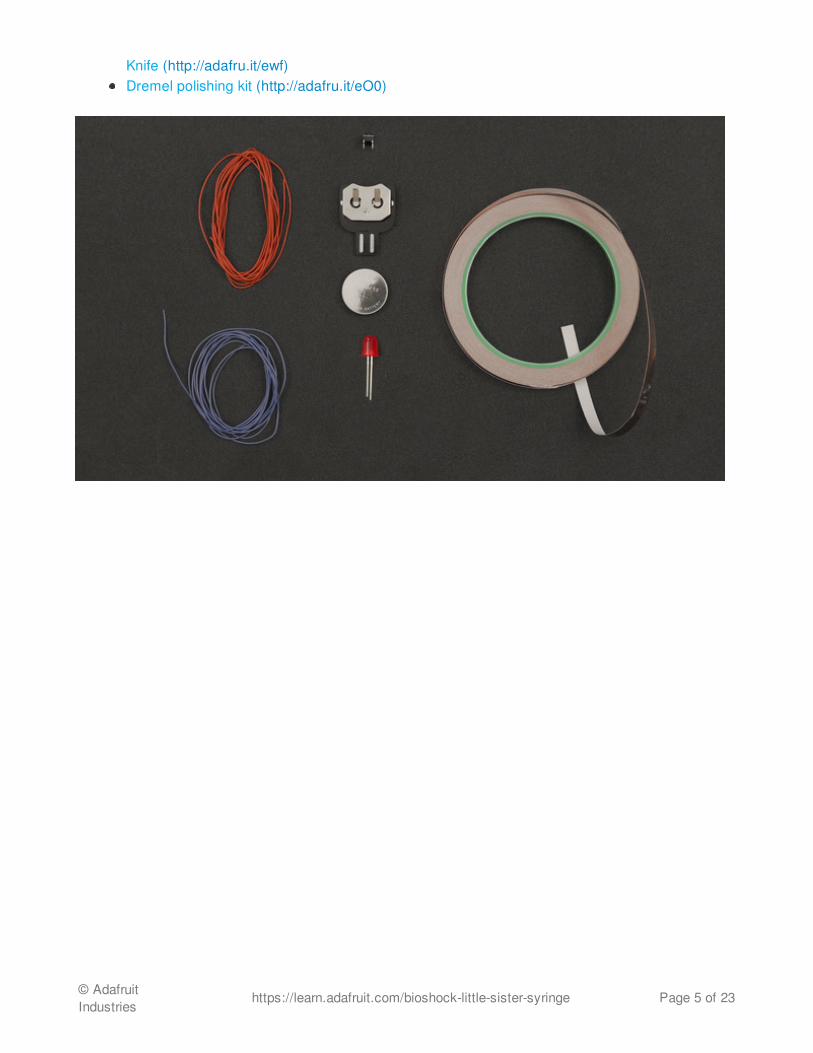
Parts
Below is a full list of parts needed to build this project. Be sure to check out the featured products onthe right sidebar.
PLA Filament (http://adafru.it/dtp)3D Printer (http://adafru.it/duF)copperFill (http://adafru.it/2128)NinjaFlex (http://adafru.it/eNY)Blue tape (http://adafru.it/2416)Rechargable coin cell (http://adafru.it/1572)Copper foil tape (http://adafru.it/eNZ)10mm LED (http://adafru.it/eby)6mm Tactile button (http://adafru.it/eww)#2-56 3/8 phillips screws (http://adafru.it/eUd)
Tools & Supplies
You'll need a couple of hand tools and accessories to assist you in the build.
Hakko Flat Pliers (http://adafru.it/diI)Flush diagonal cutter (http://adafru.it/dxQ)Scissors (http://adafru.it/dQj)Knife jimmy (http://adafru.it/2414), Spatula (http://adafru.it/cUv) or Palette
© AdafruitIndustries
https://learn.adafruit.com/bioshock-little-sister-syringe Page 4 of 23
Knife (http://adafru.it/ewf) Dremel polishing kit (http://adafru.it/eO0)
© AdafruitIndustries
https://learn.adafruit.com/bioshock-little-sister-syringe Page 5 of 23

Circuit Diagram
10mm LED
The long pin is soldered to the (red) positive wire. The other end of the red wire is soldered tocopper tape. The piece of copper is tapped to the postive side of the coin cell battery.
The short pin is soldered to a shorter (blue) negative wire. The other end is soldered to the tactilebutton.
6mm Tactile Button
A longer (blue) negative wire is soldered to another one of the leads on the button. The short (blue)wire is soldered to lead on the button. The two wires on the button should be diagonally apart.
LIR2450 Coin Cell Battery
Copper tape has an adhesive backing, peel a small portion and stick it on the positive and negativeside of the coin cell battery. Leave some of the backing on so the copper doesn’t touch the side ofthe battery.
© AdafruitIndustries
https://learn.adafruit.com/bioshock-little-sister-syringe Page 6 of 23

3D PrintingPLA Filament
These parts are optimized for printing in copperFill and PLA material. The parts print best withoutany supports!
Download STLs on Cults3D
http://adafru.it/eUe
Download STLs on Thingiverse
http://adafru.it/eUf
© AdafruitIndustries
https://learn.adafruit.com/bioshock-little-sister-syringe Page 7 of 23

Slicing Software
The recommend settings above should work with most slicing software. However, you areencouraged to use your own settings since 3D printers and slicing software will vary from printer toprinter.
Clean up
Prepare the cavity for the tactile button by removing any material around the actuator. It shouldfreely move when the triggger handle is squeezed.
syringe-body1.stl
syringe-body2.stl
syringe-nipple.stl
syringe-bottle.stl
syringe-needle.stl
@235 copperFill15% Infill0.15 Layer Height3 Shells3 Bottom Shells5 Top Shells
60mm/s Print Speed120mm/s Travel Speeds
body1 and body2 pieces take about 3 hoursto print each.
The ninjaflex nipple takes about 45 mintuesto print.
Needle parts each take about 30 mins toprint.
Bottle part takes about an hour to print.
© AdafruitIndustries
https://learn.adafruit.com/bioshock-little-sister-syringe Page 8 of 23

Test snap fit
Use a hobby knife to remove any material around the walls of the cavity and then test fit the snap fittolerance with the 6mm tactile button.
© AdafruitIndustries
https://learn.adafruit.com/bioshock-little-sister-syringe Page 9 of 23

Prepare standoffs
Tweezers or a small screw driver can be used to slightly enlarge the mounting holes for thestandoffs. This will make it easier to create the threads inside the standoffs.
Thread mouting holes
Use #2-56 3/8 screws and small screw driver to create the threads inside the standoffs.
Make sure the threads are straight and not skewed!�
© AdafruitIndustries
https://learn.adafruit.com/bioshock-little-sister-syringe Page 10 of 23

Polishing
Polishing brushes and buffs
The white detail abrasive brush, the 280 and 320 grit abrasive buff found in the Dremel polishing kithad the best polishing results.
© AdafruitIndustries
https://learn.adafruit.com/bioshock-little-sister-syringe Page 11 of 23

Polishing speeds
Use the slowest speed on your rotray power tool to polish the surface without damaging base layer.
Polishing techniques
Start with the 280 grit (it's the hardest brush to squeeze.) Use the slowest speeds on the Dremeland begin smoothing out the layers by blending them together. Use a back and forth motion as youpolish along the seams.
© AdafruitIndustries
https://learn.adafruit.com/bioshock-little-sister-syringe Page 12 of 23

Focus on one section at a time, try to blend the layers together and go back over sections to evenout the surface.
After smoothing out the ridges from the surface, polish each area a second time to bring out moreof a metalic shine.
© AdafruitIndustries
https://learn.adafruit.com/bioshock-little-sister-syringe Page 13 of 23

Switch to the white abrasive brush for the contours and hard-to-reach areas.
Polishing compound
The Dremel polishing kit includes a polishing compound. Apply to the surface using gloves. Rub itinto the surface to fill in any holes.
© AdafruitIndustries
https://learn.adafruit.com/bioshock-little-sister-syringe Page 14 of 23

Buff
Use the 320 grit abrasive buff to finish and smooth out the surface. The buff really adds contrastingtones to the overall look of the parts.
Comparision
Comparing the surfaces of these parts you can really see how well the polished part comes out.Definitely worth the time finishing your copperFill prints. A great alternative to the rotary tumbler.
© AdafruitIndustries
https://learn.adafruit.com/bioshock-little-sister-syringe Page 15 of 23

Assembly
Measure wires
Lay the wire on top of the handle part and measure how long each wire needs to be for the button,LED and battery.
© AdafruitIndustries
https://learn.adafruit.com/bioshock-little-sister-syringe Page 16 of 23

Tin wires and copper tape
Measure a piece of copper tape. Be careful not to remove the backing. Use a helping-third-hand toasist while tinning. Add a small blob of solder to tape and then solder the measured silicone-coatedwire to the ends of the tape.
LED
Solder the negitive and positive pins of the LEDs. Use heat shrink to seal the wires.
© AdafruitIndustries
https://learn.adafruit.com/bioshock-little-sister-syringe Page 17 of 23

Coin cell connection
Peel and cut a small portion of the tape backing. Use the sticky side to connect to the positive andnegitive sides of the battery.
Make sure the backing is over the portion of the tape that touches the sides of the battery.�
© AdafruitIndustries
https://learn.adafruit.com/bioshock-little-sister-syringe Page 18 of 23

Fit circuit into body
Insert the tactile button into the cavity right behind the trigger. Carefully bend and tuck the wires intothe shelled part of the body. Align the LED to the rear of the handle. Insert the coin cell battery intothe half cylinder at the bottom.
© AdafruitIndustries
https://learn.adafruit.com/bioshock-little-sister-syringe Page 19 of 23

Secure tactile button
Apply hot glue to the back of the tactile button to securly hold it in place.
Assemble Needle
Apply a small amount of E6000 to each half of the needle. Clamps or binders won't hold the twopieces in place, so instead hold them together for about 5 minutes until stick.
Make sure not to get any glue on the actuator. �
Put on a pair of gloves before handling E600! Avoid skin contact with this adhesive.�
© AdafruitIndustries
https://learn.adafruit.com/bioshock-little-sister-syringe Page 20 of 23

Attach bottle and needle
Add the needle to the front part of the body. Insert the LED into the bottle opening end.
Align both pieces
© AdafruitIndustries
https://learn.adafruit.com/bioshock-little-sister-syringe Page 21 of 23

Fit the second half of the syringe body on top of the first half. Line up the tactile button cavities. Testalignment by checking the trigger to see if it actuates push button and LED. If it doesn't, doublecheck your wiring and ensure the tactile button is secured in place.
Use #2-56 3/8 screws to attach the parts together. Make sure to tuck in any wires that might haveslipped out of the sides while screwing the two pieces together.
NinjaFlex rubber nipple
The rubber nipple part can be printed in TPE flexible material. Caramel (http://adafru.it/eNY) NinjaFlex matches pretty close to copperFill. To allow some of thelight to pass through to the tip, we used translusent color, water. Use the change filament option todual print two different colors!
The nipple part grips the top of the bottle, just slip it right on!
© AdafruitIndustries
https://learn.adafruit.com/bioshock-little-sister-syringe Page 22 of 23

Now you are ready to gather all that ADAM! If you ever need to transport this prop for your next con,you easily can disassemble and reassemble it - just be sure to bring your screw driver! The coin cellbattery should last a while but it is rechargable.
© Adafruit Industries Last Updated: 2016-01-11 03:30:40 PM EST Page 23 of 23