Embed Size (px)
Citation preview

Using Science Notebooks PDI-7 NSTA National Conference, San Antonio, Texas
Betty Stennett and Brooke Bourdélat-Parks
Science Educators, BSCS

BSCS Mission
To transform science teaching and learning through
research and development that strengthens learning
environments and inspires a global community of
scientifically literate citizens.
Stand Up If … • you teach middle school science • you teach grades 4-6 science • you teach high school science • you use notebooks in your science classes • you had to take a plane to get here. • you know where Betty is from • you know where Brooke is from • you have read the new Framework for K-12 Science
Education • you gave feedback on the NGSS • you have not stood up

Agenda
• Opening • Why use notebooks?/Notebook setup • Notebooking strategies
– CCCR – Analogy Map – I2
• More Notebooking strategies – Personal Glossary – Importance Pyramid
• Notebook Rubric • Wrap up

Goals for the session
• Broaden your thinking of how notebooks can be used in K - 8 classrooms.
• Understand how to organize, manage and assess student notebooks.
• Appreciate how students can use notebook strategies to make sense of science concepts.
• Consider how these and other notebooking strategies empower students in their learning journey.
Norms of Working Together
• Gots, Needs, and Parking Lot
• Actively participate – active learning
• Actively listen and encourage participation
• Begin and end on time
• Take care of personal needs as necessary
• Mute or turn off cell phones
• Others?

Why use notebooks? Why not?
• Create a T-chart at your table on chart paper
• Brainstorm your current thinking about the Pros and Cons of using science notebooks with students.
• Record as many ideas as your table can think of.
Pros Cons
Set up Your Science Notebook • Tape or glue the rubric to the inside front cover.
• Create a table of contents.
– Reserve 3 pages for the TOC
• Number each page on the bottom outside corner.
– Number front and back
• Be sure to make an entry for each activity we do.
– Make “learner entries” on the right-hand page
– Make “teacher entries” on the left-hand page
– Date your entries
• File your strategy handouts (both the teacher and student instructions) in the folder provided.

Think about this…
What are some general tasks we expect
students to be able to do in our science
classes?

Think about this…
What are some
general tasks we
expect students to be
able to do in our
science classes?
• Discuss
• Compare
• Analyze or Interpret
• Explain
• Read for understanding
Don’t commit assumicide!!

Learning Science
To learn science effectively, students need to interpret data and scientific explanations described in
– printed text,
– charts,
– tables,
– graphs, and
– diagrams.
A scientifically literate student
moves fluidly among these forms
of information, acquiring,
interpreting, and applying
knowledge. Few students arrive in
classrooms with this level of
literacy; instead, they must be
taught literacy strategies explicitly
(Thier, 2002).
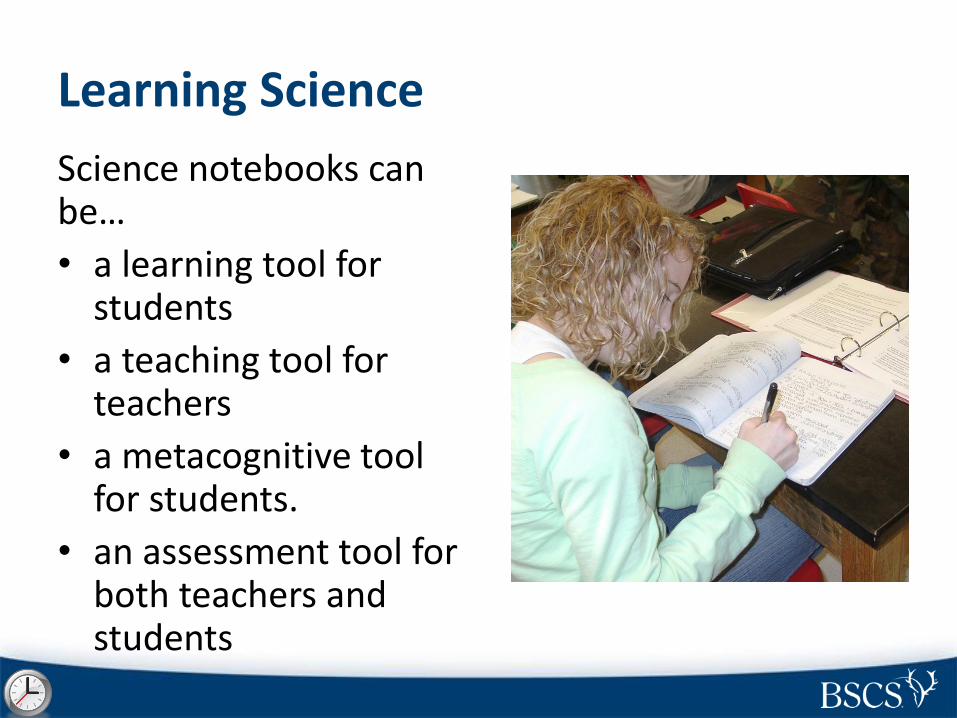
Learning Science
Science notebooks can be…
• a learning tool for students
• a teaching tool for teachers
• a metacognitive tool for students.
• an assessment tool for both teachers and students

Heat through Fluids
• Set up your notebook for the first activity.
– Title of activity: Hot Air Balloons
– Include a date and the name of your partner
– Make an entry in your Table of Contents (TOC)
• Watch the video
• How does a hot air balloon work?
• Individually write your ideas in your science notebook.
– Use complete sentences.

CCCR Consider-Contribute-Consult-Revise
• Consider and think individually. Write
down your best ideas.
• Contribute your ideas with a partner.
• Consult your partner.
• Revise your ideas. – Make revisions in a different colored pen or pencil.
– Carefully consider the advice from your peers

Teaching the Strategy
• Insist that students follow the “rules”.
• Insist that students do each step separately at first.
• Model the strategy
• Listen and comment
• Use the different colors as a formative assessment strategy

CCCR Consider-Contribute-Consult-Revise
• Consider and think individually. Write
down your best ideas.
• Contribute your ideas with a partner.
• Consult your partner.
• Revise your ideas. – Make revisions in a different colored pen or pencil.
– Carefully consider the advice from your peers
group
individual
individual

How will this strategy help students make sense of what they are learning?
And…
How will this strategy help the teacher know if the student is making sense of what they are learning?


A Model for Understanding
• Set up this activity in your notebook.
• With a partner
– Shake the dish gently and talk about what you see.
– Shake it with more energy and discuss.

Analogy Maps Feature of the
model…
…is (are)
like…
feature of
the real
world.
They are alike
because they
both…
The petri dish
a balloon. serve as a
container for the
substance.
The BBs
My hand
shaking slowly
a lot of
energy
added.

Models
• Models are integral to teaching science.
• Do models always help students understand the real world?

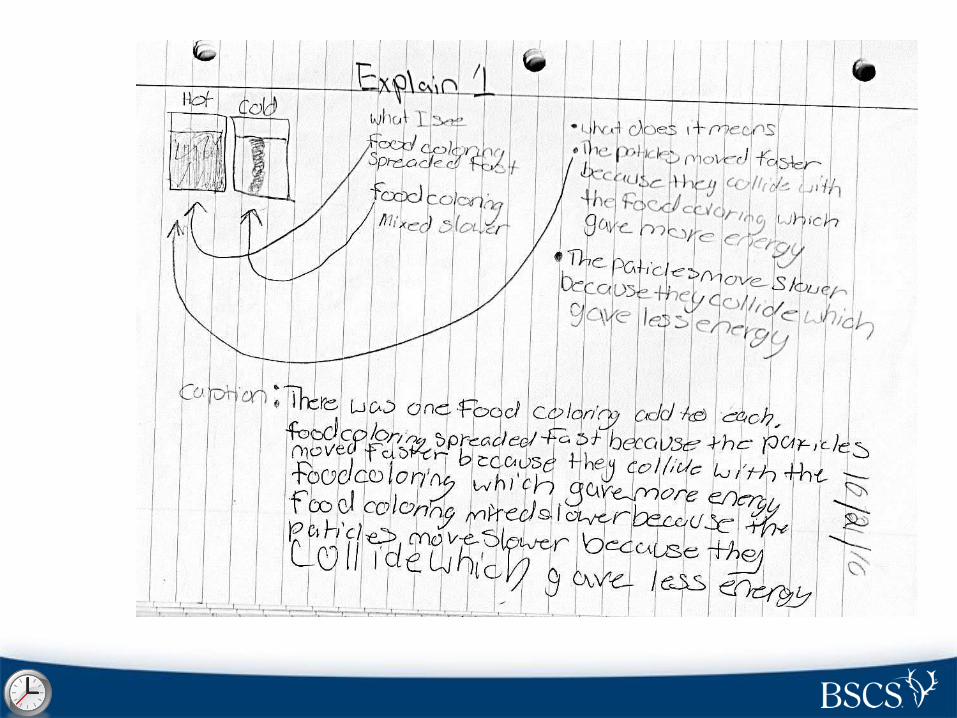
A Student Example:

Teaching the Strategy
• Model, model, model
• Start by doing one together
• Use a partially completed table – All of 1st row is complete
– Random cells are complete
– Complete cells so that students notice key features
• Examples and non examples of appropriate responses.

How will this strategy help students make sense of what they are learning?


Heat through Fluids
• New Activity: Colored Streamers
• Set up your notebook for new activity

Colored Streamers • Each team of 2-3 will need
– 2 clear cups (one with cold water) – Dropper of food coloring – Your notebooks!
• Gather your materials – Get your hot water (we will bring it to you!)
• Allow the cups of water to sit undisturbed for 3 minutes (do not bump the table!)
• Drop 1 drop of food coloring in each cup at the same time. – Work with your partner to coordinate – Make observations and record them in your notebook (on
a different page from your sketch).

Your sketch
Colored Streamers
• Read Scientific Models
– Note any bold or unfamiliar words in the reading.
• Set up personal glossary

Personal Glossary
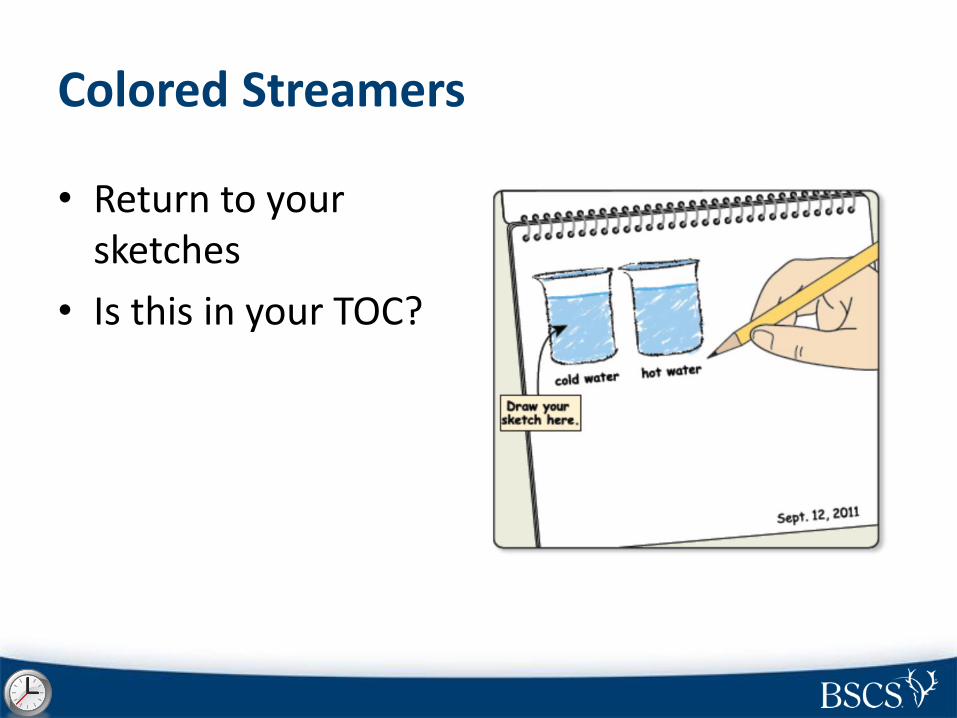
Colored Streamers
• Return to your sketches
• Is this in your TOC?

Colored Streamers
• In your notebook, write the phrase: “What I see:” near the right side of your sketch.
• Record what you see. – Draw arrows to
what you are describing
– No “because” statements
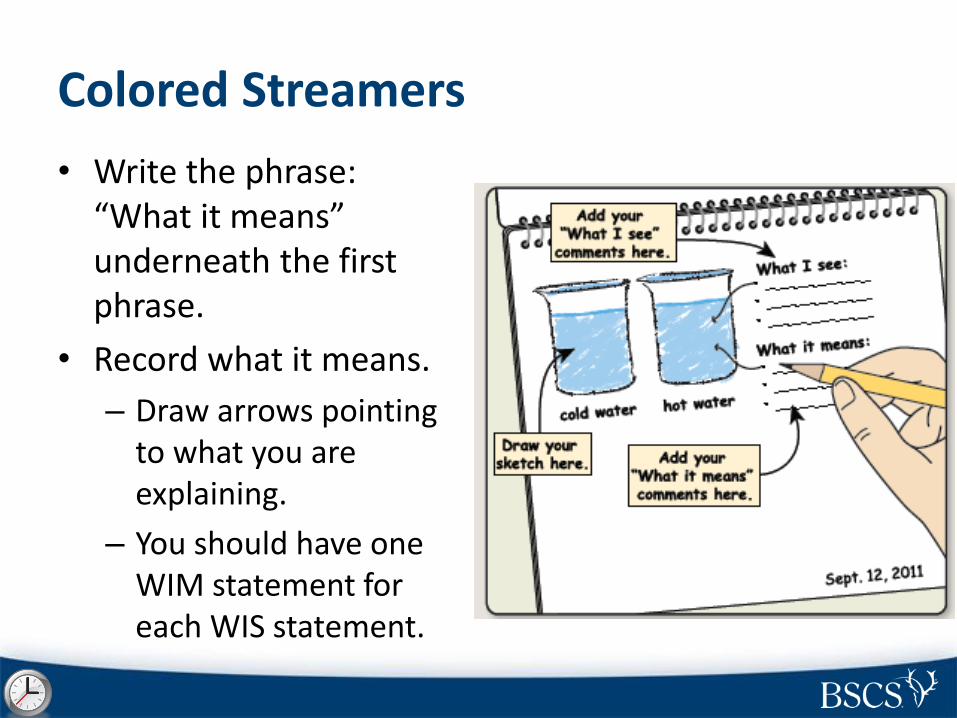
Colored Streamers
• Write the phrase: “What it means” underneath the first phrase.
• Record what it means.
– Draw arrows pointing to what you are explaining.
– You should have one WIM statement for each WIS statement.

A Caption for Colored Streamers
• Think of the caption as an executive summary.
• Begin with a topic sentence describing the graphic
• Join WIS with WIM to form a short paragraph
Teaching the Strategy – Personal Glossary
• Use when reading text
• Enter bold and unfamiliar terms or phrases
• Model initial entries but allow students to enter their own personal connection
• Show examples of complete entries

Student Entries in their Personal Glossary

Teaching the I2 Strategy
• Model, model, model
• Work through one or part of one together
• Don’t require the caption initially
• Examples and non examples of appropriate responses.
• Work toward the goal of just requiring a caption
– Students make the I2 comments a habit of mind.

Other ways to use I2
• Graphs
• Data tables
• Complex figures in text books
• Before and after sketches to see changes


Fluttering Tissue
• Set up your notebook for a new activity
• Observe the demo
• Draw a sketch of the set up
• Record your observations
• Begin thinking about what might cause this
• Write down your initial ideas about what might cause this
• Reading Heat with Matter – Create an Importance Pyramid

An Importance Pyramid
density fluids
convection particles
rises air water
heat
After you read, arrange these words and phrases in an importance pyramid – Most important ideas go on
top
– Supporting ideas go underneath
most important
least important
Importance Pyramid

most important
least important
heat, convection, particles, density, rises, fluids, air, water
Anti-example
This shows all words have equal importance in the reading. Doesn’t help you make sense of reading.

An Importance Pyramid
density
fluids
convection
particles
rises
air
water
heat
most important
least important
Importance Pyramid

Heat with Matter
• Share your pyramid with an elbow partner.
– Communicate why you placed the words as you did
– Switch roles
• Make any revisions you want to make your pyramid better.
• Include a caption to explain your revisions and why you made them.

most important
least important
air water fluids rises density
My pyramid after revision
Caption: This pyramid shows how I revised my first importance pyramid. I changed the most important word from convection to particles because…
particles Clearly label or
mark revisions convection heat

Let’s Consider this question…
When you have science reading material for your class, what do you do to ensure that students complete the reading?
Let’s reconsider the question as…
When you have science reading material for your class, what do you do to ensure that students understand the reading?
Reading in an Inquiry Classroom
• Does reading belong in an inquiry classroom?
• Why wouldn’t you have reading in class?
– What’s the #1 response??
“My kids can’t read.”
– What are the common remedies?
• Don’t have reading
• Read as a group
• Read it for them
• Explain the content for them

Learning Science
To learn science effectively, students need to interpret data and scientific explanations described in
– printed text,
– charts,
– tables,
– graphs, and
– diagrams.
A scientifically literate student
moves fluidly among these forms
of information, acquiring,
interpreting, and applying
knowledge. Few students arrive in
classrooms with this level of
literacy; instead, they must be
taught literacy strategies explicitly
(Thier, 2002).
A Literacy Strategy for Your Science Classroom
Important ideas students get from scientific readings:
– Scientific vocabulary
– Science concepts
– Supporting ideas
– Scientific facts
–Others?

Teaching the Strategy
• You select the terms
– Select a range of “importances”
– Keep it to around 8-10 words
– Include more than just bolded words
• Give exemplars and anti-examples
• The power is in the discussion that follows not in a single correct arrangement of words.

The Practices of Science
1. Asking questions and defining problems
2. Developing and using models
3. Planning and carrying out investigations
4. Analyzing and interpreting data
5. Using mathematics and computational thinking
6. Constructing explanations and designing solutions
7. Engaging in argument from evidence
8. Obtaining, evaluating, and communicating information

Quick Write
On the next page of your notebook, take a few moments to reflect:
• What have you learned about science notebooks? How did you learn it?
• What strategy(ies) helped you the most? Why?
• What strategy did you struggle with the most?

Taking it Home
Pair with someone that teaches the same or similar subject in science – or the same grade level.
• Discuss one example from what you teach where you will use each strategy.
Self Assess
• Turn to the opening page of your science notebook
• Use the self-assessment rubric to rate your own progress in using the science notebook today

Why Use Notebooks? Why Not?
Review the list of Pros and Cons we created this morning.
• Have you changed your thinking about science notebooks?
– What additions or modifications would you make to the chart now?
• How do we deal with the Cons that remain?

3, 2, 1 …
As we close today’s session…
• In your science notebook reflect on
– 3 things you will share with your colleagues about using science notebooks in your classroom.
– 2 things related to notebooks you will try before the end of school.
– 1 goal you have for using notebooks in the next school year.
Have we got a deal for you!!!
elearn.bscs.org
BSCS Middle School Science
You can access the PowerPoint slides and handouts for this presentation at www.bscs.org/sessions.
Please feel free to contact us at www.bscs.org or Betty Stennett Brooke Bourdélat-Parks [email protected] [email protected]
5415 Mark Dabling Blvd
Colorado Springs, Colorado 80918
E: [email protected] W: www.bscs.org P: 719.531.5550