Embed Size (px)
DESCRIPTION
With over 350 recipes and more than 600 step-by-step photos that show rather than tell, this is the go-to resource for both new and experienced bakers.
Citation preview
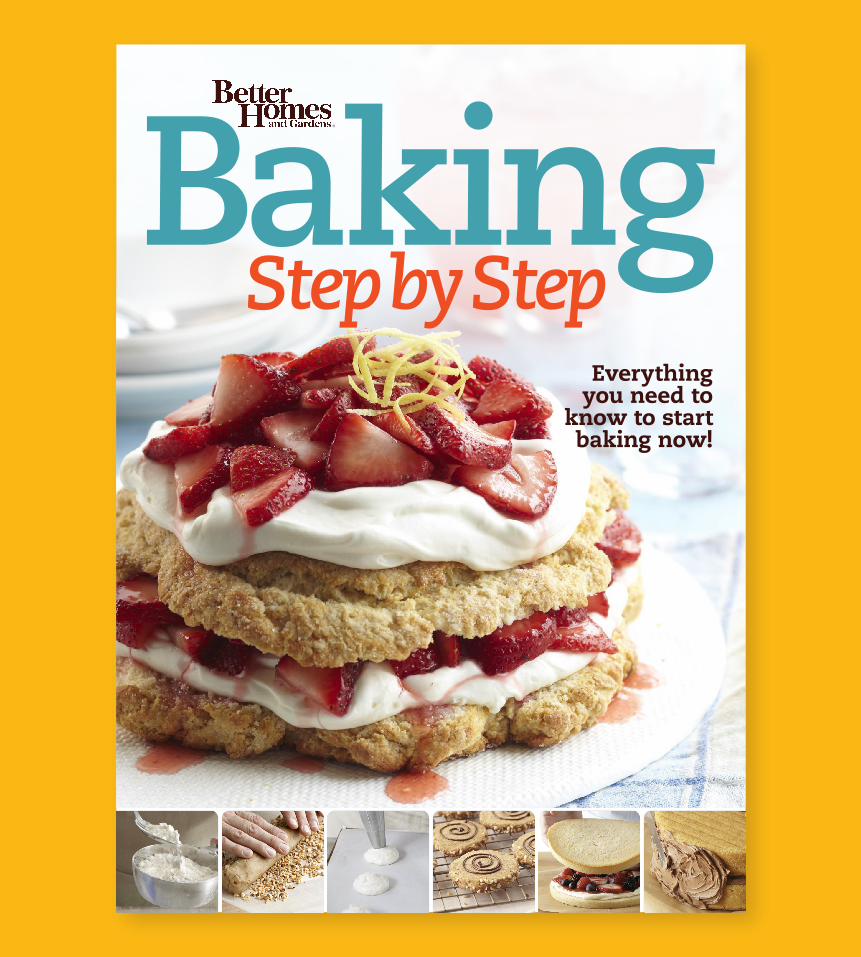
Everything you need to
know to start baking now!
BakingStep by Step
®
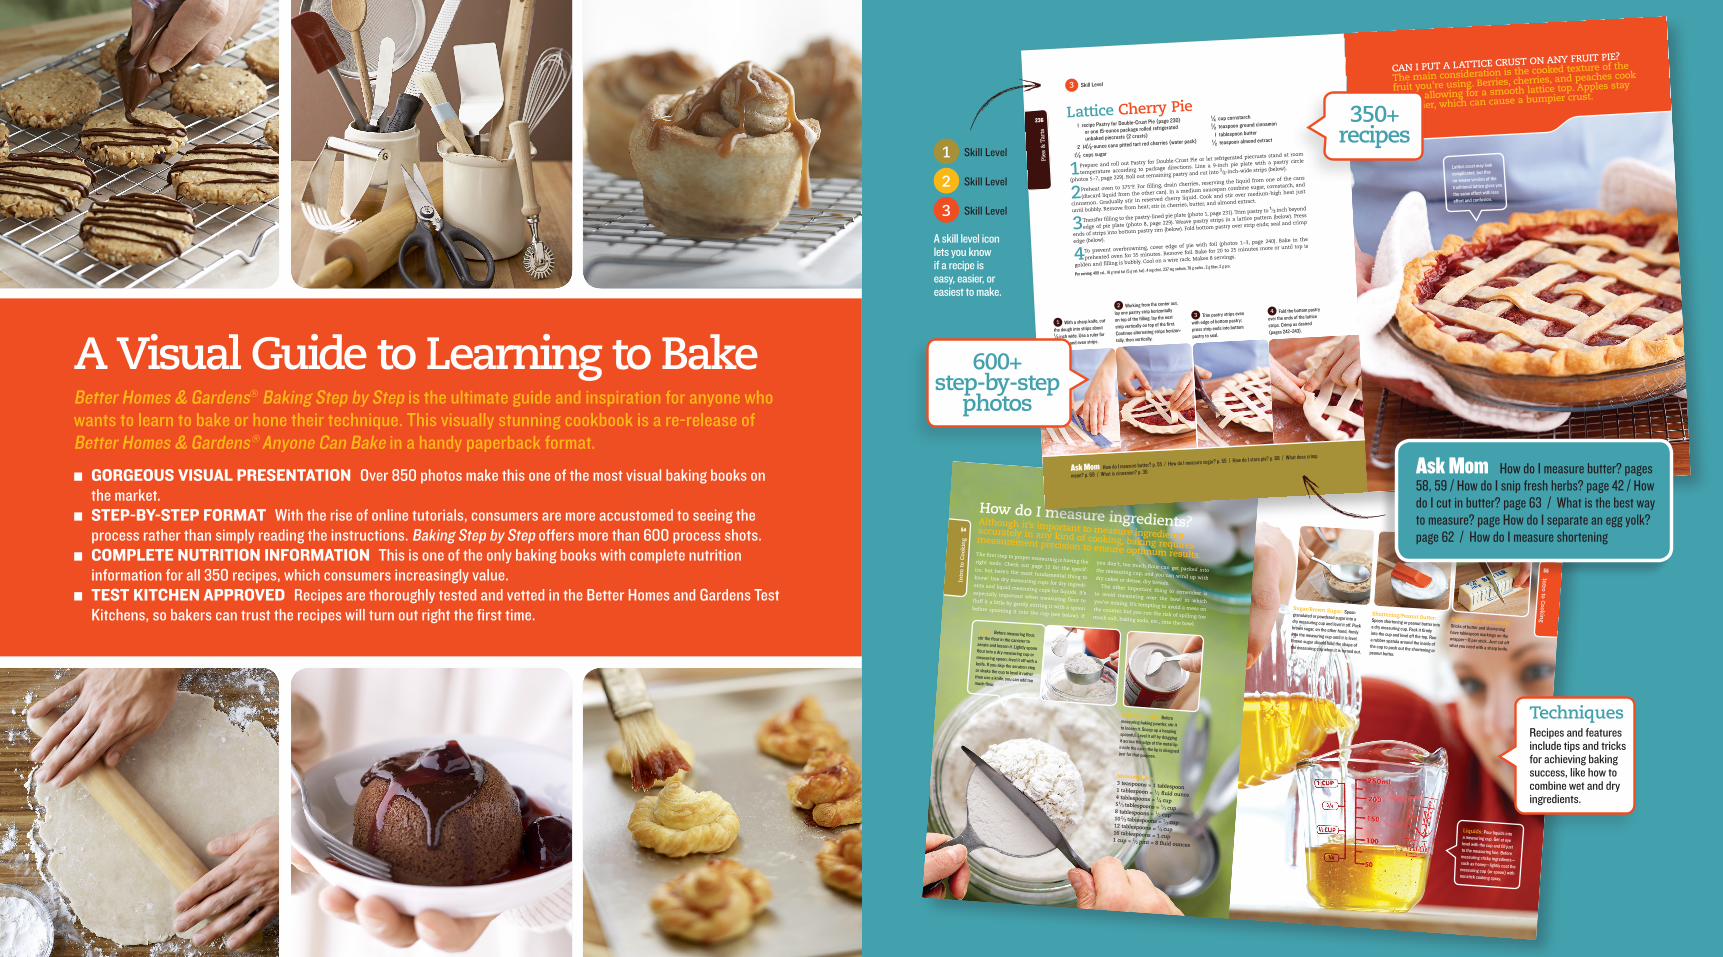
A Visual Guide to Learning to BakeBetter Homes & Gardens® Baking Step by Step is the ultimate guide and inspiration for anyone who wants to learn to bake or hone their technique. This visually stunning cookbook is a re-release of Better Homes & Gardens® Anyone Can Bake in a handy paperback format.
• GORGEOUS VISUAL PRESENTATION Over 850 photos make this one of the most visual baking books on the market.
• STEP-BY-STEP FORMAT With the rise of online tutorials, consumers are more accustomed to seeing the process rather than simply reading the instructions. Baking Step by Step offers more than 600 process shots.
• COMPLETE NUTRITION INFORMATION This is one of the only baking books with complete nutrition information for all 350 recipes, which consumers increasingly value.
• TEST KITCHEN APPROVED Recipes are thoroughly tested and vetted in the Better Homes and Gardens Test Kitchens, so bakers can trust the recipes will turn out right the first time.
How do I measure ingredients?Although it’s important to measure ingredients accurately in any kind of cooking, baking requires measurement precision to ensure optimum results.The first step to proper measuring is having the right tools. Check out page 12 for the specif-ics, but here’s the most fundamental thing to know: Use dry measuring cups for dry ingredi-ents and liquid measuring cups for liquids. It’s especially important when measuring flour to fluff it a little by gently stirring it with a spoon before spooning it into the cup (see below). If
you don’t, too much flour can get packed into the measuring cup, and you can wind up with dry cakes or dense, dry breads. The other important thing to remember is to avoid measuring over the bowl in which you’re mixing. It’s tempting to avoid a mess on the counter, but you run the risk of spilling too much salt, baking soda, etc., into the bowl.
Baking Powder: Before measuring baking powder, stir it to loosen it. Scoop up a heaping spoonful. Level it off by dragging it across the edge of the metal lip inside the can—the lip is designed just for that purpose.
Flour: Before measuring flour, stir the flour in the canister to aerate and loosen it. Lightly spoon flour into a dry measuring cup or measuring spoon; level it off with a knife. If you skip the aeration step or shake the cup to level it rather than use a knife, you can add too much flour.
Measuring Math: 3 teaspoons = 1 tablespoon1 tablespoon = 1⁄2 fluid ounce4 tablespoons = 1⁄4 cup51⁄3 tablespoons = 1⁄3 cup8 tablespoons = 1⁄2 cup102⁄3 tablespoons = 2⁄3 cup12 tablespoons = 3⁄4 cup16 tablespoons = 1 cup1 cup = 1⁄2 pint = 8 fluid ounces
54
Intr
o to
Coo
kin
g
Sugar/Brown Sugar: Spoon granulated or powdered sugar into a dry measuring cup and level it off. Pack brown sugar, on the other hand, firmly into the measuring cup until it is level. Brown sugar should hold the shape of the measuring cup when it is turned out.
Shortening/Peanut Butter: Spoon shortening or peanut butter into a dry measuring cup. Pack it firmly into the cup and level off the top. Run a rubber spatula around the inside of the cup to push out the shortening or peanut butter.
Butter/Stick Shortening: Sticks of butter and shortening have tablespoon markings on the wrapper—8 per stick. Just cut off what you need with a sharp knife.
Liquids: Pour liquids into a measuring cup. Get at eye level with the cup and fill just to the measuring line. Before measuring sticky ingredients—such as honey—lightly coat the measuring cup (or spoon) with nonstick cooking spray.
55
Intro to C
ookin
g
3 Skill Level
lattice Cherry Pie 1 recipe Pastry for Double-Crust Pie (page 230)
or one 15-ounce package rolled refrigerated
unbaked piecrusts (2 crusts)
2 14 1 ⁄2-ounce cans pitted tart red cherries (water pack)
1 1 ⁄2 cups sugar
1 Prepare and roll out Pastry for Double-Crust Pie or let refrigerated piecrusts stand at room
temperature according to package directions. Line a 9-inch pie plate with a pastry circle
(photos 5−7, page 229). Roll out remaining pastry and cut into 1⁄2-inch-wide strips (below).
2 Preheat oven to 375°F. For filling, drain cherries, reserving the liquid from one of the cans
(discard liquid from the other can). In a medium saucepan combine sugar, cornstarch, and
cinnamon. Gradually stir in reserved cherry liquid. Cook and stir over medium-high heat just
until bubbly. Remove from heat; stir in cherries, butter, and almond extract.
3 Transfer filling to the pastry-lined pie plate (photo 1, page 231). Trim pastry to 1⁄2 inch beyond
edge of pie plate (photo 8, page 229). Weave pastry strips in a lattice pattern (below). Press
ends of strips into bottom pastry rim (below). Fold bottom pastry over strip ends; seal and crimp
edge (below).
4 To prevent overbrowning, cover edge of pie with foil (photos 1−3, page 240). Bake in the
preheated oven for 35 minutes. Remove foil. Bake for 20 to 25 minutes more or until top is
golden and filling is bubbly. Cool on a wire rack. Makes 8 servings.
Per serving: 488 cal., 18 g total fat (5 g sat. fat), 4 mg chol., 237 mg sodium, 78 g carbo., 2 g fiber, 2 g pro.
1 With a sharp knife, cut
the dough into strips about 1 ⁄2 inch wide. Use a ruler for
straight and even strips.
2 Working from the center out,
lay one pastry strip horizontally
on top of the filling; lay the next
strip vertically on top of the first.
Continue alternating strips horizon-
tally, then vertically.
3 Trim pastry strips even
with edge of bottom pastry;
press strip ends into bottom
pastry to seal.
4 Fold the bottom pastry
over the ends of the lattice
strips. Crimp as desired
(pages 242–243).
1 ⁄4 cup cornstarch
1 ⁄2 teaspoon ground cinnamon
1 tablespoon butter
1 ⁄2 teaspoon almond extract
Ask Mom How do I measure butter? p. 55 / How do I measure sugar? p. 55 / How do I store pie? p. 68 / What does crimp
mean? p. 69 / What is cinnamon? p. 36
236
Pies
& T
arts
CAn I PuT A lATTICe CruST on Any FruIT PIe?
The main consideration is the cooked texture of the
fruit you’re using. Berries, cherries, and peaches cook
down, allowing for a smooth lattice top. Apples stay
chunkier, which can cause a bumpier crust.
Lattice crust may look
complicated, but this
no-weave version of the
traditional lattice gives you
the same effect with less
effort and confusion.
Ask Mom How do I measure butter? pages 58, 59 / How do I snip fresh herbs? page 42 / How do I cut in butter? page 63 / What is the best way to measure? page How do I separate an egg yolk? page 62 / How do I measure shortening
1 Skill Level
2 Skill Level
3 Skill Level
TechniquesRecipes and features include tips and tricks for achieving baking success, like how to combine wet and dry ingredients.
350+ recipes
A skill level icon lets you know if a recipe is easy, easier, or easiest to make.
600+ step-by-step
photos

ISBN: 978-0-544-45617-4Trade Paperback, 71⁄4"×10"376 pages, full-color throughout$24.99Publication Date: March 3, 2015
Publicity and Marketing• Online and social media promotion• Cross-promotion with Better Homes and Gardens
Publicity ContactClaire Holzman at 202.294.5999 or [email protected]
Follow us @HMHCooks www.hmhco.com/cooking
table of contentsIntro to Baking
Oven-Fresh Cookies
Beyond Square Bars & Brownies
Irresistible Cakes
Everyday Snack Cakes & Cupcakes
Luscious Cheesecakes & Shortcakes
Anytime Desserts
Perfect Pies & Tarts
Pastry Shop Specialties
Quick-as-Can-Be Muffins & Breads
Scrumptious Scones & Biscuits
Your Daily Breads
Everything you need to
know to start baking now!
BakingStep by Step
®