Embed Size (px)
Citation preview
Artificial Airways & Airway Management
210a
Effective Cough
• Components
– Adequate vital capacity (VC > 15 mL/kg)
– Abdominal contraction
– Glottic closure
• Irritation of airway
• Inspiration of adequate volume
• Compression
– Glottic closure
– Contraction of abdominal muscles
– Increase in intrathoracic pressure
Phases of a Cough
• Expulsion
– Opening of glottis
– Explosive expulsion of air and matter (flow
up to 500 mph)
Phases of a Cough
Ineffective Cough
• Inadequate vital capacity
• Inadequate compression
– Inadequate abdominal contraction
– Inability to close glottis
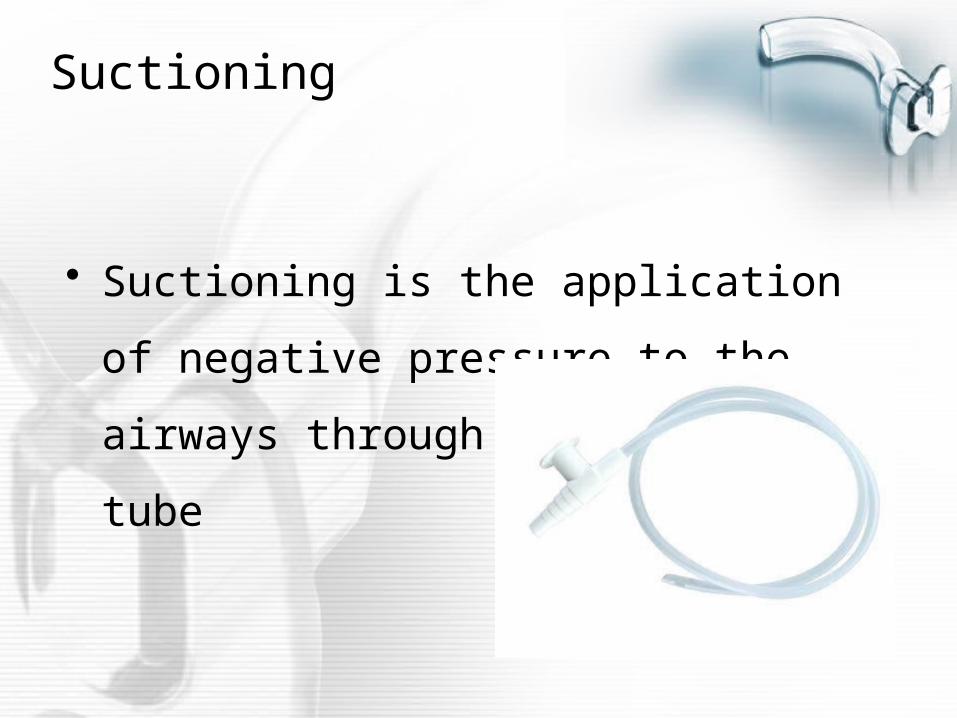
Suctioning
• Suctioning is the application of negative
pressure to the airways through a
collecting tube
Suctioning
• Suctioning of the trachea and bronchi is
usually done through an endotracheal
tube or tracheostomy tube
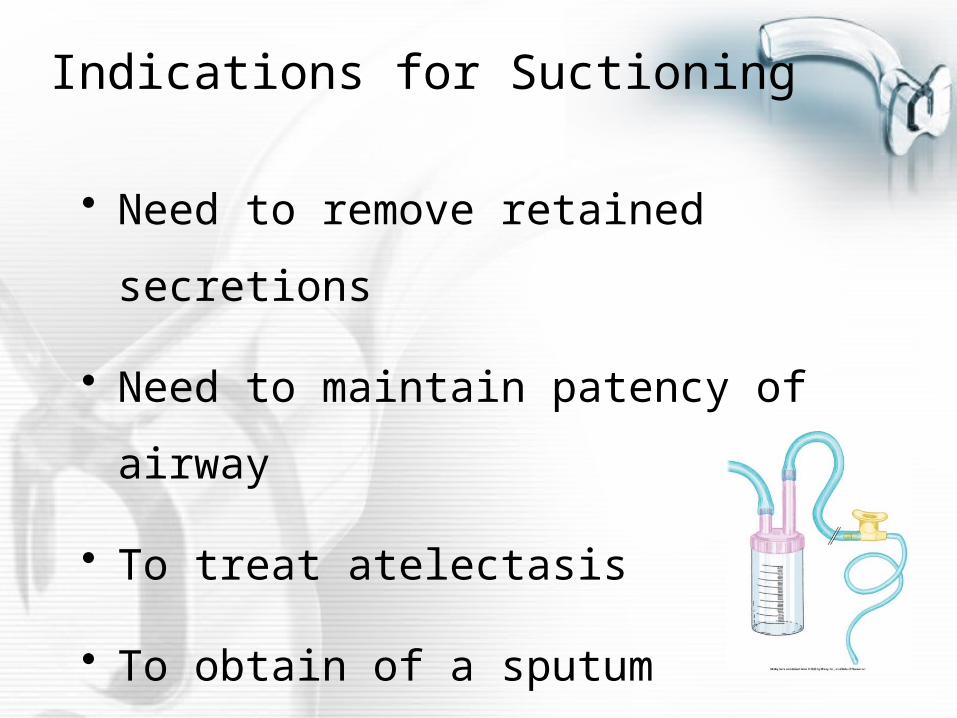
Indications for Suctioning
• Need to remove retained secretions
• Need to maintain patency of airway
• To treat atelectasis
• To obtain of a sputum specimen

Hazards of Suctioning
• Trauma
• Hypoxia
– Arrhythmias
– Inadequate cerebral oxygenation
Hazards of Suctioning
• Infection
• Vagal stimulation
• Atelectasis
Hazards of Suctioning
• Bronchospasm
• Increase in intracranial pressure
• Gag reflex stimulation
Equipment Required For Suctioning
• Oral suctioning
– Negative pressure source
– Suction canister
– Connective tubing
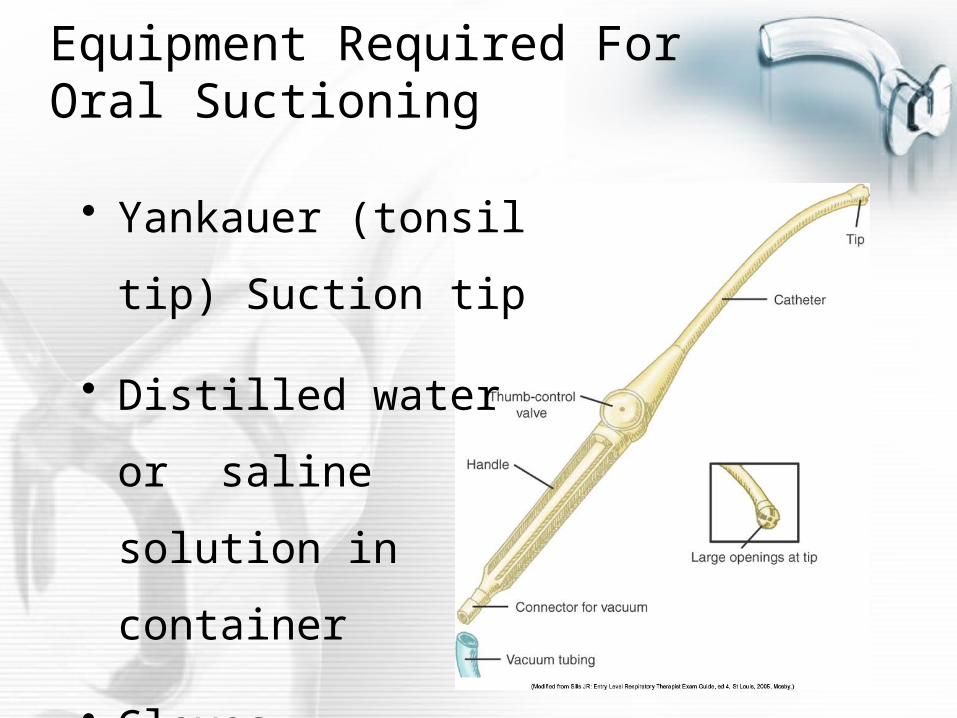
Equipment Required For Oral Suctioning
• Yankauer (tonsil tip)
Suction tip
• Distilled water or
saline solution in
container
• Gloves
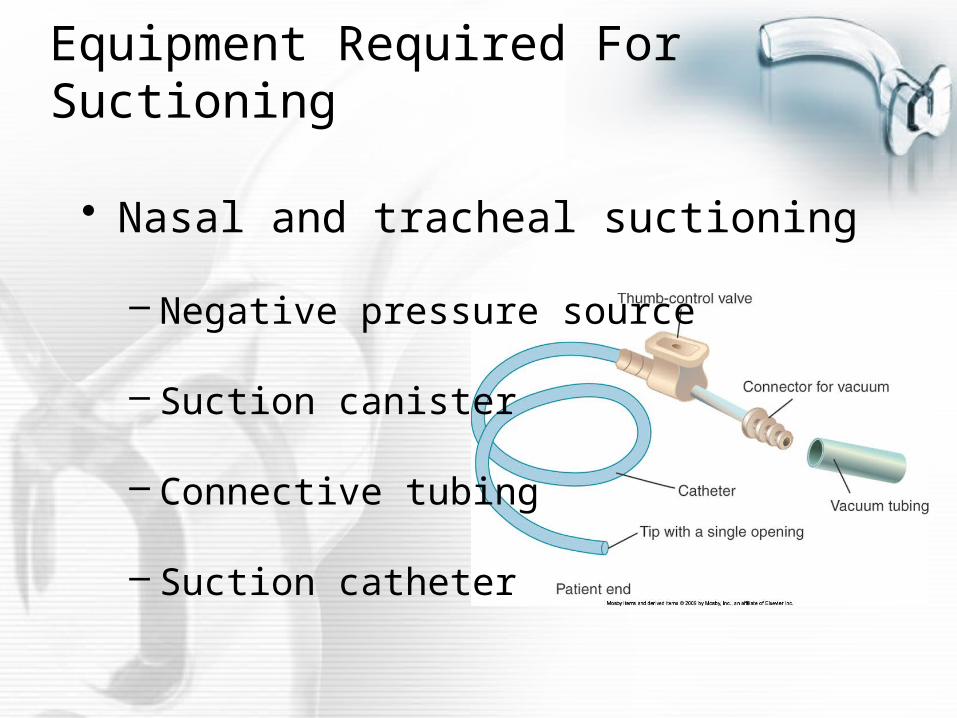
Equipment Required For Suctioning
• Nasal and tracheal suctioning
– Negative pressure source
– Suction canister
– Connective tubing
– Suction catheter

Nasal & Tracheal Suctioning Equipment
• Water soluble gel (for nasal suction)
• Distilled water or saline solution in
container
• Gloves
Catheter Types
• Whistle tip
• Argyle
• Coudé
• Closed catheter systems
Suction Catheters
• Catheter sizes
– Measured in French (French/3.14 = size in
mm)
– Diameter of catheter < ½ diameter of tube
• Murphy eye
Pressure During Suctioning
• Adult – -100 to -120 mmHg
• Child – -80 to -100 mmHg
• Infant – -60 to -80 mmHg
Suctioning Procedure
• Gather equipment, identify patient,
introduce self, explain procedure, and
wash hands
• Don gloves, prepare equipment
Suctioning Procedure
• Hyperoxygenate the patient, as
appropriate
• If suctioning nasally, lubricate the
catheter
Suctioning Procedure
• Introduce the catheter into the airway,
ensuring that no suction is applied
during introduction
• Advance the catheter until resistance
is met
Suctioning Procedure
• Withdraw the catheter 1 to 2 cm
• Apply suction continuously, withdraw
catheter, rotating catheter during
withdrawal (NOTE: apply suction for a
maximum of 15 seconds)
Suctioning Procedure
• Rinse the catheter in saline or distilled
water
• Reassess the patient
Artificial Airways
• Oropharyngeal airway
– Used in unconscious patients only to
avoid gag reflex
– Prevents tongue from occluding airway
Oropharyngeal Airway
• Allows passage of suction catheter
through center or along the side of
airway

Oropharyngeal Airway
• Insertion procedure
– Airway is upside down as it is inserted into
mouth
– Rotate sideways as airway passes over
tongue
– Place in correct position once past tongue
Artificial Airways
• Nasopharyngeal airway
– Used in conscious patients requiring
frequent suctioning
– Length of airway equals length from nostril
to ear plus one inch
Nasopharyngeal Airway
• Prevents tongue from occluding airway
• Change from naris to naris as required
Nasopharyngeal Insertion Procedure
• Lubricate airway with water soluble gel
• Examine nares; if available, choose
nares with smaller opening
Nasopharyngeal Insertion Procedure
• Gently insert airway, avoiding forcing
past obstructions
• Tip of airway should be visible just
past uvula
Artificial Airways
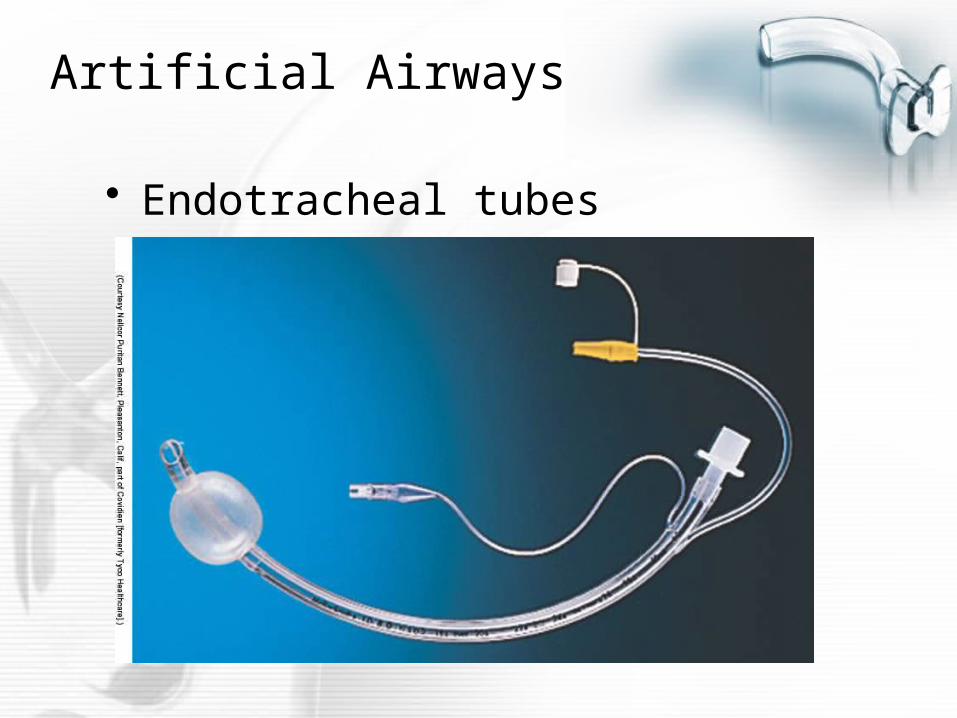
• Endotracheal tubes

Endotracheal Tubes
• Specifications established by the
American Society for Testing and
Materials (ASTM)
Endotracheal Tube Marking
• I.T. – Implant tested
• I.D. – Inner diameter
• O.D. – Outer diameter
Endotracheal Tube Marking
• Z-79 – meets standards of that
committee for non-toxicity
• Radiopaque line – determine position
after placement
• Centimeter markings to indicate depth of
placement
Endotracheal Tube Type
• Cuffed
• Uncuffed
• Double lumen
• Jet ventilation

Indications for Intubation
• Maintain airway patency
• Prevent aspiration
• Cardiopulmonary arrest
Indications for Intubation
–Establishment/maintenance of
mechanical ventilation
–Bronchial hygiene
Physiologic Effects of Intubation
• Decrease in VD (approximately by ½)
• If tube is too small, may increase
resistance and work of breathing
Equipment Needed for Intubation
• Suction equipment
• Laryngoscope
– Macintosh blade – curved
– Miller blade – straight
Equipment Needed for Intubation
• Stylet – only for oral intubation
• Magill forceps – only for nasotracheal
intubation
• Oropharyngeal airway
Equipment Needed For Intubation
• Syringe
• Tape or other securing equipment
• Endotracheal tube – choice of sizes to
meet unexpected conditions

Equipment Needed for Intubation
• Topical anesthetics (lidocaine,
xylocaine) – may be required
• Paralyzing agents (Pavulon,
succinylcholine) – for combative
patients
Intubation Procedure
• Assemble and check all equipment
• Ensure patient is hyperoxygenated and
hyperventilated, if possible
• Determine desired endotracheal tube
size, lubricate with topical anesthetic, if
required; insert stylet for oral intubation
Intubation Procedure
• Pre-oxygenate the patient
• Position patient in “sniffing” position, if
possible
• Administer paralyzing agent, if required
Intubation Procedure
• Insert laryngoscope
• Visualize the vocal cords
• Insert endotracheal tube between
vocal cords
Intubation Procedure
• Inflate the cuff
• Check breath sounds; adjust position of
endotracheal tube as needed
• Note and record centimeter mark at the
teeth
Intubation Procedure
• Secure the endotracheal tube
• Insert oropharyngeal airway
• Obtain chest X-ray to ensure proper
tube placement
• Check cuff pressure
Intubation Hazards
• Intubation of the esophagus
• Trauma to the vocal cords or trachea
• Tracheal malacia, necrosis, T-E fistula
• Aspiration
• Fracture of teeth

Tracheostomy Tubes
Indications for Tracheotomy
• Long term ventilation
• Provide patent airway when upper
airway is impassable
Hazards of Tracheotomy
• Trauma – laryngeal lesions, tracheal
lesions
• Hemorrhage
Hazards of Tracheotomy
• Subcutaneous emphysema
• Infection
• Tracheal malacia, necrosis, T-E fistula
Types of Tracheostomy Tubes
• Portex / Shiley
• Jackson
• Kamen-Wilkensen
• Fenestrated
Care of The Tracheostomy Tube
• Performed as needed according to
hospital protocol
• Assemble and check equipment
– Gloves and other protective gear
– Suction equipment
– Hydrogen peroxide
Care of The Tracheostomy Tube
• Assemble and check equipment
– Sterile water
– Cotton-tipped applicators
– Pre-cut gauze or 4 x 4 gauze pad
– Tracheostomy tube ties
Care of The Tracheostomy Tube
• Suction the patient
• Remove and clean the inner cannula
• Clean the stoma site

Care of The Tracheostomy Tube
• Change the tracheostomy tube ties
• Re-insert the inner cannula
• Assess the patient
Changing of The Tracheostomy Tube
• Performed as needed
– Perforated cuff
– Mucus plug
– Change in size of tube

Changing of The Tracheostomy Tube
• Assemble and check equipment
– Gloves and other protective gear
– New tracheostomy tube
– Suction equipment
– Tracheostomy tube ties
– Resuscitation bag
Changing of The Tracheostomy Tube
• Pre-oxygenate the patient
• Suction the patient
• Remove the tracheostomy tube
Changing of The Tracheostomy Tube
• Insert the new tube
• Secure the tracheostomy tube with
the ties
• Assess the patient
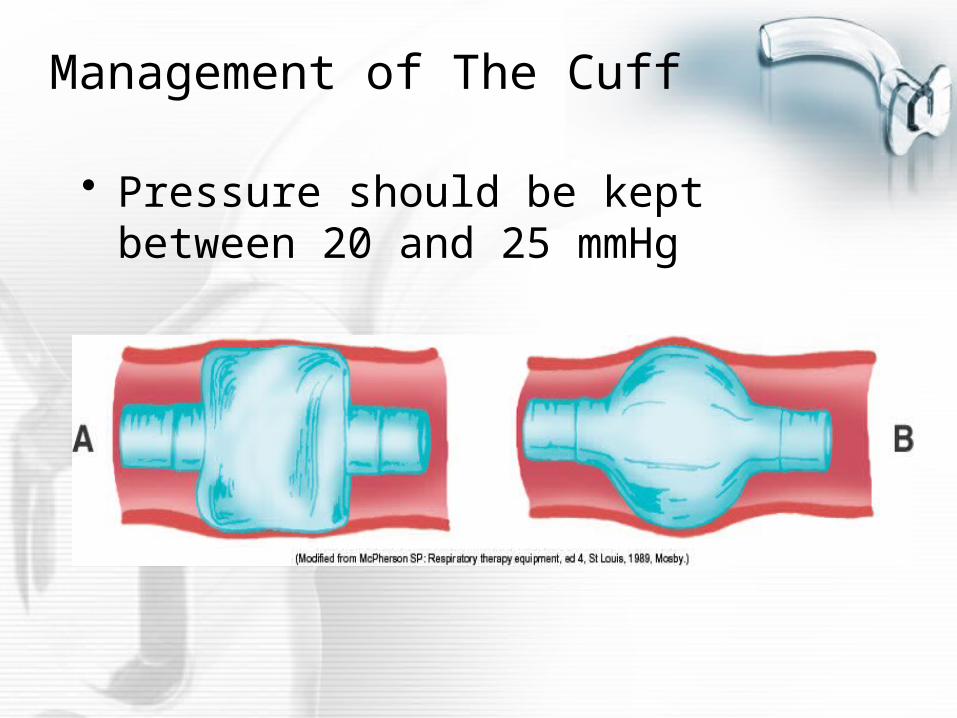
Management of The Cuff
• Pressure should be kept between 20 and 25 mmHg
Management of The Cuff
• Techniques for maintaining cuff
pressure
– Minimal occluding volume
– Minimal leak technique
– Direct measurement of cuff pressure by
manometer
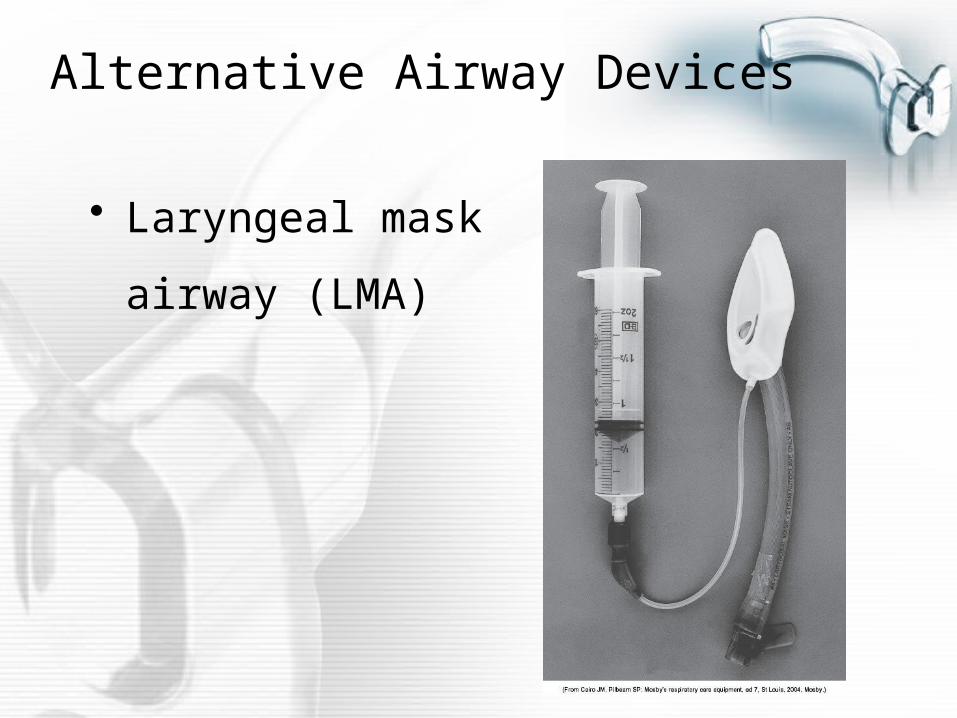
Alternative Airway Devices
• Laryngeal mask
airway (LMA)
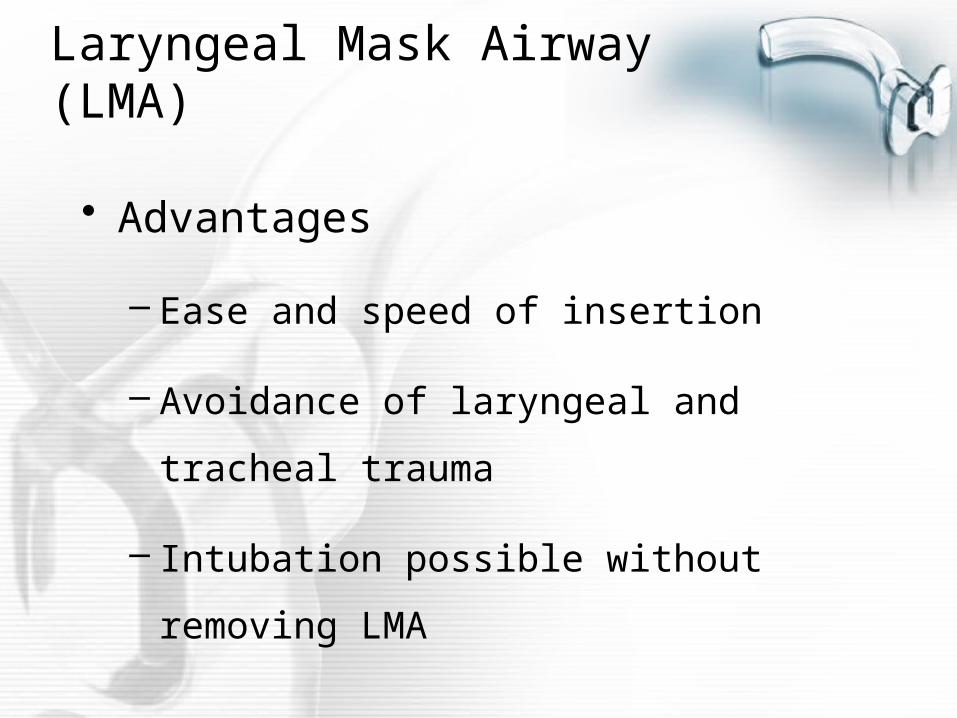
Laryngeal Mask Airway (LMA)
• Advantages
– Ease and speed of insertion
– Avoidance of laryngeal and tracheal
trauma
– Intubation possible without removing LMA

Laryngeal Mask Airway (LMA)
• Disadvantages
– Short term use only
– Cannot provide high ventilation pressures
– Potential for esophageal injury
– Aspiration may still occur, although risk is
decreased
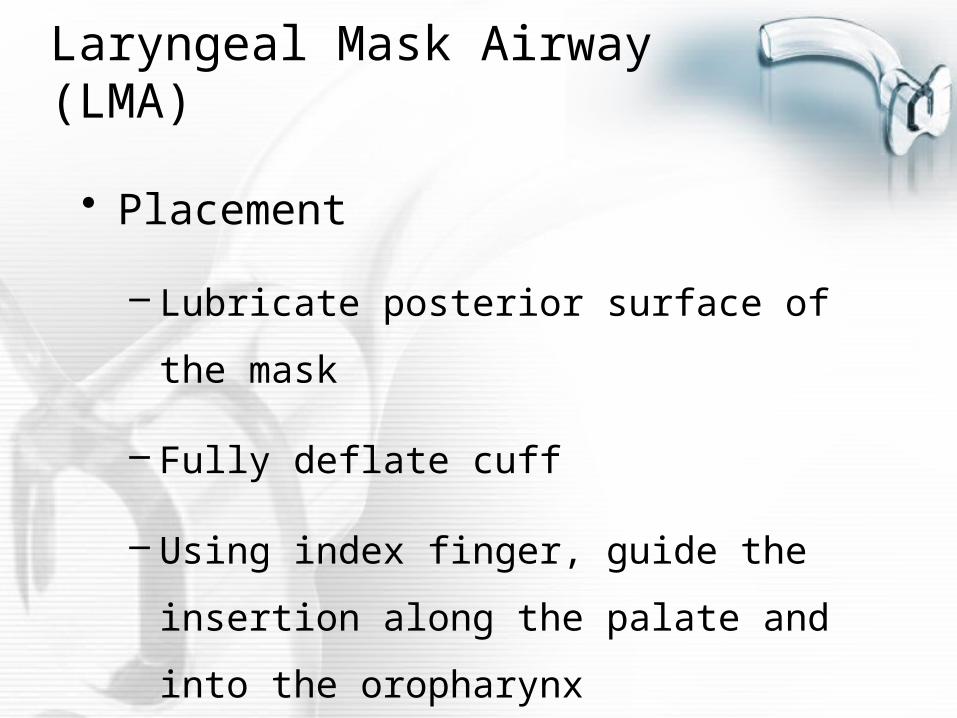
Laryngeal Mask Airway (LMA)
• Placement
– Lubricate posterior surface of the mask
– Fully deflate cuff
– Using index finger, guide the insertion
along the palate and into the oropharynx
– Inflate cuff to maximum of 60 cmH2O
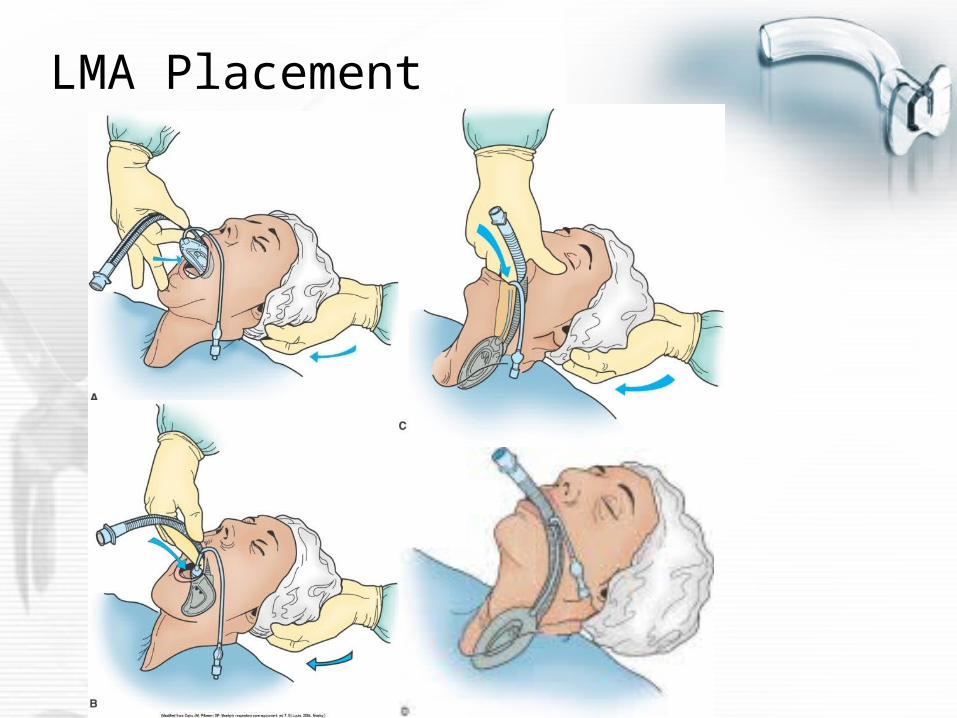
LMA Placement
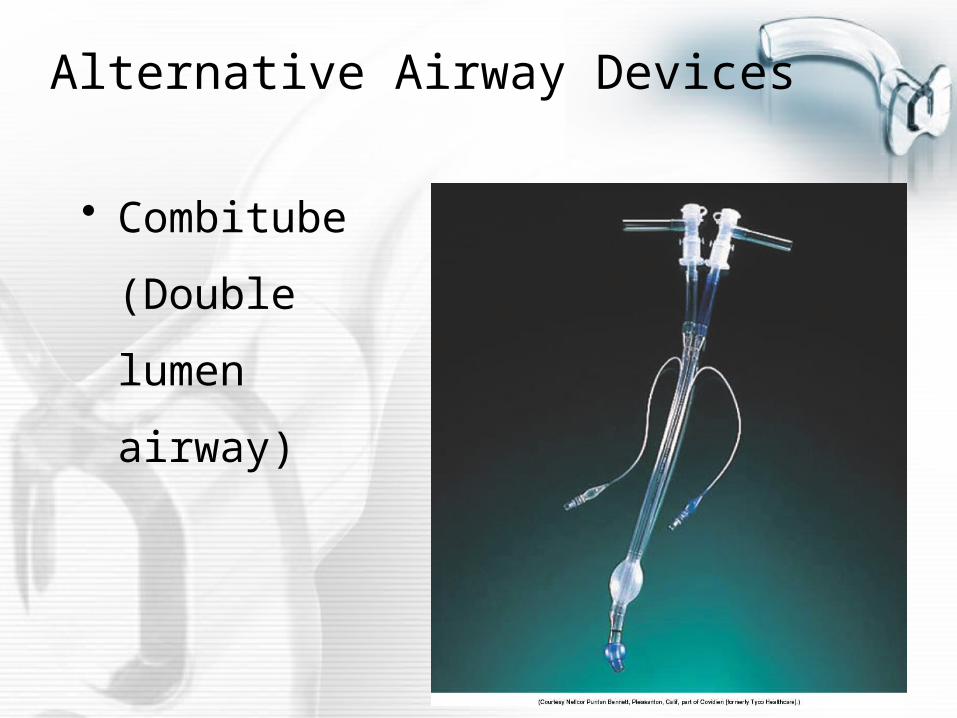
Alternative Airway Devices
• Combitube
(Double lumen
airway)
Combitube
• Advantages
– Little skill required for insertion
– Protects against aspiration
– Aids in positive pressure ventilation
Combitube
• Disadvantages
– Short term use only
– Aspiration may occur during removal
– If placed in esophageal position, cannot
suction airway

Combitube
• Disadvantages
– Potential for esophageal injury
– Difficulty in distinguishing between
esophageal and tracheal intubation
Combitube
• Placement
– Insert tube blindly through the oropharynx
into the trachea or esophagus
– Inflate the cuffs
Combitube
• Placement
– Assess placement of the tube
– Ventilate through the appropriate external
adapter
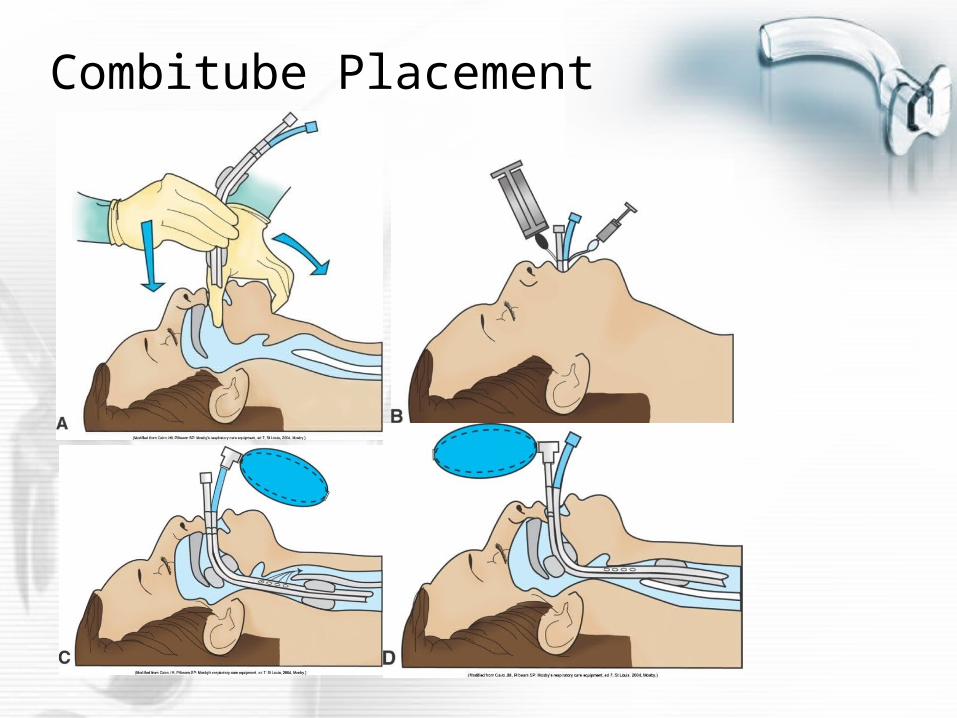
Combitube Placement
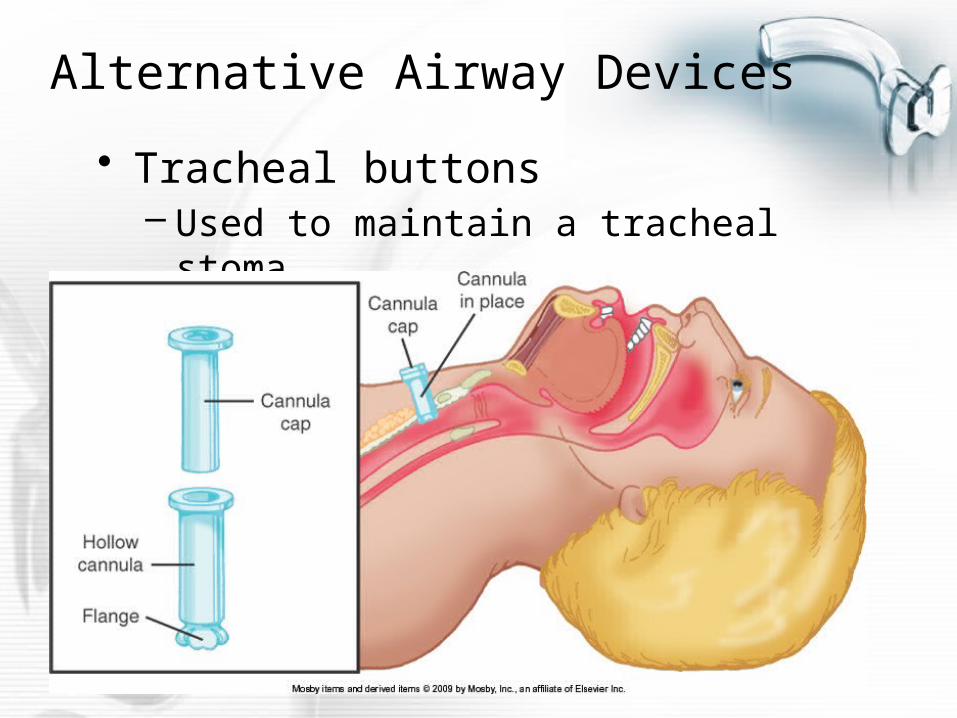
Alternative Airway Devices
• Tracheal buttons – Used to maintain a tracheal stoma
Tracheal Buttons
• Advantages
– Removes the airway resistance of a
tracheostomy tube
– Aids in the removal of secretions by allowing
continued access when cap is removed
– Allows patient to communicate verbally,
when able
Tracheal Buttons
• Disadvantages
– Will not allow attachment of mechanical
ventilators
– Must be removed and replaced with
tracheostomy tube in emergency situations
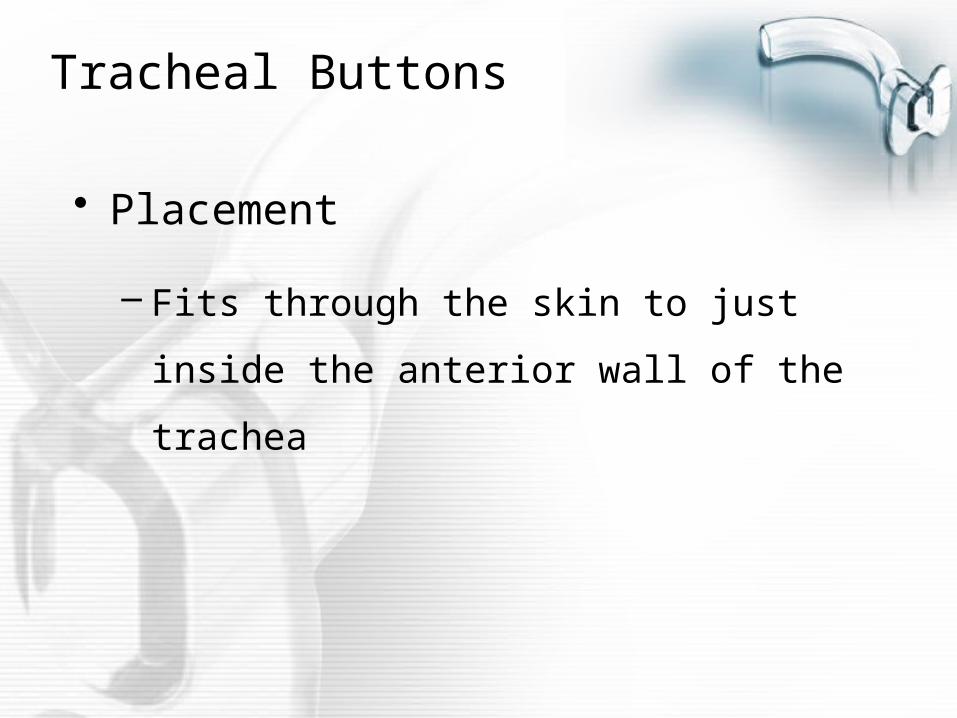
Tracheal Buttons
• Placement
– Fits through the skin to just inside the
anterior wall of the trachea


![CNC-210A Series - Tailytaily.com.tw/pdf/210a_h6670_e.pdf · CNC-210A Series H6670 User's manual 5 ê ] < c ¨ 3 TAILY AUTOMATION CO.,LTD. 4. PROGRAMMING WINGING PARAMETER 4.1. MEMORY](https://img.pdfslide.us/doc/110x75/5ed71dc6c30795314c173a46/cnc-210a-series-cnc-210a-series-h6670-users-manual-5-c-3-taily-automation.jpg)