Embed Size (px)
Citation preview
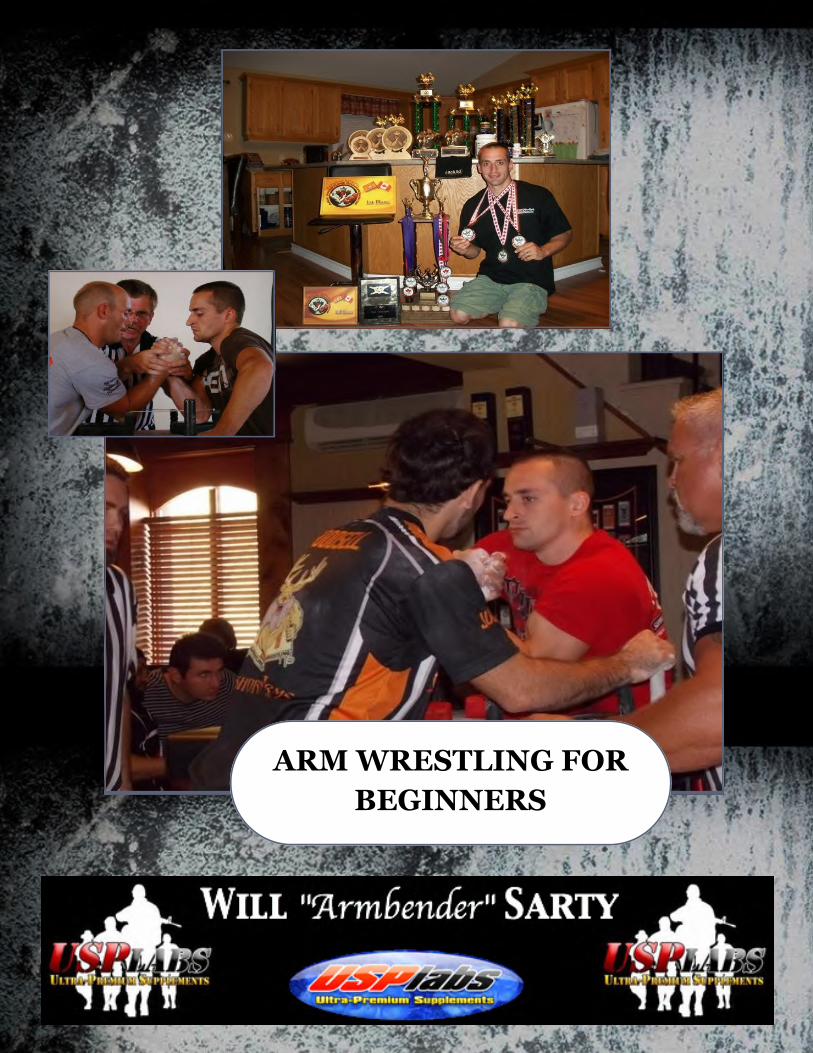
ARM WRESTLING FOR BEGINNERS
CHAPTER 1 - FAQ
Most Frequently Asked Questions in the sport of Arm Wrestling What muscle groups are involved in Arm Wrestling and which are the most important?
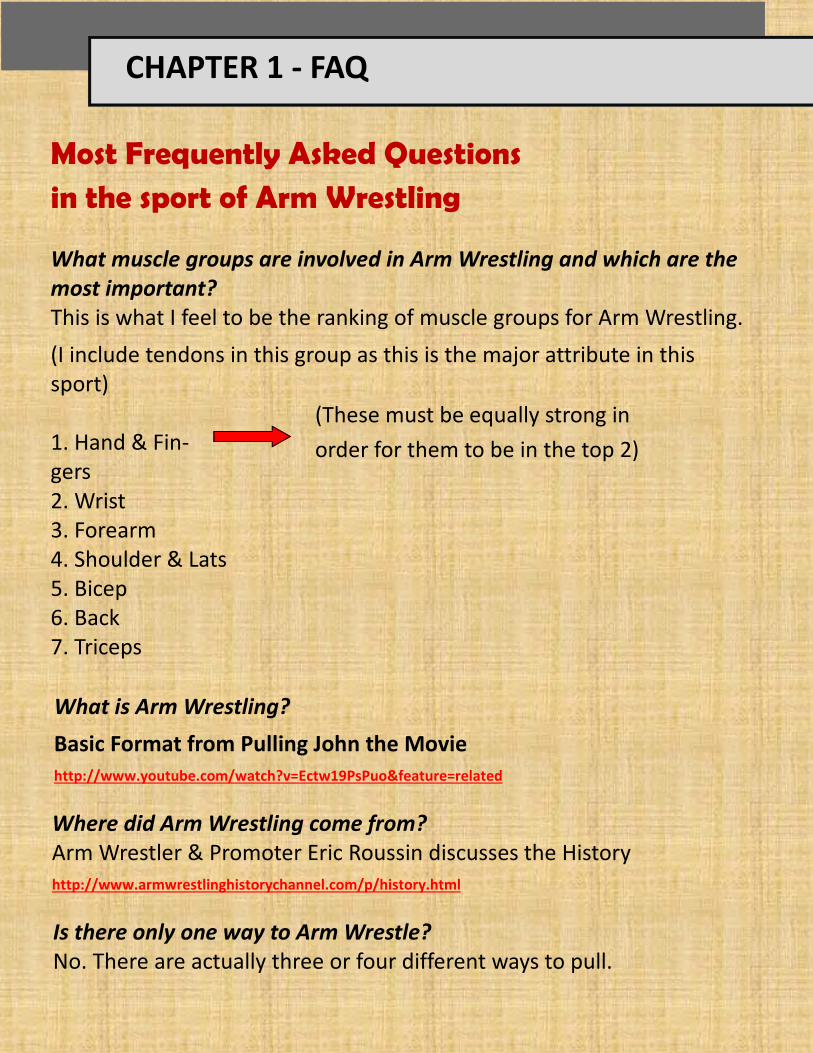
This is what I feel to be the ranking of muscle groups for Arm Wrestling. (I include tendons in this group as this is the major attribute in this sport) 1. Hand & Fin-gers 2. Wrist 3. Forearm 4. Shoulder & Lats 5. Bicep 6. Back 7. Triceps
Is there only one way to Arm Wrestle? No. There are actually three or four different ways to pull.
What is Arm Wrestling? Basic Format from Pulling John the Movie http://www.youtube.com/watch?v=Ectw19PsPuo&feature=related
Where did Arm Wrestling come from? Arm Wrestler & Promoter Eric Roussin discusses the History http://www.armwrestlinghistorychannel.com/p/history.html
(These must be equally strong in order for them to be in the top 2)
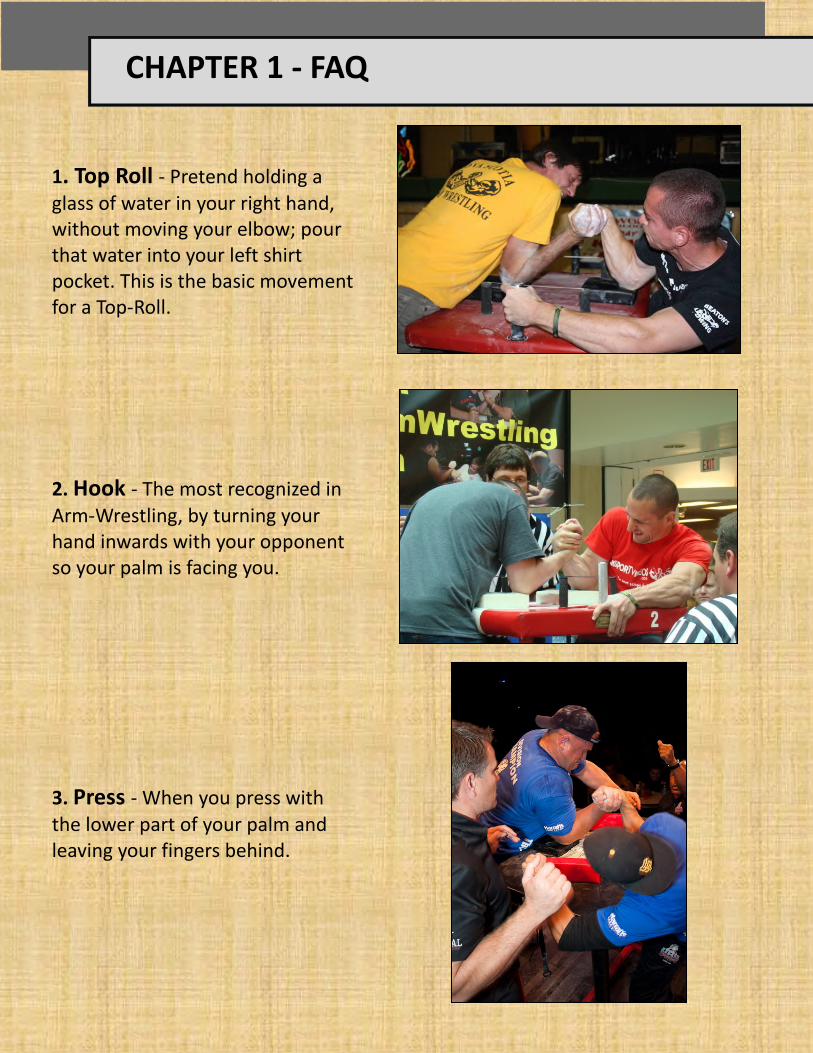
1. Top Roll - Pretend holding a glass of water in your right hand, without moving your elbow; pour that water into your left shirt pocket. This is the basic movement for a Top-Roll.
2. Hook - The most recognized in Arm-Wrestling, by turning your hand inwards with your opponent so your palm is facing you.
3. Press - When you press with the lower part of your palm and leaving your fingers behind.
CHAPTER 1 - FAQ
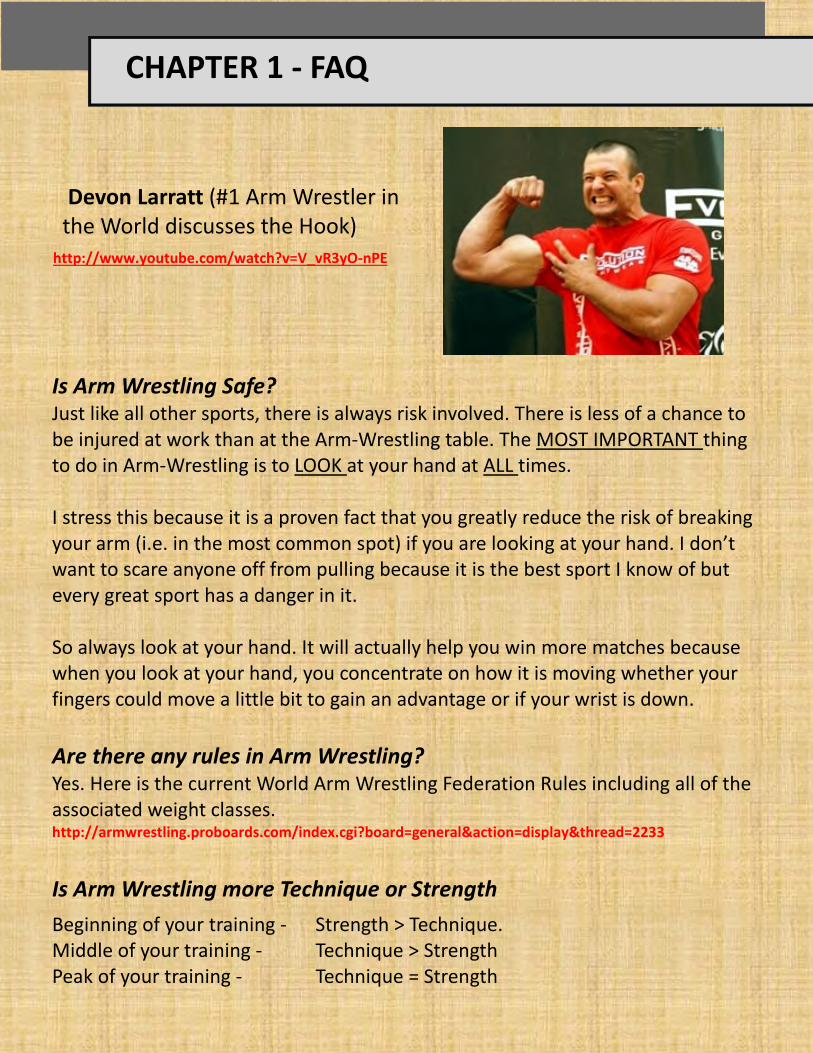
Devon Larratt (#1 Arm Wrestler in the World discusses the Hook)
http://www.youtube.com/watch?v=V_vR3yO-nPE
Is Arm Wrestling Safe? Just like all other sports, there is always risk involved. There is less of a chance to be injured at work than at the Arm-Wrestling table. The MOST IMPORTANT thing to do in Arm-Wrestling is to LOOK at your hand at ALL times. I stress this because it is a proven fact that you greatly reduce the risk of breaking your arm (i.e. in the most common spot) if you are looking at your hand. I don’t want to scare anyone off from pulling because it is the best sport I know of but every great sport has a danger in it. So always look at your hand. It will actually help you win more matches because when you look at your hand, you concentrate on how it is moving whether your fingers could move a little bit to gain an advantage or if your wrist is down. Are there any rules in Arm Wrestling? Yes. Here is the current World Arm Wrestling Federation Rules including all of the associated weight classes. http://armwrestling.proboards.com/index.cgi?board=general&action=display&thread=2233
Is Arm Wrestling more Technique or Strength Beginning of your training - Strength > Technique. Middle of your training - Technique > Strength Peak of your training - Technique = Strength
CHAPTER 1 - FAQ
CHAPTER 1 - FAQ
Is Arm Wrestling mainly forearm strength?
No. But it does have a great deal of importance in the match on the style you pull. The elbow is the key component in the lever of the arm. Therefore, I split the forearm into 4 parts; 1. Lower (area around the elbow) 2. Upper (area just below the wrist) 3. Brachialis 4. Area just above the Brach (centre of arm from wrist to elbow) Each are used differently corresponding to the style of pulling. 1. Is used primarily for Side pressure 2. Is used for a Hook position 3. Is used for Top-roll position 4. Is used for a Pressing position
What should I do to start my match?
The first thing to do when you start is to keep your hand 1 fist distance from your shoulder at all times, whether your winning or losing, it will look like your pivoting your body. This is where you are the strong. The 2nd thing you should do is when you grip your opponents hand, place your index finger on top of your thumb instead of below it, this helps with your grip. Now, look at your hand from the side when you are gripped up, make sure your knuckles are facing the ceiling; this will straighten your wrist out by doing this. Just remember to keep everything tight and pull towards you. One of the biggest mistakes new people make is that they push their opponents arm to try and win. Arm Wrestling is all pulling, once you start to feel yourself pushing, you’re doing it wrong.
CHAPTER 2 - Tips & Tricks
Arm Wrestling Tips & Tricks to Succeed 1. ALWAYS look at your hand.
This drastically lowers the chance of you breaking your arm during a match. Also, if you look at your hand, you focus more on the angles of attack and position of the fingers and elbows of yourself and your opponent.
2. Shoulder Distance
Keep your shoulder and hand tight together (roughly a fist distance) at all times whether it is in the winning or losing position, this will help increase the torque you need to remain in the match, just don’t allow your shoulder to touch your hand.
3. Finger Placement
Place your index finger on top of your thumb not below it when setting up your hand, this will allow you to finger walk more easily and also allows you to stop a person’s Top-Roll.
4. TRAIN!!!
Get to a real Arm-Wrestling table as this is really the only place to learn and develop better. Start hitting tournaments even though you don’t "think" you’re ready; it’s a great way to understand what you have to do to be ready. If you want to get big at the gym, train at the gym. If you want to be a great rock climber, rock climb. This theory is the same for Arm Wrestling. You must Arm Wrestle. Get to a real Arm Wrestling table as this is really the only place to really learn and better. Start hitting tournaments even though you don’t "think" you’re ready; it’s a great way to understand what you have to do to be ready. The problem with Arm Wrestling is that you WILL hurt the first few times you pull. You can’t expect to run a marathon and walk properly the next day. Training at the beginning is very slow and only about your form. 15 minutes each arm should be your maximum for the first month.
CHAPTER 2 - Tips & Tricks
5. Look at the referee This is during the "ready, go", it will help you on timing it perfectly. That Nano-second really does go to your advantage. Focus on those two little words and you will see great improvements.
6. Elbow Pad You have 49 square inches of elbow pad. USE IT. So many new people plant there elbow in the centre of the pad and don’t utilize all that space. Concentrate on the angle of the arms and counter using your pad. It can change the whole outcome of the match. Practice using each corner against the same opponent to see how it feels for you, then start drag motions going from front to back in a half moon shape.
7. Losing Position Try to always train in the losing position. I notice new people in the sport start-ing to get better, but when they get into the losing position, they give up be-cause they straight out do not know what to do..."In order to win, you must first learn how to lose"...this has been my motto for quite some time and has real relevance to this. 8. Joint Protection
If you are serious about staying in this sport, invest in a good joint supplement. A serious Supplement for tendons, ligaments, and joints for healing – Super Cissus Rx from USP Labs. It is well worth the investment. Along with this, triple servings of Ascenta Fish Oil has an amazing impact on your joint health and should be a staple.
CHAPTER 2 - Tips & Tricks
9. Dedication and Consistency = Success. You have to really stick with this sport to be successful. Don’t expect to win the 1st tournament you go to. Some people are gifted and can, but most of us wait a year before we win our 1st event. Consistency pays off in this sport and your gains are slow at the beginning but are very recognizable when they start get-ting better. Always remember, you are never as good as you think you are. Any-one can be beaten at any time. Stay focused and always train to your poten-tial.
10. The Weakest Link Always train where you are weakest. If your hook is lacking, train it constantly at practice, vice versa with your top roll. You’re better off being really good at one move but also hold your own on other moves. Find what works and what does-n’t and use regular circuit tournaments to work on new moves. Don’t wait until a big event to try something you haven’t practiced before.
11. Cocky vs Confident
Never underestimate your opponent. There is a fine line between being confident and being cocky. Anyone can be beaten on any given day. Don’t think you’re the best. If you’re not nervous before your event, you’re not testing yourself enough.
12. Too much Training
Listen to your body. Do not over-train; this can lead to injuries, especially in your hands, wrists, and elbows. The tendons and ligaments are over-trained very easily and take much longer to recover than muscles. I would rather not train in the gym and compete injury free than hit the gym for strength and compete injured. If your joints are sore going into a tourney, it will beat you mentally.
CHAPTER 2 - Tips & Tricks
13. Mix up Your Moves If you lose against someone, don’t keep doing the same move, try something different even if you feel weaker in that move try it. That person is bound to have a weak spot, keep trying stuff until you find it.
14. Arm Placement Keep your non-competing arm off of the table. Having your non-competing arm on the table holding onto the peg at the side limits your manoeuvrability and can prevent you from pinning your opponent. Keep your elbow in the air and take it out of the picture.
15. To Counter a Hook
There are many options for this but here are two; Option 1 Assume a basic Arm-wrestling position - drop your wrist downwards so the top part of your thumb is facing the ceiling not yourself - apply pressure down on your elbow into the elbow pad - apply pressure upwards from the thumb - apply a little side pressure from your wrist just below the thumb joint - as he goes to hook, you will top-roll form the lower part of your wrist Option 2 Assume a basic Arm-wrestling position - keep your wrist riser in a neutral position, so not high and not low like the last option listed above - apply lots of side pressure from the bottom of your palm where the wrist meets the palm. - try not to squeeze with your fingers on the back of your opponents hand, in-stead, of pressure in your fingers and let them sit just above your opponents hand
CHAPTER 2 - Tips & Tricks
16. Respect Be respectful to all members at the table including the opponent across from you and mostly the referees. Remember that the referee's word is always final. Disrespect at the table whether you win or lose is the worst thing that a competitor could display at a competition
17. Recovering from the losing position in a hook This is a tough spot but definitely recoverable. Once in the losing position you have to concentrate on your finger position. You have to drive your elbow forward to the top of the pad while turning your fingers so they are facing the ceiling and in one motion pull your opponents hand towards you using your Lat for power. Almost the same idea as a chin-up using your opponents hand as the bar. This move will put you in a more offensive position.
18. Foot Positioning This is very under- rated. In order to generate power to its potential you must be balanced at the table. If pulling right handed, place your right foot centered under the table, your left foot should be pressed against the left outside table leg, you should have a small bend in your legs also. What you want is to feel like you would fall backwards if you let go of your opponent’s hand. When you begin, you are posting off of your right leg and assuming a squat position with your left leg, ensuring that you don’t twist your body when you drop down for the pin. Your shoulders should remain level and squared with the table at all times.
CHAPTER 2 - Tips & Tricks
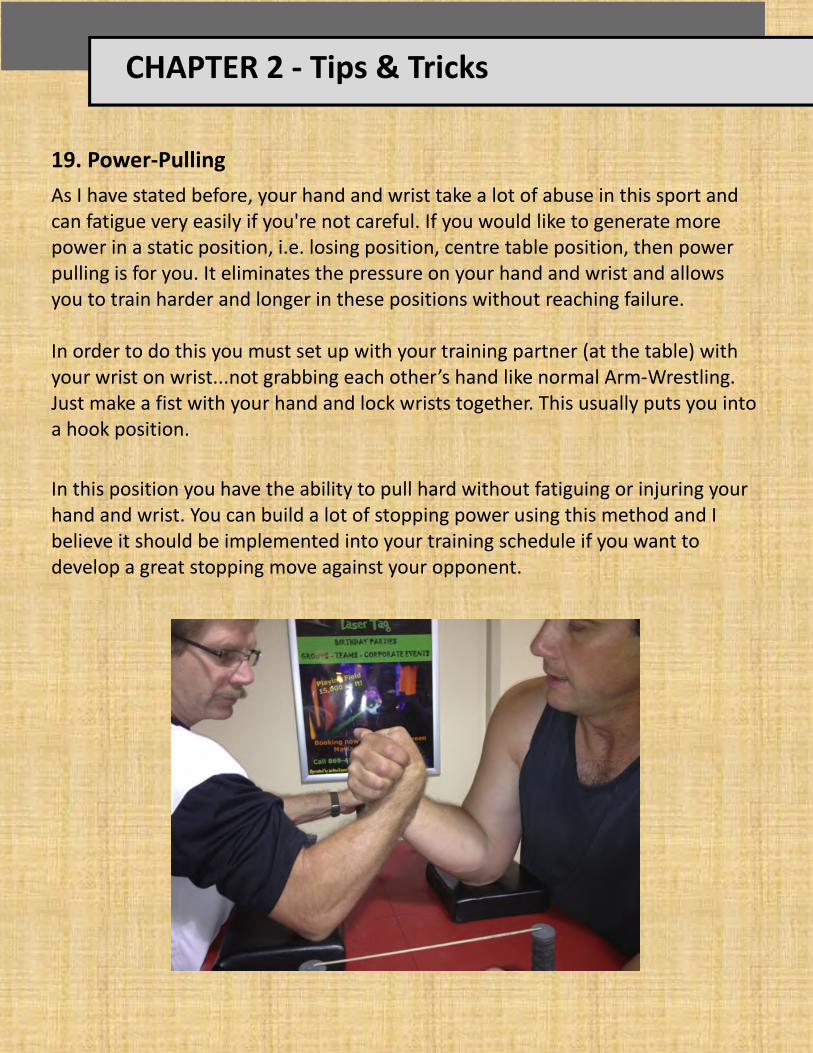
19. Power-Pulling As I have stated before, your hand and wrist take a lot of abuse in this sport and can fatigue very easily if you're not careful. If you would like to generate more power in a static position, i.e. losing position, centre table position, then power pulling is for you. It eliminates the pressure on your hand and wrist and allows you to train harder and longer in these positions without reaching failure. In order to do this you must set up with your training partner (at the table) with your wrist on wrist...not grabbing each other’s hand like normal Arm-Wrestling. Just make a fist with your hand and lock wrists together. This usually puts you into a hook position.
In this position you have the ability to pull hard without fatiguing or injuring your hand and wrist. You can build a lot of stopping power using this method and I believe it should be implemented into your training schedule if you want to develop a great stopping move against your opponent.
CHAPTER 2 - Tips & Tricks
20. Effective Strap Use
Some people never see the straps in a tournament and get confused when the referee asks if you want them high or low. Meaning the positioning of the strap on the back of your wrist. This is something that should absolutely be practiced in training. You lose your mental game when you get confused with simple questions like high or low. This gives your opponent an upper hand when he answers fast and with confidence.
When the straps are placed and the referee lets your hands go, immediately drive your elbow to the top of the pad keeping your wrist high and straight, then in the same motion, drag your arm back to centre of the pad, still with your hand and wrist high and straight.
21 - Learn How to Use Your Fingers and Wrist
Arm-Wrestling (Suicides) Pretty much 50-60% pressure from each person, moving from winning to losing position at a slow rate, building up to a fast rate never pinning the opponent just getting the motion and the pressure. Try this for 60 seconds each arm in a top-roll then switch to a hook. Complete 3 sets of each style of pulling. When you're doing this, concentrate on how your wrist is being affected in the winning position and also the losing position. See where your fingers are and how changing the pressure on each finger can increase or decrease your leverage strength. Each time you change the area that you concentrate on with your fin-gers, you change the way your wrist is used during your match. I noticed right away that in the winning position (top-roll) that I have more torque when utilizing finger pressure at the tips of the fingers where-as in the losing position, I found I was better defensively when I utilized my finger pressure not from the tips, but from the first joint down from the tips. This exercise is also great for building up your stamina
CHAPTER 2 - Tips & Tricks
22. Loose Grip vs Firm Grip (To load or not to load) This is another common question. Should I squeeze my opponents hand and show how strong I am, or should I leave my hand really loose and surprise him/her. To a certain extent, this is by preference. The Japanese Arm-Wrestlers are well known for having an extremely loose grip where their fingers sort of hover on the back of your hand. The advantage for this is speed. You can practice this just sitting on your couch. Put your arm into an Arm-Wrestling position, now squeeze your hand and flex your whole arm. Now try to hit as fast as you can. Now try it with a loose grip and loose arm. You will see a huge difference.
The problem with a loose grip is that you can get caught out of position with your hand, or, if you’re not that fast, lose the ability to stop someone else’s hit. A firm grip has pros and cons as well. By squeezing your opponent as hard as you can (primarily called loading), you can intimidate your opponent if you can generate enough pressure and it allows you to slow down an opponent’s fast hit. The problem with a firm grip or loading is that it can tell your opponent what you are going to do. Just by the pressure of your fingers in certain areas can give away your move and give your opponent and advantage. Also with loading, you can actually burn yourself out before the match begins. The ideal way for me (again this is personal preference) is somewhere in between. I like to have pressure in my arm giving some back and side pressure, but with a medium grip. This allows me to have the stopping power for a fast hitter, the ability to hide what move I am trying to do, and have stamina left to pull it off . Devon Larratt Discusses Grip
http://www.youtube.com/watch?v=g2-sHCv8cic&feature=related
CHAPTER 3 - Training at the Gym
Arm Wrestling Training in the Gym
The importance and the priority of gym training vs actual Arm Wrestling table time, has been, and always be, a long debated topic for Arm Wrestlers. Some athletes prefer only gym training or just don’t have the luxury of a table or someone to practice with. This is certainly an individual preference and is not ideal for everyone. This is however, what I have designed over 12 years of competing at the Provincial, National, and World level tweaking it to my specific needs based on strengths and weaknesses.
The muscle sequencing is very important to me and is shown in my training regime. This is what I feel to be the ranking sequence of muscle groups for Arm Wrestling. (I include tendons in this group as this is the major attribute in Arm Wrestling) 1. Hand & Fingers 2. Wrist 3. Forearm 4. Shoulder & Lats 5. Bicep 6. Back 7. Triceps 8. Chest 9. Abs
Based on those muscle groups, I train in 4 specific areas; Control, Stamina, Power, and Recovery.
CHAPTER 3 - Training at the Gym
Control This is generated from the Hand and Wrist. These must be equally strong in order for them to work to your benefit. There are two main functions of the wrist; the riser and the cup. Both trained equally will give you the ability to control your opponents hand in a match.
Stamina Lactic Acid can destroy your ability to continue a tournament. When I refer to Stamina, I am talking about Hand Stamina, Forearm Stamina, Bicep Stamina and your Core Stamina. It’s great to have all the Power and Control in the World, but if your hand and forearm get pumped after one match, they are useless.
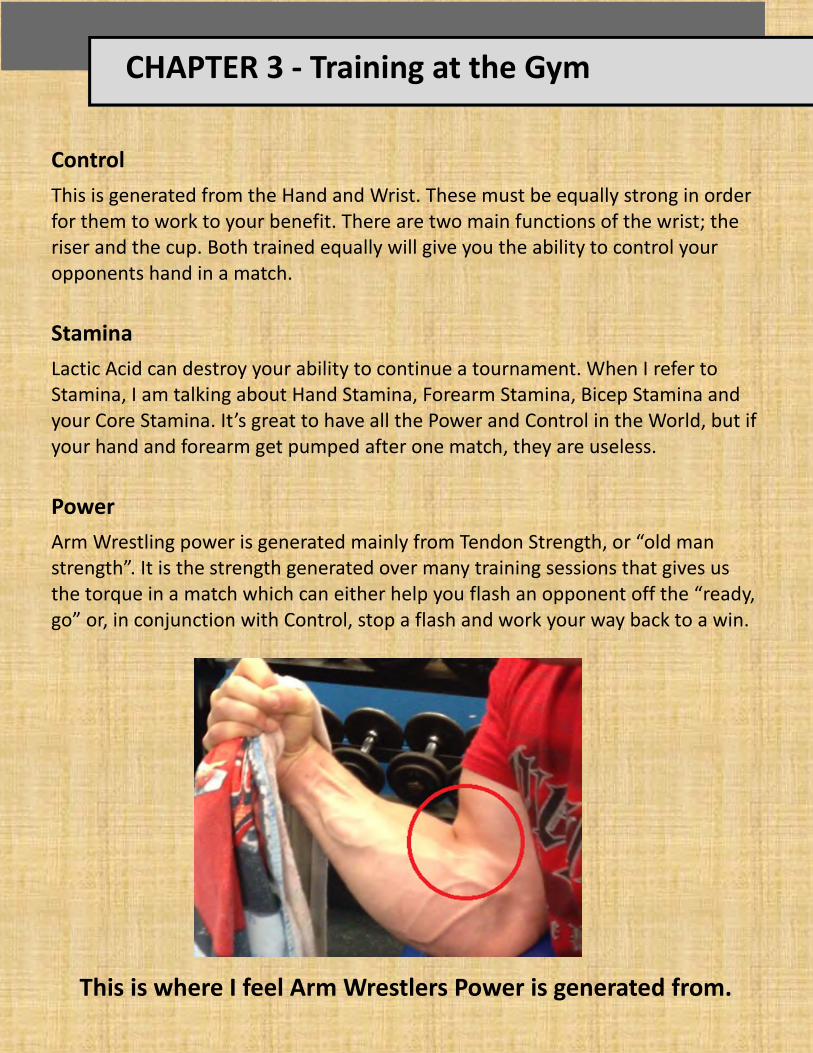
Power Arm Wrestling power is generated mainly from Tendon Strength, or “old man strength”. It is the strength generated over many training sessions that gives us the torque in a match which can either help you flash an opponent off the “ready, go” or, in conjunction with Control, stop a flash and work your way back to a win.
This is where I feel Arm Wrestlers Power is generated from.

CHAPTER 3 - Training at the Gym
Recovery Recovery training is very important for the development the previous three areas. Obviously Stamina is based on Recovery but I mean Recovery from training sessions. This gives you the ability to train and compete healthy and to recognize signs of fatigue or over training. Recovery allows you to compete more frequently, train more frequently and in-turn, become a better, stronger Arm Wrester.
Recovery Application Myofascial Release (Foam Rolling)
This is something new for me but wish I had known about it many years ago.
The Diesel Crew and Mighty Joe give a great demonstration on this procedure http://www.youtube.com/watch?feature=player_embedded&v=tQ5Kb6XCos0
Personally, I use a large glass, or hard plastic bottle for the rolling out portion. I do this for 15-20 minutes. Once complete, I use a Lacrosse Ball and move it up and down my arms with a little amount of pressure. Once I find a tender spot, I press in that area firmly for 30 seconds, release for 15, reapply for an additional 30 seconds.
CHAPTER 3 - Training at the Gym
Training Session - Arm Wrestling Specific
The sequence of this training session is extremely important. My goal is to exhaust certain muscles such as the Biceps and Forearms so that I can work the hand and wrist as a primary and not a secondary muscle group during the work-out. Fat Grip, Close Grip Pull-ups 4 Sets, 15-25 reps 1-Arm Cable Forearm Sweeping Curls on Incline Bench (Cable 75% Height of Stack) 4 Sets, 15 reps.
This movement has your elbow position on the outside of your body. It generates a sweeping motion during the movement. Turn the wrist inwards during the motion. If you have an Arm Wrestling Table, this would be ideal over the Incline Bench. https://www.youtube.com/watch?v=dLuabTofUjg
Towel Hammer Holds on front of fingers on Preacher Bench 4 Sets for Time
This is a timed exercise and works on your Riser mentioned earlier. You’re looking for 30 plus seconds for this repetition. https://www.youtube.com/watch?v=S7w7LHvZ4W8
CHAPTER 3 - Training at the Gym
Rocking Dumbbell Hammer Curls 4 Sets, 4 Reps https://www.youtube.com/watch?v=Z1QqSmZNu18
This is a strict movement. You can feel now the importance of the sequencing. You should feel your riser wanting to drop downwards as you go through this movement. You must concentrate to prevent this or it is a failed repetition. Also maintain the distance from the top of the Dumbbell to your shoulder. Towel Hammer Holds on back of hand on Preacher Bench 4 Sets for Time https://www.youtube.com/watch?v=frmykgFXhLk
This is a timed exercise and works on your Cupping mentioned earlier. You’re looking for 30 plus seconds for this repetition.
Heavy Dumbbell Partial Curls on Preacher Bench 4 Sets, 5-8 Reps https://www.youtube.com/watch?v=Vs8iPVcATt8
This is an 8” Movement which develops the torque in the area of the forearm shown above in the Power Category. Concentrate on the form. You must keep your elbow position in the centre of your body. The position of your feet is important as it keeps your balance. This helps you understand the importance of foot positioning during a real Arm Wrestling match also.
CHAPTER 3 - Training at the Gym
1-Arm Cable Forearm Curls on Preacher Bench (Cable at top of stack) 4 Sets, 15 Reps https://www.youtube.com/watch?v=U2GK7lZSR6A
This last exercise is different than before. This time, your elbow is positioned towards the opposite side of your body. (Ex. Right Arm, Put Elbow on Left side of Bench) The movement is extremely strict and there is no sweeping motion.
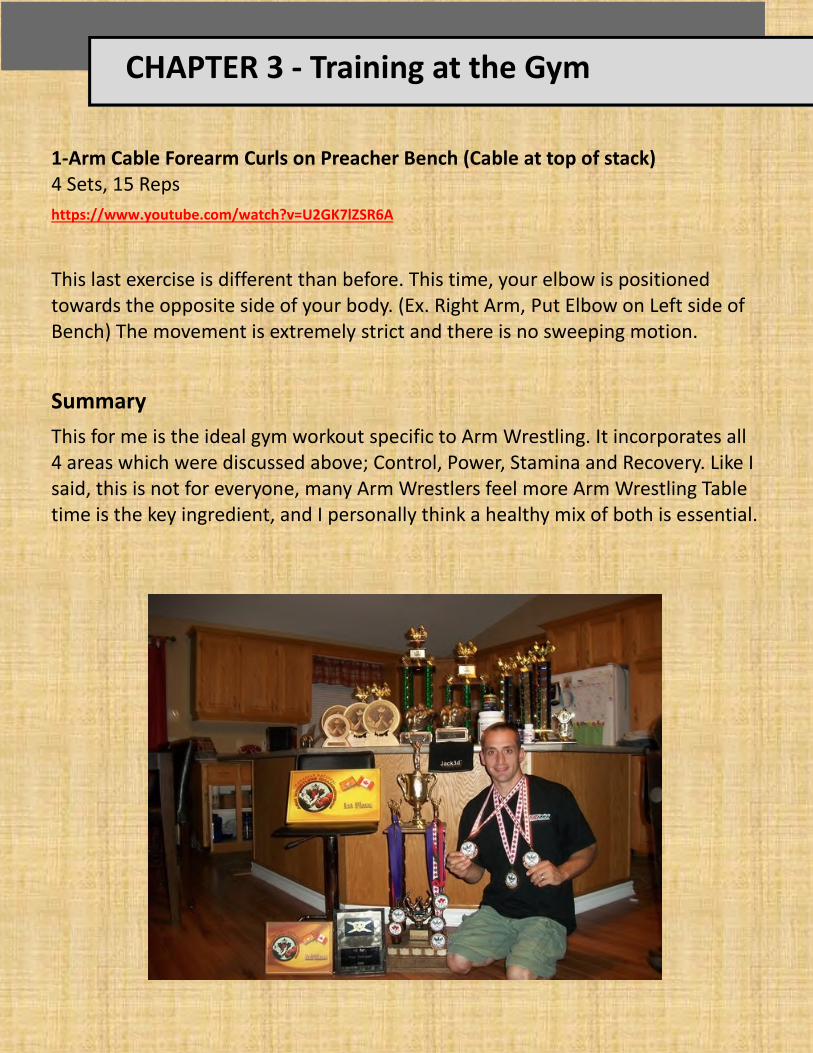
Summary
This for me is the ideal gym workout specific to Arm Wrestling. It incorporates all 4 areas which were discussed above; Control, Power, Stamina and Recovery. Like I said, this is not for everyone, many Arm Wrestlers feel more Arm Wrestling Table time is the key ingredient, and I personally think a healthy mix of both is essential.
CHAPTER 3 - Training at the Gym
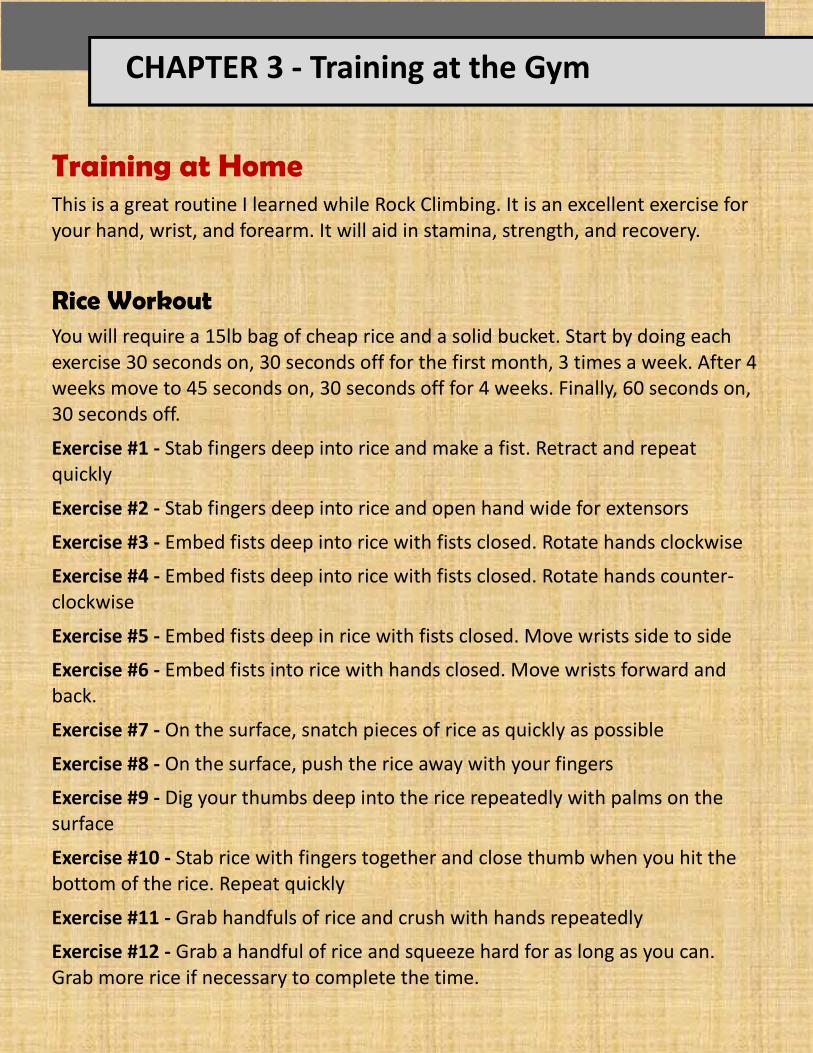
Training at Home This is a great routine I learned while Rock Climbing. It is an excellent exercise for your hand, wrist, and forearm. It will aid in stamina, strength, and recovery.
Rice Workout You will require a 15lb bag of cheap rice and a solid bucket. Start by doing each exercise 30 seconds on, 30 seconds off for the first month, 3 times a week. After 4 weeks move to 45 seconds on, 30 seconds off for 4 weeks. Finally, 60 seconds on, 30 seconds off.
Exercise #1 - Stab fingers deep into rice and make a fist. Retract and repeat quickly
Exercise #2 - Stab fingers deep into rice and open hand wide for extensors
Exercise #3 - Embed fists deep into rice with fists closed. Rotate hands clockwise
Exercise #4 - Embed fists deep into rice with fists closed. Rotate hands counter-clockwise
Exercise #5 - Embed fists deep in rice with fists closed. Move wrists side to side
Exercise #6 - Embed fists into rice with hands closed. Move wrists forward and back.
Exercise #7 - On the surface, snatch pieces of rice as quickly as possible
Exercise #8 - On the surface, push the rice away with your fingers
Exercise #9 - Dig your thumbs deep into the rice repeatedly with palms on the surface
Exercise #10 - Stab rice with fingers together and close thumb when you hit the bottom of the rice. Repeat quickly
Exercise #11 - Grab handfuls of rice and crush with hands repeatedly
Exercise #12 - Grab a handful of rice and squeeze hard for as long as you can. Grab more rice if necessary to complete the time.
CHAPTER 4 - Making Weight Categories
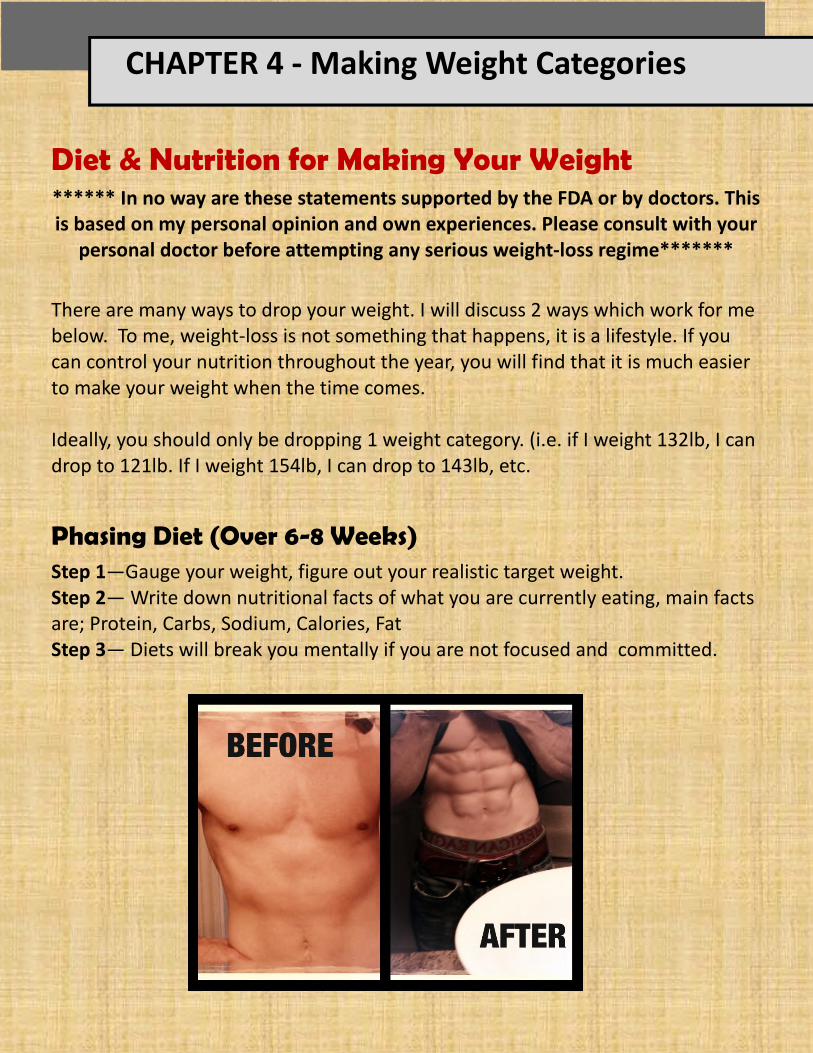
Diet & Nutrition for Making Your Weight ****** In no way are these statements supported by the FDA or by doctors. This is based on my personal opinion and own experiences. Please consult with your
personal doctor before attempting any serious weight-loss regime*******
There are many ways to drop your weight. I will discuss 2 ways which work for me below. To me, weight-loss is not something that happens, it is a lifestyle. If you can control your nutrition throughout the year, you will find that it is much easier to make your weight when the time comes. Ideally, you should only be dropping 1 weight category. (i.e. if I weight 132lb, I can drop to 121lb. If I weight 154lb, I can drop to 143lb, etc.
Phasing Diet (Over 6-8 Weeks) Step 1—Gauge your weight, figure out your realistic target weight. Step 2— Write down nutritional facts of what you are currently eating, main facts are; Protein, Carbs, Sodium, Calories, Fat Step 3— Diets will break you mentally if you are not focused and committed.

CHAPTER 4 - Making Weight Categories
Diet & Nutrition for Making Your Weight
Phasing Diet (Over 8 Weeks based on 135lb bodyweight) The Phasing Diet starts 8 weeks out from weigh-ins.
8 Weeks—Calorie Intake—2000, Protein—130gm (1gm per lb bodyweight) I am not concerned about fat or sodium at this time. I start cutting out unwanted carbs. No snacks at night.
6 Weeks—Calorie Intake—1750, Protein—130gm. Start dropping starches and all breads. Introduce cardio 3x per week, Increase water to 3L per day.
4 Weeks Out—Calorie Intake—1500, Protein—130gm, Carbs are at 100gm, cut back fruit to 1 per day, Cardio 4x per week. Increase water to 4L
2 Weeks Out—Calorie Intake—1500, Protein 130gm, Carbs are at 50gm, Cut all fruits, Cardio 5x per week, Sodium at 1000gm (**Sample Menu**)
1 Week Out—Calorie Intake 1250, Protein 130gm, Carbs 25gm, Sodium at 500gm Cardio 7x per week, Start black coffee, Keep water at 5L
2 Days Out —Calorie Intake—1000 if necessary, Protein 100, Carbs 0gm, Sodium 0gm, Cut Water to 1L
1 Day Out—Last whole meal at lunch, black coffee at supper, 1 glass water
Day of Weight-ins—Fast the whole day until you make weight. If necessary, gar-bage bag and Sauna. Ensure you rehydrate properly with either Pedialite or Coco-nut Water. Try to avoid eating for 90 minutes so your body has time to adjust.
CHAPTER 4 - Making Weight Categories
Diet & Nutrition for Making Your Weight
Flash Diet (Over 1 Week based on 135lb bodyweight) 1 Week Out—Calorie Intake 1250, Protein 130gm, Carbs 25gm, Sodium at 500gm Cardio 7x per week, Start black coffee, Keep water at 5L
2 Days Out —Calorie Intake—1000 if necessary, Protein 100, Carbs 0gm, Sodium 0gm, Cut Water to 1L
1 Day Out—Last whole meal at lunch, black coffee at supper, 1 glass water
Day of Weight-ins—Fast the whole day until you make weight. If necessary, gar-bage bag and Sauna. Ensure you rehydrate properly with either Pedialite or Coco-nut Water. Try to avoid eating for 90 minutes so your body has time to adjust.
Supplements
Coconut Oil, Multi Vitamin, Vitamin D, Dandelion Root, CLA
This was the combination of supplements during my cut. In this 8 week phase in-cluding diet, nutrition, supplements, and bat soaks, I dropped 38lbs and still had lots of strength to compete at the World level earning a Bronze Medal.
CHAPTER 4 - Making Weight Categories
Bath Soaks to Cut Your Weight This is an extremely dangerous method of dropping weight and I do not recom-mend or condone this method. This is simply based on my experience prepping for the World Championships. A substitute for this method is the sauna with a gar-bage bag but I found this much more effective, if you can handle it.
Night Before Weigh-Ins
I would want to be within 10lbs of my weight the night before.
On average, I would lose 0.8lbs per session
A session consists of 10 min in the bath, 10 minutes in your bed under blankets. Completely submerge your body in a tub of hot water (hot enough that you can barley take it. Once you come out, jump into a bed and cover yourself with blan-kets after drying yourself off.
Day of Weigh-Ins—I want to be within 4-5lbs in the morning.
Continue doing bath soaks until 2 hours out. This is when I want to be within 1-2lbs. Continue until you have reached your weight. Stay under your blankets un-til it is your time to make weight.
IMPORTANT
Rehydration is key here. You need to have Pediolyte, coconut water on hand once you make weight. Don’t even think about eating for a couple hours. Your goal is to consume 1/2L of fluids for every pound of bodyweight you have lost.
Slowly start introducing foods into your body so it isn't a big shock.
CHAPTER 4 - Making Weight Categories
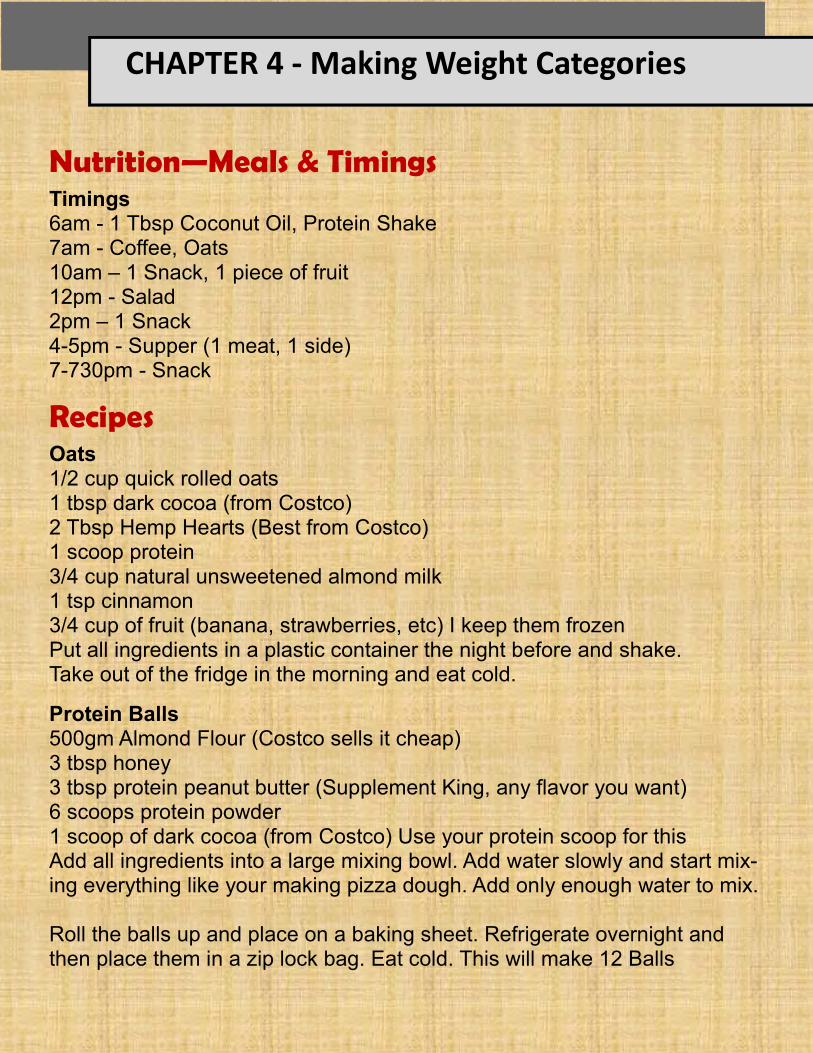
Nutrition—Meals & Timings Timings 6am - 1 Tbsp Coconut Oil, Protein Shake 7am - Coffee, Oats 10am – 1 Snack, 1 piece of fruit 12pm - Salad 2pm – 1 Snack 4-5pm - Supper (1 meat, 1 side) 7-730pm - Snack
Recipes Oats 1/2 cup quick rolled oats 1 tbsp dark cocoa (from Costco) 2 Tbsp Hemp Hearts (Best from Costco) 1 scoop protein 3/4 cup natural unsweetened almond milk 1 tsp cinnamon 3/4 cup of fruit (banana, strawberries, etc) I keep them frozen Put all ingredients in a plastic container the night before and shake. Take out of the fridge in the morning and eat cold.
Protein Balls 500gm Almond Flour (Costco sells it cheap) 3 tbsp honey 3 tbsp protein peanut butter (Supplement King, any flavor you want) 6 scoops protein powder 1 scoop of dark cocoa (from Costco) Use your protein scoop for this Add all ingredients into a large mixing bowl. Add water slowly and start mix-ing everything like your making pizza dough. Add only enough water to mix. Roll the balls up and place on a baking sheet. Refrigerate overnight and then place them in a zip lock bag. Eat cold. This will make 12 Balls
CHAPTER 4 - Making Weight Categories
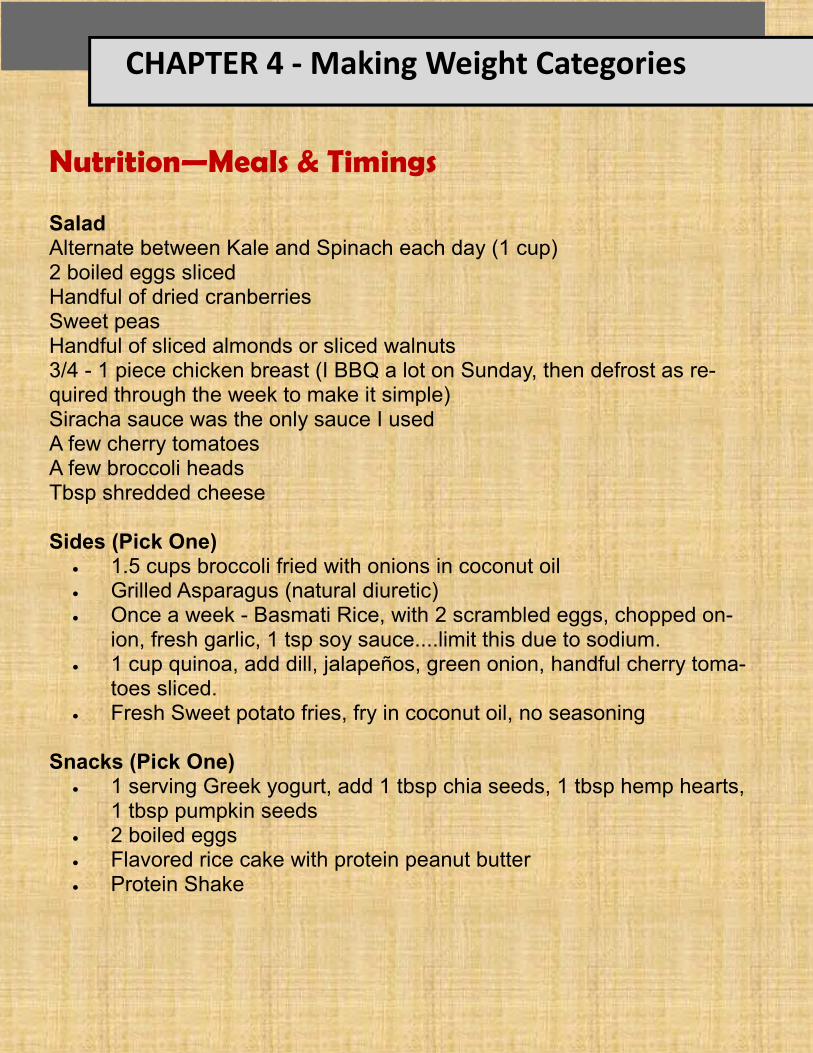
Nutrition—Meals & Timings Salad Alternate between Kale and Spinach each day (1 cup) 2 boiled eggs sliced Handful of dried cranberries Sweet peas Handful of sliced almonds or sliced walnuts 3/4 - 1 piece chicken breast (I BBQ a lot on Sunday, then defrost as re-quired through the week to make it simple) Siracha sauce was the only sauce I used A few cherry tomatoes A few broccoli heads Tbsp shredded cheese Sides (Pick One)
• 1.5 cups broccoli fried with onions in coconut oil • Grilled Asparagus (natural diuretic) • Once a week - Basmati Rice, with 2 scrambled eggs, chopped on-
ion, fresh garlic, 1 tsp soy sauce....limit this due to sodium. • 1 cup quinoa, add dill, jalapeños, green onion, handful cherry toma-
toes sliced. • Fresh Sweet potato fries, fry in coconut oil, no seasoning
Snacks (Pick One)
• 1 serving Greek yogurt, add 1 tbsp chia seeds, 1 tbsp hemp hearts, 1 tbsp pumpkin seeds
• 2 boiled eggs • Flavored rice cake with protein peanut butter • Protein Shake


![ROBOTIC SYSTEMS FOR REHABILITATION€¦ · DOF robotic arm used to play arm wrestling game with human for entertainment or physical exercises. Mavroidis et al. [17] described two](https://img.pdfslide.us/doc/110x75/5ebff232a2550c75707cd11b/robotic-systems-for-rehabilitation-dof-robotic-arm-used-to-play-arm-wrestling-game.jpg)