Embed Size (px)
DESCRIPTION
This is a guide about how start with the dsp start kit 6711.
Citation preview
Applied Signal Processing
Texas Instrument DSP Starter Kit 6711DSKA Brief introduction
Tomas McKelvey
2003, 2004, 2005
1 Introduction
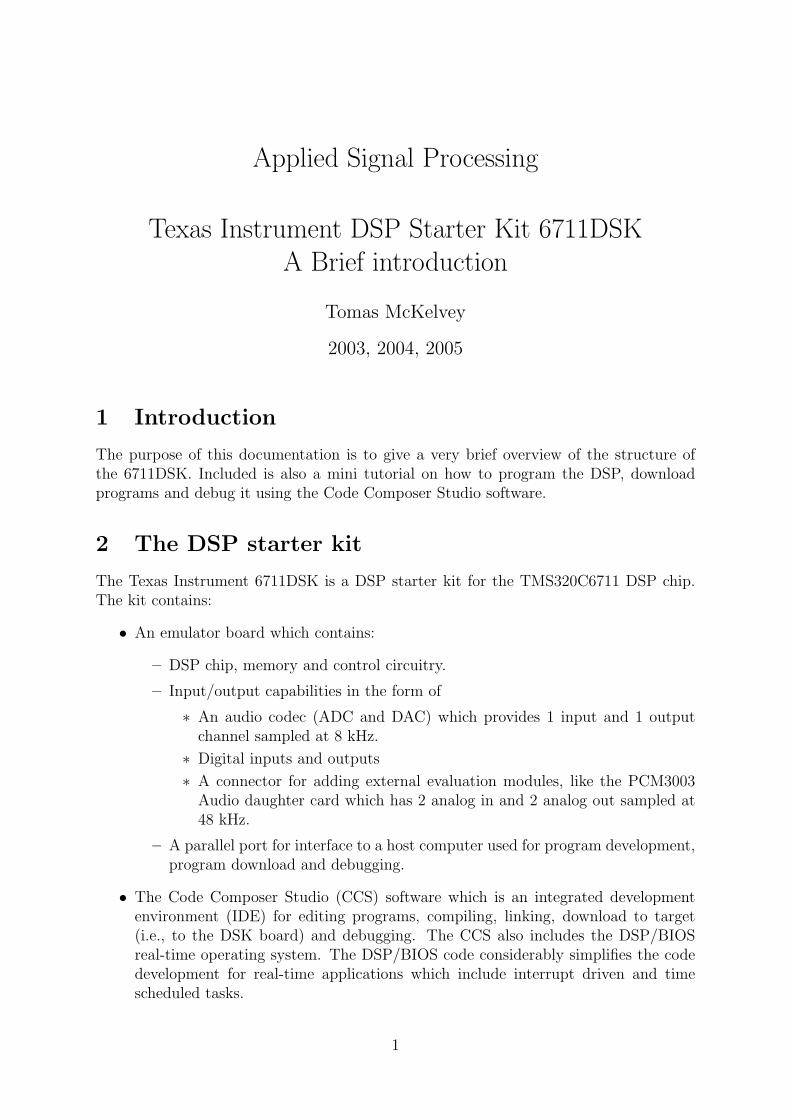
The purpose of this documentation is to give a very brief overview of the structure ofthe 6711DSK. Included is also a mini tutorial on how to program the DSP, downloadprograms and debug it using the Code Composer Studio software.
2 The DSP starter kit
The Texas Instrument 6711DSK is a DSP starter kit for the TMS320C6711 DSP chip.The kit contains:
• An emulator board which contains:
– DSP chip, memory and control circuitry.
– Input/output capabilities in the form of
∗ An audio codec (ADC and DAC) which provides 1 input and 1 outputchannel sampled at 8 kHz.
∗ Digital inputs and outputs
∗ A connector for adding external evaluation modules, like the PCM3003Audio daughter card which has 2 analog in and 2 analog out sampled at48 kHz.
– A parallel port for interface to a host computer used for program development,program download and debugging.
• The Code Composer Studio (CCS) software which is an integrated developmentenvironment (IDE) for editing programs, compiling, linking, download to target(i.e., to the DSK board) and debugging. The CCS also includes the DSP/BIOSreal-time operating system. The DSP/BIOS code considerably simplifies the codedevelopment for real-time applications which include interrupt driven and timescheduled tasks.
1

3 Usage overview
Working with the DSK involves the following steps:
• The first step is the algorithm development and programming in C/C++ or as-sembler. We will only consider coding in C in this document. The program istyped using the editor capabilities of the CCS. Also the DSP/BIOS configurationis performed in a special configuration window.
• When the code is finished it is time to compile and link the different code partstogether. This is all done automatically in CCS after pressing the Build button. Ifthe compilation and linking succeeded the finished program is downloaded to theDSK board.
• The operation of DSK board can be controlled using CCS, i.e., CCS also works asa debugger. The program can be started and stopped and single-step. Variables inthe program can be inspected with the “Watch” functionality. Breakpoints can beinserted in the code.
4 Getting started with the 6711DSK and CCS
In this section you will be introduced to the programming environment and will downloadand execute a simple program on the DSK.
4.1 Connecting the PC and DSK
The DSK is communicating with the host PC using the parallel-port interface.
1. Start Code Composer Studio (CCS) by clicking on the “CCStudio 3.01” icon onthe workspace.
2. Check that the DSK is powered up. If not, power up the DSK by inserting theAC power cable (mains) to the black AC/DC converter. Note: Never unplug thepower cable from the DSK card.
3. Make a connection between CCS and the DSK by selecting menu commandDebug→Connect. If connection fails perform following steps:
(a) Select menu command Debug→Reset Emulator
(b) Power cycle the DSK by removing the AC power cord from the AC/DC con-verter, wait about a second and then reinsert.
(c) Select menu command Debug→Connect.
4.2 Getting familiar with CCS
CCS arranges its operation around a project and the “Project view” window is displayedto the left. Here you can find all files which are related to a certain project. At thebottom of the CCS window is the status output view in which status information will bedisplayed such as compile or link errors as well as other types of information. Note thatthe window will have several tabs for different types of output.
2
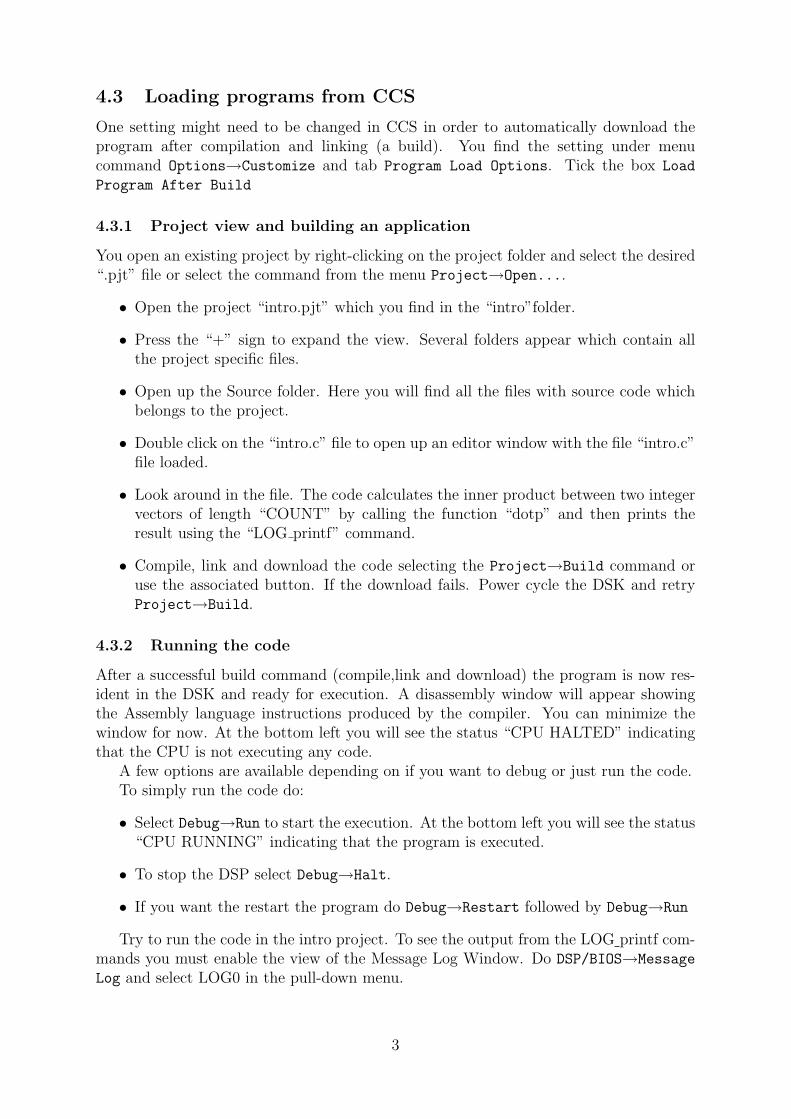
4.3 Loading programs from CCS
One setting might need to be changed in CCS in order to automatically download theprogram after compilation and linking (a build). You find the setting under menucommand Options→Customize and tab Program Load Options. Tick the box Load
Program After Build
4.3.1 Project view and building an application
You open an existing project by right-clicking on the project folder and select the desired“.pjt” file or select the command from the menu Project→Open....
• Open the project “intro.pjt” which you find in the “intro”folder.
• Press the “+” sign to expand the view. Several folders appear which contain allthe project specific files.
• Open up the Source folder. Here you will find all the files with source code whichbelongs to the project.
• Double click on the “intro.c” file to open up an editor window with the file “intro.c”file loaded.
• Look around in the file. The code calculates the inner product between two integervectors of length “COUNT” by calling the function “dotp” and then prints theresult using the “LOG printf” command.
• Compile, link and download the code selecting the Project→Build command oruse the associated button. If the download fails. Power cycle the DSK and retryProject→Build.
4.3.2 Running the code
After a successful build command (compile,link and download) the program is now res-ident in the DSK and ready for execution. A disassembly window will appear showingthe Assembly language instructions produced by the compiler. You can minimize thewindow for now. At the bottom left you will see the status “CPU HALTED” indicatingthat the CPU is not executing any code.
A few options are available depending on if you want to debug or just run the code.To simply run the code do:
• Select Debug→Run to start the execution. At the bottom left you will see the status“CPU RUNNING” indicating that the program is executed.
• To stop the DSP select Debug→Halt.
• If you want the restart the program do Debug→Restart followed by Debug→Run
Try to run the code in the intro project. To see the output from the LOG printf com-mands you must enable the view of the Message Log Window. Do DSP/BIOS→Message
Log and select LOG0 in the pull-down menu.
3
4.3.3 CCS Debug
Single stepping For debugging the code do the following:
• Select Debug→Go Main. This will run DSP/BIOS part of the code until the startof the “main” function. A yellow arrow will appear to the left of the start of the“main” function in the edit window for the “intro.c” file. The arrow indicates wherethe program execution has halted.
• Now you can step the code one line at the time. Three commands are available:
– Debug→Step Into will execute the marked line if it is composed of simpleinstructions or if the line has a function call, will step in to the called function.
– Debug→Step Over will execute the marked line and step to the next line.
– Debug→Step Out will conclude the execution of the present function and haltthe execution at the next line of the calling function.
Try to step through the code using the step functions.
View variables If you want to know the value of a particular variable just put thecursor on top of the variable in the source window. The value will after a short delaypop up next to the variable. Note that local variables in functions only have definedvalues when the execution is located inside the function. Variables can also be added tothe “Watch window” which enables a concurrent view of several variables. Mark the “y”variable in source code, right-click and select Add to Watch Window. The watch windowwill then add variable “y” to the view and show its contents. Also add the “a” variable(which is a array) to the watch window. Since “a” is an array the value of “a” is anaddress. Click on the “+”. This will show the individual values of the array. The watchwindow will update its contents whenever the DSP is halted. It is also possible to changethe value of a variable in the DSK from the Watch window. Simply select the numericalvalue you want to change and type in a new value. CCS will send the new value to theDSK before starting the execution.
Break points Break points can also be used to halt the execution at a particular pointin the source code. To illustrate its use consider the “intro”. Place the cursor at theline which has the “return(sum);” instruction in the “dotp” function. Right-click andselect Toggle breakpoint. A red dot will appear at that line indicating that a breakpoint is set at that line. Try it out. First do Debug→Restart and then Debug→Run Theexecution will halt at the line and we can investigate variables etc. To resume executionsimply issue Debug→Run command again.
Shortcut buttons CCS offers a number of shortcut buttons both for the build processas well as the debugging. Browse around with the mouse pointer to find them. Theballoon help function will show what command a particular button is associated with,i.e., move the mouse pointer over a button and wait for the balloon help to show up.
4
Loading the values in a vector into Matlab In the Lab you will need to load thecoefficients of a FIR filter into Matlab for further analysis. The filter coefficients arestored in vectors. Use the following procedure:
1. Run the your DSP program on the DSK.
2. Halt the execution when it is time to upload the vector.
3. In the File menu you find File→Data→Save In the file dialog assign a name tothe data file and select ”Float” as ”Save as type”.
4. In the next dialog enter the name of the vector in the address field. When you tabaway from it it will change to the absolute memory address of the vector. In thelength box you enter the length of the variable. Note that you need to remove the0x prefix if you give the length using decimals numbers. The notation with 0x inthe beginning indicates that the number is a Hexadecimal number, i.e. it is basedon a base of 16 instead of the normal base of 10 in the decimal system.
5. Open the file in an editor and remove the first line and save again
6. In Matlab use the ”load” command to load the saved file. The vector will get thesame name as the file name without the extension.
5 Debugging - limitations
The debugging features of the CCS is very handy during the code development. However,several limitations are present.
• Since the compiler will optimize the code, all lines in the C-code cannot be used asbreakpoints. Since the architecture has several parallel processing units the finalcode might execute several lines of C in one clock cycle.
• The processor also has memory cache which speeds up normal operations. Thismeans that when the DSP loads a particular memory location it will copy it intothe cache memory and then perform the operations (faster) using the cache. Aftersome time the cache will be written back again to the memory. This can sometimesconfuse CCS and variables in the Watch window can be erroneous.
• The third important issue is when debugging code which is dependent on externalevents, e.g., interrupt driven code. When halting such a code by a break pointseveral features are important to consider. Firstly, since the code is stopped allreal-time deadlines will be broken so future sampled inputs will be lost. Hence arestart from the point of the break might cause unpredicted behavior.
• Sometimes the code in the DSK which communicates with the CCS stops working.When this happens it is necessary to power cycle, the DSK board in order to restartthe operation. Sometimes it is also necessary at the same time to restart CCS.
5