Embed Size (px)
Citation preview

Gait with Assistive Devices

Review Last Lecture
Weak dorsiflexors?
Vaulting?
Hip hiking?
Weak hip abductors?
Hip circumduction?
Ataxic gait?
Antalgic gait?
Explain the line of gravity

Ambulation with Assistive
Devices
Allows some patients who cannot ambulate without an assistive device to ambulate safely
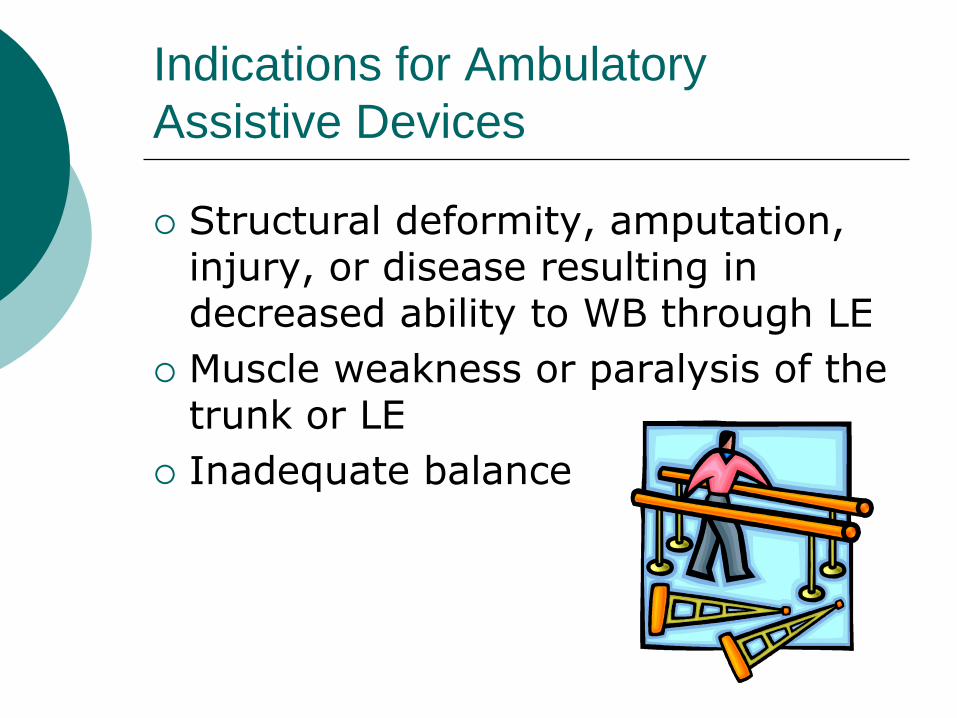
Indications for Ambulatory
Assistive Devices
Structural deformity, amputation, injury, or disease resulting in decreased ability to WB through LE
Muscle weakness or paralysis of the trunk or LE
Inadequate balance

Ambulatory Assistive Device Selection
Dependent upon
amount of support assistive device offers
coordination required
pts strength, ROM, balance, stability, general condition, and WB restrictions

Types of Ambulatory Assistive
Devices
NWB Devices
parallel bars
walker
Two axillary crutches
PWB Devices
parallel bars
walker
axillary crutches (one or two)
Cane (one or two)
Lofstrand crutches

Assistive Devices & Support
List of AD ordered from those providing the most stability & support to those providing the least stability & support
Parallel bars
Walker
Axillary crutches
Forearm crutches (Lofstrand)
Two canes
One cane

Assistive Devices & Coordination
List of AD ordered from those requiring the least coordination by a patient to those requiring the most
Parallel bars
Walker
One cane
Two canes
Axillary crutches
Forearm (Lofstrand) crutches

Parallel Bars
Gait training with AD often begins in parallel bars
They provide maximum stability while requiring the least amount of coordination from patients
Patients can practice being upright & a gait pattern with relative safety
AD can be measured while pt stands in parallel bars

Walkers
pts with poor balance and coordination, decreased weight bearing on 1 or 2 LE. Used more often with elderly
adjustable
Height
Wheels?
Collapsible

Axillary Crutches
Need to decrease weight bearing on 1 LEs,
Need UE strength & coordination
Need some trunk support
available aluminum or wood
adjustable
height
hand grips

Lofstrand Crutches
Slightly more difficult to use than axillary crutches, but provide more ease of movement
Forearm cuff allows patients to use hands without dropping the crutch
Need good trunk stability

CANES
Used with pts with slight weakness of LE, pain in LE, or with pts who need assistance with balance during ambulation
aluminum or wood
adjustable
quad cane or single point
offset handle

Measuring for an Ambulatory
Assistive Device
LE Bony Landmarks
during bilateral, supported stance
toes slightly out
ankle in neutral
knee in neutral extension
hip in neutral extension
greater trochanter (level for the handgrips)

Measuring for an Ambulatory
Assistive Device
UE Bony Landmarks
during bilateral supported stance
ulnar styloid process (@ top of handgrip)
elbow flexion to 20 or 300
shoulders relaxed and level

Measuring for Crutches
crutch tip 6” from the foot and @ a 450
angle
hand grip @ the ulnar styloid process
with the elbow in about 20-30 degrees of flexion
OR
hand grip @ the level of the greater trochanter
axillary distance to the top of the crutch = 2-3 finger widths

Measuring for a Cane
top of the cane
@ the level of the greater trochanter
OR
@ the level of the styloid process of the ulna
with the elbow in about 20-300 of flexion
cane tip
about 3-4” from the foot and @ a 450
angle

Weight Bearing
Amount of weight that may be borne on a LE during standing or ambulation
This patient obviously did not learn how to use their crutch in physical therapy. It’s on the wrong side and much too tall for him!

Weight Bearing
Determined by pts. condition and medical management of that condition
Changes in weight bearing status are determined by the patient’s physician!

Weight Bearing
Common types of weight bearing WB
NWB-involved LE not to be WB or touching floor
TTWB-Pt can rest toes on the floor for balance, but not WB

Weight Bearing
PWB-
limited amount of WB permitted on LE (example: 25% PWB = 25% of pt’s total body weight is allowed to be transmitted through the involved LE)

Weight Bearing
WBAT-pt allowed to place as much or as little weight through the involved LE, depending on pt. tolerance
FWB-pt. permitted full weight bearing through involved extremity

Gait with an Assistive Device
Weight is born on the hands, to make up for the weight that cannot be born on the involved LE

Definitions
Ambulation vs. Gait Training
Ambulation: to walk from place to place, to move about
Gait Training: refers to assisting a patient to relearn to walk safely and efficiently. Gait training includes stair climbing. Gait training can occur without an assistive device.

Ambulation vs. Gait Training
The most important difference between ambulation and gait training is that gait training requires skill on the clinician’s part to improve the gait pattern.
It is important to be able to identify the difference so that we can document and bill for our services appropriately.

Clinical Examples
Inpatient setting
Ambulation
Gait training
Outpatient setting
Ambulation
Gait training

Why learn about Gait
Training
This is a skill that you are going to use every day
with every age group
in every region
in every setting
that you work in

Gait Training
Gait training starts with assessing the abnormalities (or deviations) of a patient’s gait and then addressing them to establish a more “normal” gait pattern.
Gait training includes more than just teaching a patient how to use an assistive device.
Teaching a patient how to use an assistive device is just one part of gait training and that is what we will review today.

Guarding
Guarding is the process of protecting the patient from excessive weight bearing, loss of balance, or falling.
Proper guarding requires the use of a gaitbelt

Guarding continued
In & Out of a Chair
Walking on level surfaces
On stairs & curbs
Progression

Falling
If a patient starts to fall, the PTA must decide whether to
maintain the patient in an upright position or
permit a controlled descent to the floor in a manner that will prevent injury to that patient or yourself
Sit to Stand
Engage wheel locks
Pt moves to front edge of seat
Both feet flat on floor with knees flexed 110 & ankles slight DF
Feet side by side or stride position
Hands on armrests
Patient leans forward & pushes on armrests
Initially, you hand AD to pt, then progress to one on armrest & other on AD

Stand to Sit
Engage wheel locks
Patient approaches front edge of seat & turn away from the chair
The back of the patient’s legs must touch the seat
Patient must have at least one hand on the armrest during stand to sit

Gait Patterns
4 point pattern
Modified 4 point pattern
2 point pattern
Modified 2 point pattern
3 point pattern
Modified 3 point pattern

4 Point Gait Pattern
Bilateral assistive devices
Slow gait speed
Provides maximum stability for patient
Low energy required by patient
Pattern: advance right crutch, then left foot, left crutch, right foot
Modified: same pattern with only one assistive device

2 Point Gait Pattern
Bilateral assistive devices Gait speed is faster than 4 point Provides good stability for patient,
but less than the 4 point pattern Low energy required by patient Pattern: advance right crutch & left
foot together, then advance the left crutch & right foot together
Modified: same pattern with only one assistive device

3 Point Gait Pattern
Used when patient has one FWB and one NWB LE
Two crutches or a walker(no canes) Most rapid gait speed Provides the least amount of stability
for the patient High energy required by patient Pattern: advance walker/crutches &
NWB LE first, followed by FWB LE in a step through or step to pattern

Modified 3 Point Gait Pattern
Used when patient has one FWB LE and one PWB LE
Bilateral assistive device (can use canes)
It is more stable, slower, and requires less strength and energy that the 3 Point gait pattern
Pattern: advance PWB LE & A.D. followed by the FWB LE
Gait Patterns with Assistive
Devices
PWB
step to: Progress the involved extremity to the uninvolved extremity
step through: Progress the involved extremity past the uninvolved extremity
NWB
swing to
swing through
Gait Patterns for Stairs
3 rules:
1. “up with the good and down with the bad”
-lead with uninvolved for ascending
-lead with involved for descending
2. the assistive device remains with the involved extremity
3. the clinician always guards the patient from below
-so behind an ascending patient &
in front of a descending patient

Patient Instruction
Patient concentration
Safe environment, free from distraction
Demonstration is the primary mode of instruction for gait training using assistive devices
Start training on level surfaces and advance to curbs, stairs, busy corridors, sit to stand from different surfaces
Educate patients in creating a safe home environment
Problem Solving with Assistive
Devices
Getting out of a Chair
with arm rests/ without arm rests
Getting back into a Chair
with arm rests/ without arm rests
Stairs
railings for stairs/ no railings for stairs
living in a house with 2 floors & using a walker

Documentation
Gait 15’ X 2: Patient walks 30 feet, but she stopped halfway and sat to take a short break
Gait 30’ X 1: Patient walks 30 feet, she paused at the halfway point before turning around and walking back

Recap Lecture
Types of Assistive Devices
Measuring Assistive Devices
Wbing status
Ambulation vs. Gait Training
4 point
2 point
3 point

Looking Ahead
Palpation & Massage

QUESTIONS???
Minor, M.A., Minor, S., (2006), Patient Care Skills, 6th ed. Pearson Prentice Hall: Upper Saddle River, NJ.