Embed Size (px)
Citation preview

Agile Testing TechniquesA Grab-Bag of Useful Tricks
John Maxwell

About Me
● Professional Programmer● Amateur Electrical Engineer (EE)● Learning to program since 1979, when I built
my first computer, and the stupid thing just sat there!
● About 50/50 embedded and other work● Discovered XP in 2003. Firmly believe that XP
is the core of Agile.

Why Should We Test?

Why Should We Test?
So we know the software works!

Why Should We Test?
So we know the software works!
...or not

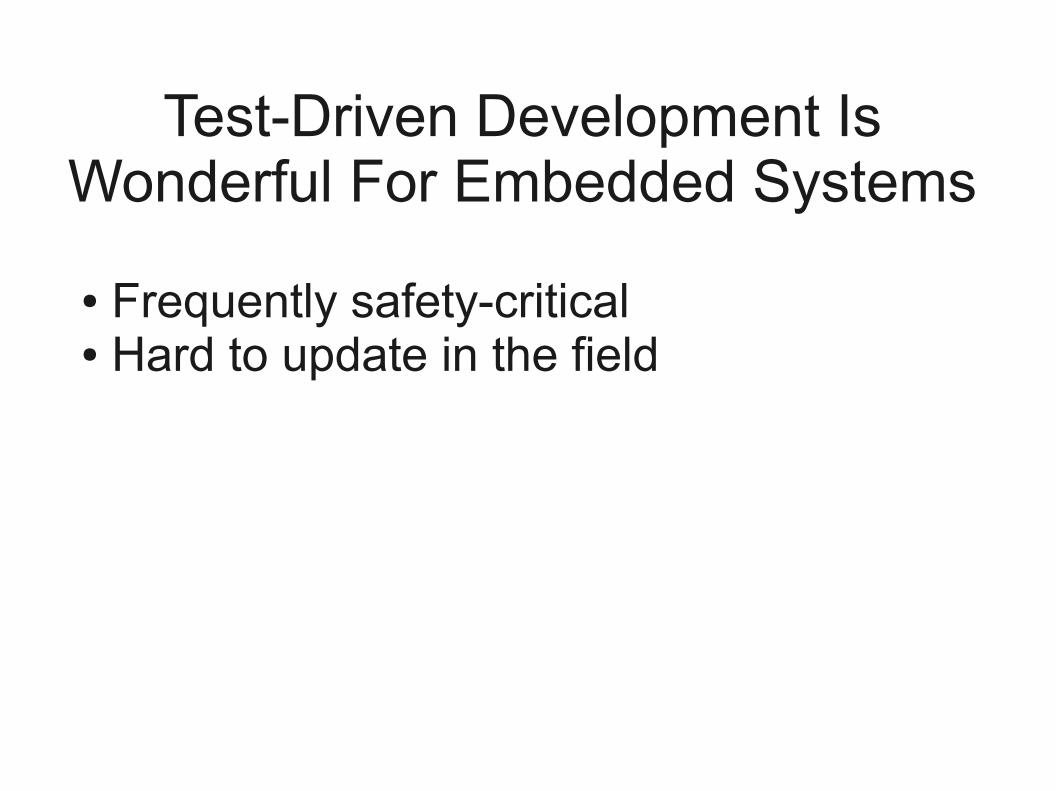
Test-Driven Development Is Wonderful For Embedded Systems
● Frequently safety-critical
Test-Driven Development Is Wonderful For Embedded Systems
● Frequently safety-critical● Hard to update in the field

Test-Driven Development Is Wonderful For Embedded Systems
● Frequently safety-critical● Hard to update in the field● Debuggers suck

What's Different About Embedded?
● Code doesn't run on the development machine● Tight on memory (Frequently, very tight)● Slow (Sometimes very slow)● Can't trust the hardware!

What's Different About Embedded?
● Almost always C with a little Assembler (so, no OO syntactic sugar)
● Usually not an x86 CPU● Frequently, bank-switched memory● Frequently, separate code and data memory
spaces● Generally weird environment

What's Different About Embedded?
● And on, and on, and on...

The Generic Embedded Development Environment
Host System
Programmer
Target
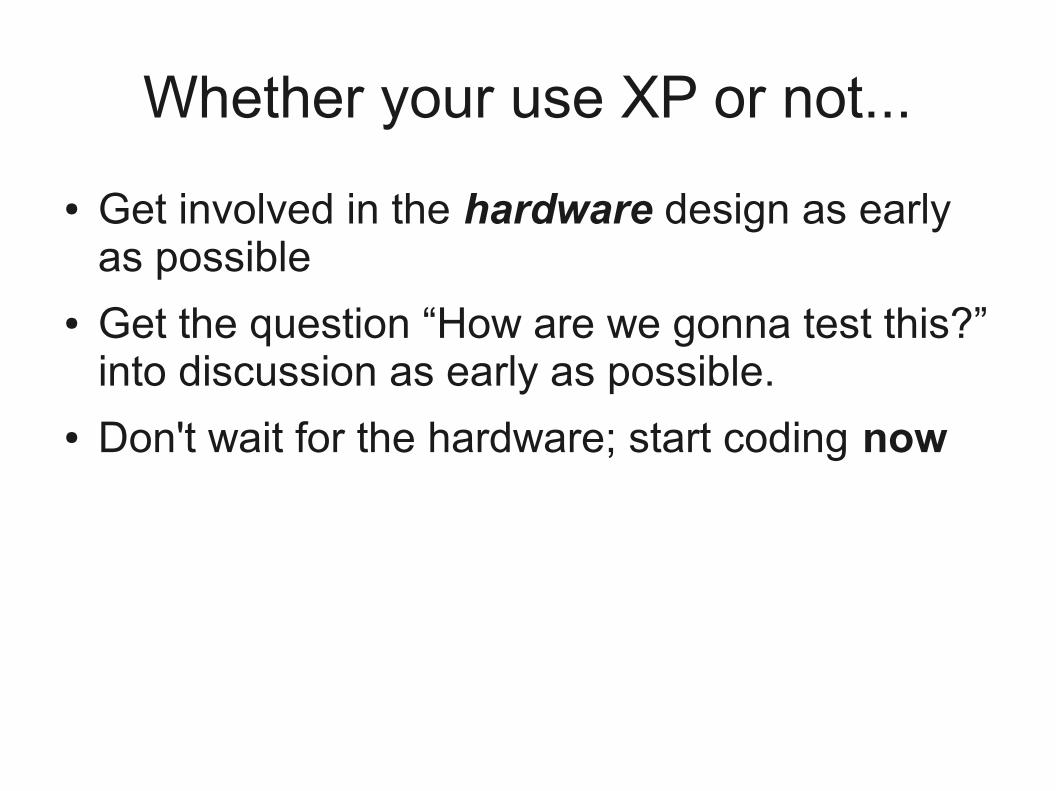
Whether your use XP or not...
● Get involved in the hardware design as early as possible
● Get the question “How are we gonna test this?” into discussion as early as possible.
● Don't wait for the hardware; start coding now

Get Involved In the Hardware Design As Early As Possible
● Catch design features which are going to be hard to test while there's still time to change them (e.g. write-only registers)
● Add design features to help you test (e.g. a serial port)
● Remove hardware features that you don't need, or can do better in software (Your EEs will love you!)

“How are we gonna test this?”
● Crucial question for the whole team; programmers, EEs, and management.
● If it doesn't work, you're all in trouble● If it doesn't work, and you don't know that until
the CEO (or worse yet, the customer) sees it, you're all in BAD trouble

Don't wait for the hardware; start coding now
● Use the microcontroller manufacturer's development board
● Add some approximation of the target's peripherals
● Blink an LED!● Maybe you can get the firmware done before
the hardware arrives!

John's New Alarm Clock

John's New Alarm Clock

John's New Alarm Clock

John's New Alarm Clock
● Microchip Low Pin-Count Demo Board, slightly modified ($25 – but I had one).
● Microchip PICkit 2 programmer ($25 – but I had one)
● Hand-built peripheral board (junk box parts; ~$25 if purchased)
● A Saturday afternoon with a soldering iron

John's New Alarm Clock
● Total Cost: $0 - $200, including my time.● Less than it costs for one engineer-day● A proper EE could do the job better... but my
kludgefest is more than good enough

John's New Alarm Clock
● According to Microchip, this thing has 17 bits of I/O and one I-only pin
● Need 12 bits of O for the display● Need 4 bits of I for switches● Need 1 bit of O for the buzzer● 12+4+1= 15; 15 < 17, so we're good, right?
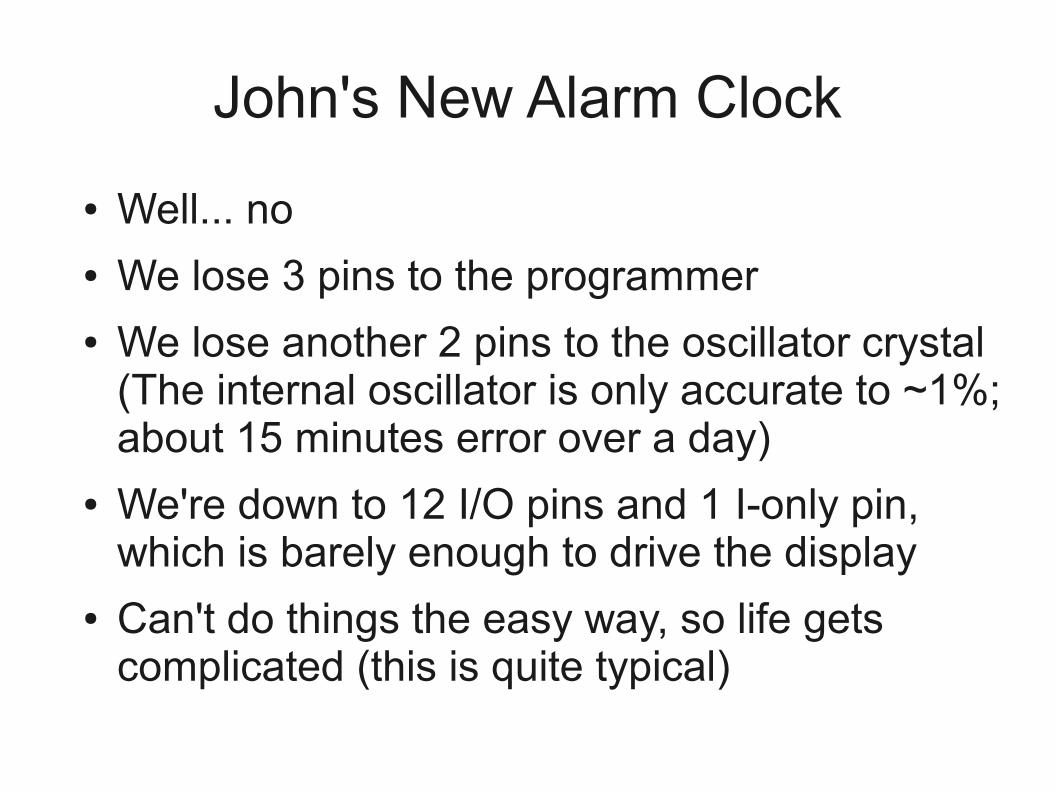
John's New Alarm Clock
● Well... no● We lose 3 pins to the programmer● We lose another 2 pins to the oscillator crystal
(The internal oscillator is only accurate to ~1%; about 15 minutes error over a day)
● We're down to 12 I/O pins and 1 I-only pin, which is barely enough to drive the display
● Can't do things the easy way, so life gets complicated (this is quite typical)

John's New Alarm Clock
● Switches: use a resistor ladder and summing resistors to drive the PIC's internal A/D converter
● Cleverly choose resistor values so that each combination of closed switches (including no switches closed) presents a different voltage to the A/D converter.

John's New Alarm Clock
● Gained back 3 pins, but the I-only pin can't be used for the A/D converter; it's now useless, and we're still short 2 pins
● Share a pin between the programmer and the switches
● Share a pin between the programmer and the buzzer
● Add jumpers to isolate the buzzer and switches from the programmer (ugh!)

Toolchain
● SDCC (Small Device C Compiler)● gputils (PIC assembler, linker, etc.)● pk2cmd (Command-line driver for the PICkit 2)

PIC16F690
● Three separate memory spaces: Flash, RAM, and EEPROM
● 14 bit instructions, so Flash is 14 bits wide● RAM is 8 bits wide (this is fundamentally an 8-
bit processor)● EEPROM is 8 bits wide

PIC16F690
● 4k words of Flash code space (7kb)● Organized as 2 banks of 2k words each● Code can read arbitrary Flash locations; handy
for constant values.● There are some hoops to jump through● Code cannot write to Flash (so, no bootloader)

PIC16F690
● 256 bytes of EEPROM● EEPROM is not directly accessible; code must
jump through some hoops

PIC16F690
● RAM is split across 4 banks● Each bank is an 8-bit address space.● 80 bytes each in banks 0, 1, and 2● 16 bytes common to all 4 banks● SFRs share space with RAM● Some SFRs common across banks
How To Test Embedded Code?

How To Test Embedded Code?
● Let 'er rip and see if it works!

How To Test Embedded Code?
● Let 'er rip and see if it works!● Use an emulator

How To Test Embedded Code?
● Let 'er rip and see if it works!● Use an emulator● xUnit tests on the target

How To Test Embedded Code?
● Let 'er rip and see if it works!● Use an emulator● xUnit tests on the target● xUnit tests mostly on the host

Let 'er Rip!
Good Bad● Little or no feedback
on what went wrong● Not incremental
● Usually the first code you write for a new target (make an LED blink)
● Handy for early Dog and Pony Shows
● Good way to make sure the peripherals act as you expect.

Let 'er Rip!
Best confined to exploratory testing(and Dog 'n Pony shows)

Dog 'n Pony Show Time!
● Blink an LED

Blink an LED
#include "pic16f690.h"
int main(){ int i; PORTB= 0x00; TRISB= 0x00;
PORTC= 0xfe; TRISC= 0x00;
for (;;) { RB4= 0; for (i= 0; i < 32767; i++) ; RB4= 1; for (i= 0; i < 32767; i++) ; }}

Dog 'n Pony Show Time!
● Blink an LED● Make sure the peripherals act as you expect

Make Sure the Peripherals Act As You Expect
#include "pic16f690.h"
int main(){ unsigned short digit, segment; int i;
PORTB= 0x00; TRISB= 0x00;
PORTC= 0xff; TRISC= 0x00;
for (;;) { for (digit= 0x10; digit < 0x100; digit <<= 1) { PORTB= digit; for (segment= 0x01; segment < 0x100; segment <<= 1) { PORTC= ~segment; for (i= 0; i < 32767; i++) ; } } }}

Dog 'n Pony Show Time!
● Blink an LED● Make sure the peripherals act as you expect● Uh-oh

Dog 'n Pony Show Time!
● Blink an LED● Make sure the peripherals act as you expect● Uh-oh● The watchdog timer bit us!

Dog 'n Pony Show Time!
● Blink an LED● Make sure the peripherals act as you expect.● Uh-oh● The watchdog timer bit us!● Make sure the peripherals act as you expect
(take 2)

Make Sure the Peripherals Act As You Expect (take 2)
#include "pic16f690.h"
int main(){ unsigned char digit, segment; int i;
PORTB= 0x00; TRISB= 0x00;
PORTC= 0xff; TRISC= 0x00;
for (;;) { for (digit= 0x10; digit != 0; digit <<= 1) { PORTB= digit; for (segment= 0x01; segment != 0; segment <<= 1) { PORTC= ~segment; for (i= 0; i < 32767; i++) ; _asm; clrwdt; _endasm; } } }}
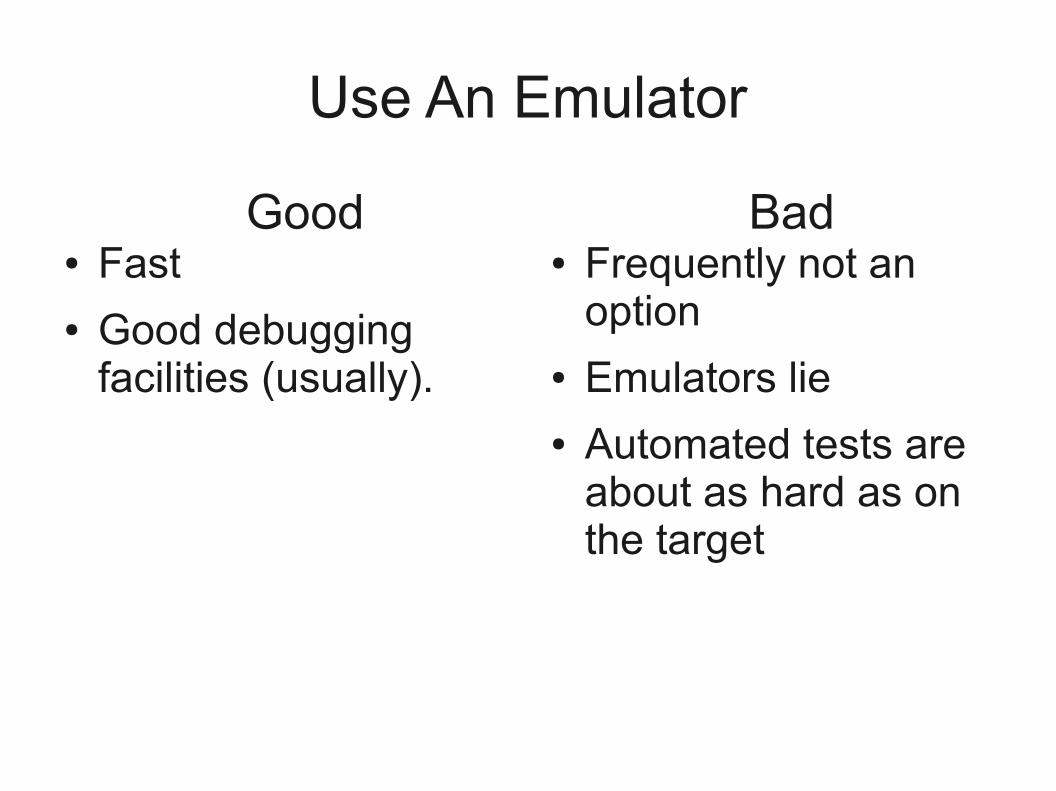
Use An Emulator
Good Bad● Frequently not an
option● Emulators lie● Automated tests are
about as hard as on the target
● Fast● Good debugging
facilities (usually).

Use An Emulator
Just doesn't seem to work out well in practice

xUnit Tests On the Target
Good Bad● How to display the
results?● Sloooow● Code that passes the
test can fail in the application!
● Chews up lots of target resources
● Familiar concept

xUnit Tests On the Target
Just not feasible in many cases

xUnit Tests Mostly On the Host
Good Bad● Some test framework
customization.● Usually takes some
target resources
● Familiar● Minimally intrusive

xUnit Tests Mostly On the Host
My workhorse method

xUnit Tests Mostly On the Host
● Split the test fixture in two● Most of the test code is on the host● A test stub is downloaded to the target.● The complete application is on the
target, at exactly the same location as it will be in production devices.
● Some part of the application will be the code under test

Why the Complete Application?
● Bank switching and other memory weirdness can't bite us
● Smaller downloads per test

What's In the Stub?
● Setup (maybe)● Call the code under test (usually)● Collect the results (maybe)● Teardown (maybe)

Setup (Maybe)
● Setup usually means initializing variables that the code under test will access
● Depending on the details of the target system and programmer, maybe the host-side code can do this without assistance from the stub.
● Otherwise, the host needs to tell the stub what locations to set to what values, and then the stub must do it.
Call the Code Under Test (Usually)
● “Code under test” is a function in the application.
● Many (almost all) programmers will allow you to jump to a specified location
● But if we get to the code under test that way, there's no return address (more accurately, the return address is garbage)
● So usually, we tell the stub what address to call, then the stub does the actual call

Collect the Results (Maybe)
● As with setup, the programmer may be able to read the variables that the test is interested in directly
● If not, the stub will have to read the variables and make them available to the host-side test code.
● For bonus points, the stub can compute a checksum over all the locations that the code under test shouldn't have touched.

Teardown (Maybe)
● Most embedded tests don't actually have cleanup needs
● If a specific test does have cleanup to do, maybe the programmer can handle it
● Otherwise, the stub gets to do it

What's In the Stub?
● In theory, maybe nothing● But I've never been that lucky

What's In the Stub?(an irrelevant side note)
● My new favorite microcontroller: Atmel's SAM3U series
● Built-in USB bootloader● I think I can test on it with no stub and no
programmer; just a USB cable● But I haven't verified this theory (by
actually doing it). Yet.

What's On the Host?
● Set up the initial conditions (possibly by telling the stub what to do)
● Execute the code under test (usually by telling the stub to do so)
● Retrieve the variables that the tests check● Check the variables against

What's On the Host?
● Complain if the variables don't match their expected values.
● Complain if the stub stopped responding (indicates an infinite loop or runaway program)

What If the Programmer Just Isn't Up To It?
● Can't control the programmer● Programmer can't do partial reads/writes

What If the Programmer Just Isn't Up To It?
● Use a bootloader● Build the stub into the application's startup code● In any case, communicate via some other
channel (not the programmer)

Use a bootloader
● Essentially a replacement for the programmer● Use the programmer to set up the bootloader,
then throw the programmer away

Build the Stub Into the Application's Startup Code
● Ask the host if it wants to do testing● Wait a short time for a response● If no response, just start up the application● If the host wants to test, follow its directions

Communicate Via Some Other Channel (Not the Programmer)
● Serial port, I2C, SPI...● Must have some way to reset the target under
the host's control; a human pushing a button isn't adequate.
● Use a USB ↔ serial adapter● Usually, a wire from one of the serial control
pins (RTS, etc) will do.

John's New Alarm Clock: The Stub
● The PICkit 2 cannot read or write RAM.● It can read EEPROM● We can use the EEPROM for
communication between the host-side test code and the stub
John's New Alarm Clock: The Stub
● Copy setup values from EEPROM to RAM / SFR space
● Call code under test● Copy test values to EEPROM● Set a flag in EEPROM indicating test
completion● Infinite loop

John's New Alarm Clock: The Stub
● Arrange for an all-FF EEPROM to mean “just jump to the application” so we can turn off the stub by erasing the EEPROM

John's New Alarm Clock: The Stub
● No way for the stub to tell the host “I'm done”; host must poll
● Worse, polling will halt the stub if it hasn't finished.
● Fortunately, the host can't react very quickly anyway. We'll be OK if we keep the code under test for any particular test short.

John's New Alarm Clock: The Host
● Upload the application code to the target● Read the application's .map file
(generated by the linker) so we can translate variable names to locations

John's New Alarm Clock: The Host
● For each test, generate a .hex file specifying● What RAM/SFR locations to initialize,
and their initial values● What routine to call● What RAM/SFR locations to read back
for the host to examine

John's New Alarm Clock: The Host
● For each test:● Upload the test's .hex file to EEPROM ● Let the stub execute● Read the EEPROM● Check the values read from EEPROM● Report success or failure