Embed Size (px)
Citation preview

Adhesives Teaching Unit
Worksheets for use in elementary school classes These worksheets are based on a one-week research course for elementary school students, which is part of the Forscherwelt or Researchers’ World education initiative. The teaching concept and program were developed under the guidance of Prof. Dr. Katrin Sommer, Chair of Chemistry Didactics at Ruhr University Bochum, Germany, with the support of Henkel adhesive experts. The experiments are suitable for third or fourth grade students.
2
Prof. Dr. Katrin Sommer, Chair of Chemistry Didactics
Symbols used
Problem/question
Assumption
Experiment instructions
Observations
Record your observations
Results
3
Prof. Dr. Katrin Sommer, Chair of Chemistry Didactics
Different types of adhesive There are many different types of adhesive. They help to join different materials together. But it is not always easy to find the right adhesive for the job. Work as a team with your partner. Assigments for group 1 Today you will be testing four unknown adhesives. You will test the adhesives in two situations. A) There is a hole in the tire of your new bike. Unfortunately, your bike repair kit is
used up. Do your adhesives do the job? B) You would like to stick a photo in a friendship book that you have had from a
classmate. Do your adhesives do the job?
Assigments for group 2 Today you will be testing four unknown adhesives. You will test the adhesives in two situations. A) You were given a wooden construction set for your last birthday. However, the
adhesive that you need is missing from the set. Do your adhesives do the job? B) Your favorite pants have a hole in them that you want to repair. However, you
don’t want to wait for your Mom to sew a patch over the hole so you would like to glue the patch on. Do your adhesives do the job?
Groups 1 + 2: Test your adhesives as follows:
1. Label the samples so that you can tell them apart. 2. Use the four adhesives to stick your samples together. You’ll have four
samples of each material. 3. Put your test samples in a drying oven (or regular oven) at 50°C (125°F) for
about 20 minutes so that they dry more quickly.
4
Prof. Dr. Katrin Sommer, Chair of Chemistry Didactics
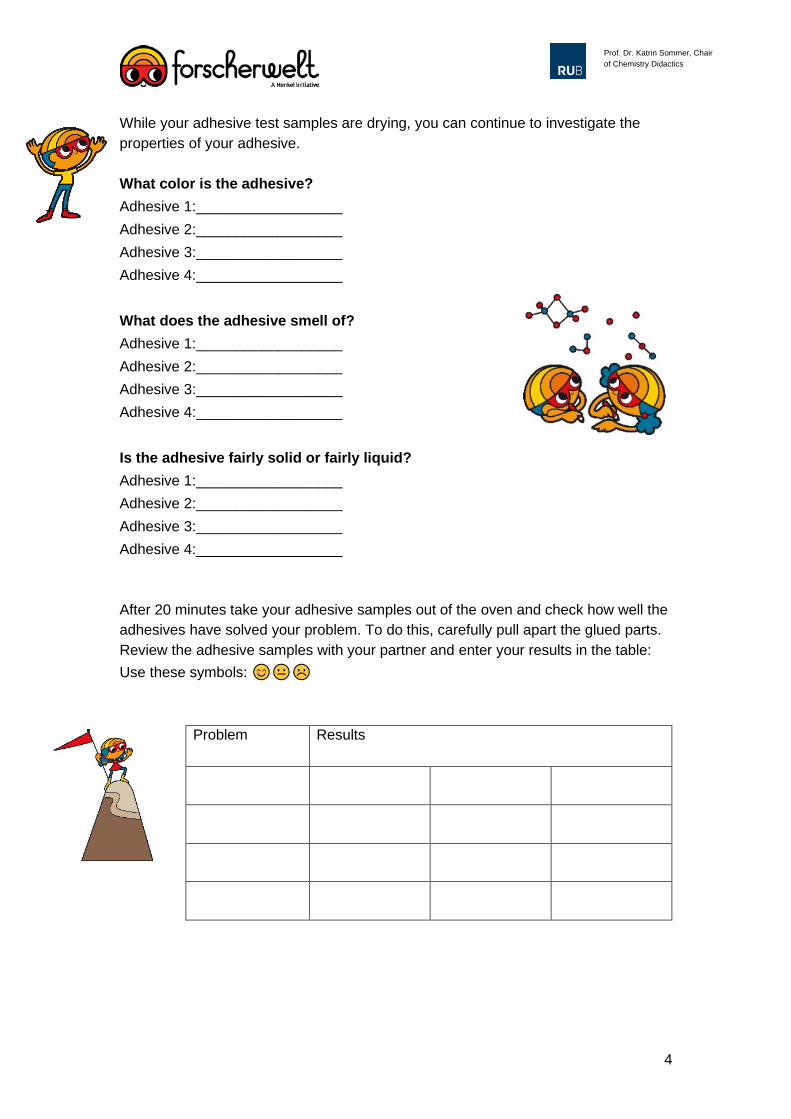
While your adhesive test samples are drying, you can continue to investigate the properties of your adhesive. What color is the adhesive? Adhesive 1:__________________ Adhesive 2:__________________ Adhesive 3:__________________ Adhesive 4:__________________ What does the adhesive smell of? Adhesive 1:__________________ Adhesive 2:__________________ Adhesive 3:__________________ Adhesive 4:__________________ Is the adhesive fairly solid or fairly liquid? Adhesive 1:__________________ Adhesive 2:__________________ Adhesive 3:__________________ Adhesive 4:__________________ After 20 minutes take your adhesive samples out of the oven and check how well the adhesives have solved your problem. To do this, carefully pull apart the glued parts. Review the adhesive samples with your partner and enter your results in the table: Use these symbols: ���� ��� ���
Problem Results
5
Prof. Dr. Katrin Sommer, Chair of Chemistry Didactics
What is sticky and what isn’t? You would like to make your own adhesive. But what could an adhesive be made from? You have often had sticky hands – when you have eaten something sticky, for example. Give a few examples of food that can be sticky:
You find four similar-looking powders in the kitchen. What happens if you mix them with water, as you do with pudding powder for example? Could the powders produce a sticky substance when they are mixed with water?
Find out which of the four powders you might use to make an adhesive.
Now work in a group. Each group is given four small beakers containing powders that are numbered 1 through 4. You will also need small glass dishes (watch glass dishes), spatulas, a water container and disposable pipettes.
1. Put two spatula tips of powder #1 into the glass dish. Use the pipette to add
water drop by drop and stir the mixture with the spatula. How does it behave? 2. You can also rub the mixture between your fingertips. Do they get sticky?
6
Prof. Dr. Katrin Sommer, Chair of Chemistry Didactics
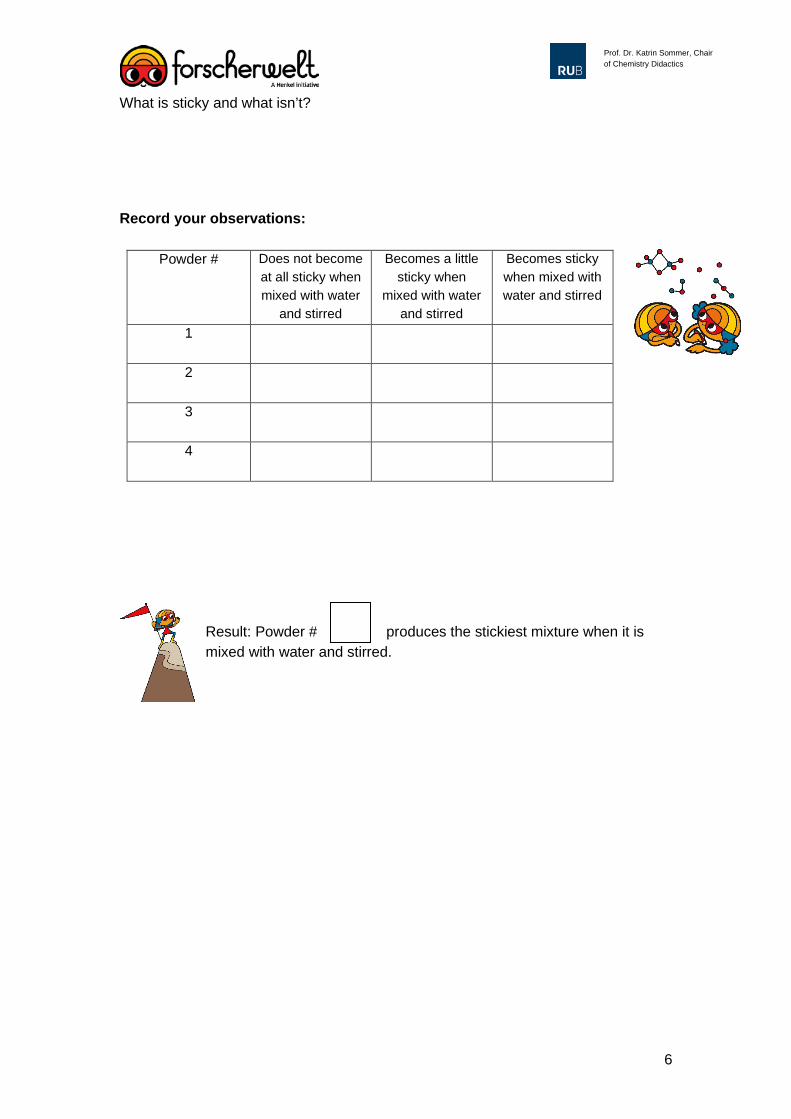
What is sticky and what isn’t? Record your observations:
Powder # Does not become at all sticky when mixed with water
and stirred
Becomes a little sticky when
mixed with water and stirred
Becomes sticky when mixed with water and stirred
1
2
3
4
Result: Powder # produces the stickiest mixture when it is mixed with water and stirred.
7
Prof. Dr. Katrin Sommer, Chair of Chemistry Didactics
Starch: A natural raw material for glue sticks You have discovered that when starch is mixed with water, a sticky substance is produced.
Does a glue stick also contain starch? How can we tell whether starch is present in a substance?
Today you will learn how to detect the presence of starch. You can use a substance called Lugol’s solution to detect the presence of starch. Lugol’s solution is a pink to purple colored liquid that contains iodine. You may be familiar with iodine from its use in medicine. Iodine-containing medicine is used to disinfect a wound, for example. Iodine also has another property, however: It turns dark blue or black when starch is present. Now conduct an experiment.
1. Use a small spatula to put a spatula tip of lime powder on a watch
glas. 2. Add 1-2 mL (½ teaspoon) of water. 3. Then add 2-4 drops of Lugol’s solution to the test tube.
4. Use a small spatula to put a spatula tip of cornstarch on a second
watch glas. 5. Add 1-2 mL (½ teaspoon) of water. 6. Then add 2-4 drops of Lugol’s solution to the test tube.
Record your observations: ___________________________________________________________________ ___________________________________________________________________ ___________________________________________________________________ ___________________________________________________________________
8
Prof. Dr. Katrin Sommer, Chair of Chemistry Didactics
Is starch also present in your glue stick?
Conduct another experiment with your research group.
1. Take a glue stick and use a spatula to scrape off a small amount of the glue
stick. 2. Put the glue stick substance into a test tube, add 3 ml (¾ teaspoon) of water
and carefully seal the test tube with a stopper. 3. Carefully shake the test tube. 4. Remove the stopper and add 2 drops of Lugol’s solution to the test tube.
Record your observations: ___________________________________________________ ___________________________________________________ ___________________________________________________ ___________________________________________________ Is starch present in your glue stick? Check the correct answer:
Yes
No
9
Prof. Dr. Katrin Sommer, Chair of Chemistry Didactics
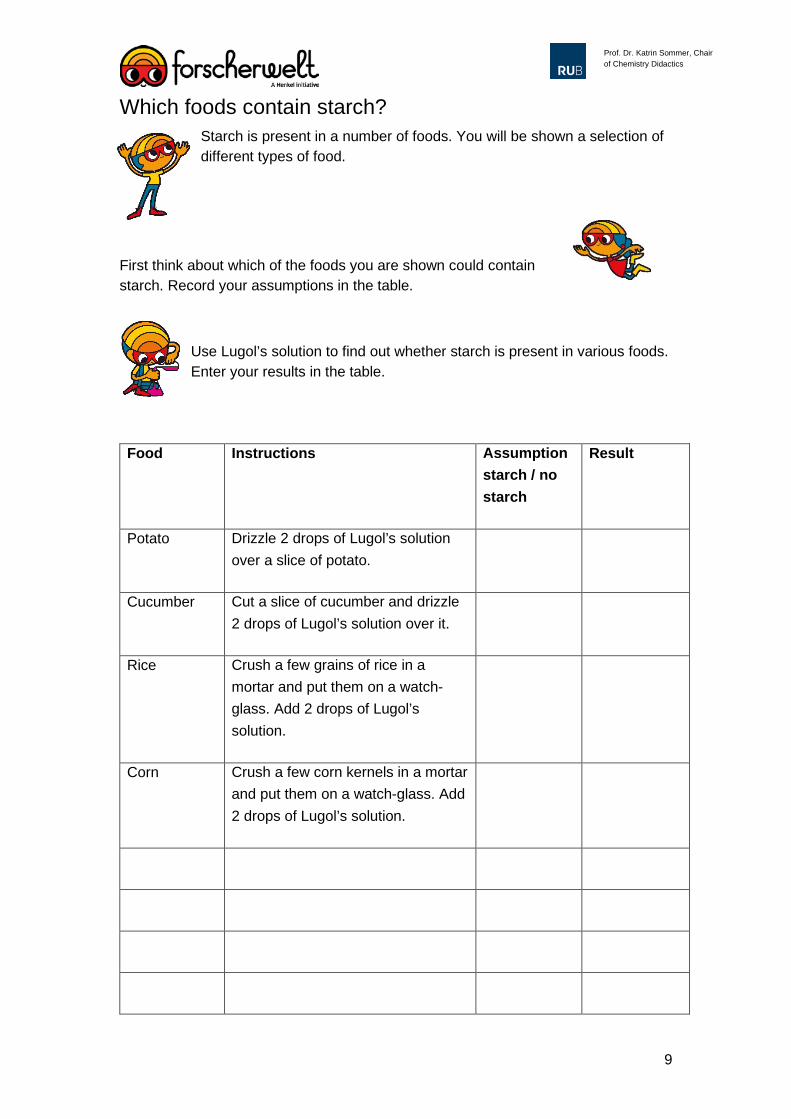
Which foods contain starch? Starch is present in a number of foods. You will be shown a selection of different types of food.
First think about which of the foods you are shown could contain starch. Record your assumptions in the table.
Use Lugol’s solution to find out whether starch is present in various foods. Enter your results in the table.
Food Instructions Assumption
starch / no starch
Result
Potato Drizzle 2 drops of Lugol’s solution over a slice of potato.
Cucumber Cut a slice of cucumber and drizzle 2 drops of Lugol’s solution over it.
Rice Crush a few grains of rice in a mortar and put them on a watch-glass. Add 2 drops of Lugol’s solution.
Corn Crush a few corn kernels in a mortar and put them on a watch-glass. Add 2 drops of Lugol’s solution.
10
Prof. Dr. Katrin Sommer, Chair of Chemistry Didactics
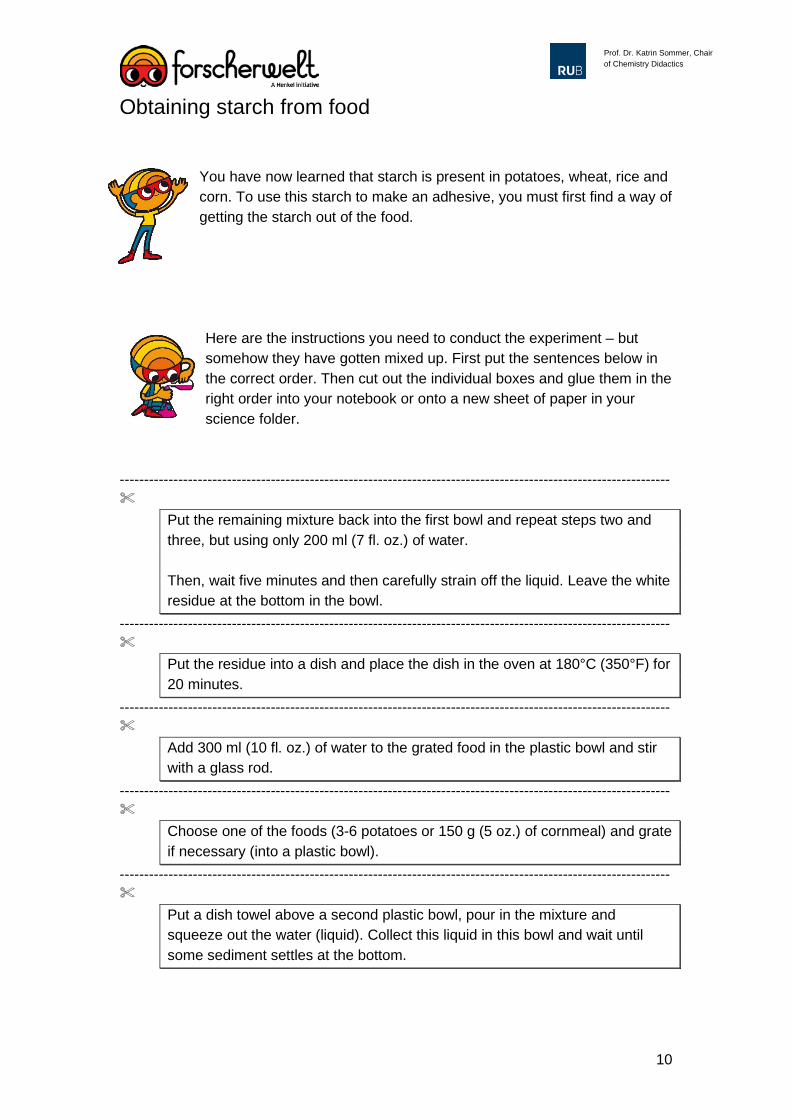
Obtaining starch from food
You have now learned that starch is present in potatoes, wheat, rice and corn. To use this starch to make an adhesive, you must first find a way of getting the starch out of the food.
Here are the instructions you need to conduct the experiment – but somehow they have gotten mixed up. First put the sentences below in the correct order. Then cut out the individual boxes and glue them in the right order into your notebook or onto a new sheet of paper in your science folder.
-----------------------------------------------------------------------------------------------------------------
Put the remaining mixture back into the first bowl and repeat steps two and three, but using only 200 ml (7 fl. oz.) of water. Then, wait five minutes and then carefully strain off the liquid. Leave the white residue at the bottom in the bowl.
-----------------------------------------------------------------------------------------------------------------
Put the residue into a dish and place the dish in the oven at 180°C (350°F) for 20 minutes.
-----------------------------------------------------------------------------------------------------------------
Add 300 ml (10 fl. oz.) of water to the grated food in the plastic bowl and stir with a glass rod.
-----------------------------------------------------------------------------------------------------------------
Choose one of the foods (3-6 potatoes or 150 g (5 oz.) of cornmeal) and grate if necessary (into a plastic bowl).
-----------------------------------------------------------------------------------------------------------------
Put a dish towel above a second plastic bowl, pour in the mixture and squeeze out the water (liquid). Collect this liquid in this bowl and wait until some sediment settles at the bottom.
11
Prof. Dr. Katrin Sommer, Chair of Chemistry Didactics
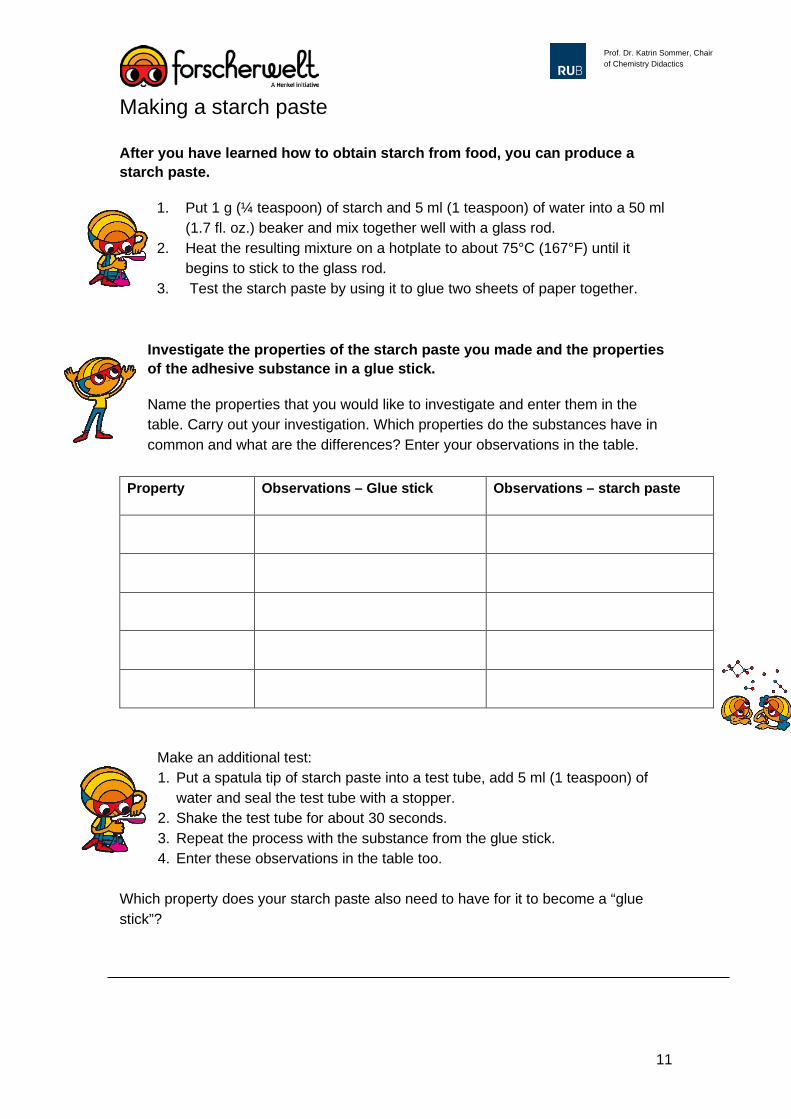
Making a starch paste
After you have learned how to obtain starch from food, you can produce a starch paste.
1. Put 1 g (¼ teaspoon) of starch and 5 ml (1 teaspoon) of water into a 50 ml (1.7 fl. oz.) beaker and mix together well with a glass rod.
2. Heat the resulting mixture on a hotplate to about 75°C (167°F) until it begins to stick to the glass rod.
3. Test the starch paste by using it to glue two sheets of paper together.
Investigate the properties of the starch paste you made and the properties of the adhesive substance in a glue stick.
Name the properties that you would like to investigate and enter them in the table. Carry out your investigation. Which properties do the substances have in common and what are the differences? Enter your observations in the table.
Property Observations – Glue stick Observations – starch paste
Make an additional test: 1. Put a spatula tip of starch paste into a test tube, add 5 ml (1 teaspoon) of
water and seal the test tube with a stopper. 2. Shake the test tube for about 30 seconds. 3. Repeat the process with the substance from the glue stick. 4. Enter these observations in the table too.
Which property does your starch paste also need to have for it to become a “glue stick”?
12
Prof. Dr. Katrin Sommer, Chair of Chemistry Didactics
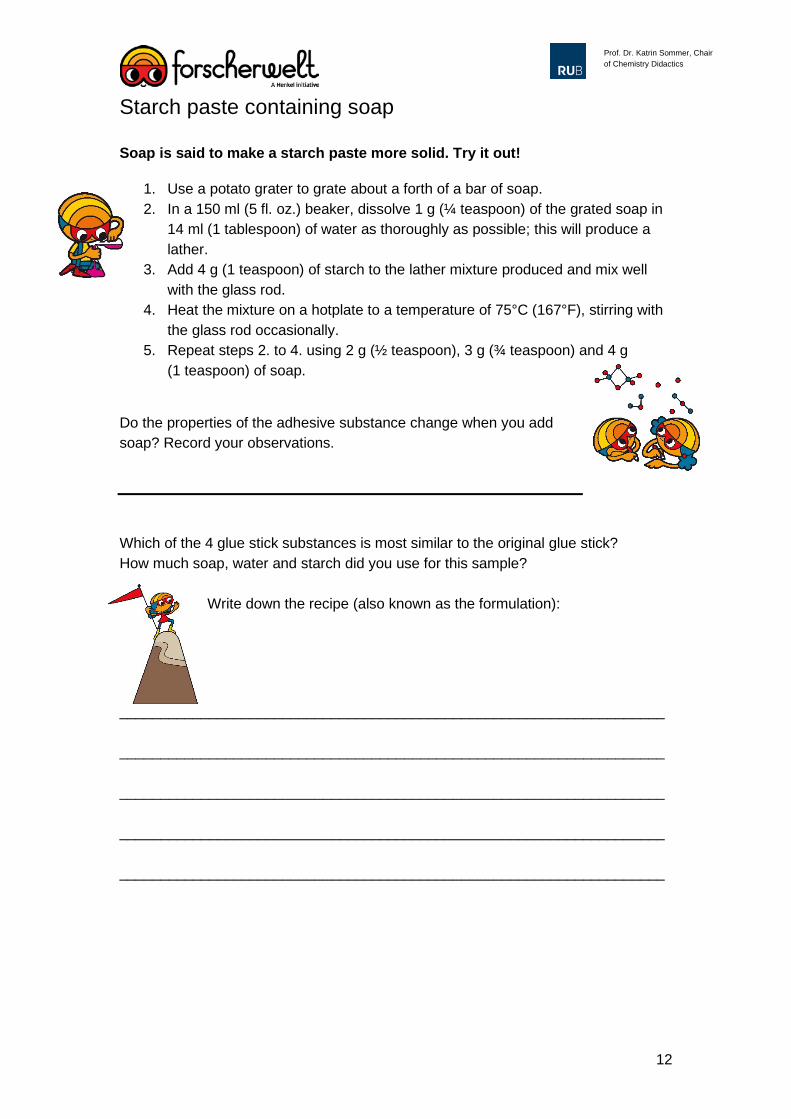
Starch paste containing soap
Soap is said to make a starch paste more solid. Try it out!
1. Use a potato grater to grate about a forth of a bar of soap. 2. In a 150 ml (5 fl. oz.) beaker, dissolve 1 g (¼ teaspoon) of the grated soap in
14 ml (1 tablespoon) of water as thoroughly as possible; this will produce a lather.
3. Add 4 g (1 teaspoon) of starch to the lather mixture produced and mix well with the glass rod.
4. Heat the mixture on a hotplate to a temperature of 75°C (167°F), stirring with the glass rod occasionally.
5. Repeat steps 2. to 4. using 2 g (½ teaspoon), 3 g (¾ teaspoon) and 4 g (1 teaspoon) of soap.
Do the properties of the adhesive substance change when you add soap? Record your observations.
Which of the 4 glue stick substances is most similar to the original glue stick? How much soap, water and starch did you use for this sample?
Write down the recipe (also known as the formulation):
___________________________________________________________________ ___________________________________________________________________ ___________________________________________________________________ ___________________________________________________________________ ___________________________________________________________________
13
Prof. Dr. Katrin Sommer, Chair of Chemistry Didactics
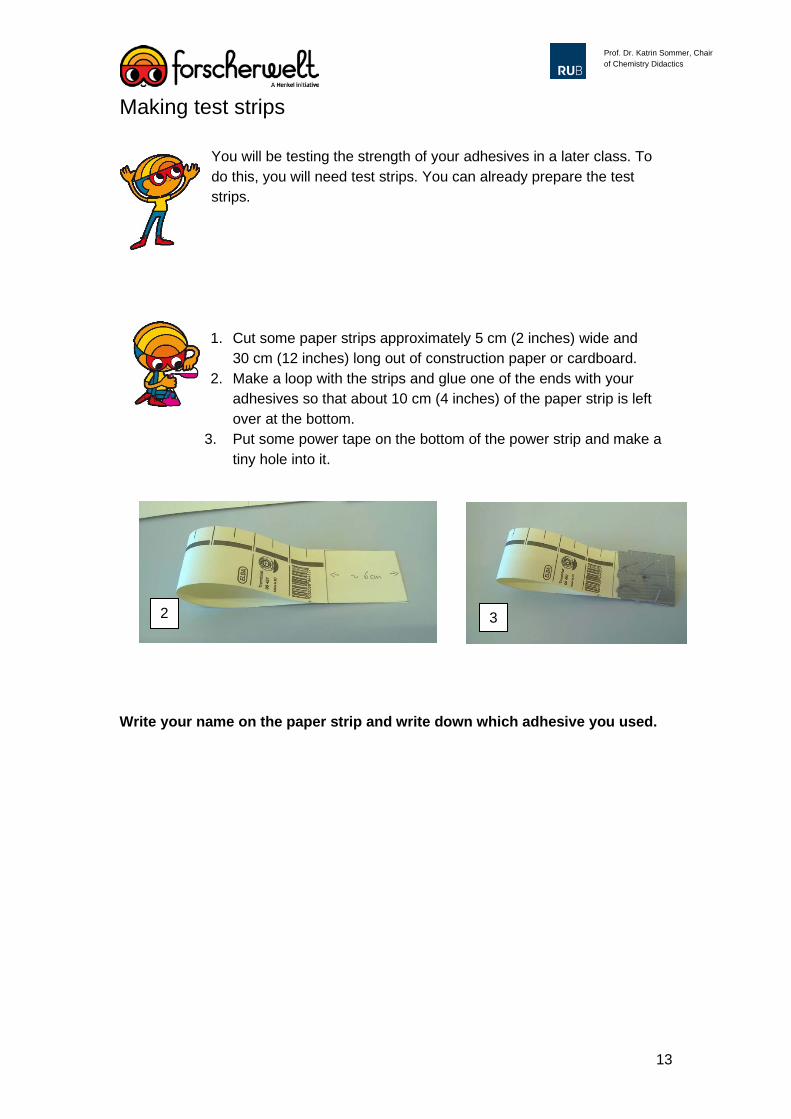
Making test strips
You will be testing the strength of your adhesives in a later class. To do this, you will need test strips. You can already prepare the test strips.
1. Cut some paper strips approximately 5 cm (2 inches) wide and
30 cm (12 inches) long out of construction paper or cardboard. 2. Make a loop with the strips and glue one of the ends with your
adhesives so that about 10 cm (4 inches) of the paper strip is left over at the bottom.
3. Put some power tape on the bottom of the power strip and make a tiny hole into it.
Write your name on the paper strip and write down which adhesive you used.
3 2
14
Prof. Dr. Katrin Sommer, Chair of Chemistry Didactics
Producing adhesives from food
Can other food also be used to produce adhesives?
Various types of food can be used.
• Use your imagination to invent adhesives made from food. • Write instructions for the experiment that will produce the adhesive
you invented.
__________________________________________________________________ __________________________________________________________________ __________________________________________________________________ __________________________________________________________________ __________________________________________________________________ __________________________________________________________________ __________________________________________________________________ Use the food adhesives to produce test strips for the next class, and label them with your name and the adhesive used.
15
Prof. Dr. Katrin Sommer, Chair of Chemistry Didactics
Method for testing adhesives
How can we test the strength of adhesives?
1. Use the materials available to develop a method for testing the strength of the adhesives you produced (starch paste and food adhesives) and the original glue stick.
2. Build an apparatus and write operating instructions for it. 3. Use your apparatus to test the adhesive strength.
Write down the operating instructions: __________________________________________________________________ _________________________________________________________________ __________________________________________________________________ ________________________________________________________________ _________________________________________________________________ __________________________________________________________________
16
Prof. Dr. Katrin Sommer, Chair of Chemistry Didactics
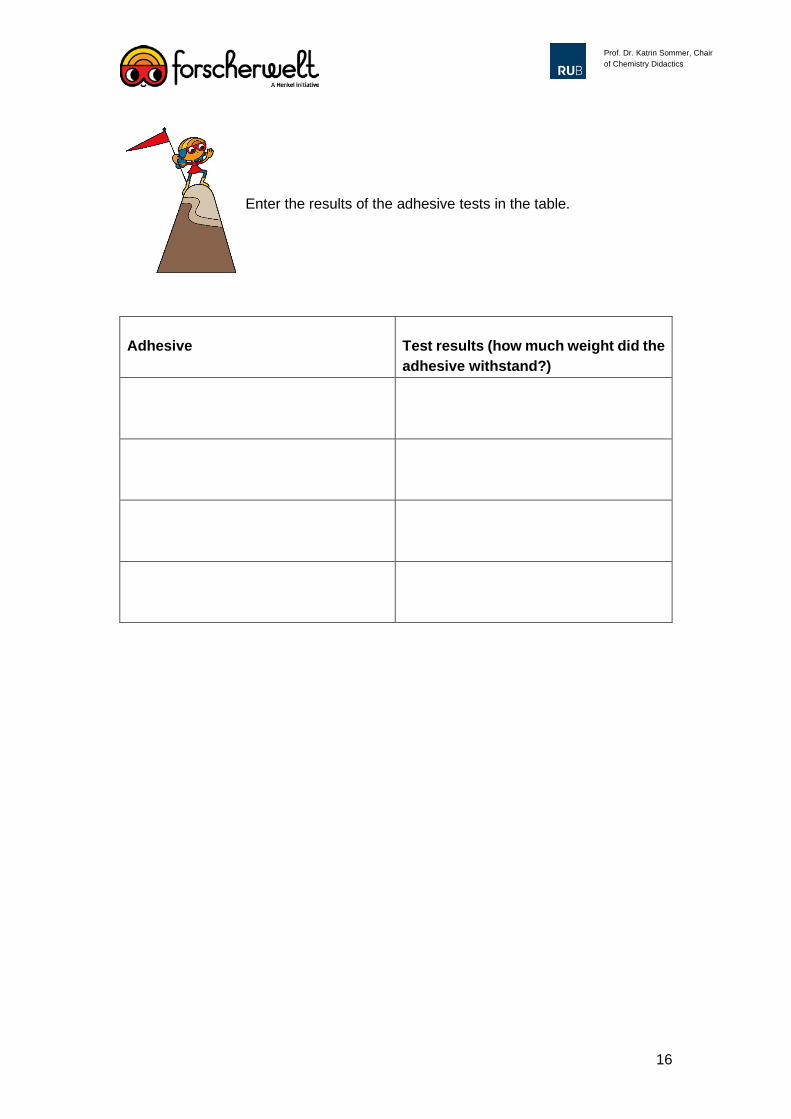
Enter the results of the adhesive tests in the table.
Adhesive
Test results (how much weight did the adhesive withstand?)