Embed Size (px)
Citation preview

www.zoner.com
Manage Edit Share
Adding Text to a PictureApril 5th, 2011Intended for: beginners
The ability to add text to a picture may sound like just a toy, but that really isn’t so. Anyone working with photographs or other pictures will encounter this need from time to time. For example: sometimes you need to sign a picture, but it doesn’t need to be a drawn signature. It’s nice to have an easy way to do that!
And there definitely are times—e.g. web publishing—where a picture needs a signature, and not for artistic reasons (so a drawn signature isn’t needed). If the picture is framed and the signa-ture is well positioned in relation to it, it will even blend quite nicely into the picture. A function like this is also often useful when creating title pages for paper photo albums or for calendars.
www.zoner.com
Manage Edit Share
The Classic Way
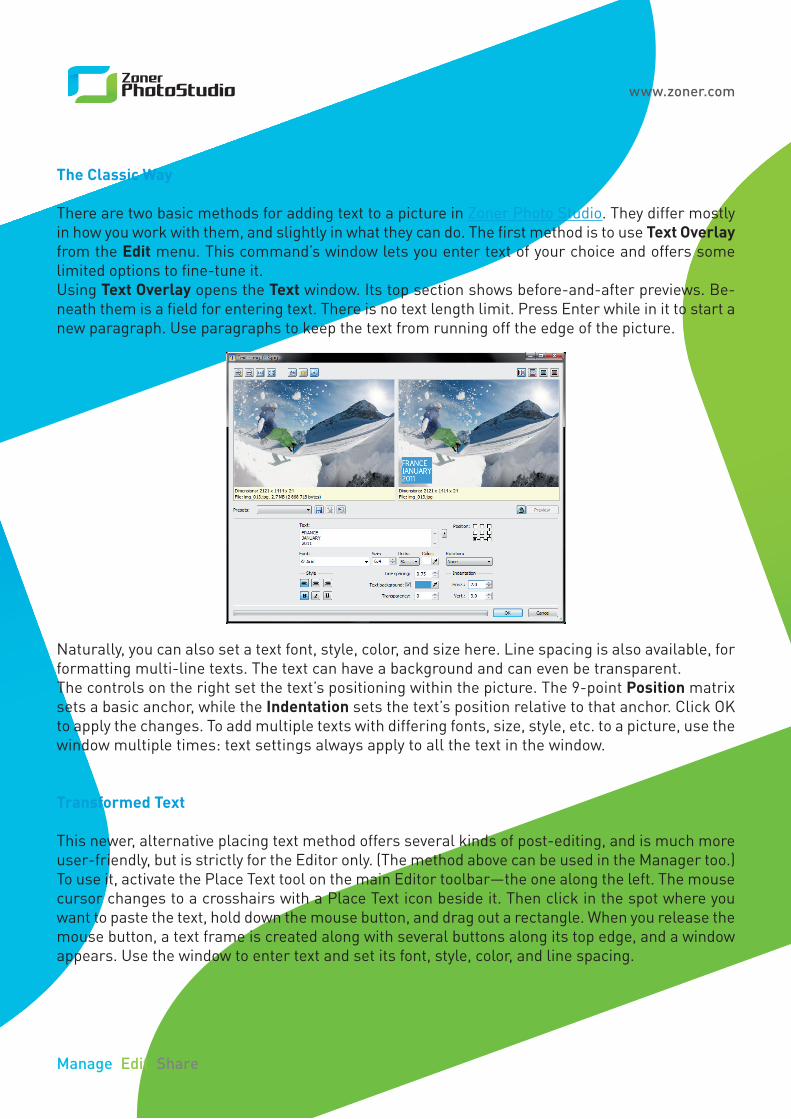
There are two basic methods for adding text to a picture in Zoner Photo Studio. They differ mostly in how you work with them, and slightly in what they can do. The first method is to use Text Overlay from the Edit menu. This command’s window lets you enter text of your choice and offers some limited options to fine-tune it.Using Text Overlay opens the Text window. Its top section shows before-and-after previews. Be-neath them is a field for entering text. There is no text length limit. Press Enter while in it to start a new paragraph. Use paragraphs to keep the text from running off the edge of the picture.
Naturally, you can also set a text font, style, color, and size here. Line spacing is also available, for formatting multi-line texts. The text can have a background and can even be transparent.The controls on the right set the text’s positioning within the picture. The 9-point Position matrix sets a basic anchor, while the Indentation sets the text’s position relative to that anchor. Click OK to apply the changes. To add multiple texts with differing fonts, size, style, etc. to a picture, use the window multiple times: text settings always apply to all the text in the window.
Transformed Text
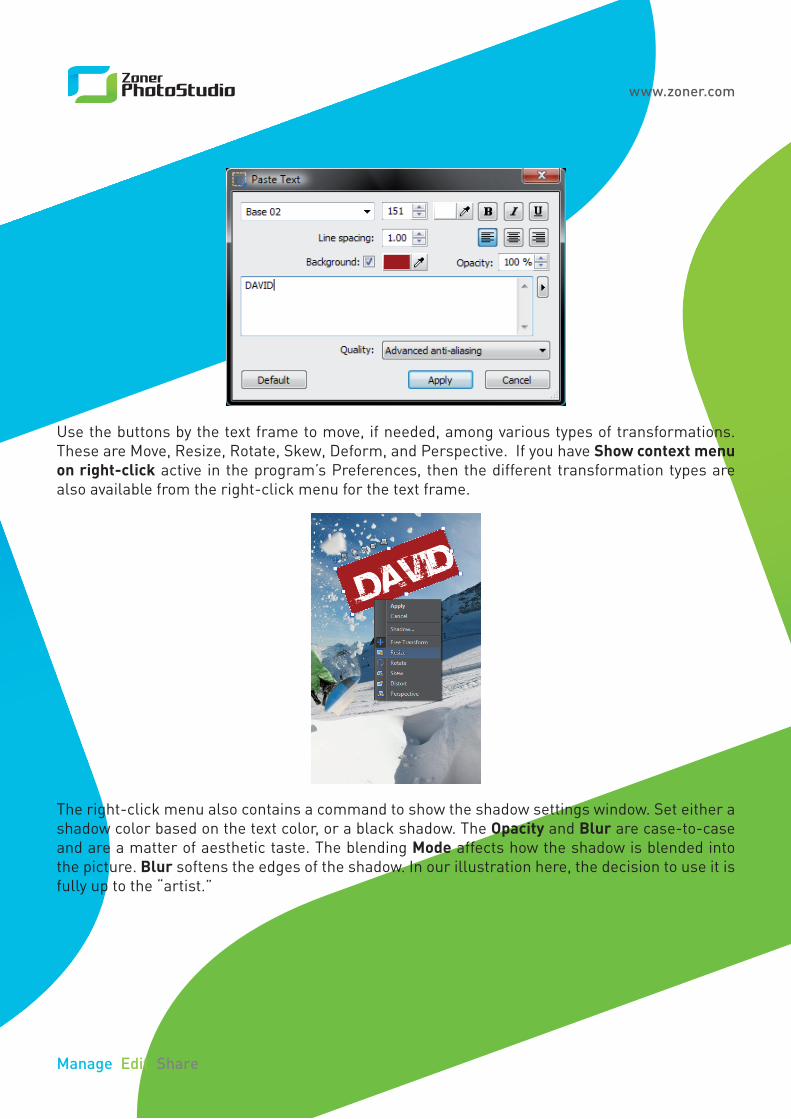
This newer, alternative placing text method offers several kinds of post-editing, and is much more user-friendly, but is strictly for the Editor only. (The method above can be used in the Manager too.) To use it, activate the Place Text tool on the main Editor toolbar—the one along the left. The mouse cursor changes to a crosshairs with a Place Text icon beside it. Then click in the spot where you want to paste the text, hold down the mouse button, and drag out a rectangle. When you release the mouse button, a text frame is created along with several buttons along its top edge, and a window appears. Use the window to enter text and set its font, style, color, and line spacing.
www.zoner.com
Manage Edit Share
Use the buttons by the text frame to move, if needed, among various types of transformations. These are Move, Resize, Rotate, Skew, Deform, and Perspective. If you have Show context menu on right-click active in the program’s Preferences, then the different transformation types are also available from the right-click menu for the text frame.
The right-click menu also contains a command to show the shadow settings window. Set either a shadow color based on the text color, or a black shadow. The Opacity and Blur are case-to-case and are a matter of aesthetic taste. The blending Mode affects how the shadow is blended into the picture. Blur softens the edges of the shadow. In our illustration here, the decision to use it is fully up to the “artist.”
www.zoner.com
Manage Edit Share
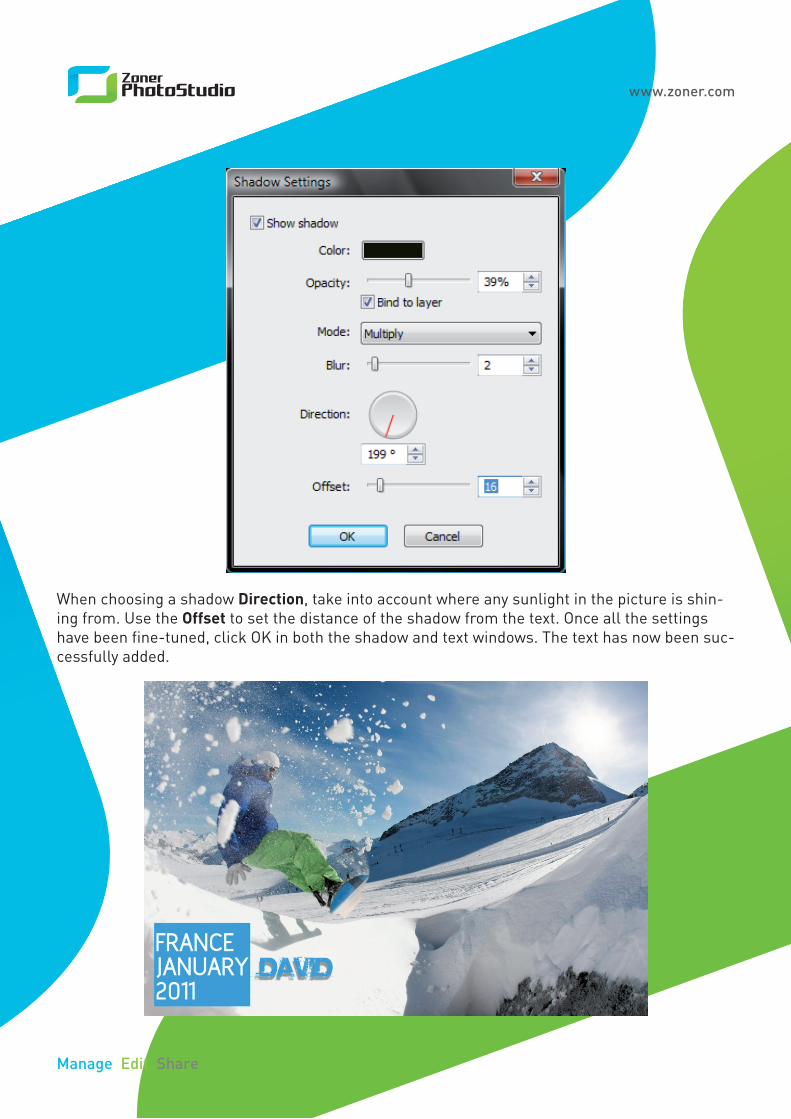
When choosing a shadow Direction, take into account where any sunlight in the picture is shin-ing from. Use the Offset to set the distance of the shadow from the text. Once all the settings have been fine-tuned, click OK in both the shadow and text windows. The text has now been suc-cessfully added.