Embed Size (px)
Citation preview
Adafruit BMP388 - Precision Barometric Pressure andAltimeter
Created by Kattni Rembor
Last updated on 2019-04-22 08:39:13 PM UTC

Overview
Bosch has been a leader in barometric pressure sensors, from the BMP085 (https://adafru.it/y8B).BMP180 (https://adafru.it/y8A), and BMP280 (https://adafru.it/ufr)... now we've got the next generation, the AdafruitBMP388 Precision Barometric Pressure sensor. As you would expect, this sensor is similar to its earlier versions buteven better. The BMP388 has better precision than ever, which makes it excellent for environmental sensing or as aprecision altimeter. It can even be used in either I2C and SPI configurations.
The BMP3xx is the next-generation of sensors from Bosch, and is the upgrade to the BMP280 - with a low altitudenoise as low as 0.1m and the same fast conversion time. And like the previous BMP280, you can use I2C or SPI. Forsimple easy wiring, go with I2C. If you want to connect a bunch of sensors without worrying about I2C addresscollisions, go with SPI.
© Adafruit Industries https://learn.adafruit.com/adafruit-bmp388 Page 3 of 24

This sensor has a relative accuracy of 8 Pascals, which translates to about ± 0.5 meter of altitude (compare to theBMP280's 12 Pascal/ ±1 meter). The datasheet sort of implies they intend this sensor to be used for drones andquadcopters, to keep altitude stable, but you could also use this for wearables or any project that wants to trackheight-above-sea-level. Note that for absolute height you'll still need to enter in the barometric pressure at sea level, ifthe weather changes, but that's true of every altimeter sensor that uses pressure. You can also measure temperaturewith ±0.5°C accuracy.
Nice sensor right? So we made it easy for you to get right into your next project. The surface-mount sensor is solderedonto a PCB and comes with a 3.3V regulator and level shifting so you can use it with a 3V or 5V logic microcontrollerwithout worry. Check out the Arduino library to get data out in under 10 minutes! (https://adafru.it/EdV)
© Adafruit Industries https://learn.adafruit.com/adafruit-bmp388 Page 4 of 24

© Adafruit Industries https://learn.adafruit.com/adafruit-bmp388 Page 5 of 24

Pinouts
Power Pins
Vin - this is the power pin. Since the sensor chip uses 3 VDC, we have included a voltage regulator on board thatwill take 3-5VDC and safely convert it down. To power the board, give it the same power as the logic level ofyour microcontroller - e.g. for a 5V micro like Arduino, use 5V3Vo - this is the 3.3V output from the voltage regulator, you can grab up to 100mA from this if you likeGND - common ground for power and logic
SPI Logic pins
All pins going into the breakout have level shifting circuitry to make them 3-5V logic level safe. Use whatever logiclevel is on Vin!
SCK - This is the SPI Clock pin, its an input to the chip and can use 3 - 5V logic.SDO - this is the Serial Data Out / Master In Slave Out pin, for data sent from the BMP388 to your processor.Logic level is 3.3V output, so can be read by 5V microcontrollers.SDI - this is the Serial Data In / Master Out Slave In pin, for data sent from your processor to the BMP388. Its aninput to the chip and can use 3 - 5V logic.CS - this is the Chip Select pin, drop it low to start an SPI transaction. Its an input to the chip and can use 3 - 5Vlogic.INT - this is the Interrupt pin. The BMP388 can send an output signal to tell you when data is read (we don't usethis in our libraries but it is available for your use). The logic level is 3.3V output, so it can be read by 5Vmicrocontrollers.
If you want to connect multiple BMP388 sensors to one microcontroller, have them share the SDI, SDO and SCK pins.Then assign each one a unique CS pin.
I2C Logic pins
SCK - this is also the I2C clock pin, connect to your microcontroller's I2C clock line.SDI - this is also the I2C data pin, connect to your microcontroller's I2C data line.
Leave the CS and SDO pins disconnected for I2C use.
© Adafruit Industries https://learn.adafruit.com/adafruit-bmp388 Page 6 of 24

Assembly
© Adafruit Industries https://learn.adafruit.com/adafruit-bmp388 Page 7 of 24
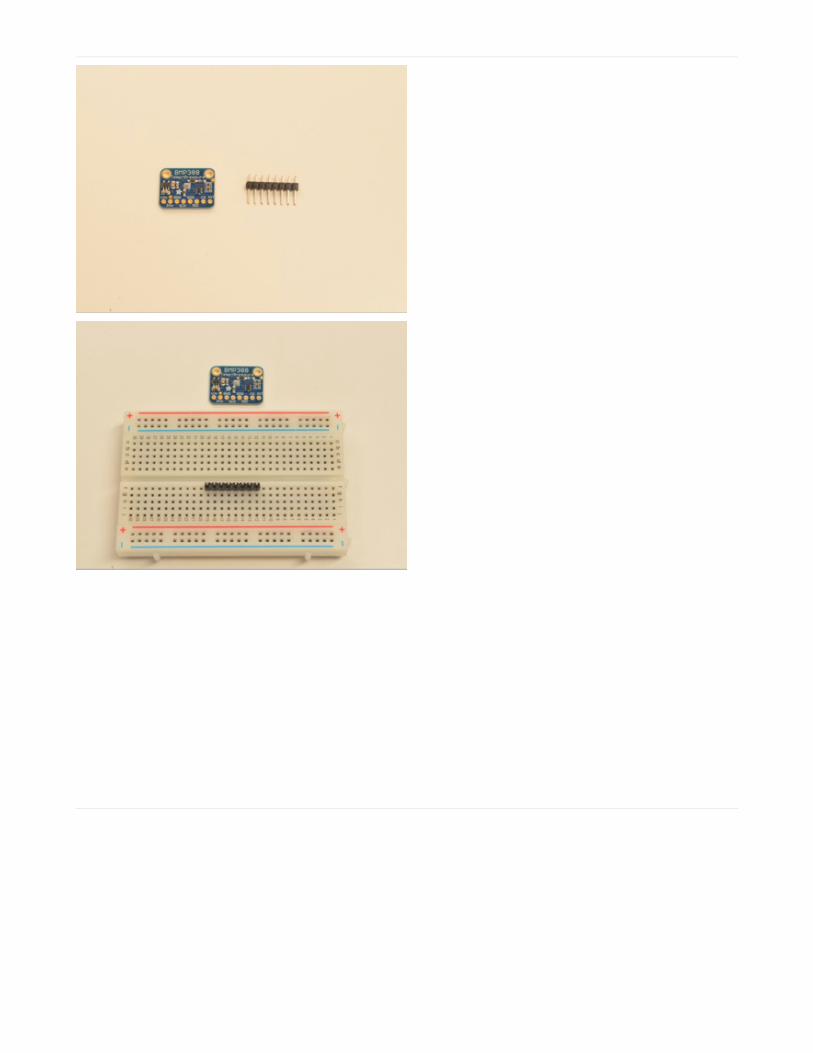
Prepare the header strip:Cut the strip to length if necessary. It will be easier to
solder if you insert it into a breadboard - long pins down
© Adafruit Industries https://learn.adafruit.com/adafruit-bmp388 Page 8 of 24
Add the breakout board:Place the breakout board over the pins so that the short
pins poke through the breakout pads
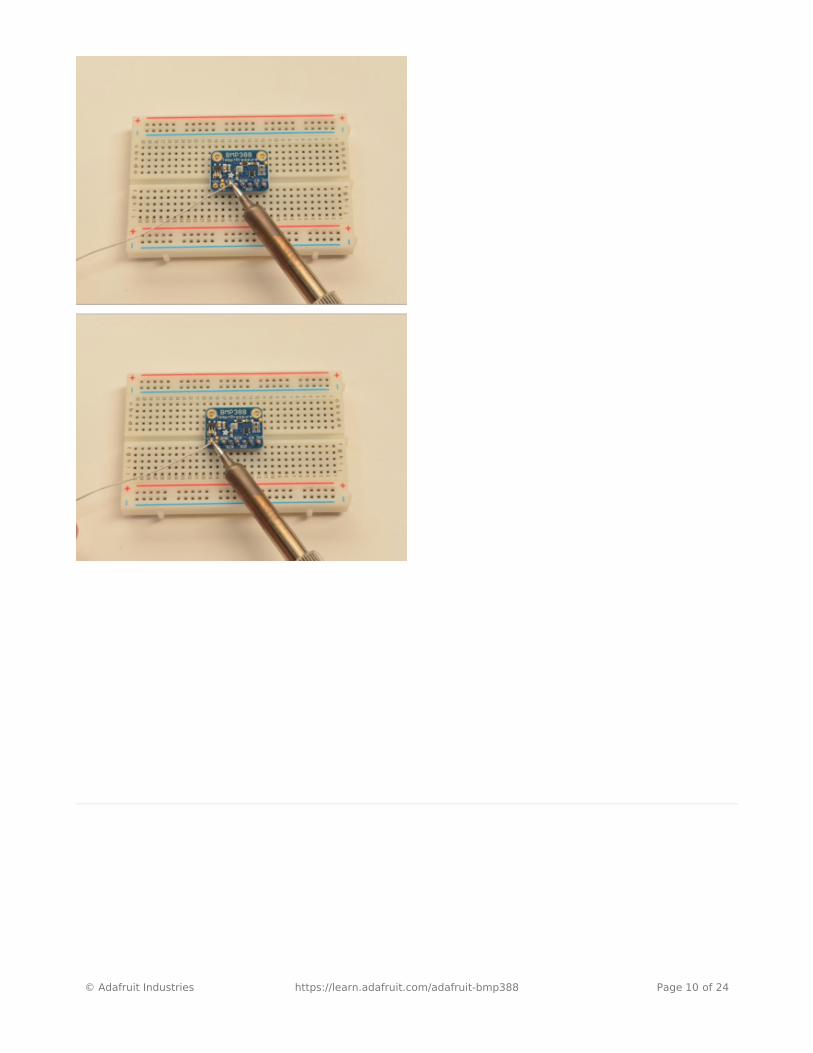
And Solder!Be sure to solder all 8 pins for reliable electrical contact.
(For tips on soldering, be sure to check out our Guide to
Excellent Soldering (https://adafru.it/aTk)).
© Adafruit Industries https://learn.adafruit.com/adafruit-bmp388 Page 9 of 24
© Adafruit Industries https://learn.adafruit.com/adafruit-bmp388 Page 10 of 24

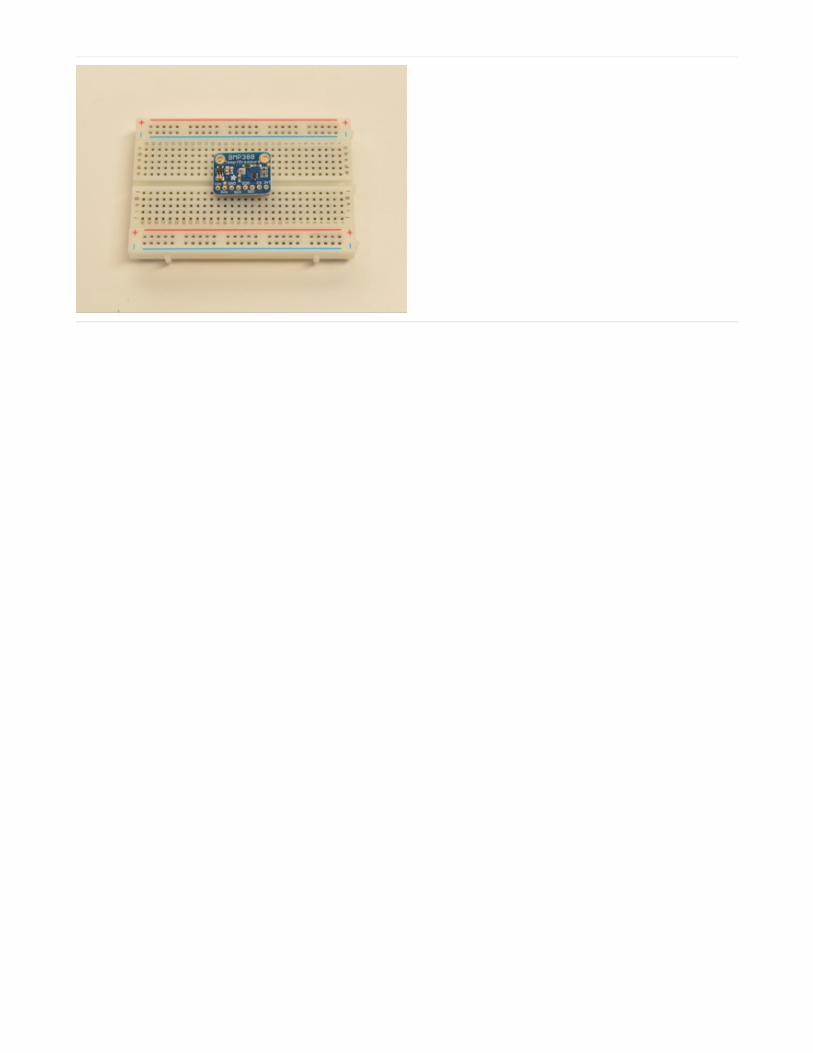
You're done! Check your solder joints visually and
continue onto the next steps.
© Adafruit Industries https://learn.adafruit.com/adafruit-bmp388 Page 11 of 24

Arduino
You can easily wire this breakout to any microcontroller, we'll be using an Arduino Uno/328P compatible. For anotherkind of microcontroller, as long as you have 4 available pins it is possible to 'bit-bang SPI' or you can use two I2C pins,but usually those pins are fixed in hardware. Just check out the library, then port the code.
I2C Wiring
Use this wiring if you want to connect via I2C interface:
Connect Vin to the power supply, 3-5V is fine. Use
the same voltage that the microcontroller logic is
based off of. For most older Arduinos, that is 5V.
Connect GND to common power/data ground.
Connect the SCK pin to the I2C clock SCL pin on
your Arduino. On an UNO & '328 based Arduino,
this is also known as A5, on a Mega it is also
known as digital 21 and on a Leonardo/Micro,
digital 3.
Connect the SDI pin to the I2C data SDA pin on
your Arduino. On an UNO & '328 based Arduino,
this is also known as A4, on a Mega it is also
known as digital 20 and on a Leonardo/Micro,
digital 2.
SPI Wiring
Since this is a SPI-capable sensor, we can use hardware or 'software' SPI. To make wiring identical on all Arduinos,we'll begin with 'software' SPI. The following pins should be used:
Connect Vin to the power supply, 3V or 5V is fine.
Use the same voltage that the microcontroller
logic is based off of. For most Arduinos, that is 5V.
Connect GND to common power/data ground.
Connect the SCK pin to Digital #13 but any pin can
be used later.
Connect the SDO pin to Digital #12 but any pin
can be used later.
Connect the SDI pin to Digital #11 but any pin can
be used later.
Connect the CS pin Digital #10 but any pin can be
used later.
Later on, once we get it working, we can adjust the library to use hardware SPI if you desire, or change the pinsassignments.
© Adafruit Industries https://learn.adafruit.com/adafruit-bmp388 Page 12 of 24

Download Adafruit_BMP3XX library
To begin reading sensor data, you will need to install the Adafruit_BMP3XX library (code on our githubrepository) (https://adafru.it/EdV). It is available from the Arduino library manager so we recommend using that.
From the IDE open up the library manager...
And type in adafruit bmp3xx to locate the library. Click Install
You'll also need to install the Adafruit Unified Sensor library
We also have a great tutorial on Arduino library installation at:http://learn.adafruit.com/adafruit-all-about-arduino-libraries-install-use (https://adafru.it/aYM)
Load Demo
Open up File -> Examples -> Adafruit_BMP3XX -> bmp3xx_simpletest and upload to your Arduino wired up to thesensor.
© Adafruit Industries https://learn.adafruit.com/adafruit-bmp388 Page 13 of 24

Depending on whether you are using I2C or SPI, change the pin names and comment or uncomment the followinglines.
Once uploaded to your Arduino, open up the serial console at 115200 baud to see data being printed out:
Temperature is calculated in degrees C, you can convert this to F by using the classic F = C * 9/5 + 32 equation.
Pressure is returned in the SI units of Pascals. 100 Pascals = 1 hPa = 1 millibar. Often times barometric pressure isreported in millibar or inches-mercury (Hg). For future reference 1 pascal =0.000295333727 inches of mercury, or 1inch Hg = 3386.39 Pascal. So if you take the Pascal value of say 100734 and divide by 3389.39 you'll get 29.72 inches-Hg.
You can also calculate Altitude. However, you can only really do a good accurate job of calculating altitude if youknow the hPa pressure at sea level for your location and day! The sensor is quite precise but if you do not have thedata updated for the current day, then it can be difficult to get more accurate than 10 meters.
Pass in the current sea level pressure in hPa - so the value will be somewhere around ~1000. You can also test withthe generic 1013.25 value.
#define BMP_SCK 13#define BMP_MISO 12#define BMP_MOSI 11#define BMP_CS 10
#define SEALEVELPRESSURE_HPA (1013.25)
Adafruit_BMP3XX bmp; // I2C//Adafruit_BMP3XX bmp(BMP_CS); // hardware SPI//Adafruit_BMP3XX bmp(BMP_CS, BMP_MOSI, BMP_MISO, BMP_SCK); // Software SPI
© Adafruit Industries https://learn.adafruit.com/adafruit-bmp388 Page 14 of 24

Example Code
The following example code is part of the standard library. It illustrates how you can retrieve sensor data from theBMP388 for the temperature, pressure and approximate altitude:
/*************************************************************************** This is a library for the BMP3XX temperature & pressure sensor
Designed specifically to work with the Adafruit BMP388 Breakout ----> http://www.adafruit.com/products/3966
These sensors use I2C or SPI to communicate, 2 or 4 pins are required to interface.
Adafruit invests time and resources providing this open source code, please support Adafruit and open-source hardware by purchasing products from Adafruit!
Written by Limor Fried & Kevin Townsend for Adafruit Industries. BSD license, all text above must be included in any redistribution ***************************************************************************/
#include <Wire.h>#include <SPI.h>#include <Adafruit_Sensor.h>#include "Adafruit_BMP3XX.h"
#define BMP_SCK 13#define BMP_MISO 12#define BMP_MOSI 11#define BMP_CS 10
#define SEALEVELPRESSURE_HPA (1013.25)
Adafruit_BMP3XX bmp; // I2C//Adafruit_BMP3XX bmp(BMP_CS); // hardware SPI//Adafruit_BMP3XX bmp(BMP_CS, BMP_MOSI, BMP_MISO, BMP_SCK);
void setup() { Serial.begin(115200); while (!Serial); Serial.println("BMP388 test");
if (!bmp.begin()) { Serial.println("Could not find a valid BMP3 sensor, check wiring!"); while (1); }
// Set up oversampling and filter initialization bmp.setTemperatureOversampling(BMP3_OVERSAMPLING_8X); bmp.setPressureOversampling(BMP3_OVERSAMPLING_4X); bmp.setIIRFilterCoeff(BMP3_IIR_FILTER_COEFF_3); //bmp.setOutputDataRate(BMP3_ODR_50_HZ);}
void loop() { if (! bmp.performReading()) { Serial.println("Failed to perform reading :(");
© Adafruit Industries https://learn.adafruit.com/adafruit-bmp388 Page 15 of 24

Serial.println("Failed to perform reading :("); return; } Serial.print("Temperature = "); Serial.print(bmp.temperature); Serial.println(" *C");
Serial.print("Pressure = "); Serial.print(bmp.pressure / 100.0); Serial.println(" hPa");
Serial.print("Approx. Altitude = "); Serial.print(bmp.readAltitude(SEALEVELPRESSURE_HPA)); Serial.println(" m");
Serial.println(); delay(2000);}
© Adafruit Industries https://learn.adafruit.com/adafruit-bmp388 Page 16 of 24

Python & CircuitPython
It's easy to use the BMP388 sensor with CircuitPython and the Adafruit CircuitPythonBMP3XX (https://adafru.it/Ei6) module. This module allows you to easily write Python code that reads the barometricpressure, temperature and more from the sensor.
You can use this sensor with any CircuitPython microcontroller board or with a computer that has GPIO andPython thanks to Adafruit_Blinka, our CircuitPython-for-Python compatibility library (https://adafru.it/BSN).
CircuitPython Microcontroller Wiring
First wire up a BMP280 to your board as shown below. You can use either I2C or SPI wiring, although it'srecommended to use I2C for simplicity. Here's an example of wiring a Feather M0 to the sensor with I2C:
Board 3V to sensor VIN
Board GND to sensor GND
Board SCL to sensor SCK
Board SDA to sensor SDI
And an example of a Feather M0 wired with hardware SPI:
Board 3V to sensor VIN
Board GND to sensor GND
Board SCK to sensor SCK
Board MOSI to sensor SDI
Board MISO to sensor SDO
Board D5 to sensor CS (or use any other free
digital I/O pin)
Python Computer Wiring
Since there's dozens of Linux computers/boards you can use, we will show wiring for Raspberry Pi. For otherplatforms, please visit the guide for CircuitPython on Linux to see whether your platform issupported (https://adafru.it/BSN).
Here's the Raspberry Pi wired with I2C:
© Adafruit Industries https://learn.adafruit.com/adafruit-bmp388 Page 17 of 24

Pi 3V3 to sensor VIN
Pi GND to sensor GND
Pi SCL to sensor SCK
Pi SDA to sensor SDI
And an example on the Raspberry Pi 3 Model B wired with SPI:
Pi 3V3 to sensor VIN
Pi GND to sensor GND
Pi MOSI to sensor SDI
Pi MISO to sensor SDO
Pi SCLK to sensor SCK
Pi #5 to sensor CS (or use any other free GPIO
pin)
CircuitPython Installation of BMP3XX Library
You'll need to install the Adafruit CircuitPython BMP3XX (https://adafru.it/Ei6) library on your CircuitPython board.
First make sure you are running the latest version of Adafruit CircuitPython (https://adafru.it/Amd) for your board.
Next you'll need to install the necessary libraries to use the hardware--carefully follow the steps to find and install theselibraries from Adafruit's CircuitPython library bundle (https://adafru.it/uap). Our CircuitPython starter guide has a greatpage on how to install the library bundle (https://adafru.it/ABU).
For non-express boards like the Trinket M0 or Gemma M0, you'll need to manually install the necessary libraries fromthe bundle:
adafruit_bmp3xx.mpyadafruit_bus_device
Before continuing, make sure your board's lib folder or root filesystem has the adafruit_bmp3xx.mpy, andadafruit_bus_device files and folders copied over.
Next connect to the board's serial REPL (https://adafru.it/Awz)so you are at the CircuitPython >>> prompt.
Python Installation of BMP3XX Library
You'll need to install the Adafruit_Blinka library that provides the CircuitPython support in Python. This may also
© Adafruit Industries https://learn.adafruit.com/adafruit-bmp388 Page 18 of 24

require enabling I2C on your platform and verifying you are running Python 3. Since each platform is a little different,and Linux changes often, please visit the CircuitPython on Linux guide to get your computerready (https://adafru.it/BSN)!
Once that's done, from your command line run the following command:
sudo pip3 install adafruit-circuitpython-bmp3xx
If your default Python is version 3 you may need to run 'pip' instead. Just make sure you aren't trying to useCircuitPython on Python 2.x, it isn't supported!
CircuitPython & Python Usage
To demonstrate the usage of the sensor, we'll initialize it and read the pressure, temperature and more from thePython REPL.
If you're using an I2C connection, run the following code to import the necessary modules and initialize the I2Cconnection with the sensor:
Or if you're using a SPI connection run this code instead to setup the SPI connection and sensor:
Now you're ready to read values from the sensor using any of these properties:
temperature - The sensor temperature in degrees Celsius.
pressure - The pressure in hPa.
altitude - The altitude in meters.
For example to print temperature and pressure:
import timeimport boardimport busioimport adafruit_bmp3xxi2c = busio.I2C(board.SCL, board.SDA)bmp = adafruit_bmp3xx.BMP3XX_I2C(i2c)
import timeimport boardimport busioimport adafruit_bmp3xximport digitaliospi = busio.SPI(board.SCK, board.MOSI, board.MISO)cs = digitalio.DigitalInOut(board.D5)bmp = adafruit_bmp3xx.BMP3XX_SPI(spi, cs)
print("Pressure: {:6.1f}".format(bmp.pressure))print("Temperature: {:5.2f}".format(bmp.temperature))
© Adafruit Industries https://learn.adafruit.com/adafruit-bmp388 Page 19 of 24

For altitude, you'll want to set the pressure at sea level for your location to get the most accurate measurement(remember these sensors can only infer altitude based on pressure and need a set calibration point). Look at yourlocal weather report for a pressure at sea level reading and set the sea_level_pressure property:
Then read the altitude property for a more accurate altitude reading (but remember this altitude will fluctuate based
on atmospheric pressure changes!):
That's all there is to using the BMP388 sensor with CircuitPython!
Full Example Code
bmp.sea_level_pressure = 1013.25
print('Altitude: {} meters'.format(bmp.altitude))
import timeimport boardimport busioimport adafruit_bmp3xx
# I2C setupi2c = busio.I2C(board.SCL, board.SDA)bmp = adafruit_bmp3xx.BMP3XX_I2C(i2c)
# SPI setup# from digitalio import DigitalInOut, Direction# spi = busio.SPI(board.SCK, board.MOSI, board.MISO)# cs = DigitalInOut(board.D5)# bmp = adafruit_bmp3xx.BMP3XX_SPI(spi, cs)
bmp.pressure_oversampling = 8bmp.temperature_oversampling = 2
while True: print("Pressure: {:6.1f} Temperature: {:5.2f}".format(bmp.pressure, bmp.temperature)) time.sleep(1)
© Adafruit Industries https://learn.adafruit.com/adafruit-bmp388 Page 20 of 24

Downloads
Files
BMP388 datasheet (https://adafru.it/EfL)Fritzing object in the Adafruit Fritzing Library (https://adafru.it/EfM)EagleCAD PCB files on GitHub (https://adafru.it/EfN)
Schematic
Fab Print
© Adafruit Industries https://learn.adafruit.com/adafruit-bmp388 Page 21 of 24

© Adafruit Industries https://learn.adafruit.com/adafruit-bmp388 Page 22 of 24

Arduino Docs
Arduino Docs (https://adafru.it/EqL)
© Adafruit Industries https://learn.adafruit.com/adafruit-bmp388 Page 23 of 24

Python Docs
Python Docs (https://adafru.it/EfI)
© Adafruit Industries Last Updated: 2019-04-22 08:39:13 PM UTC Page 24 of 24