Embed Size (px)
Citation preview
Girl Museum Inc © 2012
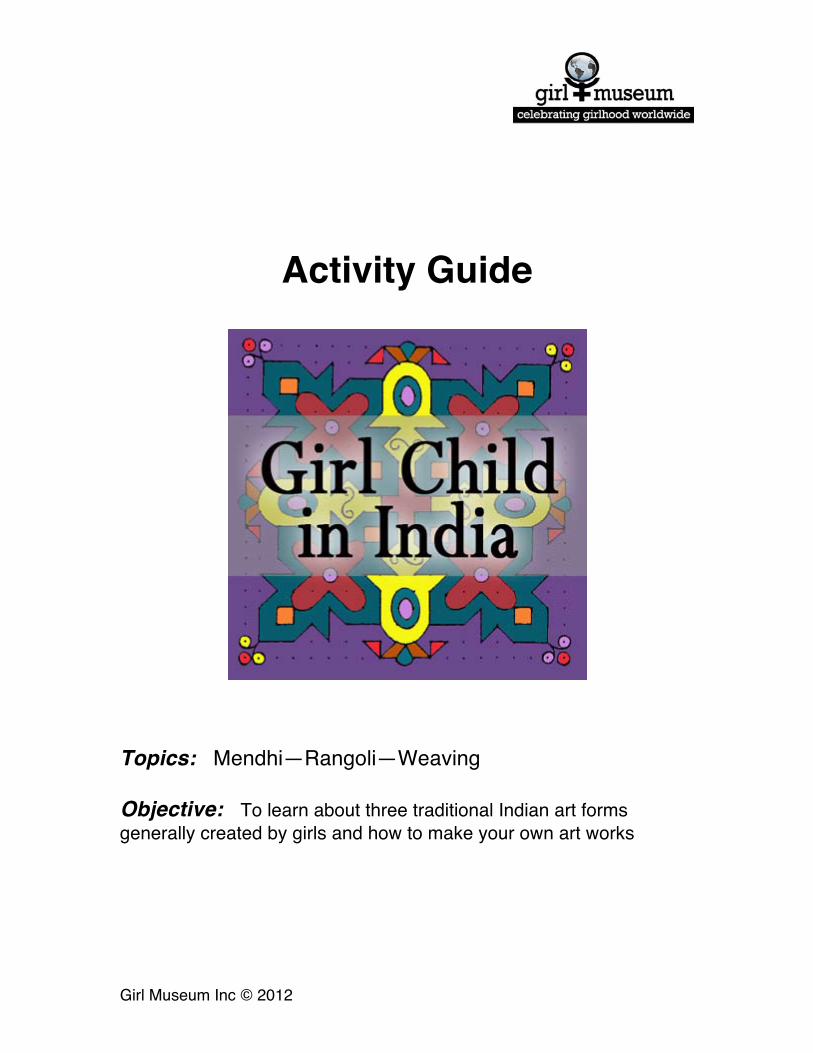
Activity Guide
Topics: Mendhi—Rangoli—Weaving Objective: To learn about three traditional Indian art forms generally created by girls and how to make your own art works
Girl Museum Inc © 2012
2
Mendhi
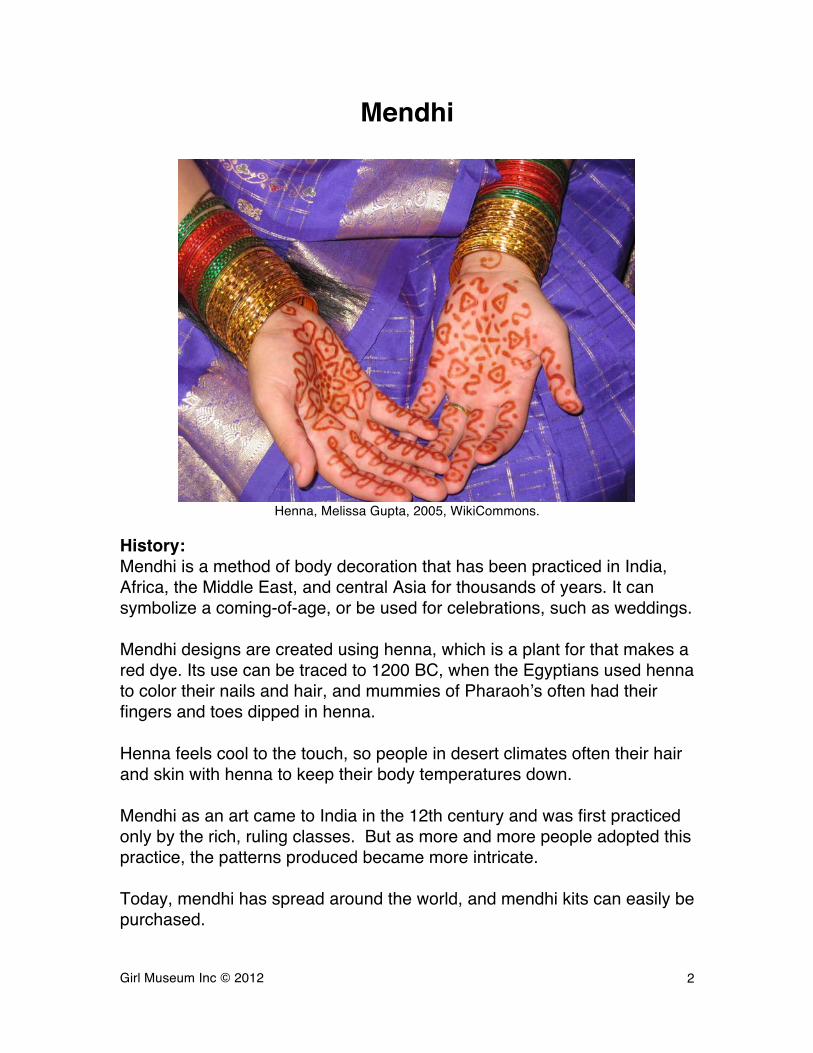
Henna, Melissa Gupta, 2005, WikiCommons.
History: Mendhi is a method of body decoration that has been practiced in India, Africa, the Middle East, and central Asia for thousands of years. It can symbolize a coming-of-age, or be used for celebrations, such as weddings. Mendhi designs are created using henna, which is a plant for that makes a red dye. Its use can be traced to 1200 BC, when the Egyptians used henna to color their nails and hair, and mummies of Pharaohʼs often had their fingers and toes dipped in henna. Henna feels cool to the touch, so people in desert climates often their hair and skin with henna to keep their body temperatures down. Mendhi as an art came to India in the 12th century and was first practiced only by the rich, ruling classes. But as more and more people adopted this practice, the patterns produced became more intricate. Today, mendhi has spread around the world, and mendhi kits can easily be purchased.
Girl Museum Inc © 2012
3
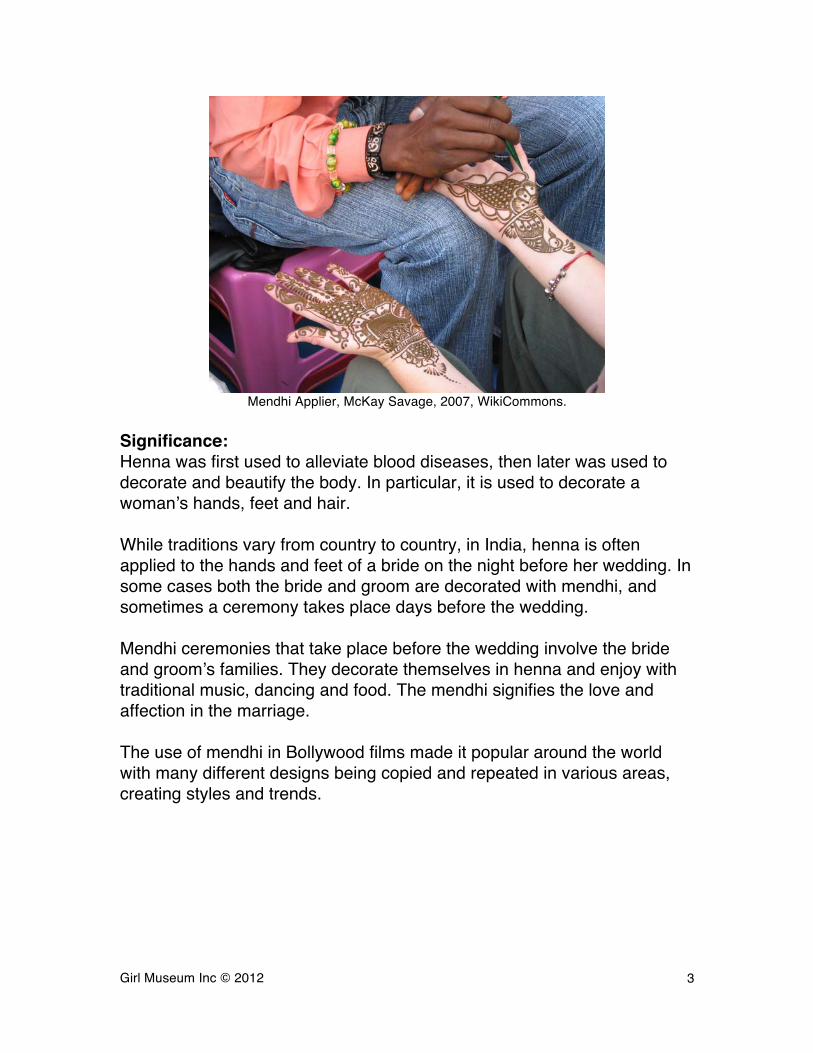
Mendhi Applier, McKay Savage, 2007, WikiCommons.
Significance: Henna was first used to alleviate blood diseases, then later was used to decorate and beautify the body. In particular, it is used to decorate a womanʼs hands, feet and hair. While traditions vary from country to country, in India, henna is often applied to the hands and feet of a bride on the night before her wedding. In some cases both the bride and groom are decorated with mendhi, and sometimes a ceremony takes place days before the wedding. Mendhi ceremonies that take place before the wedding involve the bride and groomʼs families. They decorate themselves in henna and enjoy with traditional music, dancing and food. The mendhi signifies the love and affection in the marriage. The use of mendhi in Bollywood films made it popular around the world with many different designs being copied and repeated in various areas, creating styles and trends.
Girl Museum Inc © 2012
4
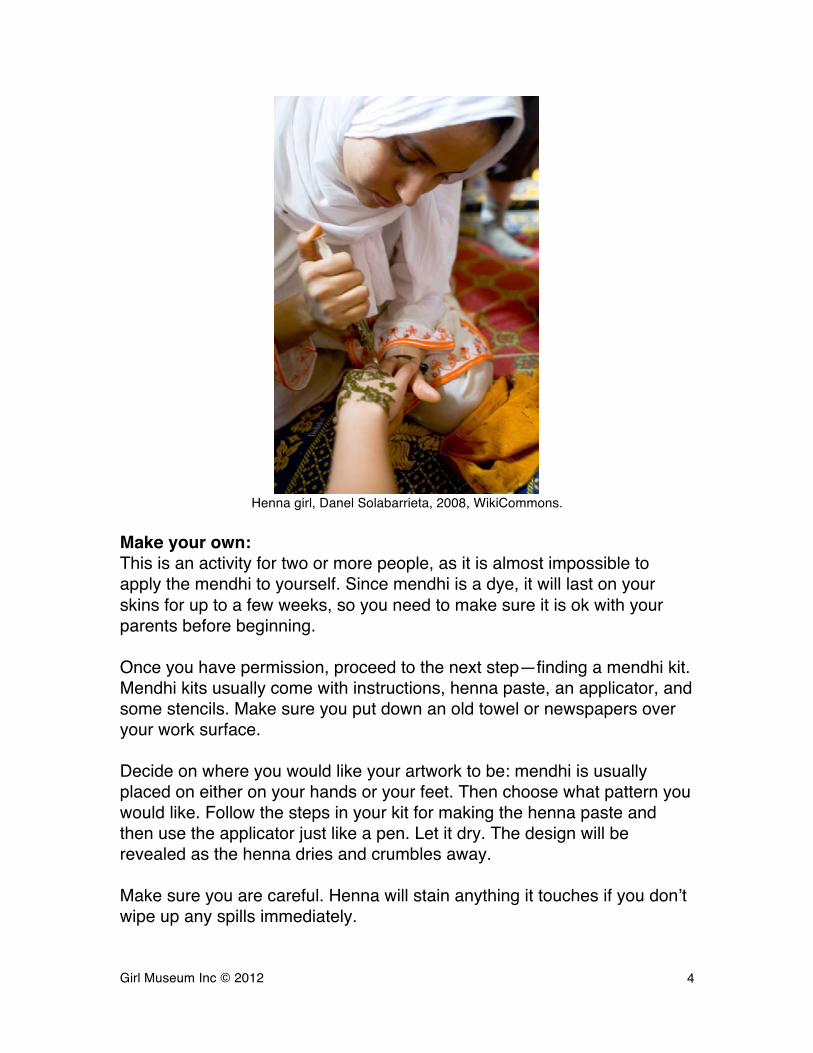
Henna girl, Danel Solabarrieta, 2008, WikiCommons.
Make your own: This is an activity for two or more people, as it is almost impossible to apply the mendhi to yourself. Since mendhi is a dye, it will last on your skins for up to a few weeks, so you need to make sure it is ok with your parents before beginning. Once you have permission, proceed to the next step—finding a mendhi kit. Mendhi kits usually come with instructions, henna paste, an applicator, and some stencils. Make sure you put down an old towel or newspapers over your work surface. Decide on where you would like your artwork to be: mendhi is usually placed on either on your hands or your feet. Then choose what pattern you would like. Follow the steps in your kit for making the henna paste and then use the applicator just like a pen. Let it dry. The design will be revealed as the henna dries and crumbles away. Make sure you are careful. Henna will stain anything it touches if you donʼt wipe up any spills immediately.
Girl Museum Inc © 2012
5
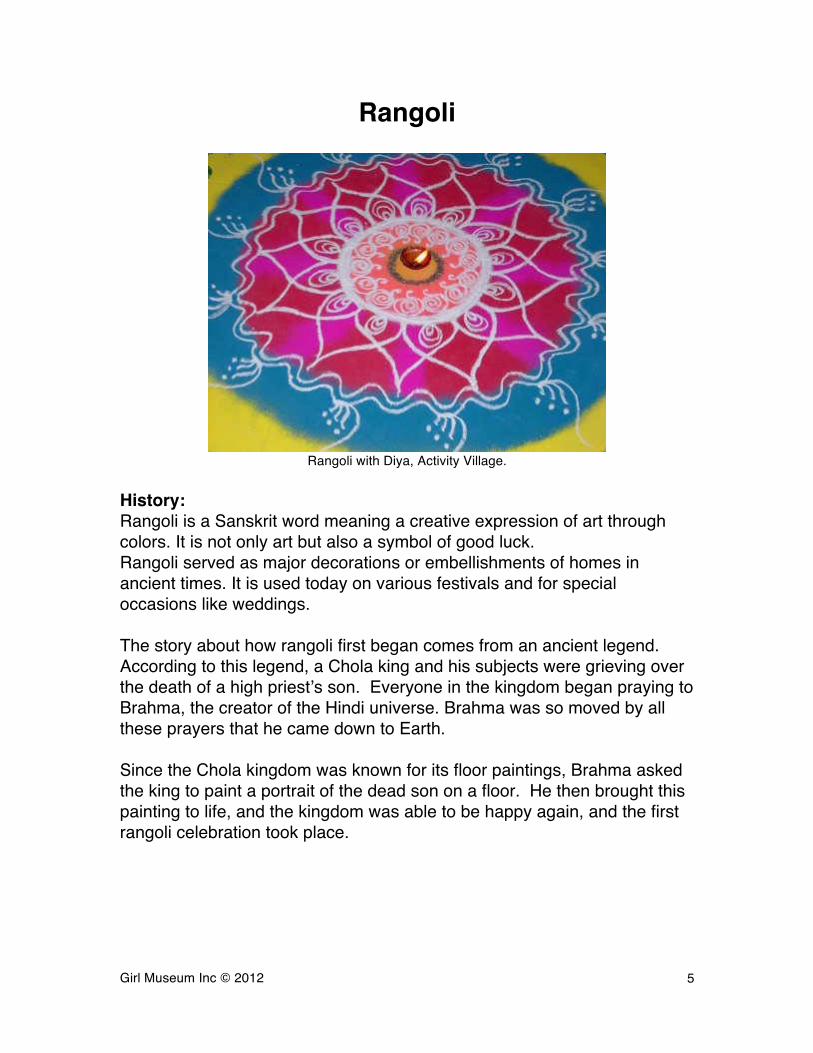
Rangoli
Rangoli with Diya, Activity Village.
History: Rangoli is a Sanskrit word meaning a creative expression of art through colors. It is not only art but also a symbol of good luck. Rangoli served as major decorations or embellishments of homes in ancient times. It is used today on various festivals and for special occasions like weddings.
The story about how rangoli first began comes from an ancient legend. According to this legend, a Chola king and his subjects were grieving over the death of a high priestʼs son. Everyone in the kingdom began praying to Brahma, the creator of the Hindi universe. Brahma was so moved by all these prayers that he came down to Earth. Since the Chola kingdom was known for its floor paintings, Brahma asked the king to paint a portrait of the dead son on a floor. He then brought this painting to life, and the kingdom was able to be happy again, and the first rangoli celebration took place.
Girl Museum Inc © 2012
6
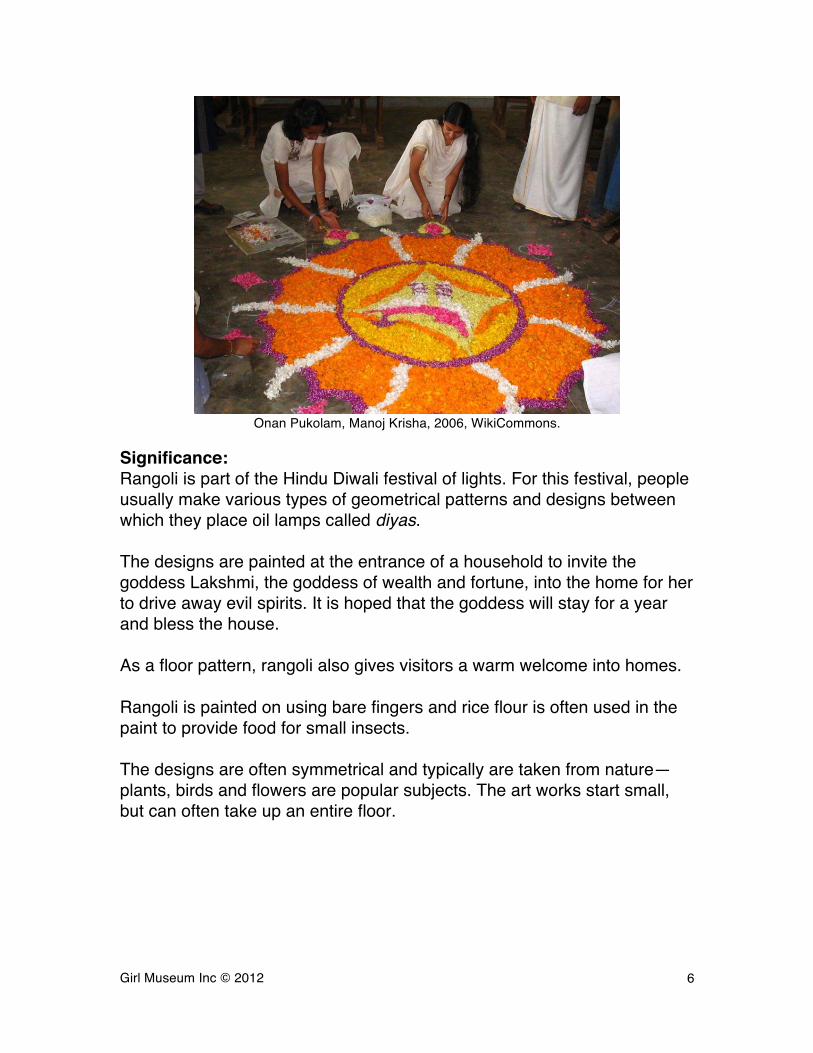
Onan Pukolam, Manoj Krisha, 2006, WikiCommons.
Significance: Rangoli is part of the Hindu Diwali festival of lights. For this festival, people usually make various types of geometrical patterns and designs between which they place oil lamps called diyas. The designs are painted at the entrance of a household to invite the goddess Lakshmi, the goddess of wealth and fortune, into the home for her to drive away evil spirits. It is hoped that the goddess will stay for a year and bless the house. As a floor pattern, rangoli also gives visitors a warm welcome into homes. Rangoli is painted on using bare fingers and rice flour is often used in the paint to provide food for small insects. The designs are often symmetrical and typically are taken from nature—plants, birds and flowers are popular subjects. The art works start small, but can often take up an entire floor.
Girl Museum Inc © 2012
7
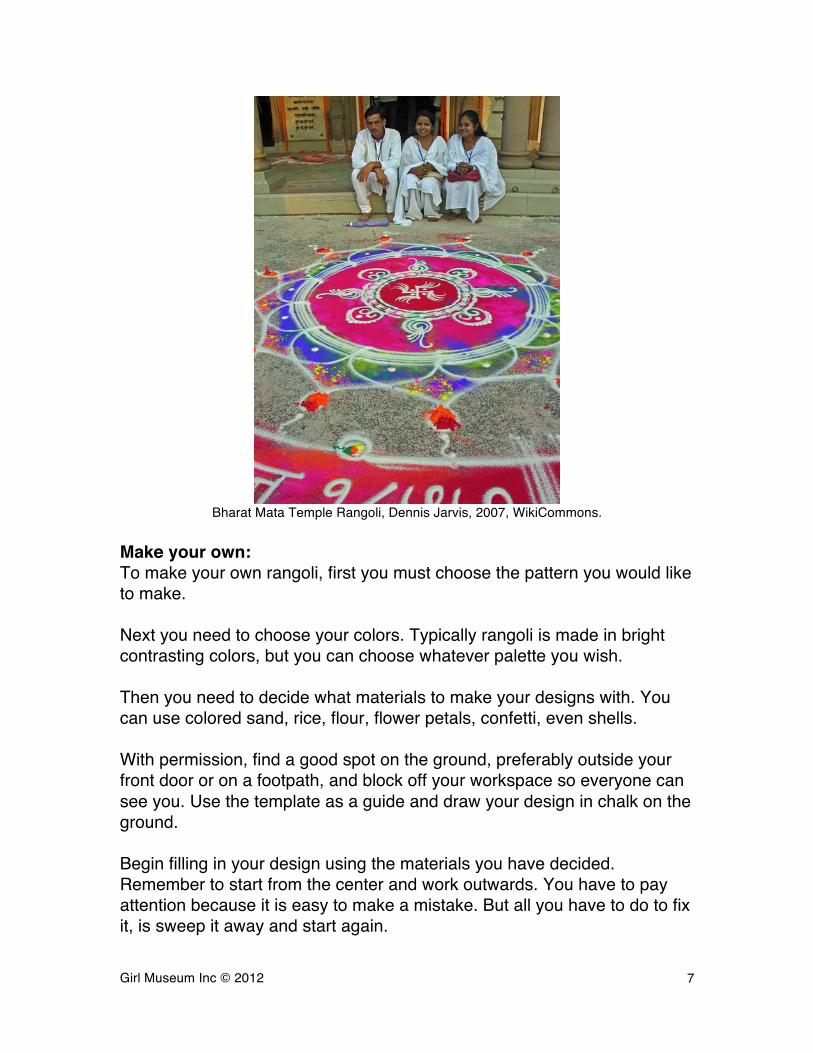
Bharat Mata Temple Rangoli, Dennis Jarvis, 2007, WikiCommons.
Make your own: To make your own rangoli, first you must choose the pattern you would like to make. Next you need to choose your colors. Typically rangoli is made in bright contrasting colors, but you can choose whatever palette you wish. Then you need to decide what materials to make your designs with. You can use colored sand, rice, flour, flower petals, confetti, even shells. With permission, find a good spot on the ground, preferably outside your front door or on a footpath, and block off your workspace so everyone can see you. Use the template as a guide and draw your design in chalk on the ground. Begin filling in your design using the materials you have decided. Remember to start from the center and work outwards. You have to pay attention because it is easy to make a mistake. But all you have to do to fix it, is sweep it away and start again.
Girl Museum Inc © 2012
8
Weaving
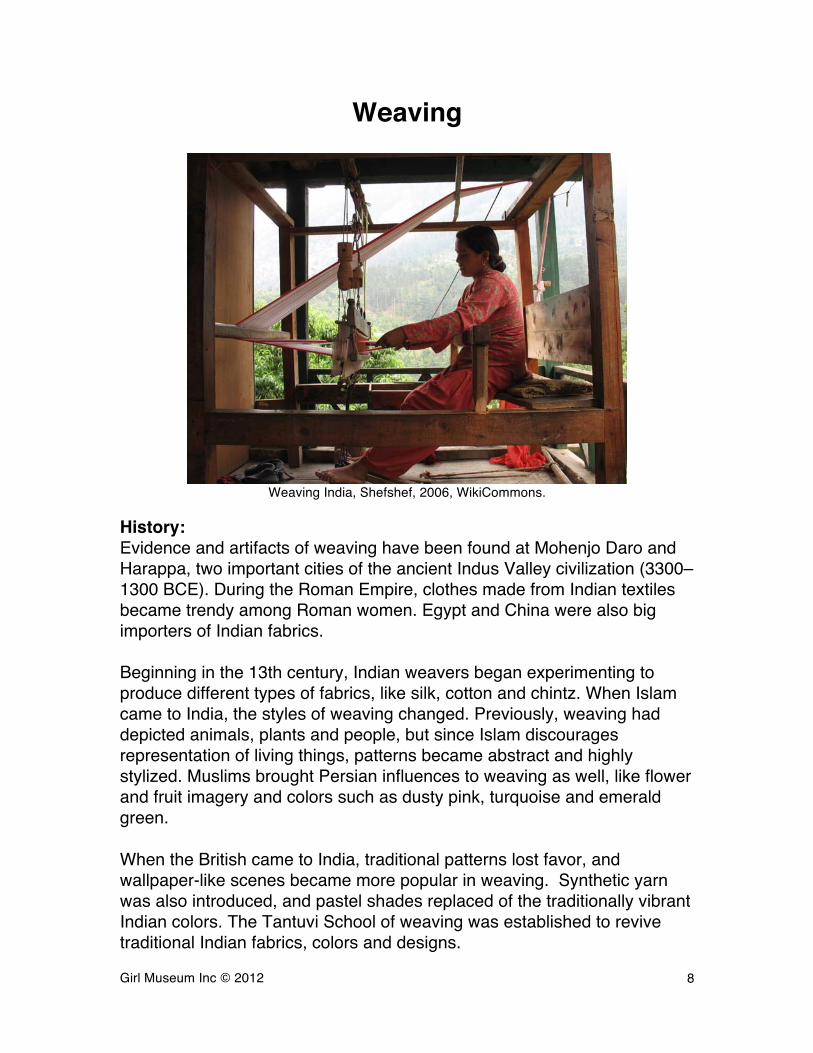
Weaving India, Shefshef, 2006, WikiCommons.
History: Evidence and artifacts of weaving have been found at Mohenjo Daro and Harappa, two important cities of the ancient Indus Valley civilization (3300–1300 BCE). During the Roman Empire, clothes made from Indian textiles became trendy among Roman women. Egypt and China were also big importers of Indian fabrics. Beginning in the 13th century, Indian weavers began experimenting to produce different types of fabrics, like silk, cotton and chintz. When Islam came to India, the styles of weaving changed. Previously, weaving had depicted animals, plants and people, but since Islam discourages representation of living things, patterns became abstract and highly stylized. Muslims brought Persian influences to weaving as well, like flower and fruit imagery and colors such as dusty pink, turquoise and emerald green. When the British came to India, traditional patterns lost favor, and wallpaper-like scenes became more popular in weaving. Synthetic yarn was also introduced, and pastel shades replaced of the traditionally vibrant Indian colors. The Tantuvi School of weaving was established to revive traditional Indian fabrics, colors and designs.
Girl Museum Inc © 2012
9
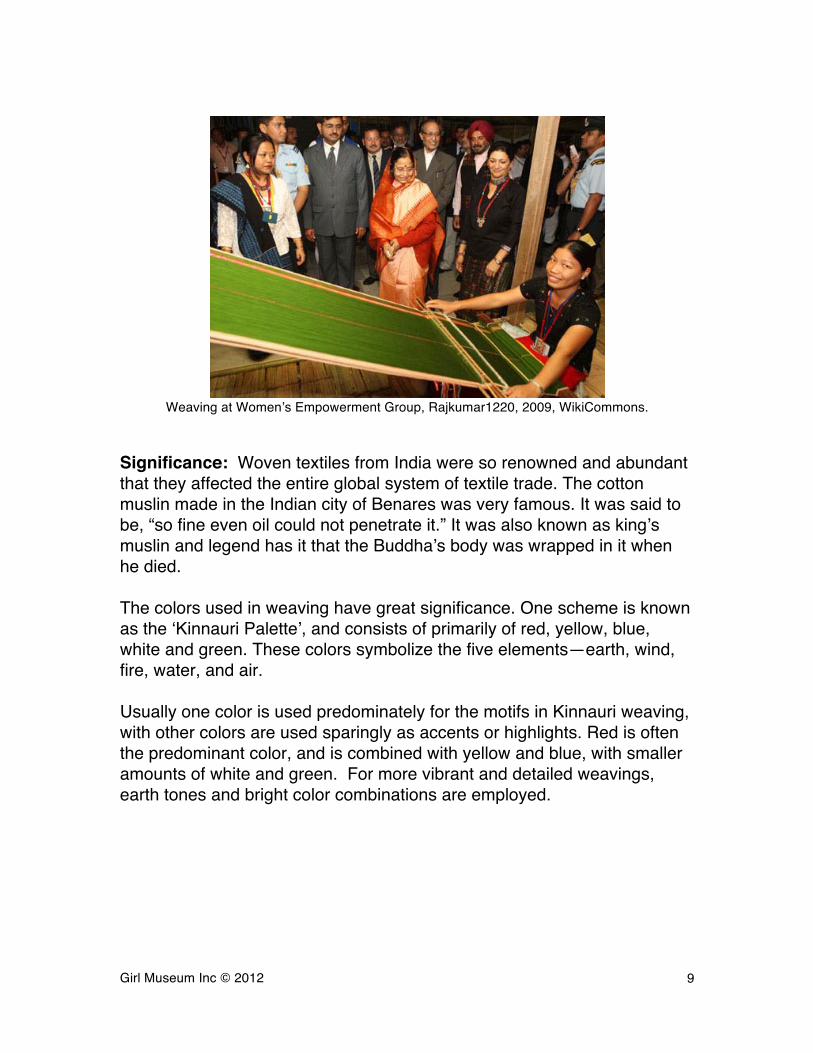
Weaving at Womenʼs Empowerment Group, Rajkumar1220, 2009, WikiCommons.
Significance: Woven textiles from India were so renowned and abundant that they affected the entire global system of textile trade. The cotton muslin made in the Indian city of Benares was very famous. It was said to be, “so fine even oil could not penetrate it.” It was also known as kingʼs muslin and legend has it that the Buddhaʼs body was wrapped in it when he died. The colors used in weaving have great significance. One scheme is known as the ʻKinnauri Paletteʼ, and consists of primarily of red, yellow, blue, white and green. These colors symbolize the five elements—earth, wind, fire, water, and air. Usually one color is used predominately for the motifs in Kinnauri weaving, with other colors are used sparingly as accents or highlights. Red is often the predominant color, and is combined with yellow and blue, with smaller amounts of white and green. For more vibrant and detailed weavings, earth tones and bright color combinations are employed.
Girl Museum Inc © 2012
10
Hand Weaving, Dhilipmohan, 2011, WikiCommons.
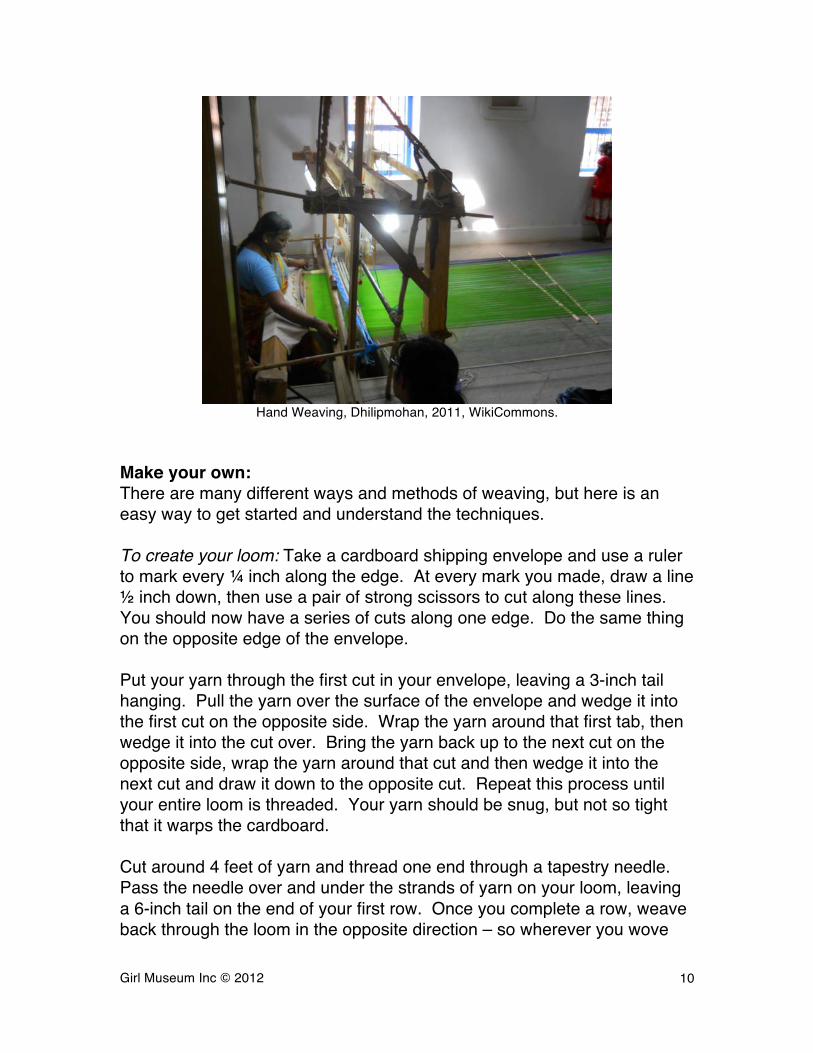
Make your own: There are many different ways and methods of weaving, but here is an easy way to get started and understand the techniques. To create your loom: Take a cardboard shipping envelope and use a ruler to mark every ¼ inch along the edge. At every mark you made, draw a line ½ inch down, then use a pair of strong scissors to cut along these lines. You should now have a series of cuts along one edge. Do the same thing on the opposite edge of the envelope. Put your yarn through the first cut in your envelope, leaving a 3-inch tail hanging. Pull the yarn over the surface of the envelope and wedge it into the first cut on the opposite side. Wrap the yarn around that first tab, then wedge it into the cut over. Bring the yarn back up to the next cut on the opposite side, wrap the yarn around that cut and then wedge it into the next cut and draw it down to the opposite cut. Repeat this process until your entire loom is threaded. Your yarn should be snug, but not so tight that it warps the cardboard. Cut around 4 feet of yarn and thread one end through a tapestry needle. Pass the needle over and under the strands of yarn on your loom, leaving a 6-inch tail on the end of your first row. Once you complete a row, weave back through the loom in the opposite direction – so wherever you wove
Girl Museum Inc © 2012
11
over, weave under this time. Make sure that once you finish a row, you push the yarn snugly against the row above it. Make sure you donʼt pull the edges too tight or your weaving will start to get too narrow. If you want to change to a different color of yarn, make sure you leave a 6-inch tail of the new color. When youʼre done, thread any tails of yarn you have onto your needle and pass them under the back of your tapestry. Snip any extra yarn off. Then bend the slits on your loom down and slip the tapestry off. Cut the loops of yarn you have on the top and bottom and tie each of the two ends into a double knot.
Girl Museum Inc © 2012
12
Design References Mendhi http://mehndi-disigns.blogspot.co.nz/2011/10/mehndi-designs-pics-2011.html Rangoli http://www.activityvillage.co.uk/rangoli-colouring-pages.htm Weaving http://www.craftstylish.com/item/2546/how-to-weave-on-a-cardboard-loom/page/all http://www.tantuvi.com/