Embed Size (px)
Citation preview

About Corel Corporation
Founded in 1985, Corel Corporation (www.corel.com) is a leading technology company specializing in content creation tools, business process management and XML-enabled enterprise solutions. The company’s goal is to give consumers and enterprise customers the ability to create, exchange and instantly interact with visual content that is always relevant, accurate and available. Corel Corporation has its headquarters in Ottawa, Canada.
CorelDRAW terminology and concepts
Before you get started with CorelDRAW, you should be familiar with the following terms.
Term Description
object An element in a drawing such as an image, shape, line, text, curve, symbol, or layer.
drawing The work you create in CorelDRAW: for example, custom artwork, logos, posters, and newsletters
vector graphic
An image generated from mathematical descriptions that determine the position, length, and direction in which lines are drawn.
bitmap An image composed of grids of pixels or dots
docker A window containing available commands and settings relevant to a specific tool or task
flyout A button that opens a group of related tools or menu items
artistic text A type of text to which you can apply special effects, such as shadows
paragraph text
A type of text to which you can apply formatting options, and which can be edited in large blocks
CorelDRAW application window
When you launch CorelDRAW, the application window opens containing a drawing window. The rectangle in the center of the drawing window is the drawing page where you create your drawing. Although more than one drawing window can be opened, you can apply commands to the active drawing window only.
The CorelDRAW application window appears below. A description of its parts follows.
Web Designing \ Desktop Publshing Corel Draw (Corel Draw (NotesNotes ) )
Part Description
Menu bar The area containing pull-down menu options
Property bar A detachable bar with commands that relate to the active tool or object. For example, when the text tool is active, the text property bar displays commands that create and edit text.
Toolbar A detachable bar that contains shortcuts to menu and other commands
Title bar The area displaying the title of the currently open drawing
Rulers Horizontal and vertical borders that are used to determine the size and position of objects in a drawing
Toolbox A floating bar with tools for creating, filling, and modifying objects in the drawing
Drawing window
The area outside the drawing page bordered by the scroll bars and application controls
Drawing page The rectangular area inside the drawing window. It is the printable area of your work area.
Color palette A dockable bar that contains color swatches
Docker A window containing available commands and settings relevant to a specific tool or task
Status bar An area at the bottom of the application window that contains information about object properties such as type, size, color, fill, and resolution. The status bar also shows the current mouse position.
Document navigator
The area at the bottom left of the application window that contains controls for moving between pages and adding pages
Navigator A button at the bottom-right corner that opens a smaller display to help you move around a drawing
Web Designing \ Desktop Publshing Corel Draw (Corel Draw (NotesNotes ) )

Standard toolbar
The standard toolbar, which displays by default, contains buttons that are shortcuts to many of the menu commands.
Click this button To
Start a new drawing
Open a drawing
Save a drawing
Print a drawing
Cut selected objects to the Clipboard
Copy selected objects to the Clipboard
Paste the Clipboard contents into a drawing
Undo an action
Restore an action that was undone
Import a drawing
Export a drawing
Set a zoom level
Start Corel applications
Launch to Corel Graphics Community Web site
Exploring the toolbox Flyouts open to display a set of related CorelDRAW tools. A small arrow in the bottom, right corner of a toolbox button indicates a flyout: for example, the Shape edit flyout . Clicking a flyout arrow opens a set of related tools. Clicking and dragging the grab handles at the end of the flyout sets the flyout in its expanded form.
The following table provides descriptions of the flyouts and tools in the CorelDRAW toolbox.
Flyouts
Web Designing \ Desktop Publshing Corel Draw (Corel Draw (NotesNotes ) )

Flyout Description
Shape edit Lets you access the Shape, Knife, Eraser, Smudge brush, Roughen brush, Free transform, and Virtual segment delete tools
Zoom Lets you access the Zoom and Hand tools
Curve Lets you access the Freehand, Bézier, Artistic media, Polyline, Pen, 3 point curve, Dimension, and Interactive connector tools
Rectangle Lets you access the Rectangle and 3 point rectangle tools
Ellipse Lets you access the Ellipse and 3 point ellipse tools
Object Lets you access the Graph paper, Polygon, and Spiral tools
Perfect Shapes
Lets you access the Basic shapes, Arrow shapes, Flowchart shapes, Star shapes, and Callout shapes tools
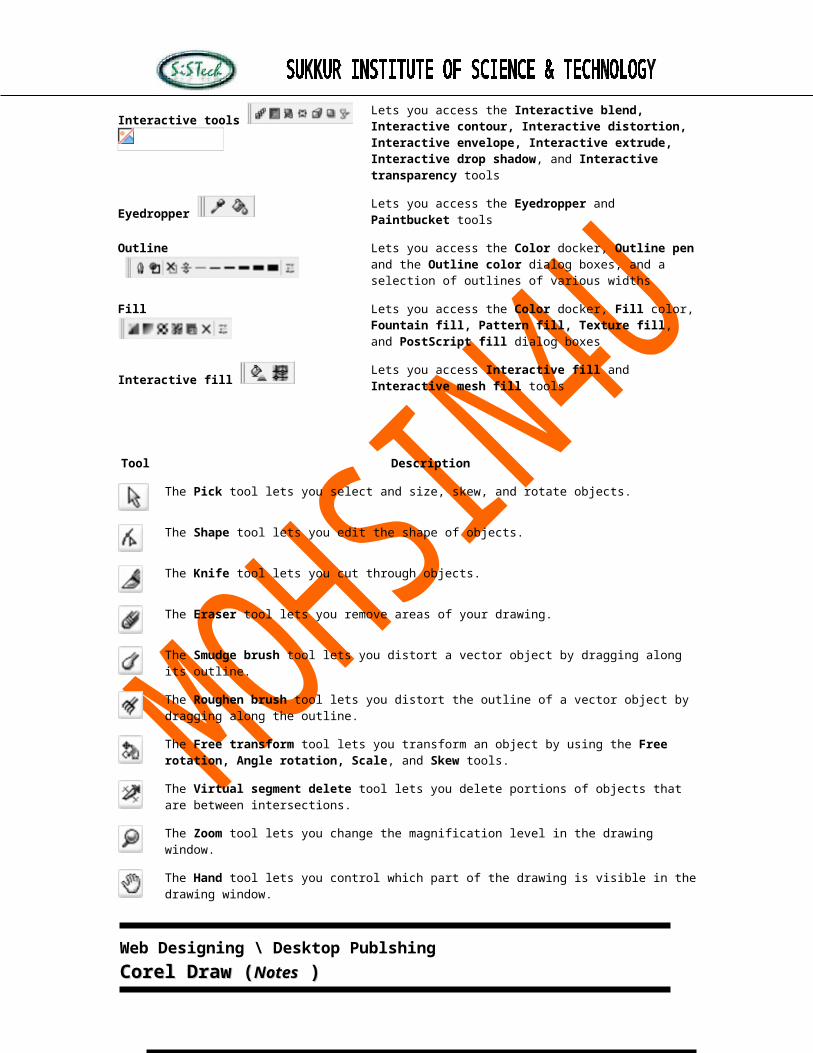
Interactive tools Lets you access the Interactive blend, Interactive contour, Interactive distortion, Interactive envelope, Interactive extrude, Interactive drop shadow, and Interactive transparency tools
Eyedropper Lets you access the Eyedropper and Paintbucket tools
Outline
Lets you access the Color docker, Outline pen and the Outline color dialog boxes, and a selection of outlines of various widths
Fill Lets you access the Color docker, Fill color, Fountain fill, Pattern fill, Texture fill, and PostScript fill dialog boxes
Interactive fill Lets you access Interactive fill and Interactive mesh fill tools
Tool Description
The Pick tool lets you select and size, skew, and rotate objects.
The Shape tool lets you edit the shape of objects.
The Knife tool lets you cut through objects.
The Eraser tool lets you remove areas of your drawing.
The Smudge brush tool lets you distort a vector object by dragging along its outline.
Web Designing \ Desktop Publshing Corel Draw (Corel Draw (NotesNotes ) )
The Roughen brush tool lets you distort the outline of a vector object by dragging along the outline.
The Free transform tool lets you transform an object by using the Free rotation, Angle rotation, Scale, and Skew tools.
The Virtual segment delete tool lets you delete portions of objects that are between intersections.
The Zoom tool lets you change the magnification level in the drawing window.
The Hand tool lets you control which part of the drawing is visible in the drawing window.
The Pen tool lets you draw curves one segment at a time.
The Polyline tool lets you draw lines and curves in preview mode.
The Freehand tool lets you draw single line segments and curves.
The Bézier tool lets you draw curves one segment at a time.
The 3 point curve tool lets you draw a curve by defining the start, end, and center points.
The Artistic media tool provides access to the Brush, Sprayer, Calligraphic, and Pressure tools.
The Dimension tool lets you draw vertical, horizontal, slanted, or angular dimension lines.
The Interactive connector tool lets you join two objects with a line.
The Smart drawing tool converts the freehand strokes that you draw to basic shapes and smoothed curves.
The Rectangle tool lets you draw rectangles and squares.
The 3 point rectangle tool lets you draw a rectangle by dragging to create the rectangle baseline and clicking to define its height.
The Ellipse tool lets you draw ellipses and circles.
The 3 point ellipse tool lets you draw an ellipse by dragging to create the center line of the ellipse and clicking to define its height.
The Polygon tool lets you draw symmetrical polygons and stars.
The Spiral tool lets you draw symmetrical and logarithmic spirals.
Web Designing \ Desktop Publshing Corel Draw (Corel Draw (NotesNotes ) )
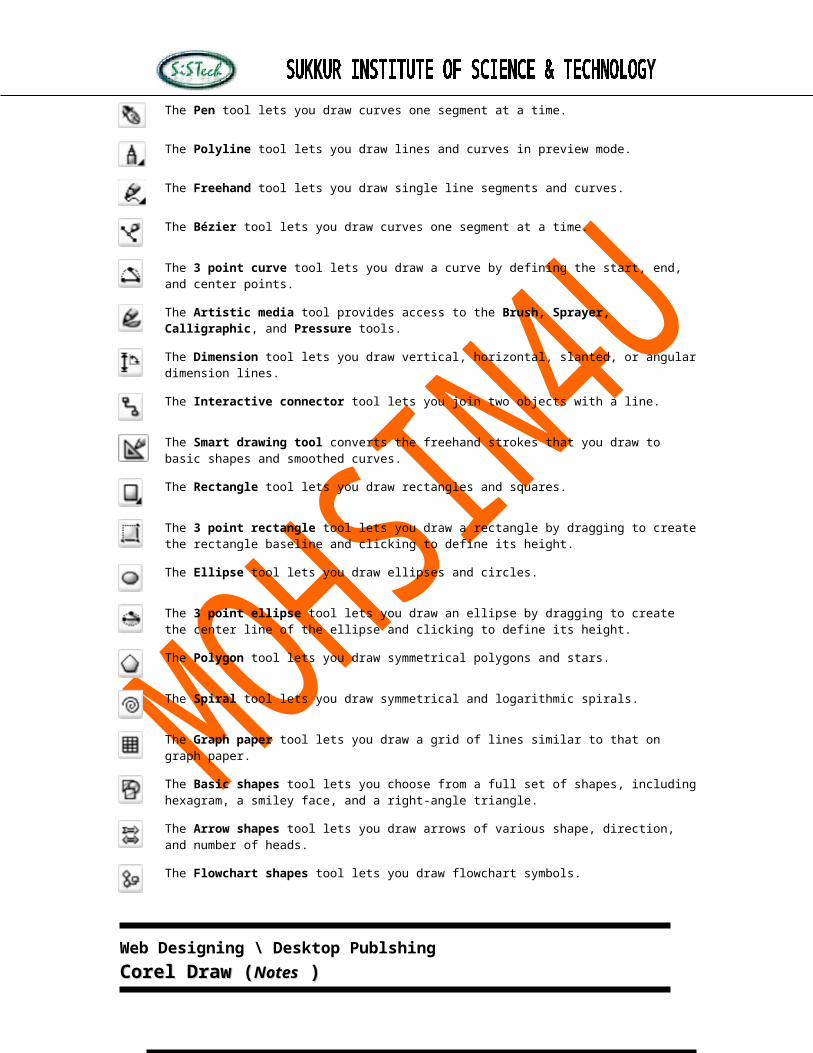
The Graph paper tool lets you draw a grid of lines similar to that on graph paper.
The Basic shapes tool lets you choose from a full set of shapes, including hexagram, a smiley face, and a right-angle triangle.
The Arrow shapes tool lets you draw arrows of various shape, direction, and number of heads.
The Flowchart shapes tool lets you draw flowchart symbols.
The Star shapes tool lets you draw ribbon objects and explosion shapes.
The Callout shapes tool lets you draw callouts and labels.
The Text tool lets you type words directly on the screen as artistic or paragraph text.
The Interactive blend tool lets you blend two objects.
The Interactive contour tool lets you apply a contour to an object.
The Interactive distortion tool lets you apply a Push or Pull distortion, a Zipper distortion, or a Twister distortion to an object.
The Interactive envelope tool lets you distort an object by dragging the nodes of the envelope.
The Interactive extrude tool lets you apply the illusion of depth to objects.
The Interactive drop shadow tool lets you apply a drop shadow to an object.
The Interactive transparency tool lets you apply transparencies to objects.
The Eyedropper tool lets you select object properties, such as fill, line thickness, size, and effects, from an object on the drawing window.
The Paintbucket tool lets you apply object properties, such as fill, line thickness, size and effects, to an object on the drawing window after selecting these properties using the Eyedropper tool.
The Interactive fill tool lets you apply various fills.
The Interactive mesh tool lets you apply a mesh grid to an object.
The Fill tool lets you set the fill properties.
Web Designing \ Desktop Publshing Corel Draw (Corel Draw (NotesNotes ) )
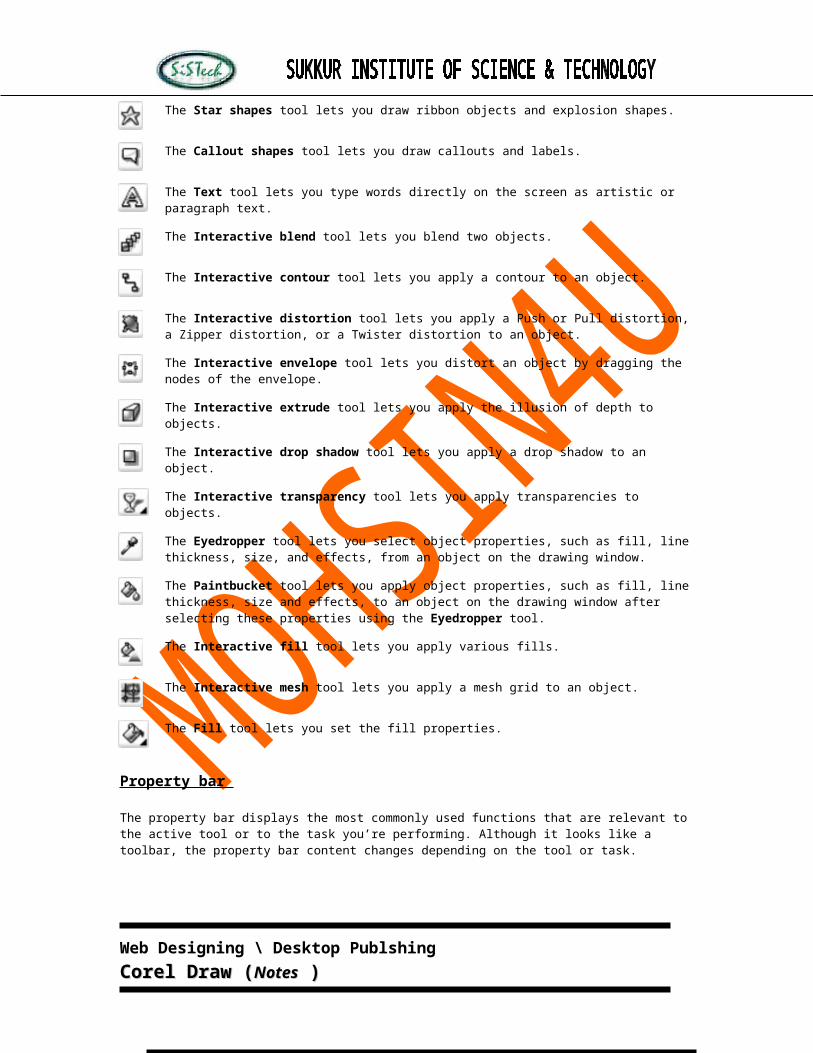
Property bar
The property bar displays the most commonly used functions that are relevant to the active tool or to the task you’re performing. Although it looks like a toolbar, the property bar content changes depending on the tool or task.
For example, when you click the Text tool in the Toolbox, the property bar displays only text-related commands. In the example below, the property bar displays text, formatting, alignment, and editing tools.
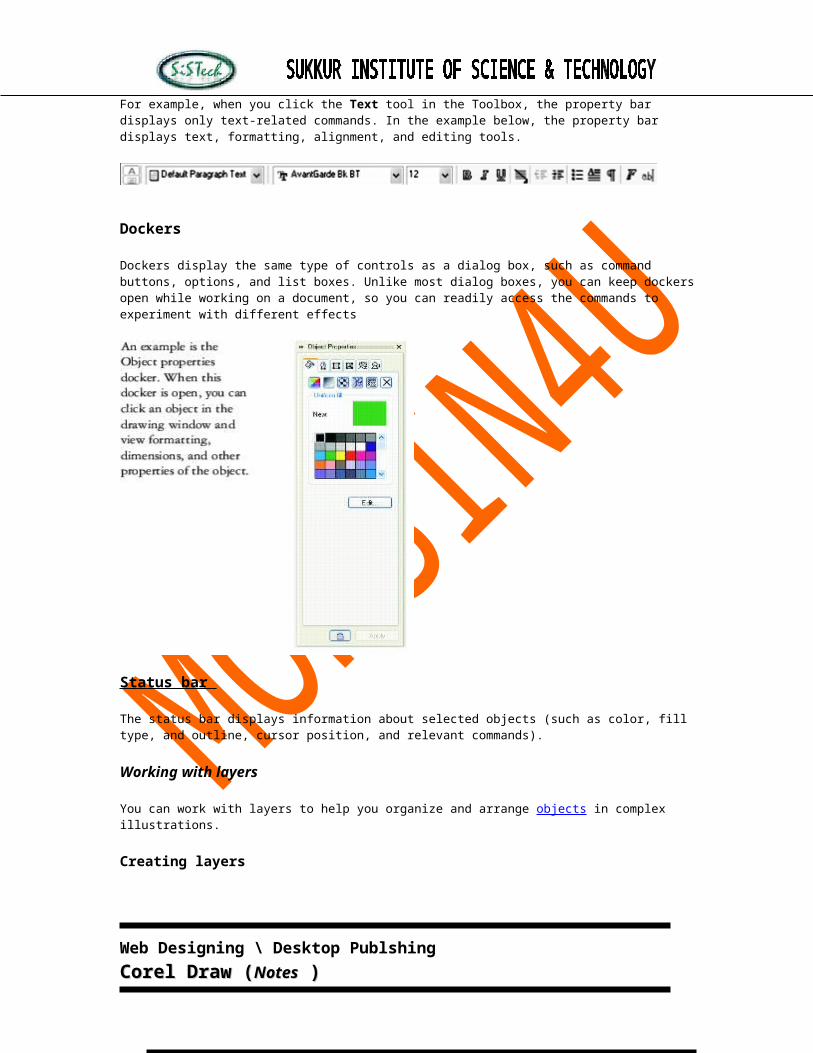
Dockers
Dockers display the same type of controls as a dialog box, such as command buttons, options, and list boxes. Unlike most dialog boxes, you can keep dockers open while working on a document, so you can readily access the commands to experiment with different effects
Status bar
The status bar displays information about selected objects (such as color, fill type, and outline, cursor position, and relevant commands).
Working with layers
You can work with layers to help you organize and arrange objects in complex illustrations.
Creating layers
All CorelDRAW drawings consist of stacked objects. The vertical order of these objects — the stacking order — contributes to the appearance of the drawing. You can organize these objects using invisible planes called layers.
Web Designing \ Desktop Publshing Corel Draw (Corel Draw (NotesNotes ) )
Layering gives you added flexibility when organizing and editing the objects in complex drawings. You can divide a drawing into multiple layers, each containing a portion of the drawing’s contents. For example, using layers can help you organize an architectural plan for a building. You can organize the building’s various components (for example, plumbing, electrical, structural) by placing them on separate layers. You can display pages only and layers only.
You can also display selected objects. Hiding a layer lets you identify and edit the objects on other layers. You also reduce the time CorelDRAW needs to refresh your drawing when you edit it.
To create a layer To Do the following
Create a layer Click Tools Object manager. Click the flyout button , and click New layer.
Create a master layer Click Tools Object manager. Click the flyout button, and click New master layer.
To display or hide a layer 1. Click Tools Object manager.
2. Click the Eye icon beside the layer name.
The layer is hidden when the Eye icon is grayed
To delete a layer 1. Click Tools Object manager.2. Click the name of a layer.
3. Click the flyout button , and click Delete layer
To specify settings for a layer on the Master Page 1. Click Tools Object manager.2. Right-click the layer, and click Properties.3. Change the settings and click OK.
To rename a layer 1. Click Tools Object manager.2. Right-click the layer name, and click Rename.
Printing layers
Web Designing \ Desktop Publshing Corel Draw (Corel Draw (NotesNotes ) )

Enabling the print setting of a layer lets you print the layer and its contents. If you disable a layer’s print setting, the layer and its contents won’t appear when you print the drawing.
Adding and selecting text
There are two types of text you can add to drawings — artistic text and paragraph text. Artistic text can be used to add short lines of text to which you can apply a wide range of effects, such as drop shadows. Paragraph text can be used for larger bodies of text that have greater formatting requirements. You can add both paragraph and artistic text directly in the drawing window.
You can add artistic text along an open or closed path. You can also fit existing artistic and paragraph text to a path. For more information, see "Fitting text to a path."
When adding paragraph text, you must first create a text frame. By default, paragraph text frames remain the same size regardless of how much text they contain. Any text that continues past the bottom-right border of the text frame is hidden until you either enlarge the text frame or link it to another text frame. You can fit text to a frame, which automatically adjusts the point size of text so that the text fits perfectly in the frame. For information about fitting text to a frame, see " To fit text to a paragraph text frame. " You can also have paragraph text frames automatically expand and shrink as you type, so that the text fits perfectly in the frame.
You can insert a paragraph text frame inside a graphic object. This lets you use objects as containers for text so that you can use different shapes for text frames. You can also separate text from an object. When you do, the text retains its shape, and you
Combining and linking paragraph text frames
You can combine paragraph text frames. You can also break paragraph text frames apart into subcomponents — columns, paragraphs, bullets, lines, words, and characters. Every time you break apart a text frame, the subcomponents are placed into separate paragraph text frames.
Linking paragraph text frames directs the flow of text from one text frame to another if the amount of text exceeds the size of the first text frame. If you shrink or enlarge a linked paragraph text frame, or change the size of the text, the amount of text in the next text frame is automatically adjusted. You can link paragraph text frames before or after you type text.
You cannot link artistic text. However, you can link a paragraph text frame to an open or closed object. When you link a paragraph text frame to an open object (for example, a line), the text flows along the path of the line. Linking a text frame to a closed object (for example, a rectangle) inserts a paragraph text frame and directs the flow of text inside the object. If text exceeds the open or closed path, you can link the text to another text frame or object. You can also link to paragraph text frames and objects across pages.
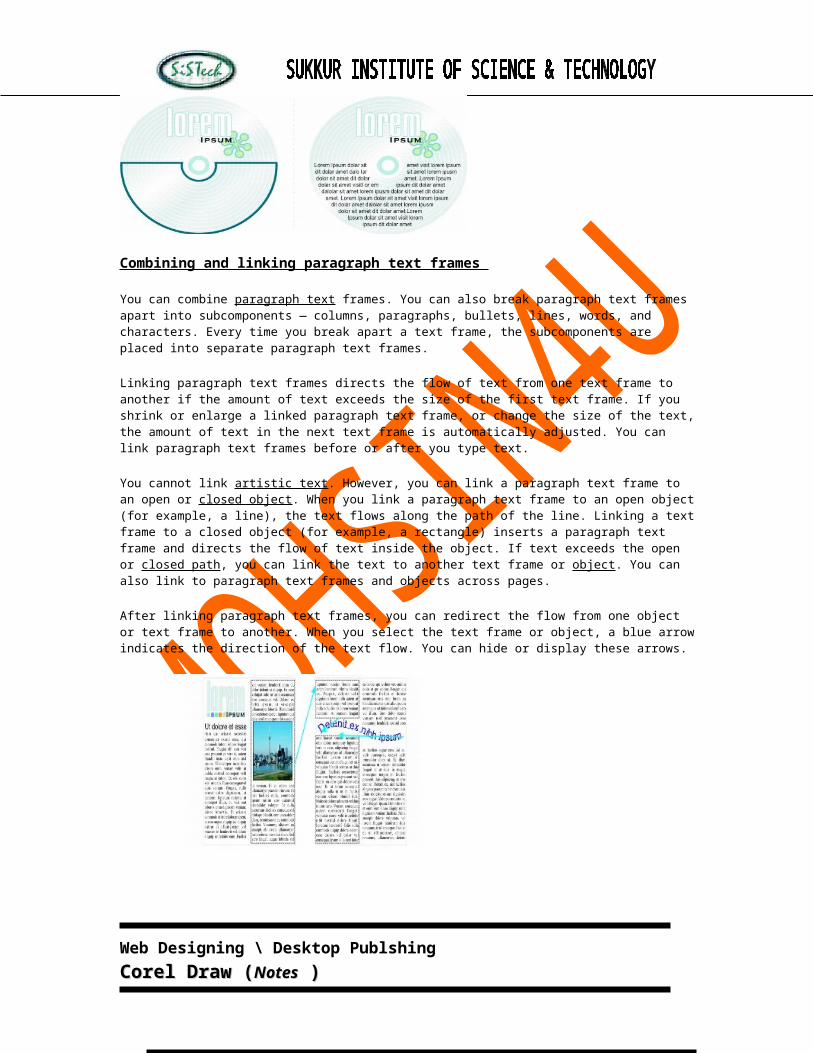
After linking paragraph text frames, you can redirect the flow from one object or text frame to another. When you select the text frame or object, a blue arrow indicates the direction of the text flow. You can hide or display these arrows.
Web Designing \ Desktop Publshing Corel Draw (Corel Draw (NotesNotes ) )
Working with Asian text
If you are running CorelDRAW on an Asian operating system, or if you have Asian language support installed on another operating system, you can take advantage of the Asian text formatting capabilities available with CorelDRAW.
Formatting Asian text
Asian character input is only supported in CorelDRAW when using an Asian operating system or when language support is installed on a non-Asian operating system. You can choose a default font and text orientation (either horizontal or vertical) when typing text on an operating system that has Asian language support. When you type artistic or paragraph text, the program uses a default artistic or paragraph text style.
You can also mix Asian text and other scripts in one text object and set the spacing between the two. You can change the font properties of one or both languages in a block of Latin or Asian text.
Working with bitmaps
You can convert a vector graphic to a bitmap. Also, you can import and crop bitmaps in the CorelDRAW application.
You can also add color masks, watermarks, special effects, and change the color and tone of the images
Converting vector graphics to bitmaps
When you convert a vector graphic to a bitmap, you can apply special effects in the CorelDRAW application that are unavailable to vector graphic or objects. As you convert the vector, you can select the color mode of the bitmap. A color mode determines the number and kind of colors that make up the bitmap, so that file size is also affected.
You can also determine settings such as the aliasing, background transparency, and color profile, as you convert it a vector graphic to a bitmap.
To convert a vector graphic to a bitmap 1. Select an object.2. Click Bitmaps Convert to bitmap.3. Choose a color mode from the Color list box.4. Choose a resolution from the Resolution list box.5. Enable any of the following check boxes:
o Anti-aliasing — smooths the edges of the bitmapo Transparent background — makes the background of the bitmap transparento Apply ICC profile — applies the International Color Consortium profiles
to standardize colors across devices and color spaces
Web Designing \ Desktop Publshing Corel Draw (Corel Draw (NotesNotes ) )
Adding bitmaps
You can import a bitmap into a drawing either directly or by linking it to an external file. When you link to an external file, edits to the original file are automatically updated in the imported file.
To import a bitmap 1. Click File Import.2. Choose the folder where the bitmap is stored.3. Select the file.
If you want to link the image to the drawing, enable the Link bitmap externally check box.
4. Click Import.5. Click where you want to place the bitmap.
If you want to center the image on the drawing page, press Enter.
Cropping and editing bitmaps
After you add a bitmap to a drawing, you can crop, resample, and resize the bitmap. Cropping removes unwanted areas of a bitmap. When you resample a bitmap, you can change the image size, the resolution, or both by adding or removing pixels. For example, if you make an image larger without resampling, you can lose details because the image’s pixels are spread over a greater area. By resampling, you can add pixels to preserve more detail from the original image. Resizing an image maintains the same number of pixels in a smaller or larger area. For example, you can lose details when you make an image larger without resampling because the image’s pixels are spread over a greater area. Upsampling adds pixels to maintain some of the original’s details.
Printing
CorelDRAW provides extensive options for printing your work.
Printing your work
In the CorelDRAW application, you can print one or more copies of the same drawing. You can specify what to print, as well as which parts of a drawing to print; for example, you can print selected vectors, bitmaps, text, or layers.
Before printing a drawing, you can specify printer properties, including paper size and device options.
To set printer properties 1. Click File Print.2. Click the General tab.
Web Designing \ Desktop Publshing Corel Draw (Corel Draw (NotesNotes ) )

3. Click Properties.4. Set any properties in the dialog box.
To print selected vectors, bitmaps, or text 1. Click File Print.2. Click the Misc tab.3. In the Proofing options area, enable any of the following check boxes:
o Print vectorso Print bitmapso Print text
Importing and exporting files
Your application provides filters that convert files from one format to another when you import or export files.
Importing files
Your application lets you import files created in other applications. For example, you can import a Portable Document Format (PDF), JPEG, or Adobe Illustrator (AI) file.You can import a file and place it in the active application window as an object. You can also resize and center a file as you import it. The imported file becomes part of the active file. While importing a bitmap, you can resample it to reduce the file size or crop it to eliminate unused areas of the photo. You can also crop a bitmap to select only the exact area and size of the image you want to import.
While importing a file from an earlier version of CorelDRAW containing text in a language different from the language of your operating system, you can use code page settings to ensure text displays correctly.
Exporting files
You can export and save images to a variety of file formats that can be used in other applications. For example, you can export a file to the Adobe Illustrator (AI) or GIF format. You can also export a file so that it is optimized for use with a suite of office productivity applications, such as Microsoft Word.
You can export a file to a selected file format. You can also export a file by saving the open file under a different name or to a different file format while leaving the open file in its existing format.
Web Designing \ Desktop Publshing Corel Draw (Corel Draw (NotesNotes ) )


![Copyright 2007 Corel Corporation. All rights reserved. · Reviewer’s Guide [ 1 ] Karen Bonaker Introducing Corel® Painter™ Essentials 4 Corel® Painter™ Essentials 4 is the](https://img.pdfslide.us/doc/110x75/5b3273767f8b9a2c0b8c95f8/copyright-2007-corel-corporation-all-rights-reviewers-guide-1-karen.jpg)


![Spring constant of a tuning-fork sensor for dynamic force ... › 83a9 › 4833a3ea...is determined, using WSxM [26] and Corel Draw X5 (Corel Corporation, Ottawa, Canada). Figure 1:](https://img.pdfslide.us/doc/110x75/5ed42d84ebcaec408e6c0cba/spring-constant-of-a-tuning-fork-sensor-for-dynamic-force-a-83a9-a-4833a3ea.jpg)


![Copyright © 2010 Corel Corporation. All rights reserved. · Product Guide [ 1 ] Introducing Corel ® Paint it! ™ Show Corel® Paint it!™ Show is the world’s first photo slideshow](https://img.pdfslide.us/doc/110x75/5fb5fe93e837b8625d75e064/copyright-2010-corel-corporation-all-rights-product-guide-1-introducing.jpg)