1
FOR AGES 8 & UP ELECTRIC RATING: 60 Watts, 120 Volt 60 Hz 0.5 AMP AC only listed THIS PRODUCT IS LISTED BY UNDERWRITERS LABORATORIES INC. AND BEARS THE MARK: ADULTS NOTE: PLEASE READ AND STUDY ALL ILLUSTRATIONS BEFORE USE. REMEMBER TO ALWAYS INSTRUCT YOUR CHILD IN THE PROPER USE OF THIS PRODUCT. ADULT SUPERVISION IS REQUIRED AT ALL TIMES. THE BUG MAKER HAS METAL EDGES AND CARE SHOULD BE TAKEN DURING THE INSTALLATION OF THE LIGHT BULB. A PHILIPS (+) SCREWDRIVER IS REQUIRED (NOT INCLUDED). IMPORTANT! USE IN WELL VENTILATED AREA. UNDER NO CIRCUMSTANCE SHOULD YOU PLACE ANY CHARACTER MOLD IN ANY OVEN (MICROWAVE OR CONVENTIONAL) OR ON THE TOP OF STOVE. CHARACTER MOLDS WERE DESIGNED FOR USE ONLY WITH JAKKS PACIFIC®, INC. CREEPY CRAWLERS® BUG MAKER. DO NOT LEAVE SPATULA IN OVEN. CAUTION: ALTHOUGH OFFICIAL PLASTI-GOOP® COMPOUND IS SAFE AND NON-TOXIC, IT SHOULD NOT BE SWALLOWED, EATEN OR INGESTED. REMEMBER TO SHAKE YOUR OFFICIAL PLASTI-GOOP® COMPOUND BEFORE EACH USE. NOTE! ONE 60-WATT 120V AC SMALL BASE CANDELABRA BULB REQUIRED. (NOT INCLUDED) WARNING: DO NOT USE BULBS OF HIGHER WATTAGE. INSTALLATION OF BULB SHOULD ONLY BE PERFORMED BY AN ADULT. PHILIPS (+) SCREWDRIVER REQUIRED. (NOT INCLUDED) TEST OVEN PRIOR TO CHILD’S USE. PERIODICALLY EXAMINE TOY FOR POTENTIAL HAZARDS OR LOOSE PARTS. ® – to make the most disgustingly realistic bugs ever! - (for the Plasti-Goop® compound bottles) to make fine details on your characters. – for moving the Goop FX™ into areas of the mold you want to detail. – for making your creepy bugs. ® – to make your creepy creations. – to make really detailed creatures. - for cooling off your metal mold after you have removed it from the Creepy Crawlers® Bug Maker. Light Bulb Instruction: • Purchase a 60 watt, 120v AC small base candelabra bulb. • Make sure the bug maker is unplugged. • Use a Philips (+) screwdriver (not included) to open up the bottom panel of the Creepy Crawlers® Bug Maker by unscrewing the four (4) screws. (See Fig. A) • Insert a new Candelabra Lamp Bulb into socket on the bug maker frame. CAUTION: When screwing in the bulb, be very careful to avoid the metal edges surrounding the socket. • Remember: USE ONLY A 60 WATT, 120V AC SMALL BASE CANDELABRA BULB. Replace bottom of your Creepy Crawlers® Bug Maker and four (4) screws using the Philips (+) screwdriver. Make sure to close bottom panel tightly. Always place the Creepy Crawlers® Bug Maker on a level dry surface before use. Do not plug the bug maker into a socket using multiple adapters. Always ask an adult to plug the Bug Maker into the wall outlet. Slide the ON/OFF switch to the “OFF” position. Lift the bug maker safety door upwards. Check and make sure the bug maker is EMPTY. Release the safety door. It should swing freely and drop against the Bug Maker body automatically. If the safety door is not completely closed, push the door against the Bug Maker until you hear a click. This means that the safety door is completely closed. If the door is not completely closed, you will not be able to slide the ON/OFF switch to the “ON” position. When the switch is in the “ON” position, and the Bug Maker is in use, it will not be possible to lift the safety door until the bug maker has cooled down. After you have followed the above “OVEN INSPECTION CHECK LIST” make sure that the ON/OFF switch is in the “OFF” position. 1. Use your Goop FX™ Detailing Pen to decorate and detail everything you make in your Creepy Crawlers® Bug Maker. 2. Start by adding a few drops of Goop FX™ compound into the desired areas of your mold. Using your Goop FX™ Detailing Pen to spread and move the Goop FX™ compound to desired areas. Take a bottle of Official Plasti-Goop® compound and shake it well. Remove the cap and ask an adult to pierce the tip of the nozzle with a safety pin or snip the tip of the bottle with scissors. Now you are ready to fill the remainder of your mold with Official Plasti-Goop® compound. Slowly pour Official Plasti-Goop® compound directly into the mold until the mold is full. Be careful not to overfill. Carefully wipe excess Official Plasti-Goop® compound from the top of the mold with a dry paper towel. The mold is now ready to be placed in the bug maker. ® When filling your molds be sure to use ONLY Goop FX™ compound in small crevices. Use Official Plasti-Goop® Compound to fill the body cavity. (Also don’t forget that Goop FX™ compound can be used to make great details all over your characters). U L LISTED ® TOY 3CW7 E234771 ITEM # 56075 Fig. A ® ® 1. After approximately 8-25 minutes the bug maker has cooled down and the arrow now appears at the top of the temperature gauge. The bug maker is cool and you may remove your character mold. 2. Fill your cooling tray with cold tap water 3. Lift up the bug maker door. Using the spatula, remove the mold and place it in the filled cooling tray. 4. Lift characters from the mold carefully starting with the limbs. NOTE: DO NOT TOUCH METAL MOLD WITH YOUR HANDS AS THE MOLD MAY STILL BE WARM. Make sure the top surface of the mold remains dry while sitting in the cooling tray. Wait a few minutes before handling mold to ensure it is properly cooled. After mold is cool to the touch you are ready to remove your character from the mold. NOTE: Always remember to dry molds and cooling tray after each use! A) LIGHT BULB-Adult Assembly Required: If the bulb should burn out, UNPLUG THE BUG MAKER. Allow sufficient time for bug maker to cool. Unscrew 4 screws from the bottom panel with a PHILIPS (+) screwdriver (not included). Carefully remove the bottom panel of the bug maker. Unscrew the burnt out bulb and replace it with a new 60 Watt 120V AC small base candelabra bulb only. Be careful to avoid any sharp edges. Replace the bottom panel of the bug maker with screws. Be sure to fasten the 4 Philips (+) screws securely. B) CHARACTER MOLDS: After each use, dry molds thoroughly before storing in order to prevent white powder deposits from forming. If powder deposits should form, ask an adult to clean the molds with steel wool and dry thoroughly. C) OFFICIAL PLASTI-GOOP® COMPOUND: Although Official Plasti-Goop® compound is safe and non-toxic, it may possibly stain or stick to fabric, carpets, upholstery, hair, varnished and unvarnished surfaces. Should Official Plasti-Goop® compound come in contact with any of these things, immediately blot with dry paper towels. Always follow instructions for mold to ensure proper use of Plasti-Goop® compound. Also avoid prolonged contact of “cooked” Official Plasti-Goop® compound with painted, lacquered or stained wood surfaces. WARNING: SHOCK HAZARD: Turn off the power and remove the plug before changing lamp or cleaning bug maker, and when not in use. Do not use another bulb type other than a 60W 120V small base candelabra lamp. DANGER – To prevent electric shock, do not immerse this toy in water. To clean, remove tray and wipe bug maker clean with a damp cloth. Molding bug maker can become hot during use. Do not touch. Do not preheat bug maker Do not attempt to remove mold until the arrow appears at the TOP of the temperature gauge. This indicates that the bug maker has cooled. down. Always use the SPATULA to remove mold and place in cooling tray. Do not touch mold or Official Plasti-Goop® Compound when first removed from bug maker. Do not allow mold to stay in bug maker unattended. Do not leave spatula in bug maker while in use. Do not allow Creepy Crawlers® Bug Maker to stay on for more than 20 minutes. Do not use this product for baking, cooking, or heating any item except those included with this product or any other Creepy Crawlers® Bug Maker. Safety door opens only when bug maker is completely cool! Do not attempt to force the door open before the bug maker has cooled (arrow appears at to of temperature gauge). Forcing the door open will cause damage to the bug maker. The door was designed for your safety and prevents you from touching the mold before it has cooled. Do not heat molds in any bug maker other than of your Creepy Crawlers® Bug Maker (including microwave, conventional or convection). This product has a polarized plug (one blade is wider than the other). As a safety feature, this plug will fit in a polarized outlet only one way. If the plug does not fit fully in the outlet, reverse the plug. If it still does not fit, contact a qualified electrician. Never use with an extension cord unless plug can be fully inserted. Do not attempt to defeat this safety feature. Do not attempt to open or lift the bug maker door until the arrow appears at the top of the temperature gauge window. This bug maker is designed with a safety feature that will lock the door in the closed position until it is completely cooled. Forcing the bug maker door up may result in damage to your Creepy Crawlers® Bug Maker. The cooling process takes approximately 8-25 minutes. Use this time to fill your cooling tray with COLD tap water. ITEM # 56075 1. Be sure the ON/OFF switch is in the “OFF” position. 2. Ask an adult to plug the bug maker into a wall socket and to demonstrate the operation of the unit. The bug maker must only be used under the supervision of an adult. NOTE: Be sure to place the bug maker on a level, flat and dry surface close to the wall socket. Do not plug the bug maker into a wall socket using a multiple adapter or where the cord will become tangled with other cords. The double use spatula comes with an adapter for use with the character molds included. The removal of adaptor on spatula allows the use of large character molds. Be sure the adapter stays in place when inserting or removing small molds from your Creepy Crawlers® Bug Maker. TO REMOVE THE ADAPTER: On either side of the adapter furthest from the handle, gently pull up in a 45 degree angle away from its seated position. You will find the the adapter should easily pop right out. 3. Slide spatula under the mold. With other hand, hold the bug maker door up and guide the mold slowly through the door opening and into the heating chamber until the spatula touches the back of the bug maker and stops. 4. Set the mold down in bug maker compartment and gently remove the spatula. 5. Close the door COMPLETELY. You will hear a “click” when the door is closed correctly. Slide the ON/OFF switch to the “ON” position. You will notice the bug maker light is now on. 6. Allow the mold to stay in the bug maker for approximately 7-9 minutes. After this time, slide the ON/OFF switch to the “OFF” position. IMPORTANT: Your bug maker has a safety device which will only allow the door to open when it has completely cooled off. When bug maker is hot, the arrow in the temperature gauge window will appear at the bottom. You will know when your bug maker is cooled when you see the arrow at the top of the temperature gauge window. Be sure to fill each limb from the character body out to the end of each limb, allowing some Goop FX™ compound to fill into the character body. (See Fig. D) CAUTION-ELECTRIC TOY: Not recommended for children under 8 years of age. Adult supervision required. As with all electric products, precautions should be observed during the handling and use to prevent electric shock. Immersing this toy in water can cause an electric shock. CAUTION: Care should be taken in unpacking and assembly. Adult assembly required. FPO TM TM TM Conforms to ASTM F963 & ASTM D-4326. Contents may vary in style, color, shape and decoration from images shown on package or in advertising. Questions or comments? www.jakks.com, [email protected], or 1-877-875-2557 in North America. TM & © 2008 JAKKS Pacific, Inc., Malibu, CA 90265 U.S.A. All Rights Reserved. MADE IN CHINA.

56075 CC oven instruction 6-5-08 - · PDF filefor ages 8 & up electric rating: 60 watts, 120 volt 60 hz 0.5 amp ac only listed this product is listed by underwriters laboratories inc

Embed Size (px)

Citation preview

FOR AGES 8 & UPELECTRIC RATING:60 Watts, 120 Volt60 Hz 0.5 AMPAC only listed

THIS PRODUCT IS LISTEDBY UNDERWRITERSLABORATORIES INC.AND BEARS THE MARK:

ADULTS NOTE: PLEASE READ AND STUDY ALL ILLUSTRATIONS BEFORE USE. REMEMBER TO

ALWAYS INSTRUCT YOUR CHILD IN THE PROPER USE OF THIS PRODUCT. ADULT SUPERVISION IS REQUIRED AT ALL TIMES. THE BUG MAKER HAS METAL EDGES

AND CARE SHOULD BE TAKEN DURING THE INSTALLATION OF THE LIGHT BULB. A PHILIPS (+) SCREWDRIVER IS

REQUIRED (NOT INCLUDED).

IMPORTANT! USE IN WELL VENTILATED AREA. UNDER NO CIRCUMSTANCE SHOULD YOU

PLACE ANY CHARACTER MOLD IN ANY OVEN (MICROWAVE OR CONVENTIONAL) OR ON THE TOP OF STOVE. CHARACTER MOLDS WERE DESIGNED FOR USE ONLY WITH JAKKS PACIFIC®, INC. CREEPY CRAWLERS® BUG MAKER. DO NOT LEAVE

SPATULA IN OVEN.

CAUTION: ALTHOUGH OFFICIAL PLASTI-GOOP® COMPOUND IS SAFE AND NON-TOXIC, IT SHOULD NOT BE SWALLOWED, EATEN OR INGESTED. REMEMBER

TO SHAKE YOUR OFFICIAL PLASTI-GOOP® COMPOUND BEFORE EACH USE.

NOTE! ONE 60-WATT 120V AC SMALL BASE CANDELABRA BULB REQUIRED. (NOT

INCLUDED)

WARNING: DO NOT USE BULBS OF HIGHER WATTAGE. INSTALLATION OF BULB SHOULD ONLY BE PERFORMED BY AN ADULT. PHILIPS (+)

SCREWDRIVER REQUIRED. (NOT INCLUDED)

TEST OVEN PRIOR TO CHILD’S USE. PERIODICALLY EXAMINE TOY FOR POTENTIAL HAZARDS OR LOOSE PARTS.

® – to make the most disgustingly realistic bugs ever!

- (for the Plasti-Goop® compound bottles) to make fine details on your characters.

™ – for moving the Goop FX™ into areas of the mold you want to detail.

– for making your creepy bugs.® – to make your creepy

creations.™ – to make really detailed creatures.

- for cooling off your metal mold after you have removed it from the Creepy Crawlers® Bug Maker.

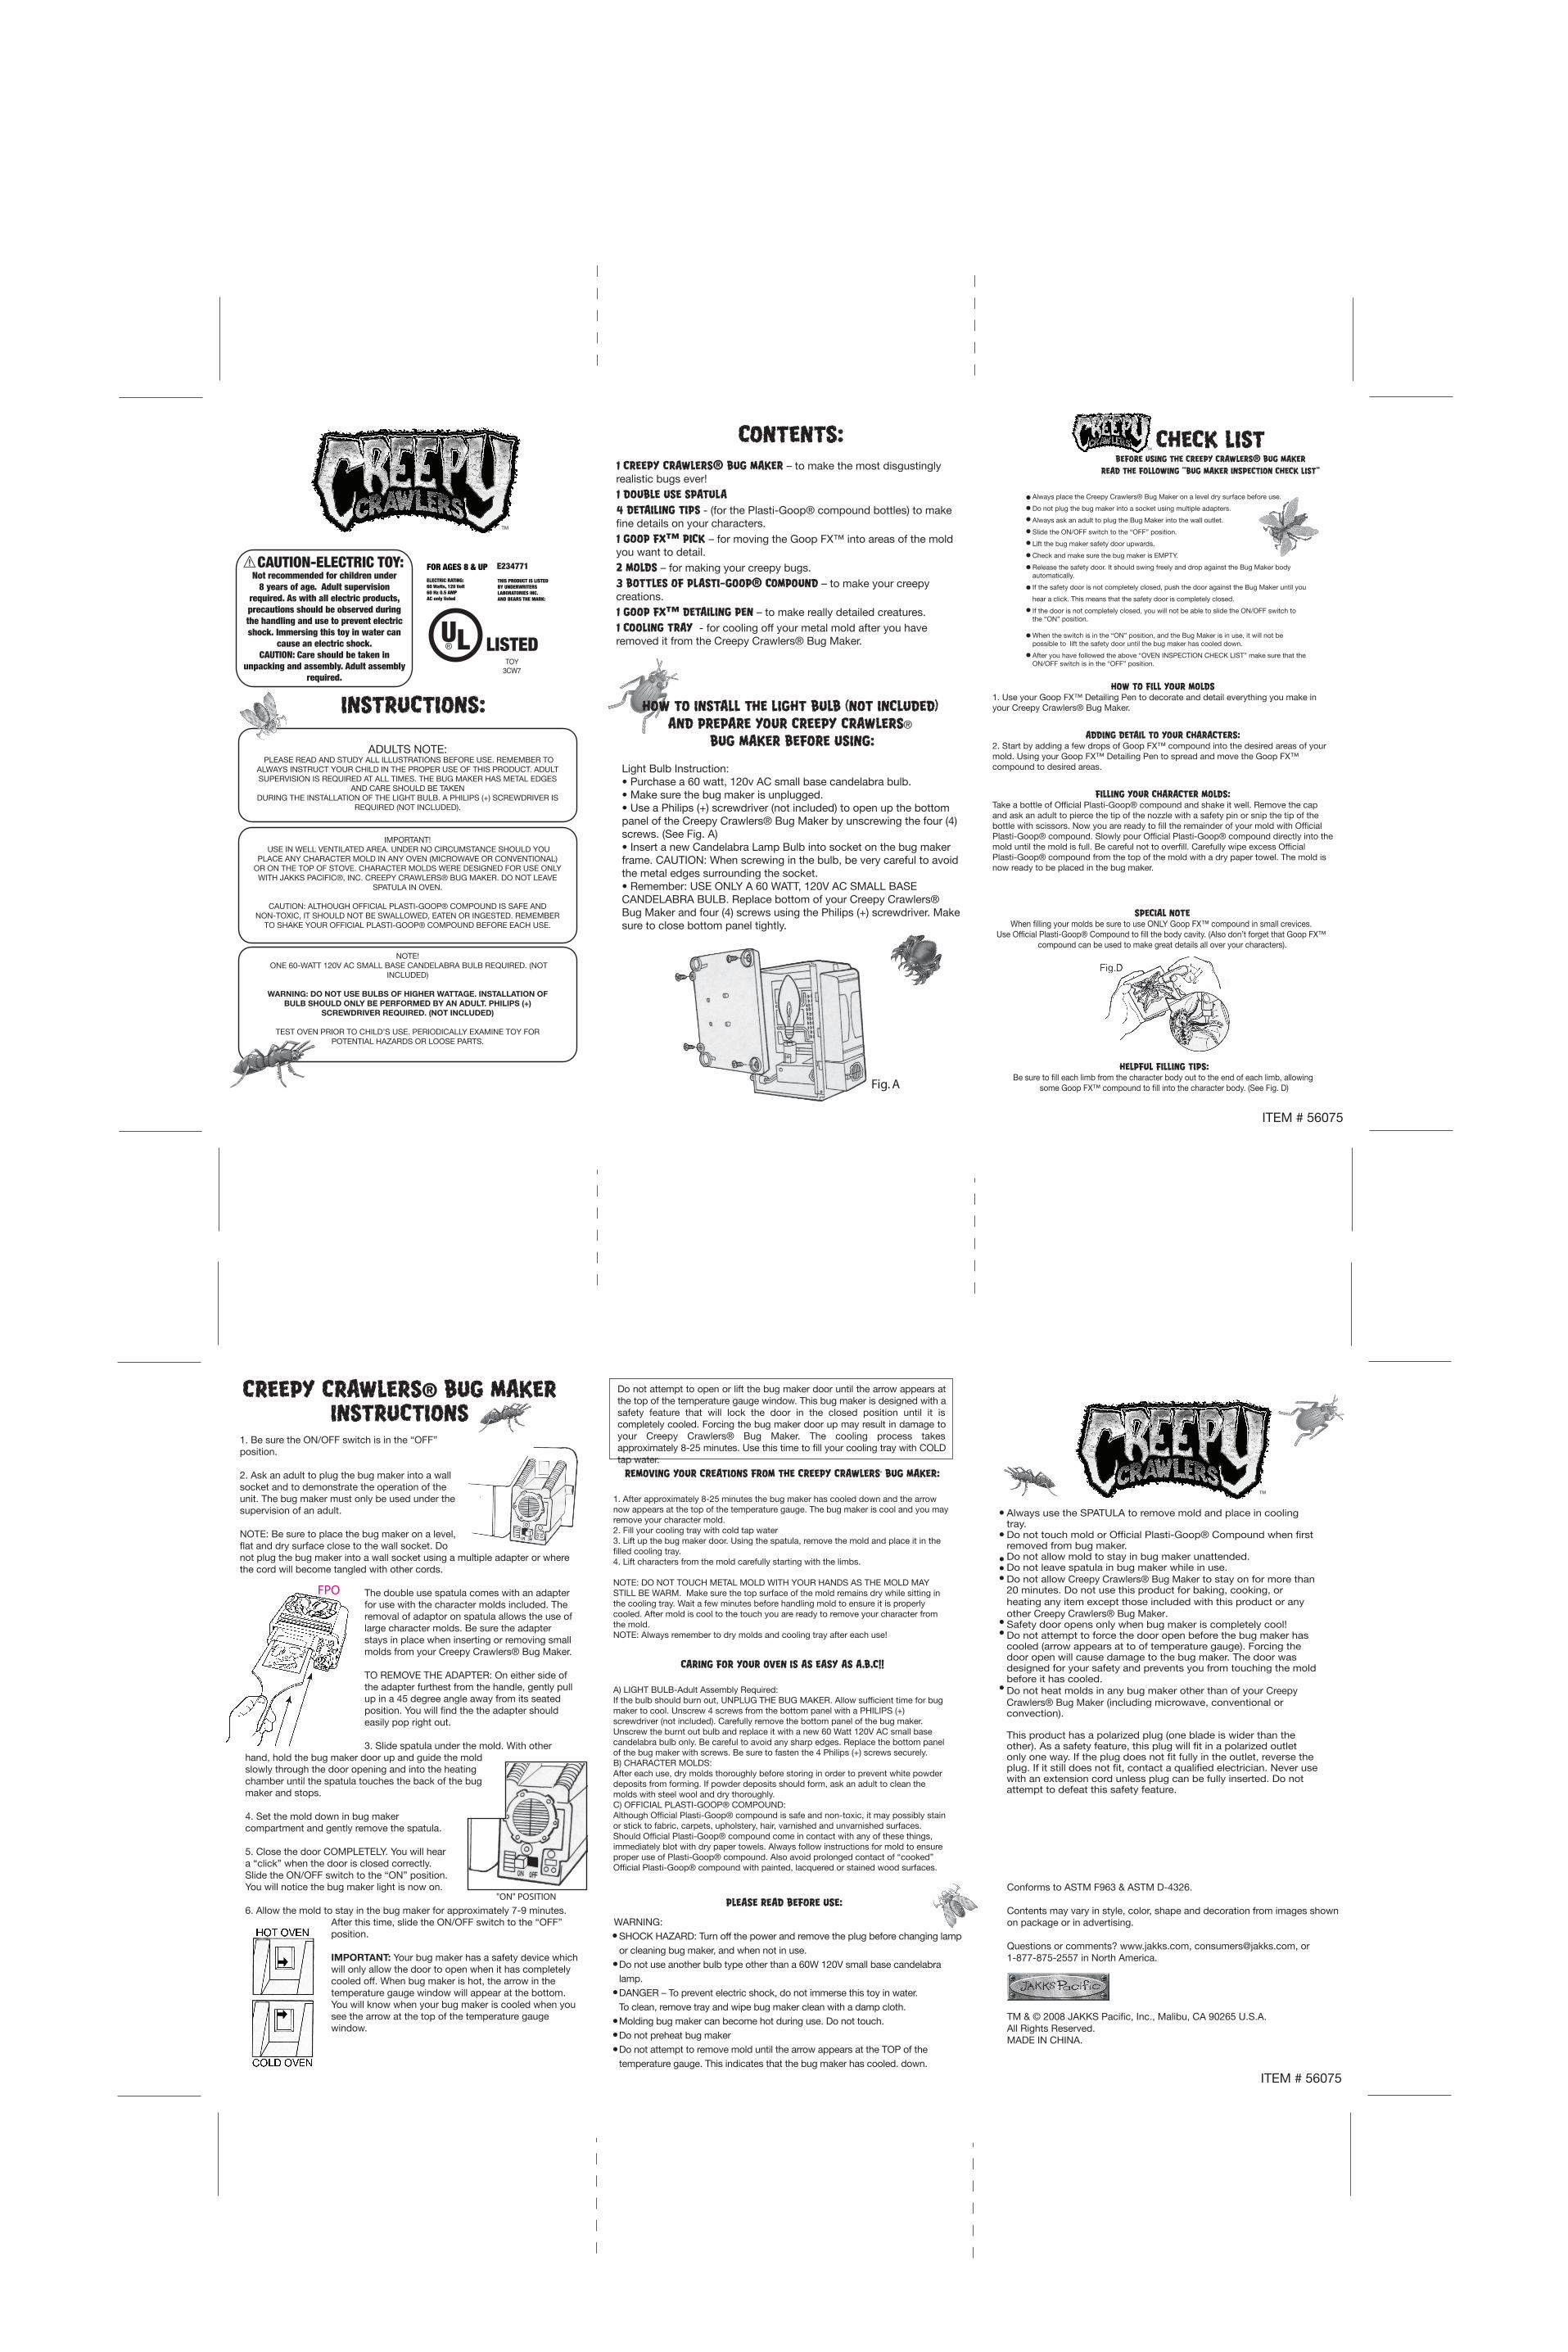
Light Bulb Instruction:• Purchase a 60 watt, 120v AC small base candelabra bulb.• Make sure the bug maker is unplugged.• Use a Philips (+) screwdriver (not included) to open up the bottom panel of the Creepy Crawlers® Bug Maker by unscrewing the four (4) screws. (See Fig. A)• Insert a new Candelabra Lamp Bulb into socket on the bug maker frame. CAUTION: When screwing in the bulb, be very careful to avoid the metal edges surrounding the socket.• Remember: USE ONLY A 60 WATT, 120V AC SMALL BASE CANDELABRA BULB. Replace bottom of your Creepy Crawlers® Bug Maker and four (4) screws using the Philips (+) screwdriver. Make sure to close bottom panel tightly.

Always place the Creepy Crawlers® Bug Maker on a level dry surface before use.

Do not plug the bug maker into a socket using multiple adapters.

Always ask an adult to plug the Bug Maker into the wall outlet.

Slide the ON/OFF switch to the “OFF” position.

Lift the bug maker safety door upwards.

Check and make sure the bug maker is EMPTY.

Release the safety door. It should swing freely and drop against the Bug Maker body automatically.

If the safety door is not completely closed, push the door against the Bug Maker until you

hear a click. This means that the safety door is completely closed.

If the door is not completely closed, you will not be able to slide the ON/OFF switch to the “ON” position.

When the switch is in the “ON” position, and the Bug Maker is in use, it will not be possible to lift the safety door until the bug maker has cooled down.

After you have followed the above “OVEN INSPECTION CHECK LIST” make sure that the ON/OFF switch is in the “OFF” position.

1. Use your Goop FX™ Detailing Pen to decorate and detail everything you make in your Creepy Crawlers® Bug Maker.

2. Start by adding a few drops of Goop FX™ compound into the desired areas of your mold. Using your Goop FX™ Detailing Pen to spread and move the Goop FX™ compound to desired areas.

Take a bottle of Official Plasti-Goop® compound and shake it well. Remove the cap and ask an adult to pierce the tip of the nozzle with a safety pin or snip the tip of the bottle with scissors. Now you are ready to fill the remainder of your mold with Official Plasti-Goop® compound. Slowly pour Official Plasti-Goop® compound directly into the mold until the mold is full. Be careful not to overfill. Carefully wipe excess Official Plasti-Goop® compound from the top of the mold with a dry paper towel. The mold is now ready to be placed in the bug maker.

®

When filling your molds be sure to use ONLY Goop FX™ compound in small crevices. Use Official Plasti-Goop® Compound to fill the body cavity. (Also don’t forget that Goop FX™

compound can be used to make great details all over your characters).

UL LISTED®

TOY

3CW7

E234771

ITEM # 56075

Fig. A

®

®

1. After approximately 8-25 minutes the bug maker has cooled down and the arrow now appears at the top of the temperature gauge. The bug maker is cool and you may remove your character mold.2. Fill your cooling tray with cold tap water3. Lift up the bug maker door. Using the spatula, remove the mold and place it in the filled cooling tray.4. Lift characters from the mold carefully starting with the limbs.

NOTE: DO NOT TOUCH METAL MOLD WITH YOUR HANDS AS THE MOLD MAY STILL BE WARM. Make sure the top surface of the mold remains dry while sitting in the cooling tray. Wait a few minutes before handling mold to ensure it is properly cooled. After mold is cool to the touch you are ready to remove your character from the mold. NOTE: Always remember to dry molds and cooling tray after each use!

A) LIGHT BULB-Adult Assembly Required:If the bulb should burn out, UNPLUG THE BUG MAKER. Allow sufficient time for bug maker to cool. Unscrew 4 screws from the bottom panel with a PHILIPS (+) screwdriver (not included). Carefully remove the bottom panel of the bug maker. Unscrew the burnt out bulb and replace it with a new 60 Watt 120V AC small base candelabra bulb only. Be careful to avoid any sharp edges. Replace the bottom panel of the bug maker with screws. Be sure to fasten the 4 Philips (+) screws securely.B) CHARACTER MOLDS: After each use, dry molds thoroughly before storing in order to prevent white powder deposits from forming. If powder deposits should form, ask an adult to clean the molds with steel wool and dry thoroughly.C) OFFICIAL PLASTI-GOOP® COMPOUND: Although Official Plasti-Goop® compound is safe and non-toxic, it may possibly stain or stick to fabric, carpets, upholstery, hair, varnished and unvarnished surfaces. Should Official Plasti-Goop® compound come in contact with any of these things, immediately blot with dry paper towels. Always follow instructions for mold to ensure proper use of Plasti-Goop® compound. Also avoid prolonged contact of “cooked” Official Plasti-Goop® compound with painted, lacquered or stained wood surfaces.

WARNING: SHOCK HAZARD: Turn off the power and remove the plug before changing lamp or cleaning bug maker, and when not in use. Do not use another bulb type other than a 60W 120V small base candelabra lamp. DANGER – To prevent electric shock, do not immerse this toy in water. To clean, remove tray and wipe bug maker clean with a damp cloth. Molding bug maker can become hot during use. Do not touch. Do not preheat bug maker Do not attempt to remove mold until the arrow appears at the TOP of the temperature gauge. This indicates that the bug maker has cooled. down.

Always use the SPATULA to remove mold and place in cooling tray.Do not touch mold or Official Plasti-Goop® Compound when first removed from bug maker.Do not allow mold to stay in bug maker unattended.Do not leave spatula in bug maker while in use.Do not allow Creepy Crawlers® Bug Maker to stay on for more than 20 minutes. Do not use this product for baking, cooking, or heating any item except those included with this product or any other Creepy Crawlers® Bug Maker.Safety door opens only when bug maker is completely cool!Do not attempt to force the door open before the bug maker has cooled (arrow appears at to of temperature gauge). Forcing the door open will cause damage to the bug maker. The door was designed for your safety and prevents you from touching the mold before it has cooled.Do not heat molds in any bug maker other than of your Creepy Crawlers® Bug Maker (including microwave, conventional or convection).

This product has a polarized plug (one blade is wider than the other). As a safety feature, this plug will fit in a polarized outlet only one way. If the plug does not fit fully in the outlet, reverse the plug. If it still does not fit, contact a qualified electrician. Never use with an extension cord unless plug can be fully inserted. Do not attempt to defeat this safety feature.

Do not attempt to open or lift the bug maker door until the arrow appears at the top of the temperature gauge window. This bug maker is designed with a safety feature that will lock the door in the closed position until it is completely cooled. Forcing the bug maker door up may result in damage to your Creepy Crawlers® Bug Maker. The cooling process takes approximately 8-25 minutes. Use this time to fill your cooling tray with COLD tap water.

ITEM # 56075

1. Be sure the ON/OFF switch is in the “OFF” position.

2. Ask an adult to plug the bug maker into a wall socket and to demonstrate the operation of the unit. The bug maker must only be used under the supervision of an adult.

NOTE: Be sure to place the bug maker on a level, flat and dry surface close to the wall socket. Do not plug the bug maker into a wall socket using a multiple adapter or where the cord will become tangled with other cords.

The double use spatula comes with an adapter for use with the character molds included. The removal of adaptor on spatula allows the use of large character molds. Be sure the adapter stays in place when inserting or removing small molds from your Creepy Crawlers® Bug Maker.

TO REMOVE THE ADAPTER: On either side of the adapter furthest from the handle, gently pull up in a 45 degree angle away from its seated position. You will find the the adapter should easily pop right out.

3. Slide spatula under the mold. With other hand, hold the bug maker door up and guide the mold slowly through the door opening and into the heating chamber until the spatula touches the back of the bug maker and stops.

4. Set the mold down in bug maker compartment and gently remove the spatula.

5. Close the door COMPLETELY. You will hear a “click” when the door is closed correctly. Slide the ON/OFF switch to the “ON” position. You will notice the bug maker light is now on.

6. Allow the mold to stay in the bug maker for approximately 7-9 minutes. After this time, slide the ON/OFF switch to the “OFF” position.

IMPORTANT: Your bug maker has a safety device which will only allow the door to open when it has completely cooled off. When bug maker is hot, the arrow in the temperature gauge window will appear at the bottom. You will know when your bug maker is cooled when you see the arrow at the top of the temperature gauge window.

Be sure to fill each limb from the character body out to the end of each limb, allowing some Goop FX™ compound to fill into the character body. (See Fig. D)

CAUTION-ELECTRIC TOY:Not recommended for children under

8 years of age. Adult supervision required. As with all electric products, precautions should be observed during the handling and use to prevent electric shock. Immersing this toy in water can

cause an electric shock.CAUTION: Care should be taken in

unpacking and assembly. Adult assembly required.

FPO

TM

TM

TM

Conforms to ASTM F963 & ASTM D-4326.

Contents may vary in style, color, shape and decoration from images shown on package or in advertising.

Questions or comments? www.jakks.com, [email protected], or 1-877-875-2557 in North America.

TM & © 2008 JAKKS Pacific, Inc., Malibu, CA 90265 U.S.A. All Rights Reserved.MADE IN CHINA.