Embed Size (px)
Citation preview
Part II Microscopyand BacterialStainingTechniques
icroscopy had its beginnings with the ability of Robert Hookeand Anton van Leeuwenhoek to see small objects that oftenwere invisible to the naked eye. In fact, Leeuwenhoek was
the first to see bacteria with his “homemade” microscopes (hand lenses).Since then, great strides have been made in microscope design, magnifi-cation, and resolution.
Today’s light (compound) microscope, which uses visible light tomagnify and resolve objects, is a core instrument of many microbiologyresearch labs. Brightfield microscopy, introduced in Exercise 3, is whatyou will use with your light microscope in many of the laboratory exercisesin this lab manual.
Bacterial cells are not easy to see with brightfield microscopy because(1) the cells are extremely small and (2) most appear colorless against abright background. Although your light microscope will provide the res-olution and magnification to see them, there still is a contrast problem tosolve. This is accomplished by using a colored chemical stain that impartscolor to bacterial cells or structures (Exercise 4) or to the background(Exercise 5). Such simple staining procedures provide the contrast neededto carry out cell measurements and observations (Table A). In addition,differential staining procedures, which use two contrasting coloredstains, will allow you to separate bacteria into one of two basic groups(Exercise 6) and to visualize bacterial structures such as endospores andcapsules (Exercise 7).
M
4 21
43038_CH03_0021.qxd 1/3/07 4:08 PM Page 21

earning Objectives
When you have completed the exercises in Part II, you should be capable of:• Operating the light microscope correctly in order to measure and observe living
and dead microorganisms.• Preparing a bacterial smear.• Calculating bacterial cell size and determining bacterial cell shape and arrange-
ment using simple stains.• Completing the Gram stain to correctly identify gram-positive and gram-negative
bacteria.• Identifying (1) bacterial spores and capsules using special differential stains and
(2) bacterial motility.
22
TABLE
Types and Uses for Staining
TYPE OF STAINING PURPOSE
To measure cell sizeSimple To determine cell shape (bacillus, coccus, spiral)(uses one stain) To determine cell arrangements
To measure cell size and determine cell shape and arrangementsDifferential To separate bacteria into groups (Gram positive and negative)(uses two contrasting stains) To visualize cell structures (endospores, capsules)
A
L
43038_CH03_0021.qxd 1/3/07 4:08 PM Page 22
TheCompoundMicroscope
he compound microscope is a basic tool of the microbiologylaboratory. This precision instrument contains a series of lensesallowing a specimen to be magnified up to a thousand times
(1,000x). Mechanical adjustments and supportive features of the micro-scope afford a broad range of possibilities for viewing various types ofmicroorganisms.
The microscope combines the principles of an optical system and an illumination system to achieve magnification in a bright field. Light,projected toward an object, passes through the object and is collected bythe objective lens (near the object) to form a magnified image. This mag-nified image becomes an object for a second lens, the ocular lens (near theeye), which magnifies it further and forms an image visible to the observer.
An understanding of certain aspects of microscopy is essential for opti-mal use of the microscope. For example, the resolving power determinesthe size of the smallest object that can be seen clearly under specified con-ditions. Another aspect, the working distance, refers to the proximity ofthe slide to the bottom of the objective lens. A third factor, the refractiveindex, pertains to the light-bending ability of glass, oil, and air—mediathrough which light must pass during image formation.
Parts of the Microscope and Their Use
In this exercise, the basic features of the microscope will be explored andthe function of the parts explained. Experience will be gained in using theinstrument through the observation of various objects.
pecial Materials
• Compound microscope• Glass slides and coverslips• Various samples for viewing
S
A.
3
T
PURPOSE: to learn the partsof the light microscope andunderstand their functions.
T H E C O M P O U N D M I C R O S C O P E 3 23
43038_CH03_0021.qxd 1/3/07 4:08 PM Page 23
rocedure
1. The instructor will outline certain precautions to be followed when using themicroscope, including the proper method for transporting it. When carryingthe microscope, hold it upright with two hands: one hand holding the arm ofthe microscope, the other supporting its base. Each student should secure amicroscope for use and place it on the desk. Lens paper should be used toclean the lenses and stage area before work is begun. Coarser types of tissueare not useful because they leave lint and may scratch the lens.
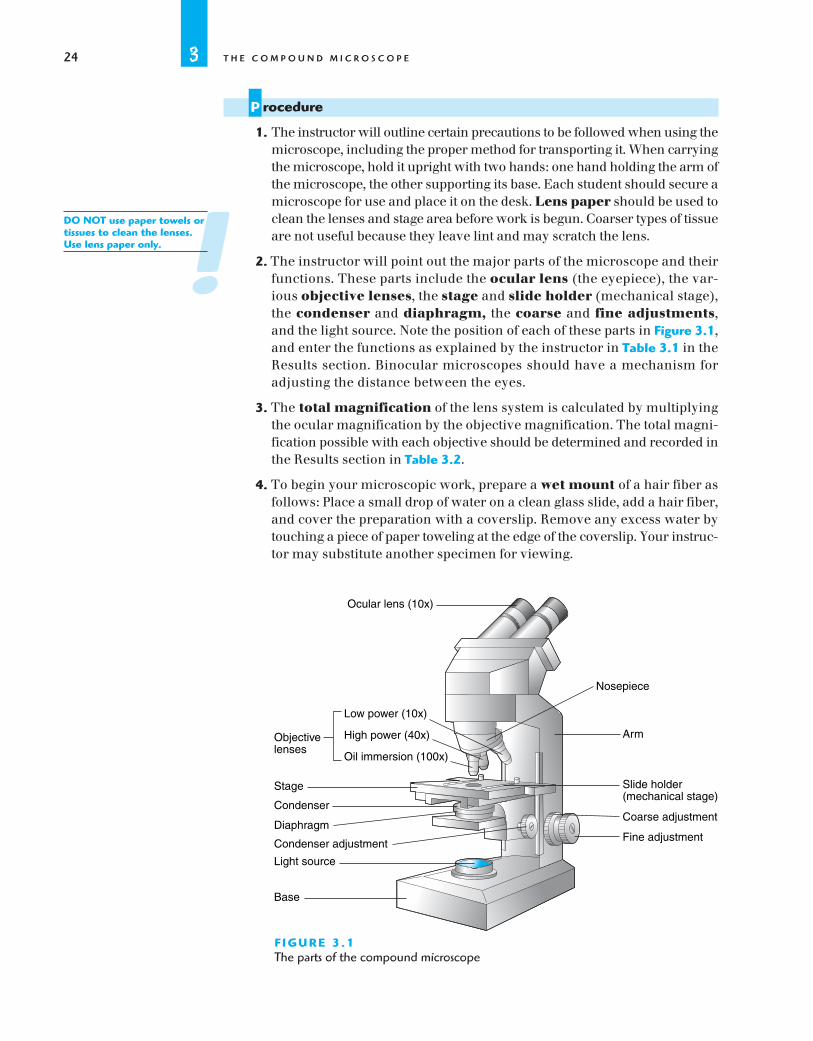
2. The instructor will point out the major parts of the microscope and theirfunctions. These parts include the ocular lens (the eyepiece), the var-ious objective lenses, the stage and slide holder (mechanical stage),the condenser and diaphragm, the coarse and fine adjustments,and the light source. Note the position of each of these parts in Figure 3.1,and enter the functions as explained by the instructor in Table 3.1 in theResults section. Binocular microscopes should have a mechanism foradjusting the distance between the eyes.
3. The total magnification of the lens system is calculated by multiplyingthe ocular magnification by the objective magnification. The total magni-fication possible with each objective should be determined and recorded inthe Results section in Table 3.2.
4. To begin your microscopic work, prepare a wet mount of a hair fiber asfollows: Place a small drop of water on a clean glass slide, add a hair fiber,and cover the preparation with a coverslip. Remove any excess water bytouching a piece of paper toweling at the edge of the coverslip. Your instruc-tor may substitute another specimen for viewing.
P
24 3 T H E C O M P O U N D M I C R O S C O P E
Ocular lens (10x)
Arm
Nosepiece
Slide holder(mechanical stage)
Coarse adjustment
Fine adjustment
Low power (10x)
High power (40x)Objectivelenses
Oil immersion (100x)
Stage
Condenser
Diaphragm
Condenser adjustment
Light source
Base
F I G U R E 3 . 1The parts of the compound microscope
!DO NOT use paper towels ortissues to clean the lenses.Use lens paper only.
43038_CH03_0021.qxd 1/3/07 4:08 PM Page 24
5. Place the slide in the slide holder or mechanical stage of the microscope.Now move the slide to place the specimen directly over the hole in thestage.
Raise the stage all the way up and then, using the coarse adjustment knob,slowly lower the stage to locate the hair fiber with the scanning or low powerobjective lens (as directed by the instructor). Moving the slide slightly whilefocusing helps in locating the object. Use the fine adjustment knob to sharpenthe focus. Adjust the diaphragm lever to achieve optimal lighting, noting thatoptimal lighting is not always the most light.
Looking in the oculars, you should see a single circular area called the field.Both eyes should be open if a binocular microscope is used. If your microscopeis monocular, practice viewing with both eyes open, using the left eye tolook into the microscope (if you are right-handed) or the right eye (if you areleft-handed). Move the object about for several minutes while training yourbrain to follow it.
Draw a representation of the fiber or other specimen in the appropriate spacein the Results section. Include the magnification of the image with therepresentation.
6. Note the working distance; that is, the distance between the slide and theobjective lens. Most modern microscopes are parfocal, meaning an objectin view under one objective will still be in view under the other lenses.Therefore, to move to the next objective (low or high power), place thespecimen in the center of the field and simply rotate the nosepiece toswing the next objective into position. A minor adjustment with the fineadjustment knob may be required. Scan the object, then enter a represen-tation of the fiber when your observations are complete. Again, note theworking distance.
7. Do not use the oil immersion (100x) objective lens with this specimen.
8. To remove the specimen, rotate the nosepiece back to the scanning orlow power (10x) objective. Lower the stage and then remove the slide.
9. Clean or recycle the slide and coverslip as directed by your instructor.
Observations of Prepared Slides
You now have gained some experience with the microscope and observingspecimens. However, much of your microscope observations will entailuse of the oil immersion objective lens (100x) because many microorgan-isms, especially bacteria, are so small.
pecial Materials
• Compound microscope
• Prepared slides of microorganisms
• Immersion oil
S
B.
T H E C O M P O U N D M I C R O S C O P E 3 25
!If you break a slide whileworking, be sure to place itin the designated sharps container in the lab or in the glass receptacle indicated by the instructor.
!DO NOT adjust the focuswith the coarse adjustmentknob.
PURPOSE: to observe speci-mens with the oil immersionobjective lens.
43038_CH03_0021.qxd 1/3/07 4:08 PM Page 25

rocedure
1. Obtain a prepared slide of stained microorganisms. These are commer-cially prepared permanent slides of dead organisms. Clean the slide withsoap and water, and dry it with paper towels. Remove any remaining“towel lint” with a piece of lens paper.
2. Place the slide on the slide holder or mechanical stage and center thespecimen over the hole in the stage. Adjust the diaphragm lever and focuson the specimen with the low power lens.
3. At these magnifications, do not expect to see individual cells. Most bacte-ria are far too small to be resolved. Rather focus on the areas containingstain used to stain the cells.
4. Once you have located stained material and have focused on it, center thespecimen in the field. Rotate the high power (40x) objective lens into posi-tion. Use the fine focusing knob to sharpen the focus.
5. With the high power (40x) lens, you may be able to see individual bacteria.Still, most are too small to be observed or their size, shape, and arrangementto be determined. The oil immersion lens (100x) must be used. Center thespecimen in the field before proceeding.
6. To use the oil immersion lens and achieve the magnification it affords,the air between the slide and lens must be replaced by a special type ofsynthetic oil called immersion oil. Immersion oil has the same refrac-tive index (or light-bending ability) as glass. The oil thus keeps light ina straight line as it passes from the glass slide to the oil and then to theglass of the objective lens. Immersion oil improves the resolving powerof the microscope by providing enough light to let you see clearly.
7. To use the oil immersion lens, swing away the high power objective (40x),and apply a drop of immersion oil on the slide area being viewed. Open thediaphragm fully, and swing the oil immersion objective into position. Tobring the object into view, a minor adjustment with the fine adjustmentknob may be needed.
8. Once the microorganisms have been located, it is important that you spenda few minutes scanning the slide. Scanning allows you to determine thegeneral pattern of the microorganisms as well as their shape, size, andarrangement. It also helps your mind eliminate the debris that may bemixed in with the smear; and it helps you locate a thin area most suitablefor your drawing. Using a sharp pencil, enter representations of the micro-organisms in the Results section along with the magnifications used. Draw-ings and documentation of the specimens viewed are almost always madeat 1000x total magnification. Consult with your instructor on any specialpreferences he or she may have.
9. A rough estimate of the size of an object can be made in one of two ways. Yourmicroscope may have an ocular micrometer mounted in one ocular. At1000X total magnification, each ocular division is equal to one micrometer(�m). For example, if the length of a bacterial cell spans three divisions, itis 3 μm long; if a spherical yeast cell is 6 divisions, it is 6 �m in diameter.
P
26 3 T H E C O M P O U N D M I C R O S C O P E
Quick ProcedureMicroscopicExamination ofPrepared Slides
1. Place prepared orstained slide on micro-scope stage and centerspecimen.
2. Focus at low power(10x) on the specimenor areas containing stain.
3. Center specimen in thefield and rotate the highpower (40x) lens intoposition.
4. Use the fine focus toresolve the specimenand center it in the field.
5. Rotate the 40x lensaway from the specimenand add a drop ofimmersion oil onto theslide surface.
6. Rotate the 100x lensinto position and usethe fine focus to resolvethe specimen.
7. Make a drawing orrecord results from yourobservations.
43038_CH03_0021.qxd 1/3/07 4:08 PM Page 26
If an ocular micrometer is not provided, consider that the distance acrossthe field of view with the low power lens is approximately 1600 micrometers.With the high power lens, it is approximately 400 micrometers. And with theoil immersion lens, it is approximately 160 micrometers. By determining howwide the object is relative to the diameter of the field of view, you can esti-mate the object’s size.
10. Additional practice with the microscope may be obtained with other spec-imens supplied by the instructor. A drop of yeast cells, a drop of hayinfusion, and a few cotton fibers in a drop of water are all useful speci-mens for developing a facility with the microscope.
11. See it–Draw it. This exercise will give you an appreciation of how diffi-cult it is to accurately describe microscopic organisms to someone elsewithout the benefit of a detailed drawing. It requires the participation oftwo persons and one microscope. One person is the viewer, the other per-son the recorder. The first person locates a smear of bacteria under oilimmersion. Now he or she describes the view to the second person, whomakes a representation of the bacteria on a sheet of drawing paper(preferably hidden from the view of the first person). When completed,compare the drawing with the microscope image. It will soon becomeapparent that drawing an accurate picture is far superior to trying toexplain what bacteria look like.
12. Microscopic troubleshooting. Beginning students as well as experiencedones often encounter difficulties with the microscope that can be resolvedby relatively simple adjustments or procedures. Here is a list of ten possi-ble problems and solutions you might find useful:
1. Problem: The object is observed clearly under low power, but you loseit when moving to high power.Solution: Be sure you place the object in the center of the field beforemoving to the next higher objective. The microscope field becomessmaller as the magnification increases, so you should always centeryour object before switching objectives.
2. Problem: You see a black half-moon or quarter-moon off to the side ofthe microscope field.Solution: The objective must be “clicked” into position before using it.Check to see that it is in position.
3. Problem: You can see the objects at 400X, but they cannot be foundwhen you move to oil immersion (1000X).Solution: After fine focusing at 1000X without finding the objects, rotatethe nosepiece forward to the low power (10X) objective. Do not gobackward to the 40X lens, as the lens will touch the oil: never getoil on the 40X lens. Re-find the objects at 10X and then rotate thenosepiece backward to the 100X oil immersion lens. Use the fine focusto find the objects. (See also Problem 4).
4. Problem: You cannot focus down to the level where the specimen is.Solution: Check the slide to ensure that it is not upside down on the stage.
5. Problem: You constantly encounter a fuzzy image under high power.Solution: Someone using the microscope before you may have left oil onthe lens. Moisten a piece of lens tissue with water and vigorously cleanthe objective, then dry it with a clean piece of lens tissue.
T H E C O M P O U N D M I C R O S C O P E 3 27
43038_CH03_0021.qxd 1/3/07 4:08 PM Page 27
28 3 T H E C O M P O U N D M I C R O S C O P E
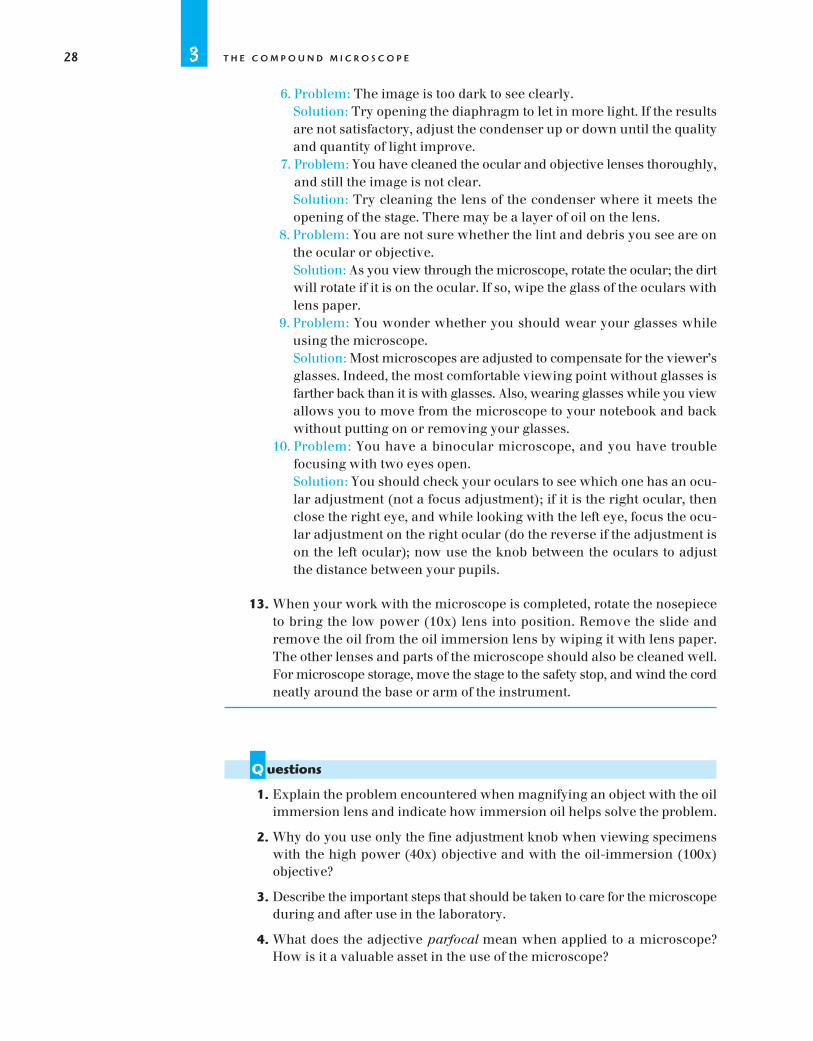
6. Problem: The image is too dark to see clearly.Solution: Try opening the diaphragm to let in more light. If the resultsare not satisfactory, adjust the condenser up or down until the qualityand quantity of light improve.
7. Problem: You have cleaned the ocular and objective lenses thoroughly,and still the image is not clear.Solution: Try cleaning the lens of the condenser where it meets theopening of the stage. There may be a layer of oil on the lens.
8. Problem: You are not sure whether the lint and debris you see are onthe ocular or objective.Solution: As you view through the microscope, rotate the ocular; the dirtwill rotate if it is on the ocular. If so, wipe the glass of the oculars withlens paper.
9. Problem: You wonder whether you should wear your glasses whileusing the microscope.Solution: Most microscopes are adjusted to compensate for the viewer’sglasses. Indeed, the most comfortable viewing point without glasses isfarther back than it is with glasses. Also, wearing glasses while you viewallows you to move from the microscope to your notebook and backwithout putting on or removing your glasses.
10. Problem: You have a binocular microscope, and you have troublefocusing with two eyes open.Solution: You should check your oculars to see which one has an ocu-lar adjustment (not a focus adjustment); if it is the right ocular, thenclose the right eye, and while looking with the left eye, focus the ocu-lar adjustment on the right ocular (do the reverse if the adjustment ison the left ocular); now use the knob between the oculars to adjustthe distance between your pupils.
13. When your work with the microscope is completed, rotate the nosepieceto bring the low power (10x) lens into position. Remove the slide andremove the oil from the oil immersion lens by wiping it with lens paper.The other lenses and parts of the microscope should also be cleaned well.For microscope storage, move the stage to the safety stop, and wind the cordneatly around the base or arm of the instrument.
uestions
1. Explain the problem encountered when magnifying an object with the oilimmersion lens and indicate how immersion oil helps solve the problem.
2. Why do you use only the fine adjustment knob when viewing specimenswith the high power (40x) objective and with the oil-immersion (100x)objective?
3. Describe the important steps that should be taken to care for the microscopeduring and after use in the laboratory.
4. What does the adjective parfocal mean when applied to a microscope?How is it a valuable asset in the use of the microscope?
Q
43038_CH03_0021.qxd 1/3/07 4:08 PM Page 28
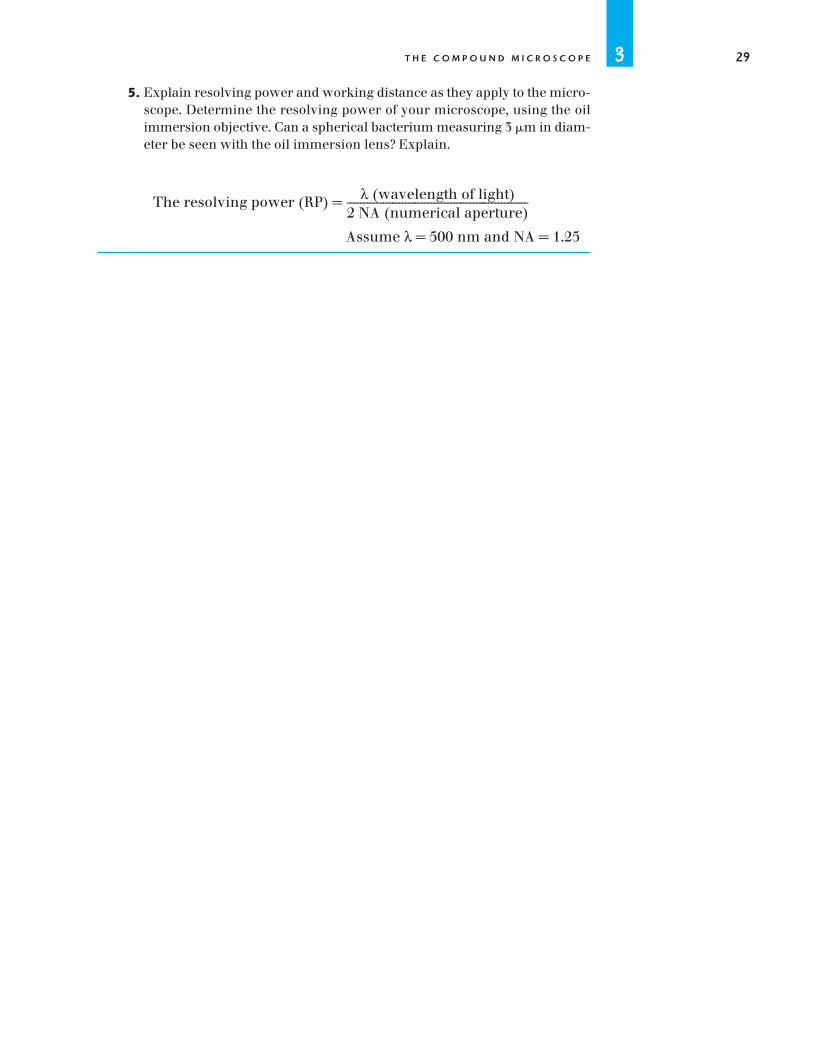
5. Explain resolving power and working distance as they apply to the micro-scope. Determine the resolving power of your microscope, using the oilimmersion objective. Can a spherical bacterium measuring 3 �m in diam-eter be seen with the oil immersion lens? Explain.
T H E C O M P O U N D M I C R O S C O P E 3 29
λ (wavelength of light)The resolving power (RP) = --------------------------------------------------------2 NA (numerical aperture)
Assume λ = 500 nm and NA = 1.25
43038_CH03_0021.qxd 1/3/07 4:08 PM Page 29

43038_CH03_0021.qxd 1/3/07 4:08 PM Page 30
T H E C O M P O U N D M I C R O S C O P E 3 31
Name
Date Section
Exercise Results
The Compound Microscope
A. Parts of the Microscope and Their Use
3
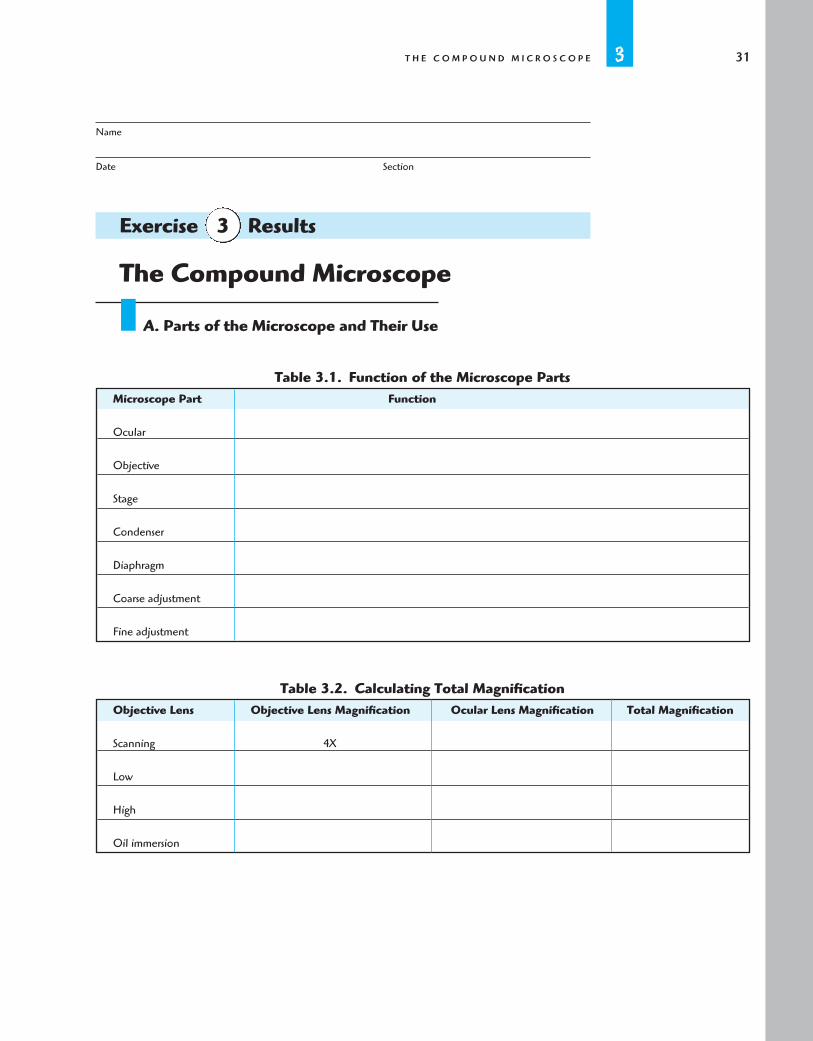
Table 3.1. Function of the Microscope PartsMicroscope Part Function
Ocular
Objective
Stage
Condenser
Diaphragm
Coarse adjustment
Fine adjustment
Table 3.2. Calculating Total MagnificationObjective Lens Objective Lens Magnification Ocular Lens Magnification Total Magnification
Scanning 4X
Low
High
Oil immersion
43038_CH03_0021.qxd 1/3/07 4:08 PM Page 31
32 3 T H E C O M P O U N D M I C R O S C O P E
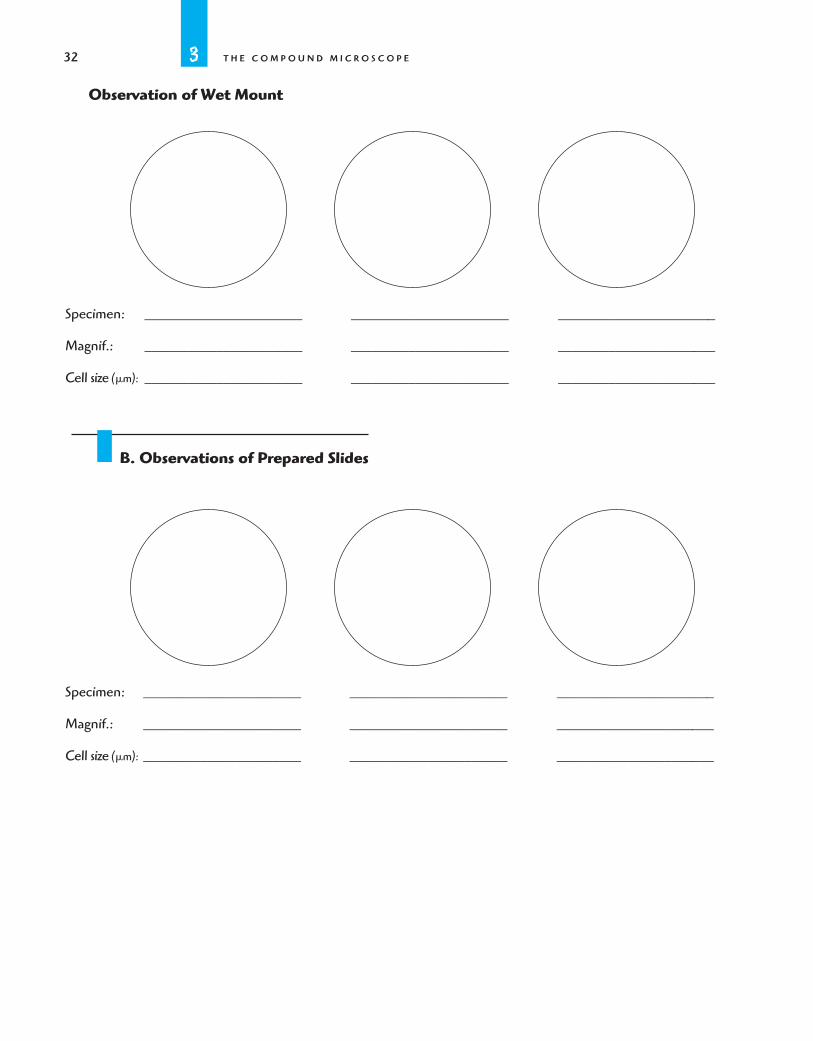
Specimen: ______________________ ______________________ ______________________
Magnif.: ______________________ ______________________ ______________________
Cell size (�m): ______________________ ______________________ ______________________
Specimen: ______________________ ______________________ ______________________
Magnif.: ______________________ ______________________ ______________________
Cell size (�m): ______________________ ______________________ ______________________
Observation of Wet Mount
B. Observations of Prepared Slides
43038_CH03_0021.qxd 1/3/07 4:08 PM Page 32
T H E C O M P O U N D M I C R O S C O P E 3 33
Specimen: ______________________ ______________________ ______________________
Magnif.: ______________________ ______________________ ______________________
Cell size (�m): ______________________ ______________________ ______________________
Specimen: ______________________ ______________________ ______________________
Magnif.: ______________________ ______________________ ______________________
Cell size (�m): ______________________ ______________________ ______________________
Specimen: ______________________ ______________________ ______________________
Magnif.: ______________________ ______________________ ______________________
Cell size (�m): ______________________ ______________________ ______________________
43038_CH03_0021.qxd 1/3/07 4:08 PM Page 33

43038_CH03_0021.qxd 1/3/07 4:08 PM Page 34


![ch03-SLIDE-[2]Data Communications and Networking By Behrouz A.Forouzan](https://img.pdfslide.us/doc/110x75/54508292b1af9f05098b4d84/ch03-slide-2data-communications-and-networking-by-behrouz-aforouzan.jpg)