Embed Size (px)
Citation preview
3/27/11
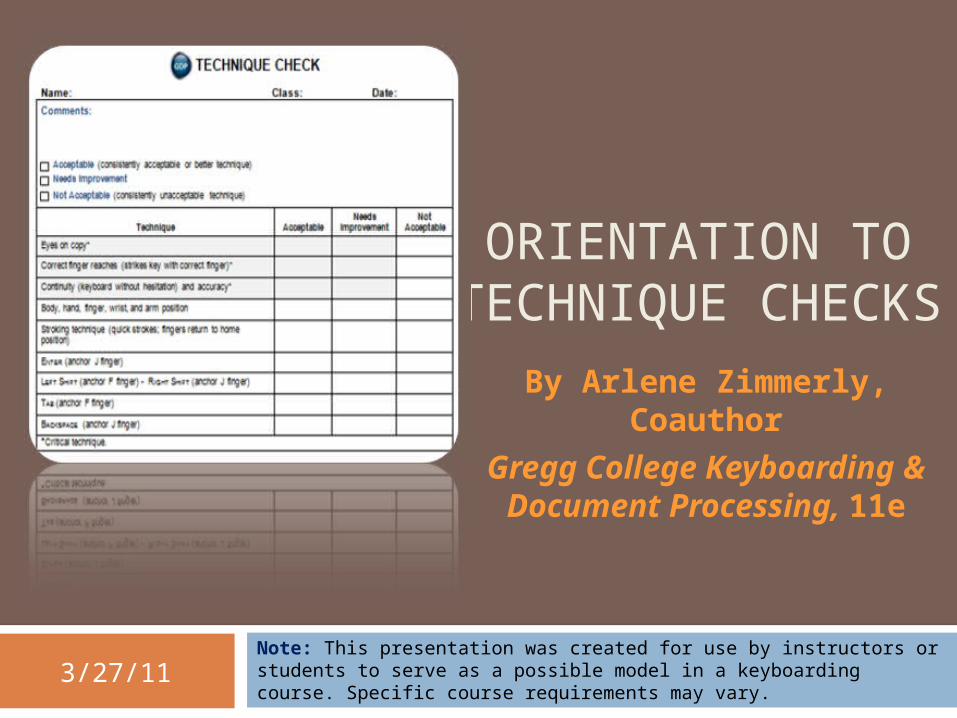
ORIENTATION TO TECHNIQUE
CHECKS
By Arlene Zimmerly, Coauthor
Gregg College Keyboarding & Document Processing, 11e
Note: This presentation was created for use by instructors or students to serve as a possible model in a keyboarding course. Specific course requirements may vary.

Typing Technique
Correct position at the keyboard enables you to type with greater speed and accuracy and with less fatigue.
When typing for a long period, rest your eyes occasionally by looking away from the screen.
Change position, walk around, or stretch when your muscles feel tired.
Making such movements and adjustments may help prevent your body from becoming too tired. In addition, long-term bodily damage, such as carpal tunnel syndrome, can be prevented.
2
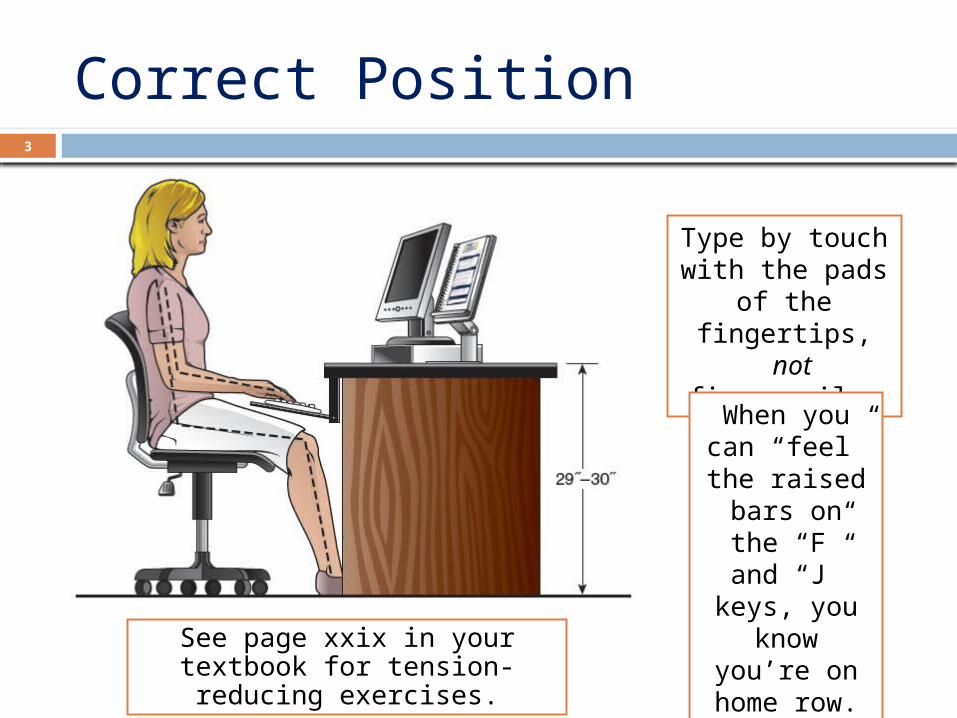
Correct Position3
Type by touch with the pads
of the fingertips,
not fingernails.
When you can “feel” the raised
bars on the “F” and “J” keys, you
know you’re on home
row.See page xxix in your textbook for tension-reducing exercises.

Position your chair so that your upper and lower legs form a greater-than-90-degree angle and your lower back is supported, with your knees slightly lower than your hips.
Position your text on either side of the monitor close to the monitor.
Position the mouse on a pad next to and at the same height as your keyboard.
Tilt the top of the monitor slightly away from you and slightly farther than an arm’s length from you.
Workstation4

Position at the Keyboard5
Center your body in front of the keyboard. Sit slightly reclined, with your lower back touching
the back of the chair, feet flat on the floor. Keep elbows close to your body, but relaxed. Keep forearms at a slight downward slant. Raise your hands slightly—wrists should not touch
the keyboard and should be straight. Curve your fingers naturally over the home-row
position, with the back of your hands at the same angle as the keyboard.
Move the mouse with your whole arm—not just your wrist.
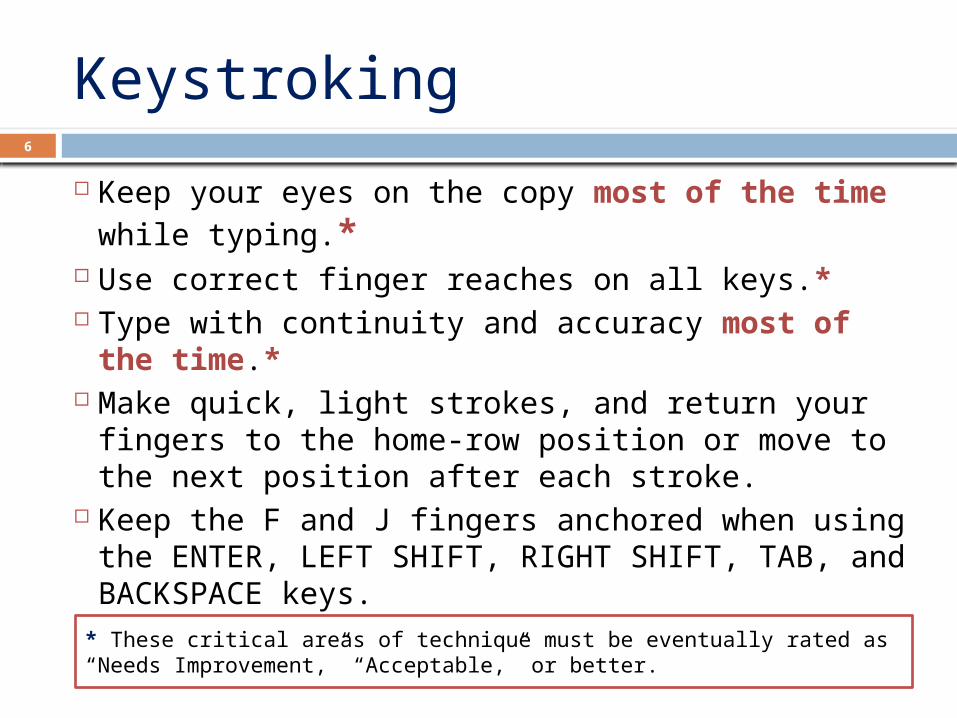
Keystroking6
Keep your eyes on the copy most of the time while typing.*
Use correct finger reaches on all keys.* Type with continuity and accuracy most of the
time.* Make quick, light strokes, and return your fingers
to the home-row position or move to the next position after each stroke.
Keep the F and J fingers anchored when using the ENTER, LEFT SHIFT, RIGHT SHIFT, TAB, and BACKSPACE keys.
* These critical areas of technique must be eventually rated as “Needs Improvement,” “Acceptable,” or better.
Technique Check – Lesson 10
7
After Lesson 10, you are ready for a technique check.
The form on the next slide will be used to assess your technique.
You MUST use the correct fingers on all keys and type by touch with continuity and accuracy most of the time.
Don’t try to type fast, don’t be concerned with an occasional error, and don’t correct errors. The BACKSPACE key will be assessed separately.
Try to relax and type normally—your goal is “acceptable” or better technique.

TechniqueCheck Form
8
Assessment:
Student types copy that includes
keystrokes learned through Lesson 10 as
the instructor observes and assesses.
Remediation:
Instructor assigns appropriate GDP
skillbuilding routines based upon assessment.

Assessment9
*Shaded items
indicate critical
techniques that must be acceptable.

Triple-Threat Remediation10
Remediation using GDP’s Skillbuilding, Lessons, and MAP+ features will be discussed briefly in this presentation.
See “Skillbuilding and MAP+” (a related presentation and movie) for details on using these very powerful features for remediation after a technique check assessment.
Skillbuilding, Lessons, & MAP+
11
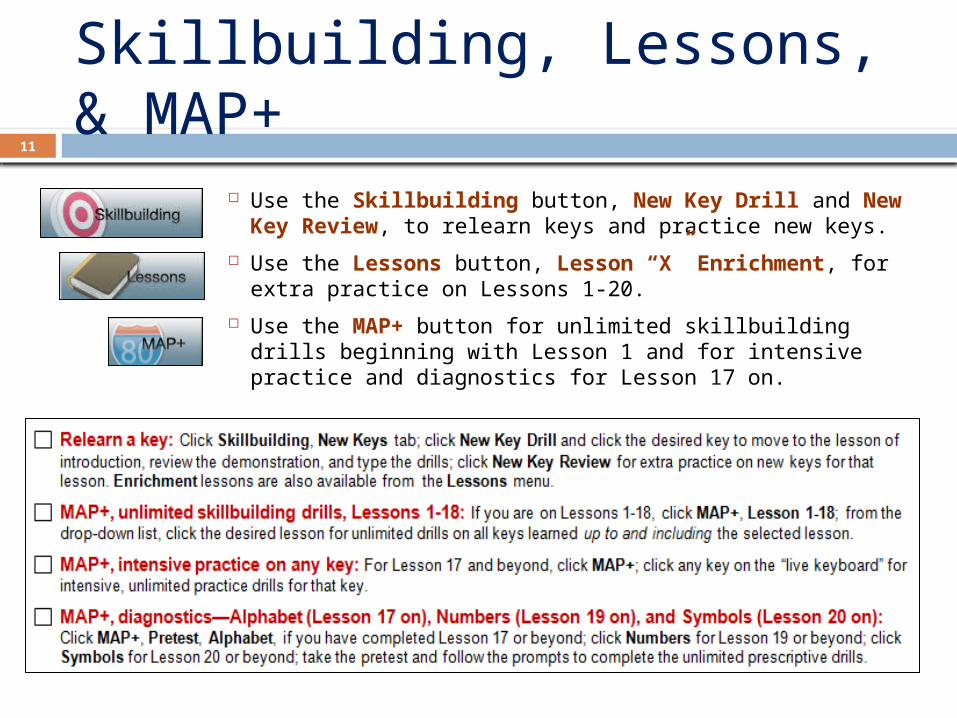
Use the Skillbuilding button, New Key Drill and New Key Review, to relearn keys and practice new keys.
Use the Lessons button, Lesson “X” Enrichment, for extra practice on Lessons 1-20.
Use the MAP+ button for unlimited skillbuilding drills beginning with Lesson 1 and for intensive practice and diagnostics for Lesson 17 on.
Skillbuilding Drills Tab12
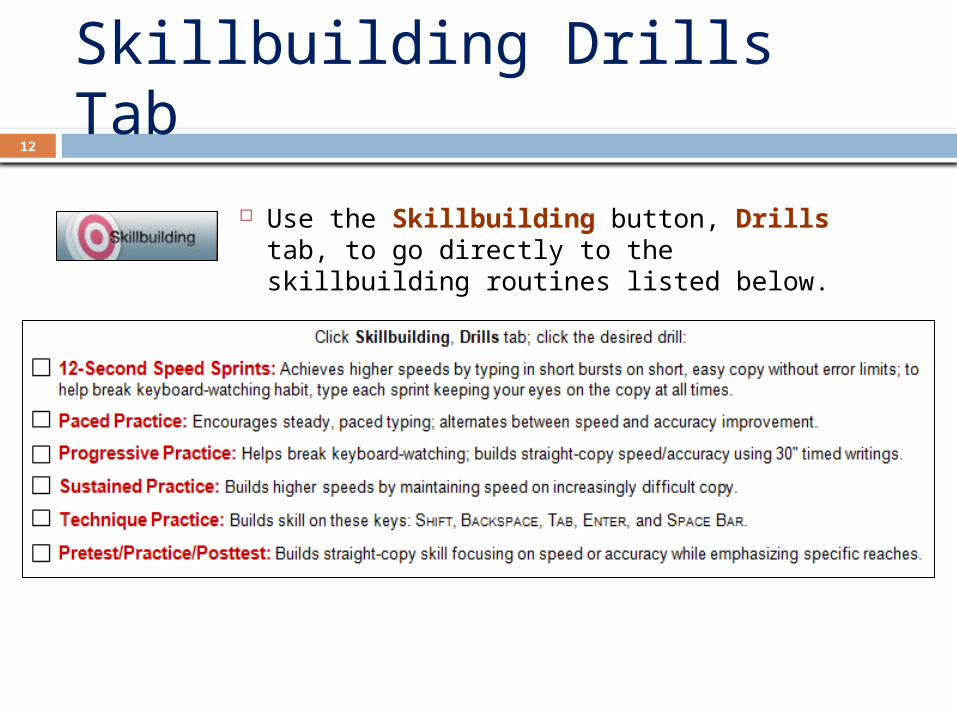
Use the Skillbuilding button, Drills tab, to go directly to the skillbuilding routines listed below.
Problematic Keys13
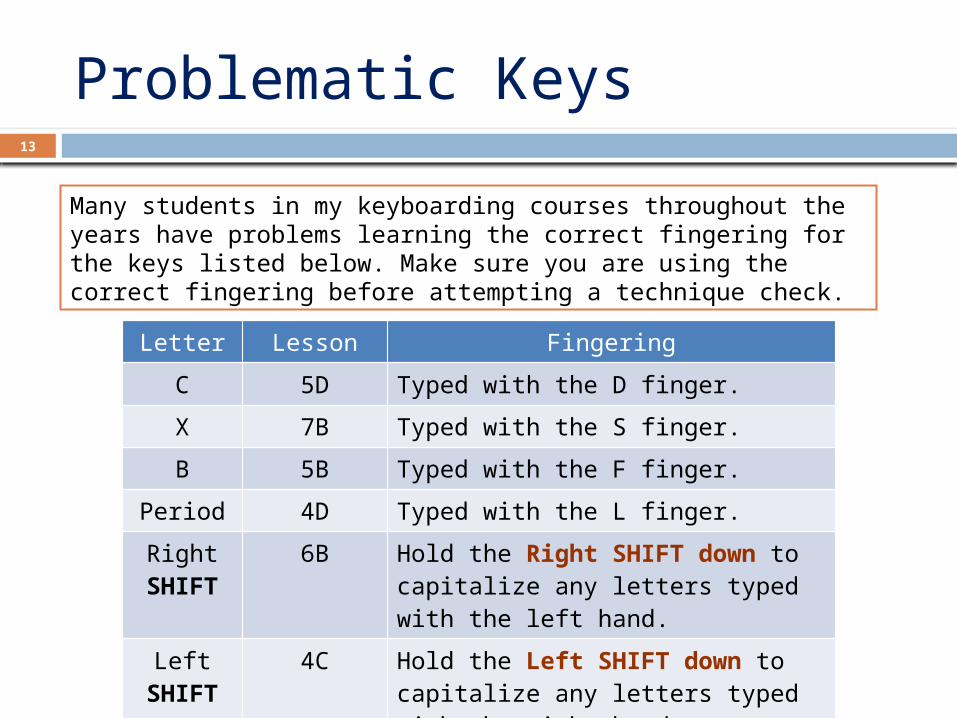
Letter Lesson Fingering
C 5D Typed with the D finger.
X 7B Typed with the S finger.
B 5B Typed with the F finger.
Period 4D Typed with the L finger.
Right SHIFT
6B Hold the Right SHIFT down to capitalize any letters typed with the left hand.
Left SHIFT
4C Hold the Left SHIFT down to capitalize any letters typed with the right hand.
Many students in my keyboarding courses throughout the years have problems learning the correct fingering for the keys listed below. Make sure you are using the correct fingering before attempting a technique check.

Press the TAB ( ) key and the ENTER ( ) key as shown in the boxed paragraph.
The copy includes all keystrokes from Lessons 1-10.
Preparation14
Download “Technique Check Copy” so you can practice typing the boxed paragraph and the BACKSPACE drill.
Practice keeping your eyes on the copy as much as possible, not on your hands.X
You do not have to type fast—just carefully, using good technique.
Do not correct errors as you type the paragraph copy. The BACKSPACE key will be observed separately. X
Press the BACKSPACE 1 time when you see the BACKSPACE sign; then type the next letter.

Keyboard Watching15
When Alex Hailey was asked what he would have done differently if he had
known that Roots would be so successful, he answered,
“I would have typed faster”!
Set a reasonable goal to reduce keyboard watching.
You will soon develop locational security and muscle memory and find that you are
typing faster and more accurately than ever before!
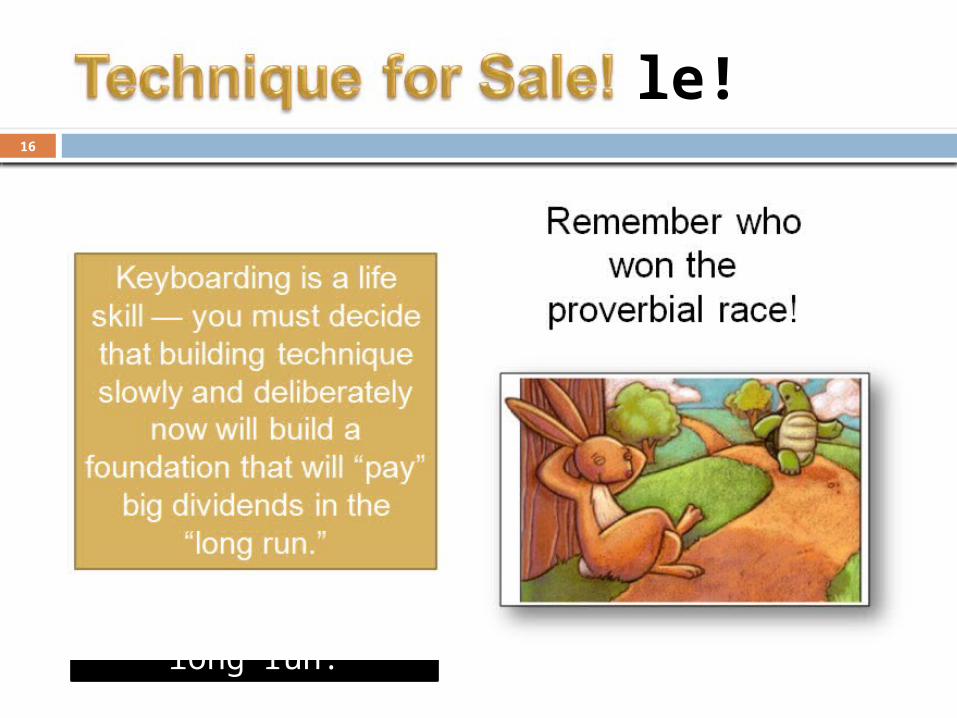
Technique for Sale!16
Keyboarding is a life skill — you must
decide that building technique slowly and deliberately now will build a foundation that will “pay” big dividends in the
“long run.”
Remember who won the
proverbial race!

Feedback?17
Happy keyboarding!
If you have any questions or comments regarding this presentation, please send
an e-mail:
Note: This presentation was created for use by instructors or students to serve as a possible model in a keyboarding course. Your specific course requirements may vary.