Embed Size (px)
Citation preview
USER GUIDEHIGH-SPEED HAND DRYER
Model: SH - H2
Bkav SmartHome technology company limited

USER GUIDEHIGH-SPEED HAND DRYER
SH - H2
Bkav SmartHome technology company limited
1Usage notice
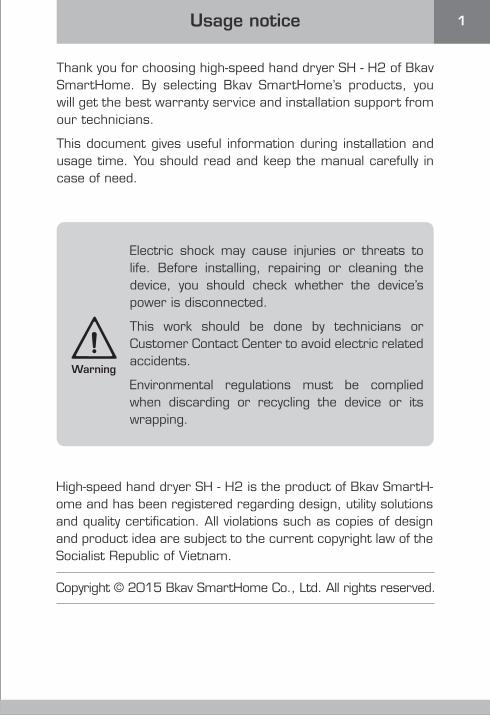
Thank you for choosing high-speed hand dryer SH - H2 of Bkav SmartHome. By selecting Bkav SmartHome’s products, you will get the best warranty service and installation support from our technicians.
This document gives useful information during installation and usage time. You should read and keep the manual carefully in case of need.
Copyright © 2015 Bkav SmartHome Co., Ltd. All rights reserved.
High-speed hand dryer SH - H2 is the product of Bkav SmartH-ome and has been registered regarding design, utility solutions and quality certification. All violations such as copies of design and product idea are subject to the current copyright law of the Socialist Republic of Vietnam.
Electric shock may cause injuries or threats to life. Before installing, repairing or cleaning the device, you should check whether the device’s power is disconnected.
This work should be done by technicians or Customer Contact Center to avoid electric related accidents.
Environmental regulations must be complied when discarding or recycling the device or its wrapping.
Warning
2 Safety instruction
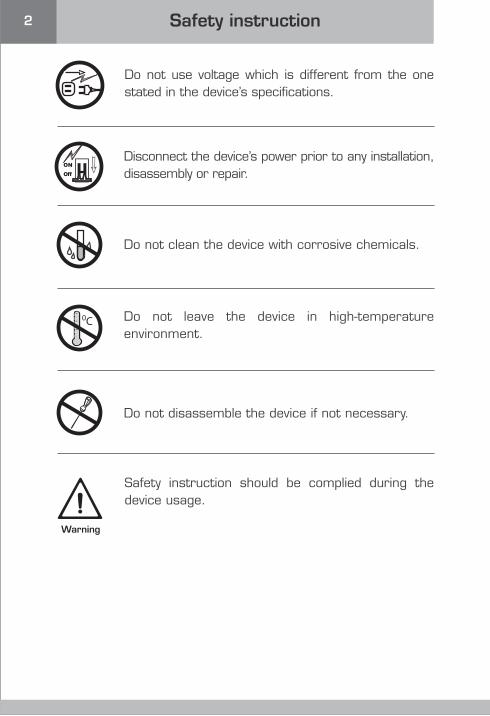
Safety instruction should be complied during the device usage.
Do not leave the device in high-temperature environment.
Do not disassemble the device if not necessary.
Disconnect the device’s power prior to any installation, disassembly or repair.
Do not clean the device with corrosive chemicals.
0C
Do not use voltage which is different from the one stated in the device’s specifications.
Warning

3Table of contents
123444667889
11111212131314141516
Usage noticeSafety instructionTable of contentsIntroduction General introduction Product package Specifications Sensing range ComponentsInstallation Installation dimensions Installation stepsSet up the device Set up operation mode Check operation of power switch Check operation modes of the deviceUsage instruction How to use the deviceMaintenance Maintenance during use Operation cycleProblem and Solution

4 IntroductionGeneral introduction
SH - H2
Product package
User guide (book)
High-speed hand dryer SH - H2 uses infrared sensor technology and high-pressure airflow technology to make the drying time 4 - 5 times faster than conventional hand dryers.
The device has many flexible operation modes and is easy to install. Air output temperature can be changed smartly to bring the comfort to its users.
With modern and luxurious design, the device is suitable for hotels, commercial centers, airports, railway stations, public restrooms, etc.
USER GUIDEHIGH-SPEED HAND DRYER
Model: SH - H2
Bkav SmartHome technology company limited

5
6 sets of screws and anchors
Notice
Please check to ensure that all accessories are attached to the device. If there is any missing accessory, please contact the shop from which you purchased.
Mounting bracket

6
Specifications
100-240V 50/60HzVoltage
Electric shock protection
COMFORTABLE: 820W
Power standby Ps = 2W
Operating temperature
COOL: 315W
Class 2
Dimensions
600C max
186 x 276 x 246 mm
Weight 3.6 kg
Power consumption
IPX1IP standard
HOT: 820W
Sensing range
150 mm
150 mm

The device’s front
The device’s back
Mounting bracket Power output:
With 2 outputs designed for the power cable, users can choose the suitable output for installation.
The device’s bottom
Screw hole
Power switch
Air outlet
Sensor eye
Mode button
Air inlet
Indicator lightThe indicator light’s color displays the operation status of the device.
Red Orange Green
- Hot- Comfortable- Cool
Colors of indicator light:
Components
7
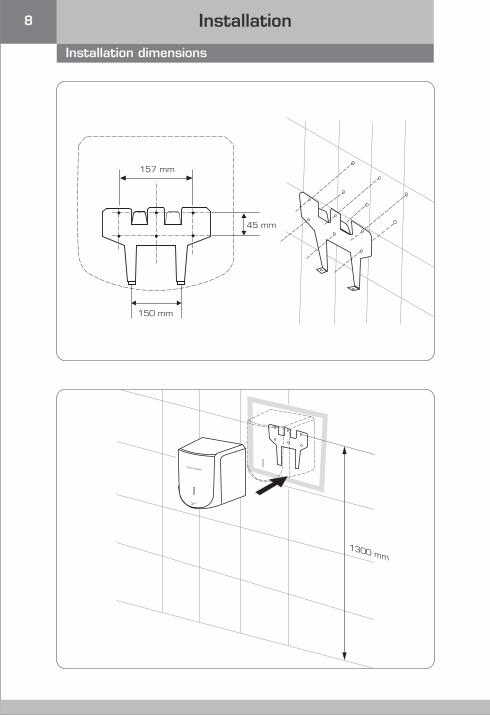
8 InstallationInstallation dimensions
1300 mm
157 mm
45 mm
150 mm

9
Installation steps
Step 1: Drill screw holes and fix the mounting bracket.
Step 2: Move the device towards the mounting bracket based on the arrow’s direction.
10
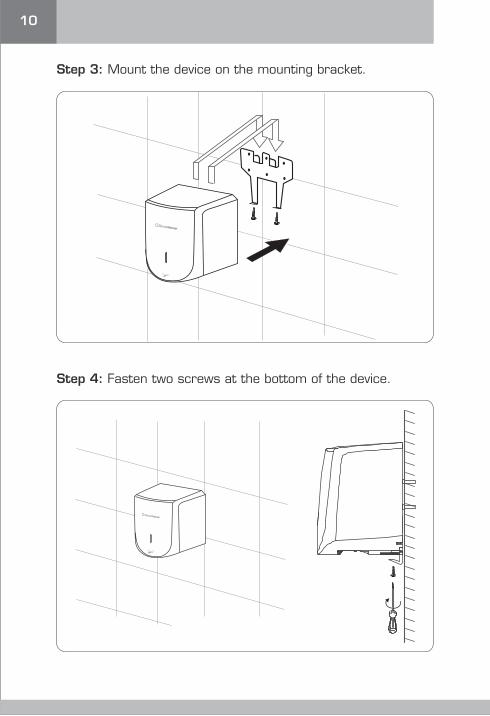
Step 3: Mount the device on the mounting bracket.
Step 4: Fasten two screws at the bottom of the device.

11
Set up operation modes
Set up the device
Note
In Hot mode, the indicator light turns red.In Comfortable mode, the indicator light turns orange.In Cool mode, the indicator light turns green.Press the mode button to switch operation modes based on instruction.
Turn the device on
(ON)
Turn the device off
(OFF)
HotComfortableCool
HotComfortableCool
HotComfortableCool
HotComfortableCool
HotComfortableCool

When selecting Cool mode, check whether the indicator light turns green and the air flow is cool.
Check operation of power switch
Check operation modes of the device
12
Warning
The device’s operation should be double-checked after completing installation steps.
Turn the power switch on to check whether the indicator light is on and air outlet starts to operate when putting hands into the sensor area.
(ON)
When selecting Hot mode, check whether the indicator light turns red and the air flow is hot.
HotComfortableCool
When selecting Comfortable mode, check whether the indicator light turns orange and the air flow is warm.
HotComfortableCool
HotComfortableCool
Do not turn on the power switch repeatedly to avoid damage to the device.
Warning

13Usage instructionHow to use the device
Notice
The device will turn off automatically after operating continuously for 3 minutes. If you want to keep using the device, remove your hands from the device and put it back below the air outlet.
Step 1: Open your palms and put below the air outlet of the device.
Step 2: Put your palms down towards the air outlet of the device.
Step 3: Slightly rub your hands together to dry hands.
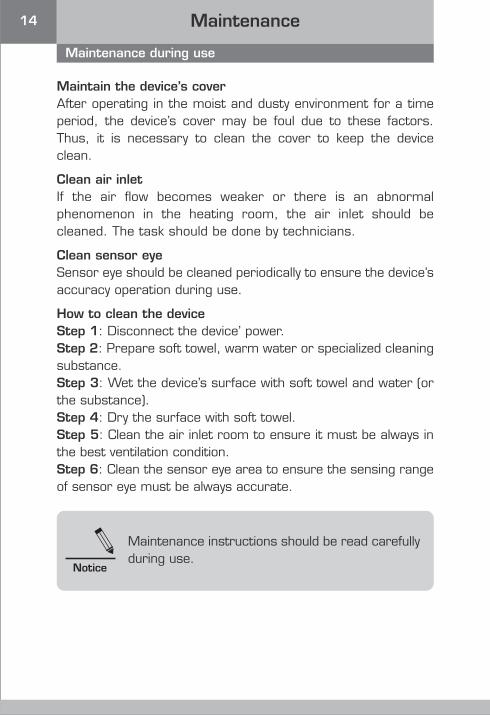
14 MaintenanceMaintenance during use
Maintenance instructions should be read carefully during use.
Notice
Maintain the device’s coverAfter operating in the moist and dusty environment for a time period, the device’s cover may be foul due to these factors. Thus, it is necessary to clean the cover to keep the device clean.
Clean air inletIf the air flow becomes weaker or there is an abnormal phenomenon in the heating room, the air inlet should be cleaned. The task should be done by technicians.
Clean sensor eyeSensor eye should be cleaned periodically to ensure the device’s accuracy operation during use.
How to clean the deviceStep 1: Disconnect the device’ power.Step 2: Prepare soft towel, warm water or specialized cleaning substance.Step 3: Wet the device’s surface with soft towel and water (or the substance).Step 4: Dry the surface with soft towel.Step 5: Clean the air inlet room to ensure it must be always in the best ventilation condition.Step 6: Clean the sensor eye area to ensure the sensing range of sensor eye must be always accurate.

15
Operation cycle
Notice
In Hot mode, the air output temperature is the highest.In Comfortable mode, the air output temperature is warm.The device will automatically turn off when operation time or temperature exceeds the permitted value.
Start
Yes
NoDetect user(s)
FalseTrue
< 3 minutes
>= 3 minutes
The deviceoperates
Stop operation
Stop operation
Operation time
Check whetherto remove hands from
the sensor area

16 Problem and Solution
The indicator light flashes but the device does not operate.
Check whether there is any obstruction in the sensor area and clean the sensor eye.
1
The device does not operate, the indica-tor light is not on.
Check power connection to the device and whether the power switch is turned on.
2
The device operates when there is no user.
Check whether there is any obstruction in the sensor area and clean the sensor eye.
3
Other unusual phenomena.
Please contact Customer Contact Center.
4
Customer Contact Center: (+1) 202 386 6779Email: [email protected]
If there is any problem related to the product, please contact Customer Contact Center:
Notice
Before contacting Customer Contact Center, please double-check the above information to solve the problem.If you need any support, please contact Customer Contact Center or the nearest shop.You should note the serial number on the product before calling Customer Contact Center since the warranty staff will need such information.
No. Problem Solution

The new home standard !

www.smar thome .bka v. com
All rights reserved.Copyright © 2015 Bkav SmartHome Co., Ltd.
UGH2/V4.1/0715
893604393UGH2Mfr Code: