Embed Size (px)
Citation preview
2 Ways to Mass Rename Pictures&
Compress Pictures inMicrosoft Office Picture Manager
Created by Josh Ziegler

Mass File Rename in Windows Explorer:Locate Pictures and Select Pictures, then right Click and Select ‘Rename’.
Type the name you want. See Next Slide.
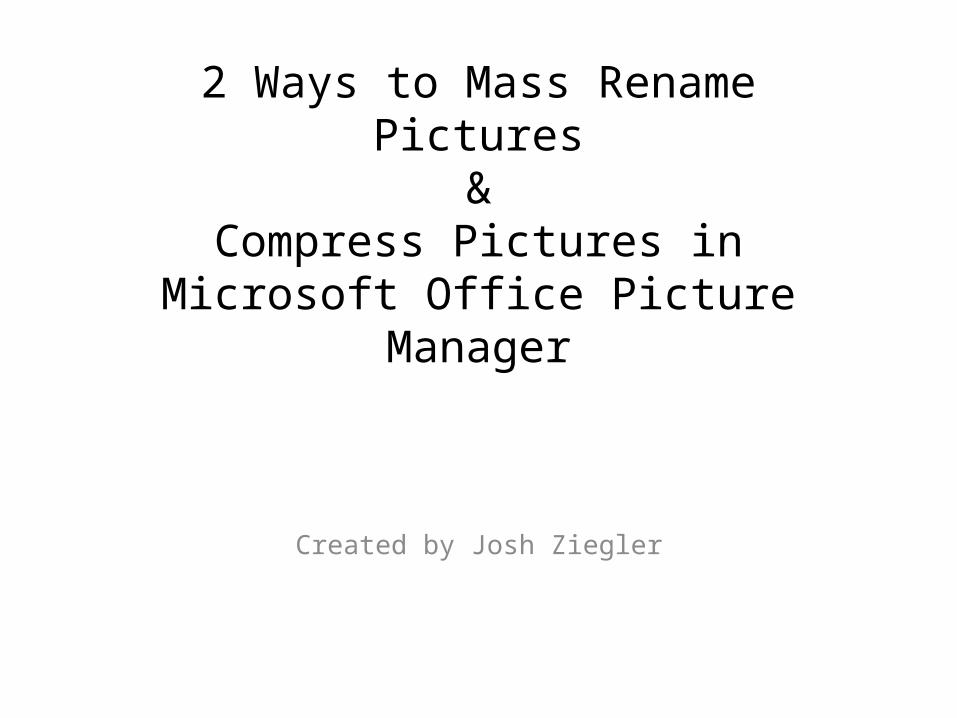
It will auto rename each file with a corresponding number as seen below.

Mass Rename in Office Picture Manager:
• Microsoft Office Picture Manager can be located in “Start -> All Programs -> Microsoft Office -> Microsoft Office 2010 Tools -> Microsoft Office Picture Manager”
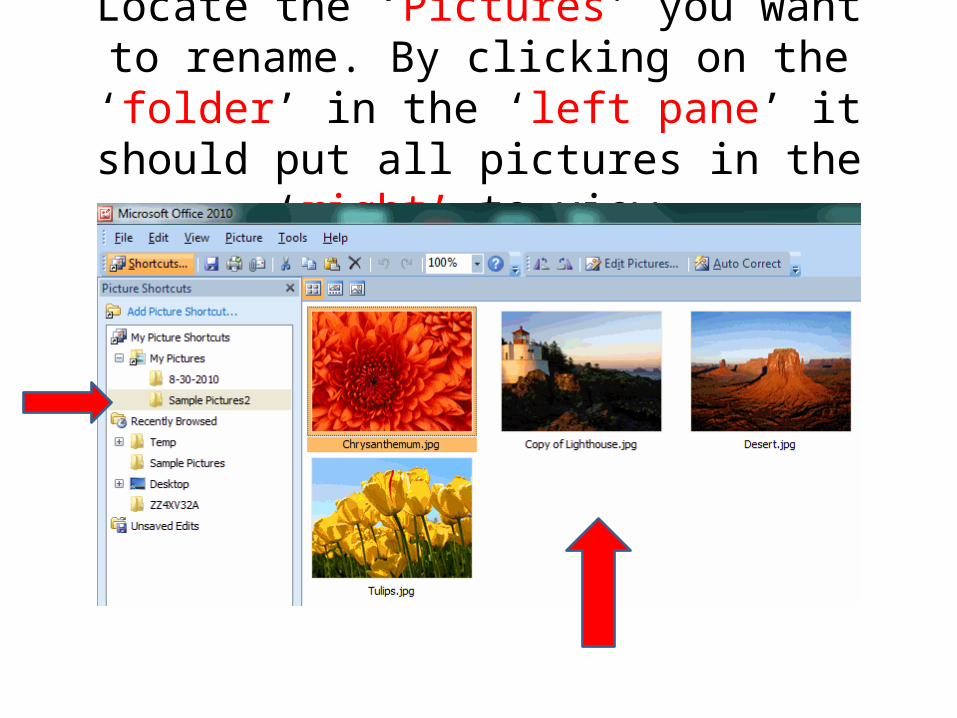
Locate the ‘Pictures’ you want to rename. By clicking on the ‘folder’ in the ‘left pane’ it should
put all pictures in the ‘right’ to view.

Highlight all pictures. Right click on a picture and select ‘Rename’. A Rename box on the right side will open with rename options.

Change the File Name.Add Numbers.
Look at preview for files.Then Click ‘Ok’.
Then the file rename is complete.

Compress Pictures in Microsoft Office Picture Manager:Locate the ‘Pictures’ you want to compress. By clicking on the
‘folder’ in the ‘left pane’ it should put all pictures in the ‘right’ to view.
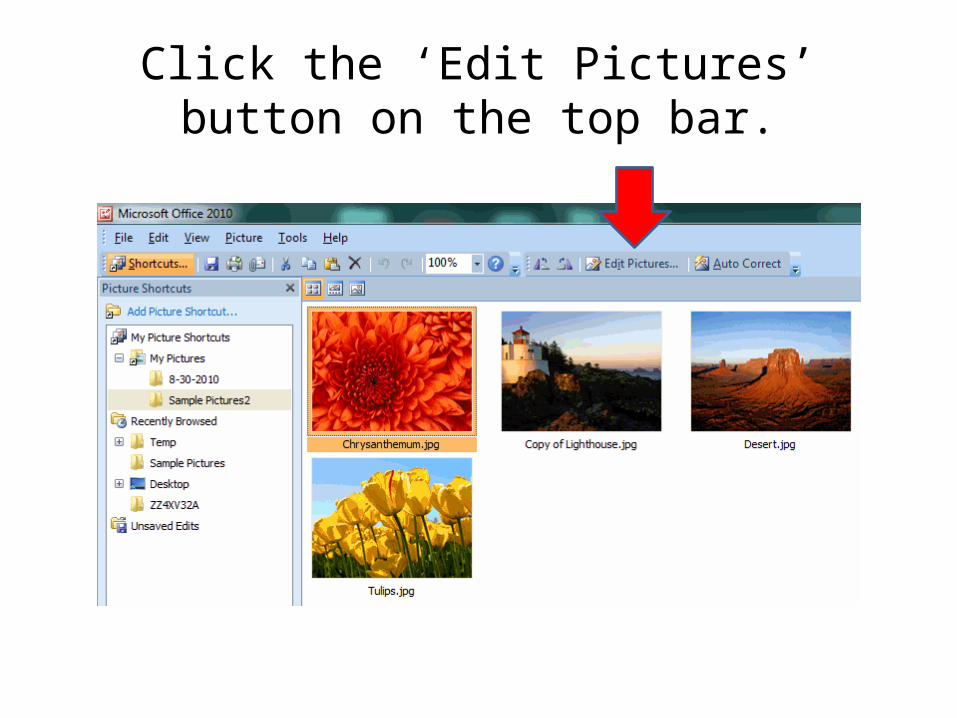
Click the ‘Edit Pictures’ button on the top bar.

A side panel will appear on the right.Select ‘All Pictures’ you want to compress.
It will say how many are ‘selected’. Then click ‘Compress Pictures’.
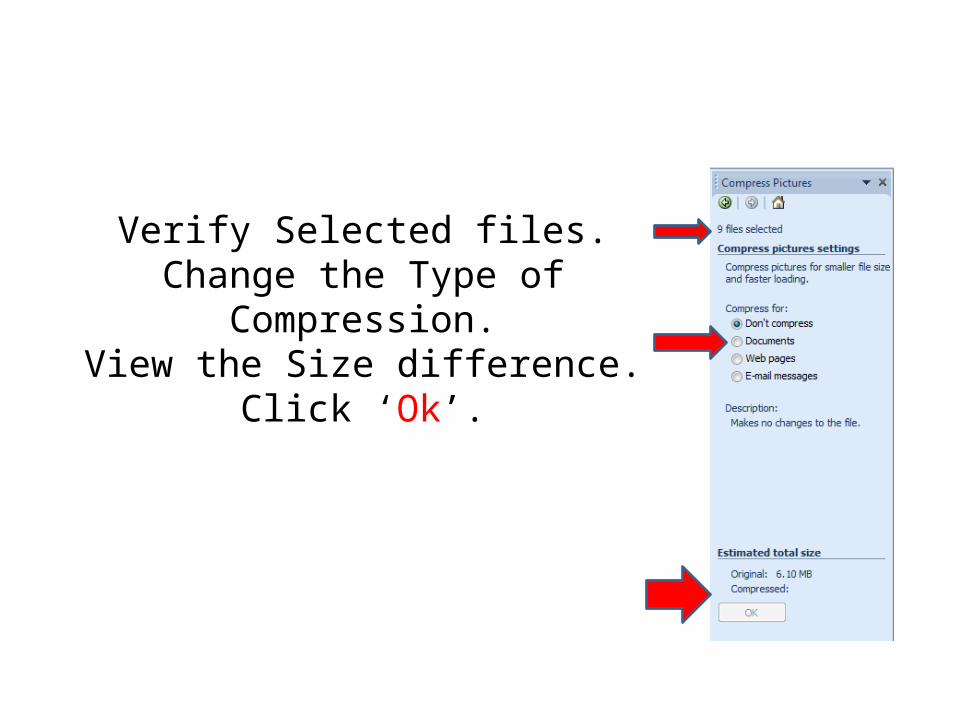
Verify Selected files.Change the Type of Compression.
View the Size difference.Click ‘Ok’.

You can now right click on the files and ‘Send To’ Microsoft Office for
Outlook or PowerPoint, Etc.