Embed Size (px)
Citation preview
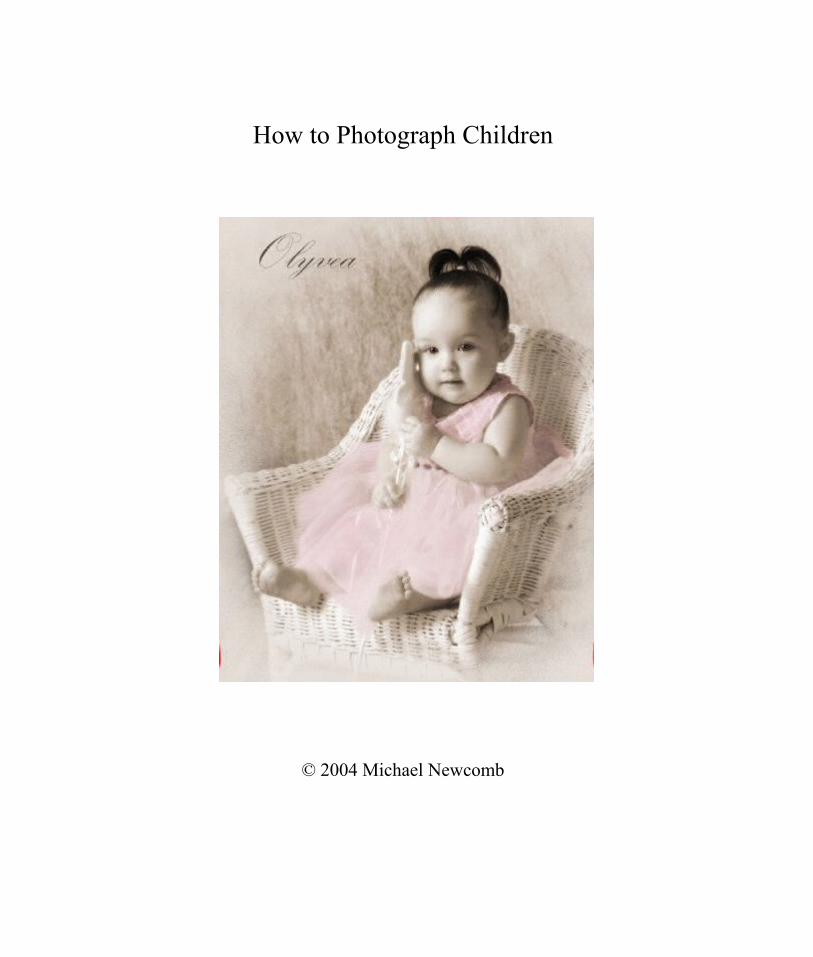
How to Photograph Children
© 2004 Michael Newcomb
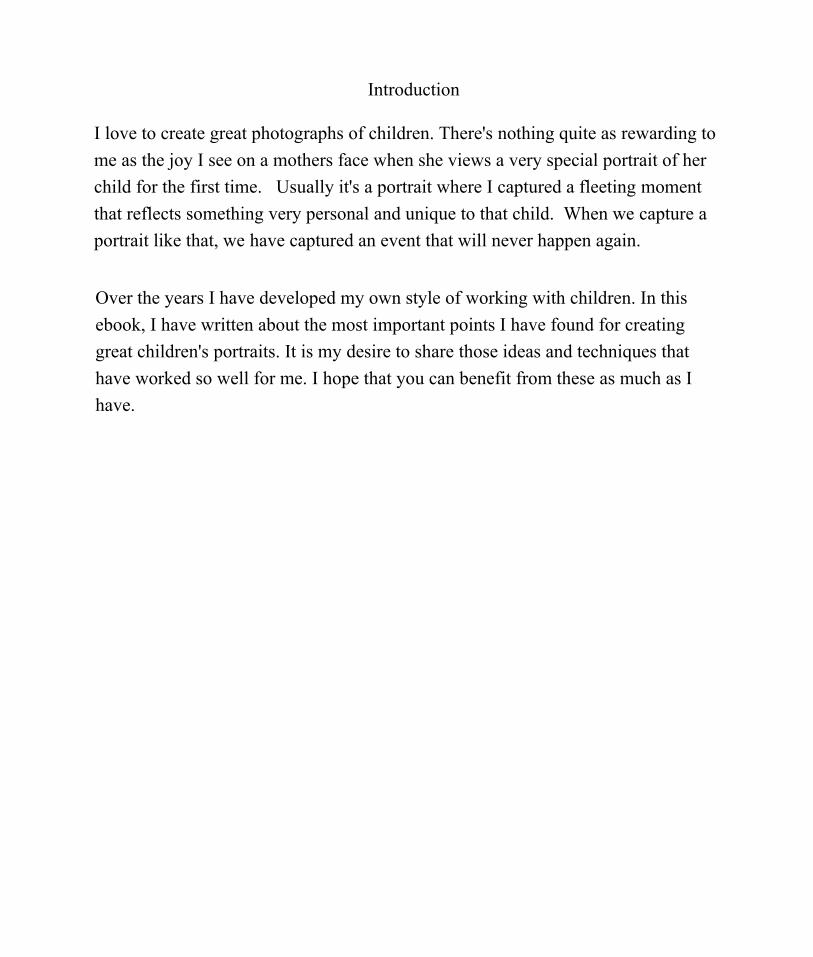
Introduction
I love to create great photographs of children. There's nothing quite as rewarding to me as the joy I see on a mothers face when she views a very special portrait of her child for the first time. Usually it's a portrait where I captured a fleeting moment that reflects something very personal and unique to that child. When we capture a portrait like that, we have captured an event that will never happen again.
Over the years I have developed my own style of working with children. In this ebook, I have written about the most important points I have found for creating great children's portraits. It is my desire to share those ideas and techniques that have worked so well for me. I hope that you can benefit from these as much as I have.
How to Photograph Children
CreateVisual Impact
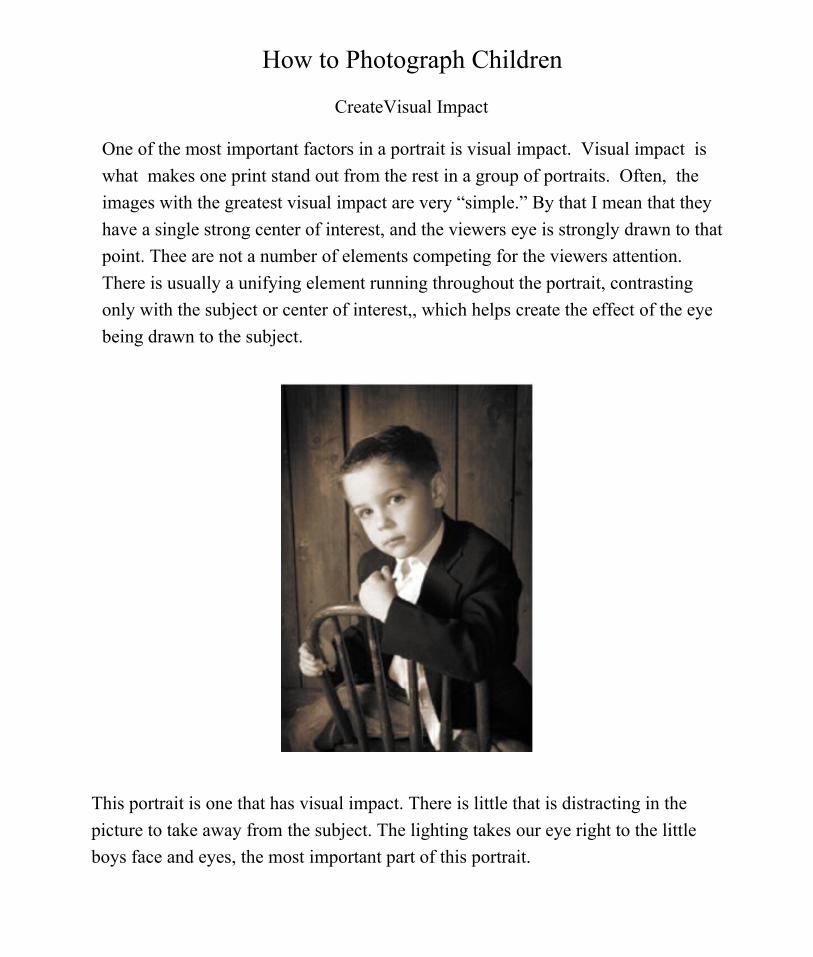
This portrait is one that has visual impact. There is little that is distracting in the picture to take away from the subject. The lighting takes our eye right to the little boys face and eyes, the most important part of this portrait.
One of the most important factors in a portrait is visual impact. Visual impact is what makes one print stand out from the rest in a group of portraits. Often, the images with the greatest visual impact are very “simple.” By that I mean that they have a single strong center of interest, and the viewers eye is strongly drawn to that point. Thee are not a number of elements competing for the viewers attention. There is usually a unifying element running throughout the portrait, contrasting only with the subject or center of interest,, which helps create the effect of the eye being drawn to the subject.
Portraits with Visual Impact jump out at you when you first see them . If grouped with other prints of the same size they stand out more. They are the one’s you remember. There are things that we can do to photographs after they are taken and printed that will help with the visual impact, but we have to start with a portrait that stands on it’s own merit initially.
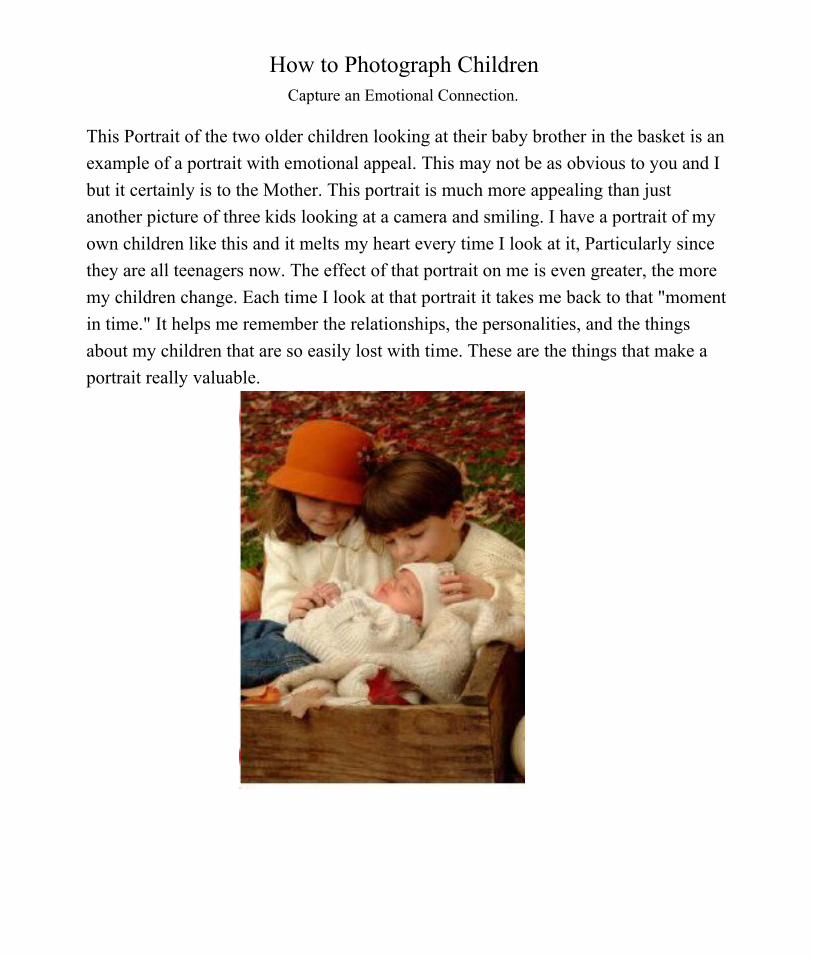
This Portrait of the two older children looking at their baby brother in the basket is an example of a portrait with emotional appeal. This may not be as obvious to you and I but it certainly is to the Mother. This portrait is much more appealing than just another picture of three kids looking at a camera and smiling. I have a portrait of my own children like this and it melts my heart every time I look at it, Particularly since they are all teenagers now. The effect of that portrait on me is even greater, the more my children change. Each time I look at that portrait it takes me back to that "moment in time." It helps me remember the relationships, the personalities, and the things about my children that are so easily lost with time. These are the things that make a portrait really valuable.
How to Photograph Children Capture an Emotional Connection.
How to Photograph Children
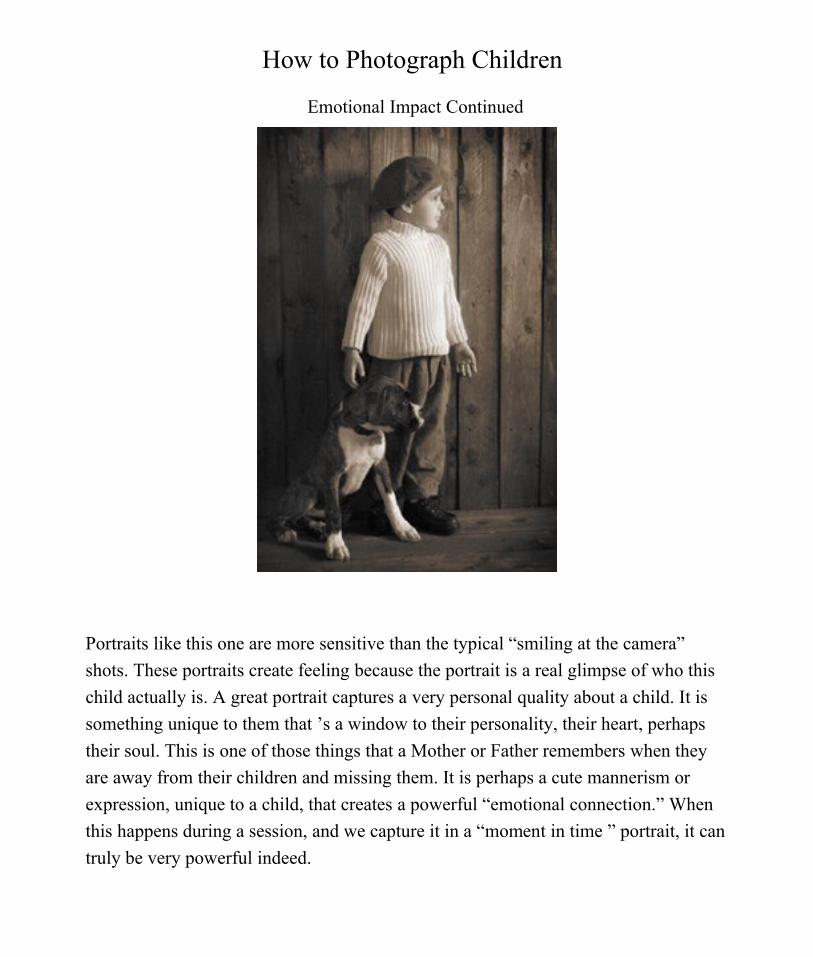
Emotional Impact Continued
Portraits like this one are more sensitive than the typical “smiling at the camera” shots. These portraits create feeling because the portrait is a real glimpse of who this child actually is. A great portrait captures a very personal quality about a child. It is something unique to them that ’s a window to their personality, their heart, perhaps their soul. This is one of those things that a Mother or Father remembers when they are away from their children and missing them. It is perhaps a cute mannerism or expression, unique to a child, that creates a powerful “emotional connection.” When this happens during a session, and we capture it in a “moment in time ” portrait, it can truly be very powerful indeed.
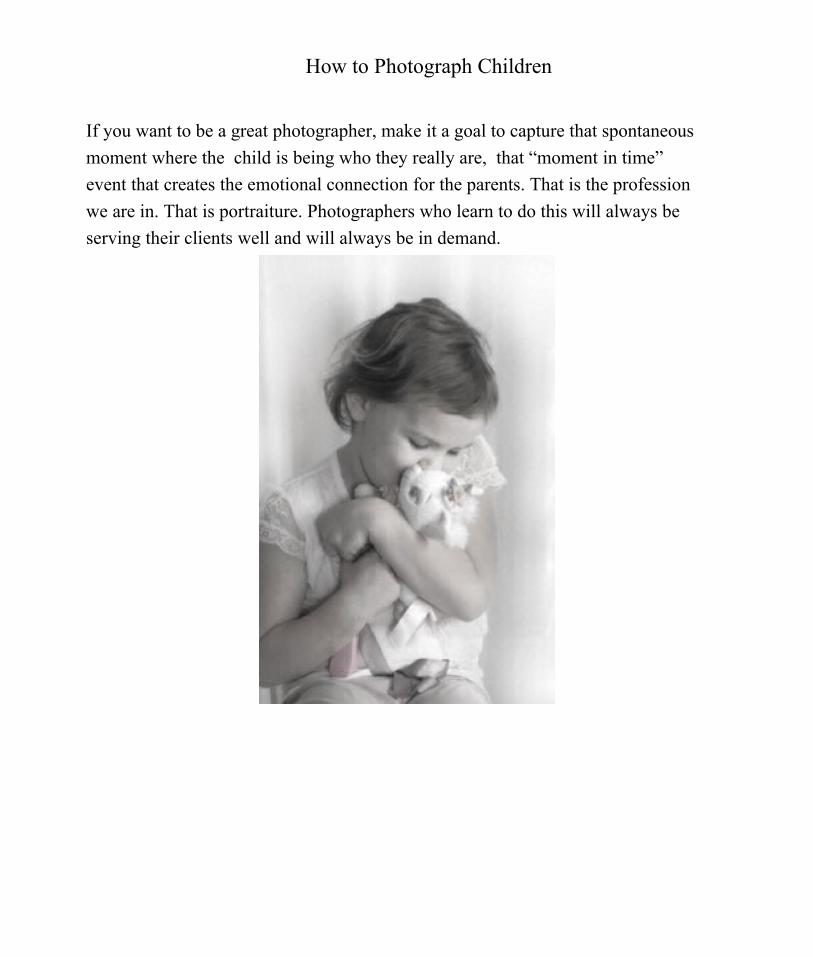
If you want to be a great photographer, make it a goal to capture that spontaneous moment where the child is being who they really are, that “moment in time” event that creates the emotional connection for the parents. That is the profession we are in. That is portraiture. Photographers who learn to do this will always be serving their clients well and will always be in demand.
How to Photograph Children
How to Photograph Children
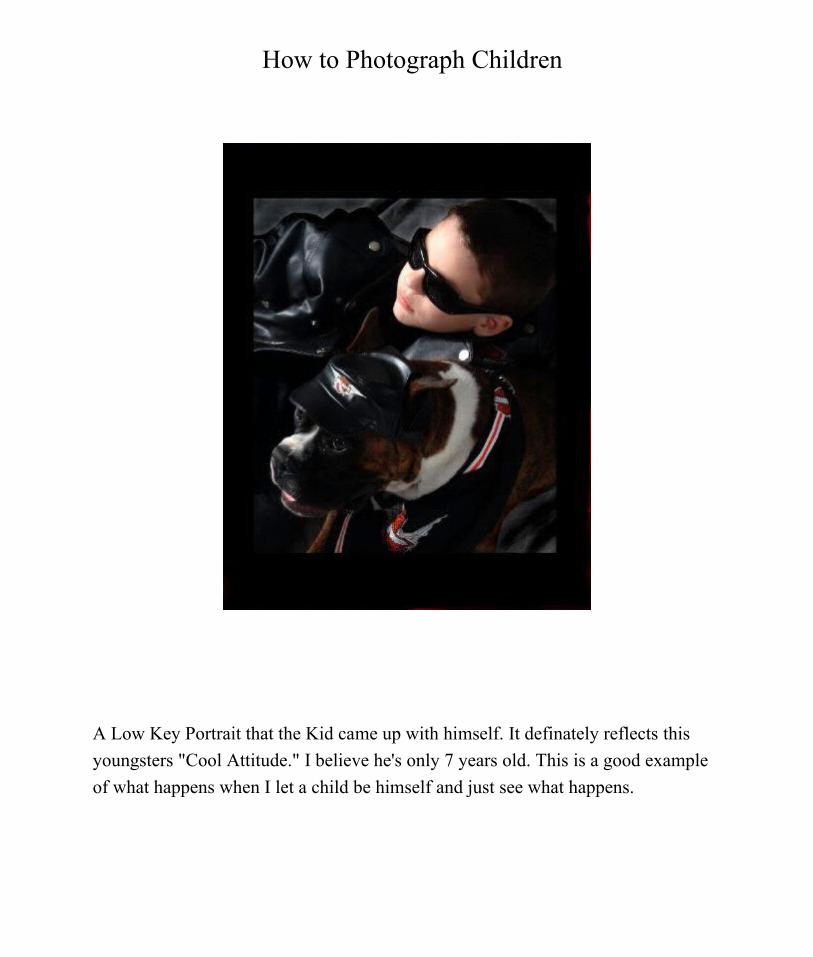
A Low Key Portrait that the Kid came up with himself. It definately reflects this youngsters "Cool Attitude." I believe he's only 7 years old. This is a good example of what happens when I let a child be himself and just see what happens.
How to Photograph Children
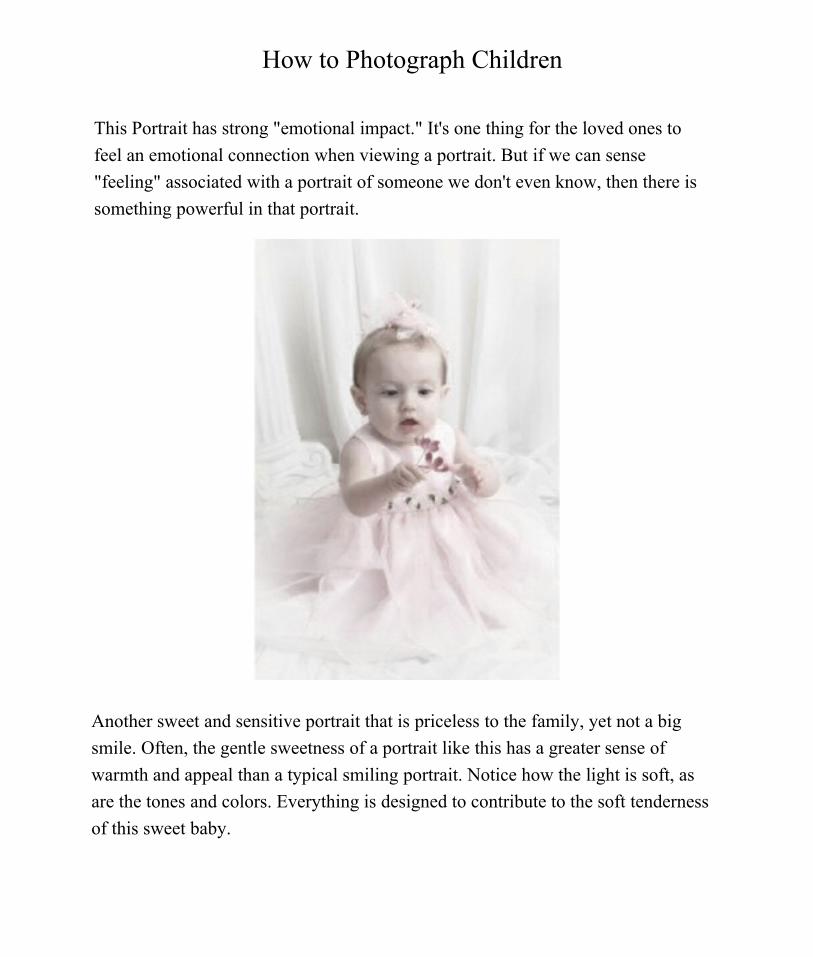
This Portrait has strong "emotional impact." It's one thing for the loved ones to feel an emotional connection when viewing a portrait. But if we can sense "feeling" associated with a portrait of someone we don't even know, then there is something powerful in that portrait.
Another sweet and sensitive portrait that is priceless to the family, yet not a big smile. Often, the gentle sweetness of a portrait like this has a greater sense of warmth and appeal than a typical smiling portrait. Notice how the light is soft, as are the tones and colors. Everything is designed to contribute to the soft tenderness of this sweet baby.
How to Photograph Children
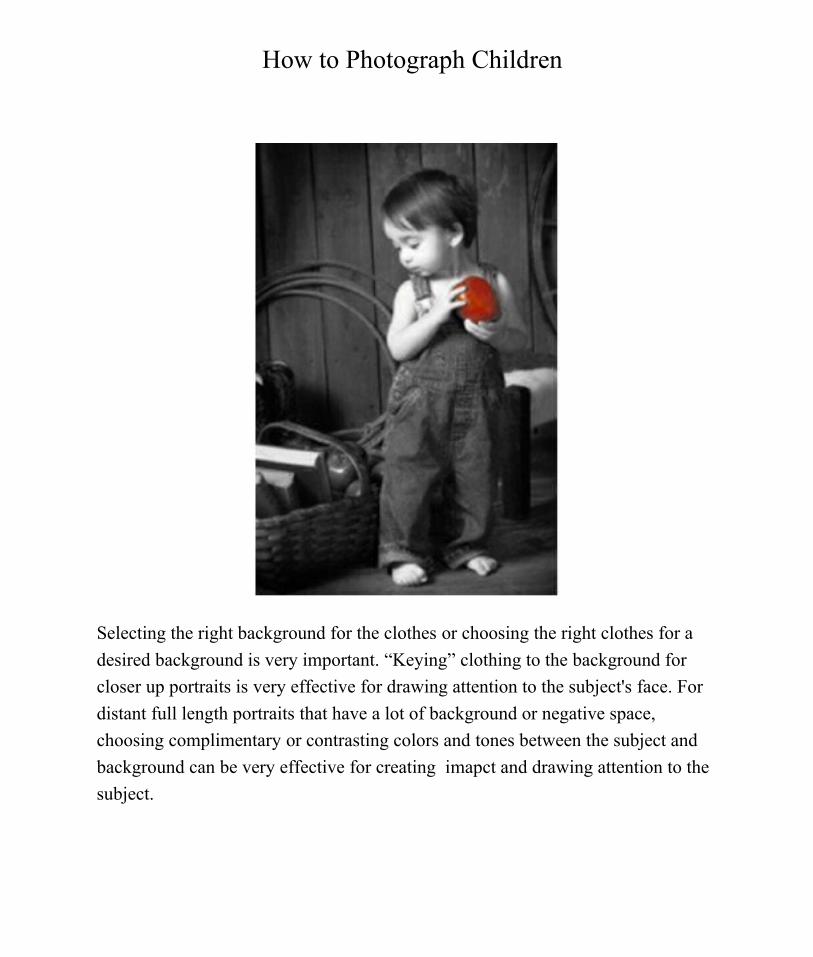
Selecting the right background for the clothes or choosing the right clothes for a desired background is very important. “Keying” clothing to the background for closer up portraits is very effective for drawing attention to the subject's face. For distant full length portraits that have a lot of background or negative space, choosing complimentary or contrasting colors and tones between the subject and background can be very effective for creating imapct and drawing attention to the subject.
Clothes should always (or almost always) be solid colors,and similar if not identical in tone. Since the eye goes to the area of greatest contrast in a portrait, any pattern or stripe in the clothing is going to draw the eye to it. It is a big distraction. Any unnecessary distraction in a portrait should be eliminated. Contrast should be in the most important areas of the portrait. That is why I like to use fairly contrasty lighting on the subject, but nowhere else in the portrait, unless of course any other areas of the print are secondary subjects or otherwise important to the subject.
We all have heard that rules are made to be broken. Of course there are always exceptions to rules, But if you are going to break rules, this should be a design decision. Taking a portrait of a farmer in his overalls and a flannel shirt is probably the best way to photograph him in his environment. These are important symbols in this farmer’s life and culture. They are part of him. Likewise, if we were doing a portrait of this grandpa ’s grandchild and doing a farm setting, it would be appropriate to use a bright colored print shirt that fit the farm culture.
If we were photographing someone from a culture that traditionally utilizes a lot of bright colors in their clothing and decor, we should consider the importance of these elements of their culture in planning for that portrait. Certainly the bright colors used in a portrait background and clothing distract from the face in terms of contrast and tone, but the story may be incomplete without them . Ultimately, in the finishing of the print, tone control can be done in the darkroom, or digitally, or even in finishing on the print surface.
How to Photograph Children
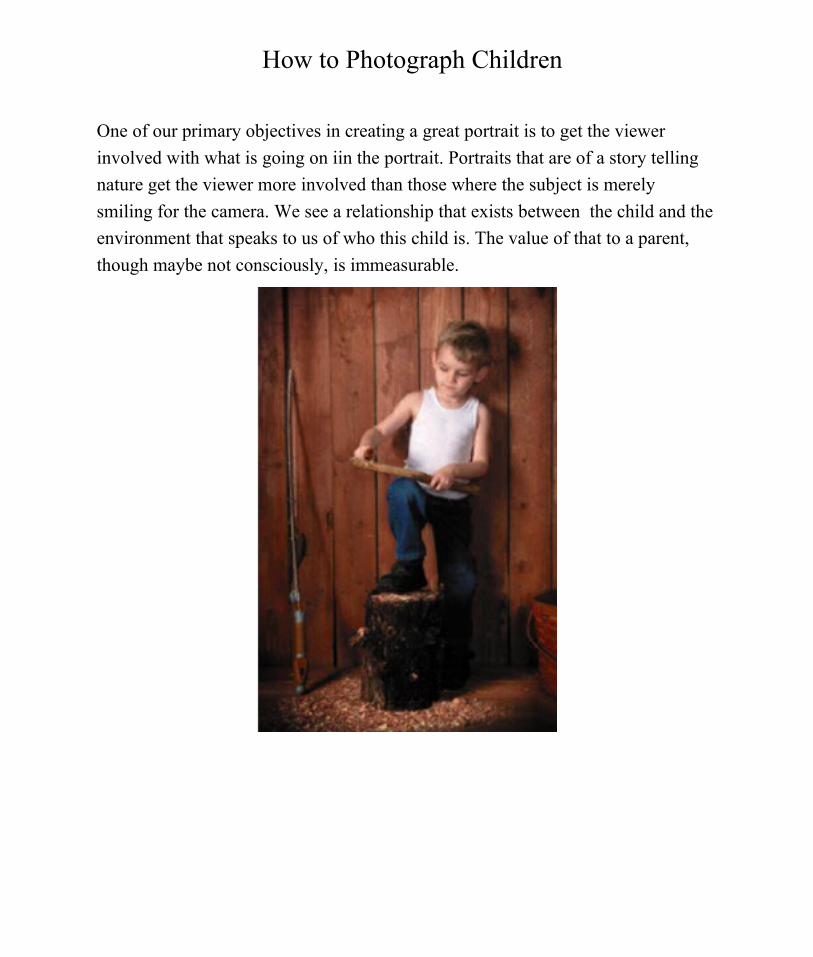
One of our primary objectives in creating a great portrait is to get the viewer involved with what is going on iin the portrait. Portraits that are of a story telling nature get the viewer more involved than those where the subject is merely smiling for the camera. We see a relationship that exists between the child and the environment that speaks to us of who this child is. The value of that to a parent, though maybe not consciously, is immeasurable.
How to Photograph Children
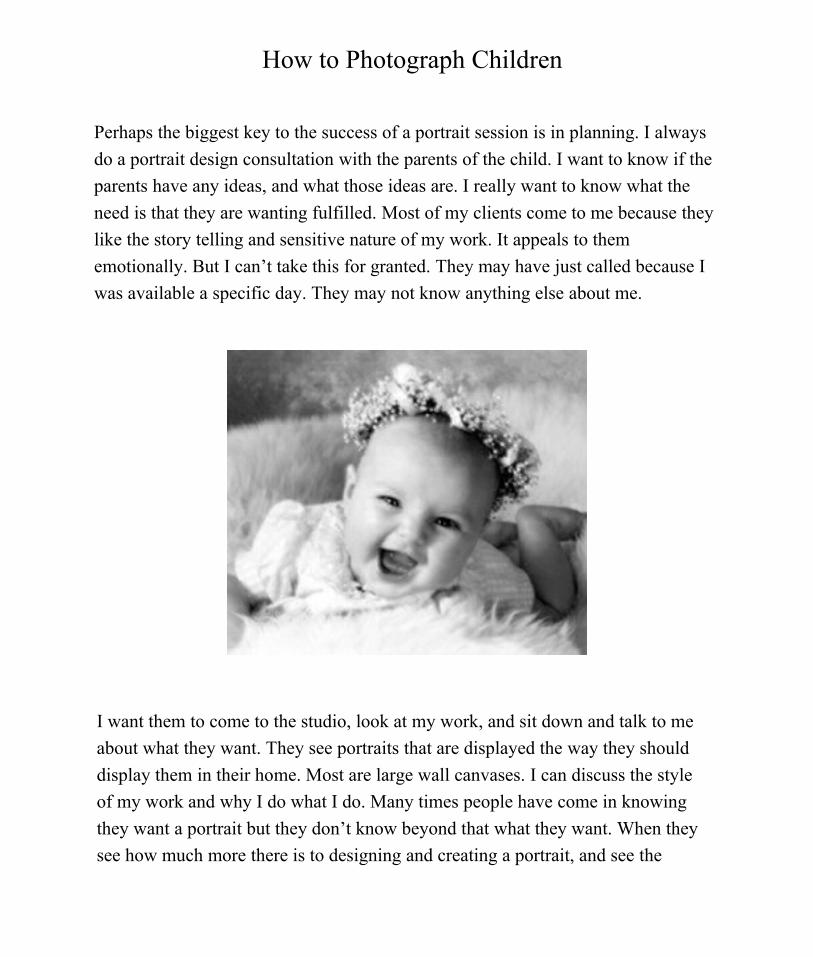
Perhaps the biggest key to the success of a portrait session is in planning. I always do a portrait design consultation with the parents of the child. I want to know if the parents have any ideas, and what those ideas are. I really want to know what the need is that they are wanting fulfilled. Most of my clients come to me because they like the story telling and sensitive nature of my work. It appeals to them emotionally. But I can’t take this for granted. They may have just called because I was available a specific day. They may not know anything else about me.
I want them to come to the studio, look at my work, and sit down and talk to me about what they want. They see portraits that are displayed the way they should display them in their home. Most are large wall canvases. I can discuss the style of my work and why I do what I do. Many times people have come in knowing they want a portrait but they don’t know beyond that what they want. When they see how much more there is to designing and creating a portrait, and see the
A Pro’s Secrets
After talking about my style of photography, allowing the client to look around the studio at my displays, and listening for what they are initially looking for, I begin asking questions about what the child likes to do. I listen for memorable things that stand out to the parents and things that the family likes to do together. From this discussion we will find a theme to design the portrait around.
Here are some ideas I might use for a portrait based on an individuals interests.
● Skateboarding
● BMX bike racing
● Fishing
● Sidewalk Chalk drawing
● Sports
● Art
Anything like this can be turned into a great portrait idea.
When I was first starting out, I would often do a sketch of a portrait idea to help prepare myself before the session. I would usually end up with four or five different starting ideas to work from within one session. This may be helpful to you if you need to feel more confident before a session. It also helps in considering the different factors like clothing colors and props.
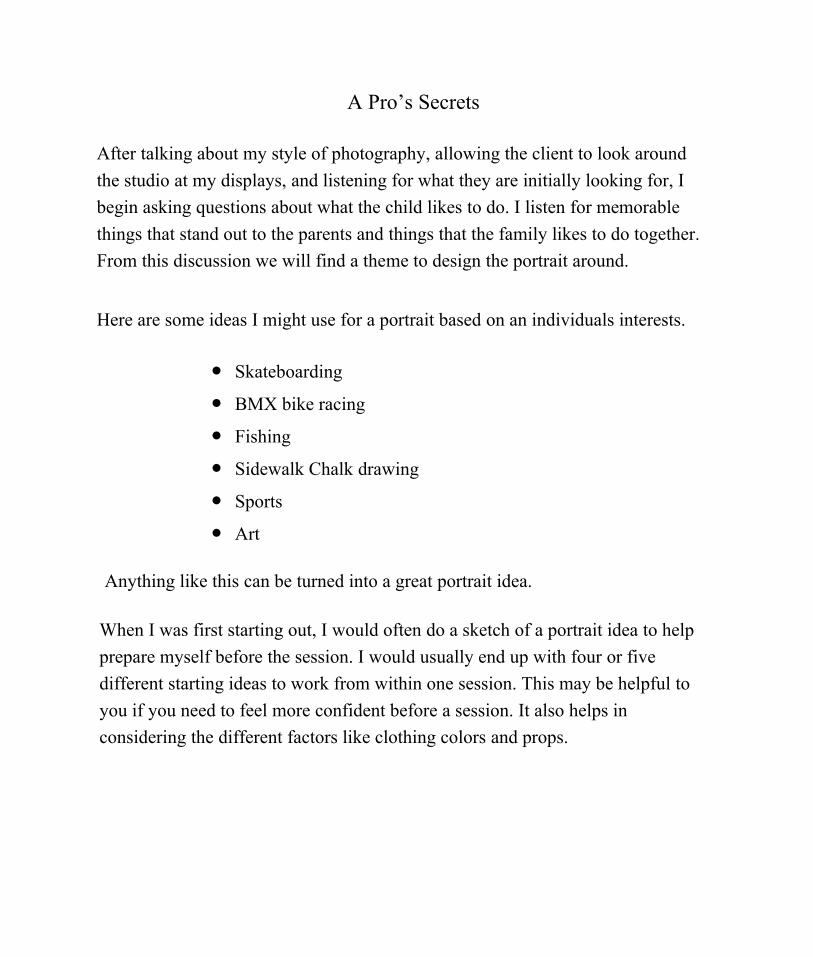
If we were going to the park, I would recommend jeans and solid colored sweaters of medium to darker tones. I always point out examples of good clothing choices at this point. I also explain why these are good. I explain how we want our eye to go to the individuals face on closer ups, not to their clothes. If I ’m photographing a group of kids or a family, I explain how important it is for everyone to wear the same color sweaters or shirts. I show examples of some bad choices, and what happens if one person wears white in a low-key portrait where everyone else is wearing dark against a dark background. The light goes on when I point out how that individual stands out from the rest.
We will decide whether to do the portrait in the studio, somewhere outdoors, or at the client ’s home. Regardless of where we decide to do the portrait, I will then discuss ideas for clothes that will work well for the setting. As I mentioned earlier, I recommend solid colors and tones similar to what will be in the background. If we are going to the beach I might recommend white clothes and bare foot. Story ideas might include building a sandcastle, running into the waves, running along the beach with the dog, etc.
How to Photograph Children
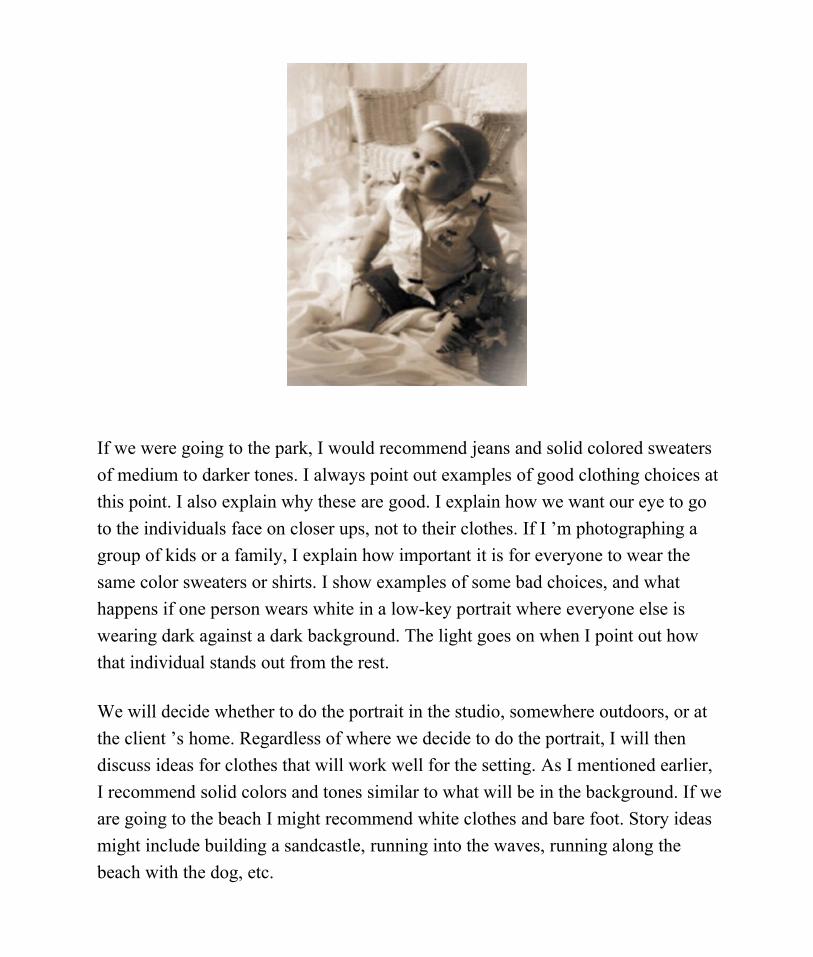
The Portrait Design Consultation continued
With young children it's important to plan the session for the time of day that is best for them , and then be flexible. I still frequently reschedule a session if the baby isn't doing well at that time. I am always happy to do that because I know the results will be far better if I have the child in a good mood.

How to Photograph Children
About Light
It ’s Quality not just Quantity
Beyond having enough light for the exposure, the most important aspect of lighting has to do with quality rather than quantity. Beyond the basic exposure, it is not about whether there is enough light but rather how soft, hard, flat, directional, and how contrasty the light is.
Sunlight or any light from a small source is “hard.” it creates a distinct sharp shadow edge. Soft light occurs when, as on a hazy or lightly overcast day, a larger area of the sky becomes the actual light source, not just the sun. It is a relatively larger light source than the sun and creates a softer, less defined, less focused shadow edge. Generally we want light that is soft rather than hard. The larger the light source, in relationship to the subject, the softer the light.
My favorite time of day to shoot portraits is at dusk, right after the sun is past the horizon but while there is still enough light in the sky to get a good exposure. This may only last for twenty to thirty minutes. This is very nice light because the entire sky is the light source. The light is not Too flat though as it is still brighter from one side than the other.
The quality of the light in a portrait is an important part of the design of the portrait for me. If I am doing a family portrait that will be a large wall portrait, I always go see the location a day or two before the session at the exact time that I will shoot, just so I know the light will be what I want.
How to Photograph Children What to Tell the Parents Not to Do!.
What if Mom demands a smile? Never tell them to smile. I try to never tell people to smile, especially children. A smile is a reaction. If you can’t play with the child and get a smile, perhaps family members who are present can. Here again, this has only been an issue for me when I set myself up for it. If the consultation has been done, and we have planned the session right, then the freedom should be in the design for the child to play, have fun, or interact with the environment or other people so that the expressions will all happen naturally.
Tell Mom not to instruct the child to smile, or create any stress for the child before the session. This only puts pressure on them to perform. The more relaxed and up they are when they come to us, the easier it will be to flow right into capturing them as they are. It ’s not about the child performing and fitting our agenda, it’s about us being prepared to let the child be him or herself. We capture the portrait within that framework.
Never Tell Kids to Smile!

How to Photograph Children
Planning for Final Portrait Size
Great portraits are hung on walls, not given out as 1000 stamps and wallets. Oh sure, we want to share a great portrait by giving gift copies, but if a portrait is worth going to the effort of doing right, it should be designed for a specific size, and to go in a specific place in a home, or office.
When talking in a consultation about designing a portrait, ask your client where they are thinking of hanging their portrait. If they weren’t thinking of a large print before, they will start now and you aren’t trying to sell them something they don’t want. You’re just planting ideas.
If they say they don’t want anything larger than 8x10 because all they want are some pictures to send grandma for Christmas, you know to limit your compositions to what will be appreciated in that size. You will also want to consider this in how much time you are willing to put into this job for what you will get out of it.
It ’s important to design the portrait for the final size it will be displayed as. I generally shoot a variety of compositions designed for different sizes. More distant shots showing the environment around the subject are appropriate for large wall portraits up to 30x40 or larger. The subjects are quite small in these images. Once they are printed in the final size, the subject is not so large that they are overpowering. You don’t want a subject too large in a large wall portrait or the subject will be over powering and harder to look at over time.
I will also shoot closer, 11x14 to 20x24, and then close ups suitable for 8x10 down to wallets. The subject in a small portrait needs to be large enough to be appreciated and therefore should be shot fairly close. So, planning for the finished size is important in the consultation and design process.
An important part of the portrait design process that most photographers don’t take advantage of is designing the portrait for a particular place in a home or office. I frequently offer to do a design consultation at the client’s location so I can see the spaces available and plan on shooting for appropriate sizes for those spaces. I will then come back and project the “proofs” as slides onto the space on the wall. This is always very effective for helping the client end up with the best size for the space. The client usually ends up spending significantly more money as well since they see that the appropriate size portrait for that space is larger than they had previously imagined.
My personal preference is to use a portrait as the centerpiece of a room or wall. I much prefer to use one portrait than a grouping of smaller ones. I think one great portrait appropriately sized for the space has much more impact and value than a group of small portraits.
How to Photograph Children
The Session - Handling Stress
I have a choice of making a situation worse by responding emotionally and creating more stress for the subject and myself. If I think before reacting, I can choose to head off the impending disaster that some little 2-year-old terrorist is planning. Regardless of the situation, the best thing we can do is remain calm and relaxed.The moment we let emotion control us, we lose our ability think objectively.
I try to take a “go with the flow” attitude when working with people and particularly in potentially high stress situations . I always try to do everything possible to be as prepared as possible for every session. Once I know I’ve done all I can to prepare, I let myself be stressed just enough to have the energy level I need to do the job. But it is imperative to keep things in balance by being emotionally up and mentally flexible to make the most of any situation.
The first step in being ready to handle any situation is to avoid problems through preparation. If we do all we can to prepare, the more stressful events will be fewer and further between. This preparation includes knowing your equipment so well that your attention is on your subject when you are doing the session and not on your equipment. But this comes with time. Next is having your session planned so well that you minimize potential problems from lighting, clothing, backgrounds, time of day, etc. Finally, knowing as much as you can about your subject such as age, best time of day, etc. Will help in the scheduling and preparation to assure you have created a setting that the child will respond positively to.
How to Photograph Children
How to Photograph Children
The Session - Get Natural Expressions
To help get natural expressions, we create a positive environment that the child will like and that fits him or her. I play with kids on their terms. If they are hyperactive and running all over the studio, I constantly change props on the set to keep their interest longer. I never command them to stay there. I may suggest it in a positive way, but being grumpy won’t help anything.
For older kids who are just choosing to challenge me, the best technique for creating a cooperative environment is to ask questions and get them talking about their interests. I’ve found this to be very effective up through the teen years because many older children want to talk to someone who is genuinely interested in them.
Don’t tell kids, or anyone else for that matter, to smile. Smiles are reactions. They happen naturally when people are having a good time. With children, you get natural smiles by playing with them . The best portraits are always natural as far as pose and expression. They are not something we conjure up.
Frequently, if the child is having fun and into playing with the props I will just shoot as he plays, without interacting with them. Some of the best shots I get are when kids are just being kids. Sometimes a Mother will bring in some flowers as a prop. We may toss them around the floor and give the child a basket and let her pick up the flowers.
How to Photograph Children
The Session - Interact with them on their level
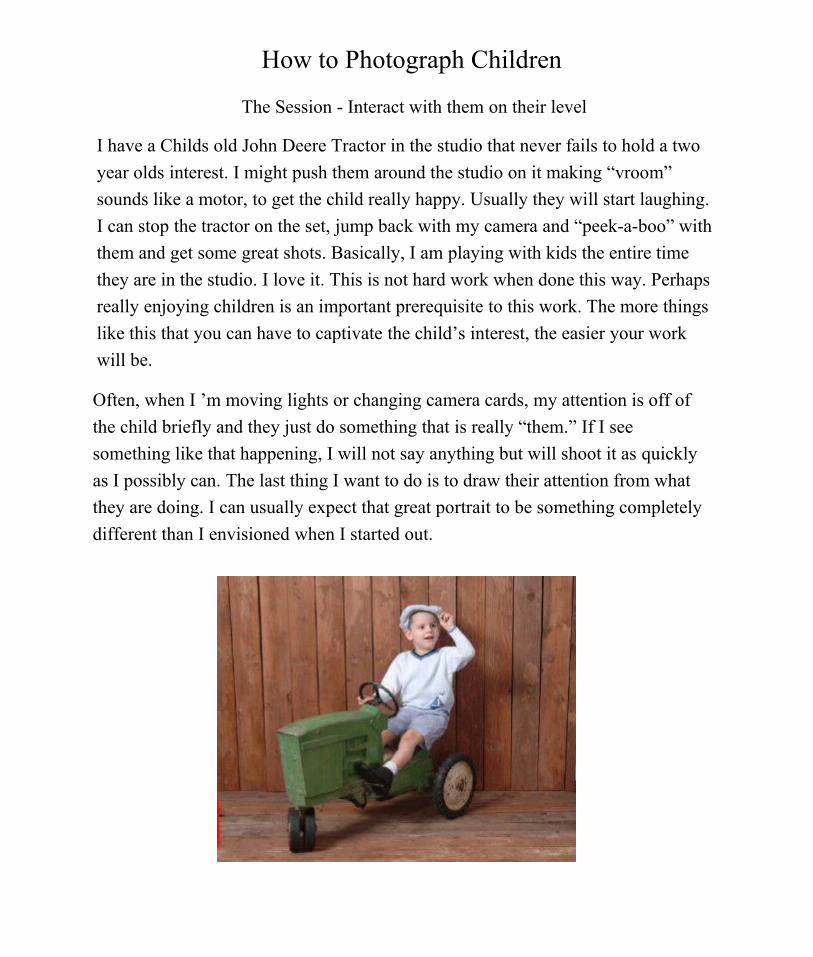
I have a Childs old John Deere Tractor in the studio that never fails to hold a two year olds interest. I might push them around the studio on it making “vroom” sounds like a motor, to get the child really happy. Usually they will start laughing. I can stop the tractor on the set, jump back with my camera and “peek-a-boo” with them and get some great shots. Basically, I am playing with kids the entire time they are in the studio. I love it. This is not hard work when done this way. Perhaps really enjoying children is an important prerequisite to this work. The more things like this that you can have to captivate the child’s interest, the easier your work will be.
Often, when I ’m moving lights or changing camera cards, my attention is off of the child briefly and they just do something that is really “them.” If I see something like that happening, I will not say anything but will shoot it as quickly as I possibly can. The last thing I want to do is to draw their attention from what they are doing. I can usually expect that great portrait to be something completely different than I envisioned when I started out.
Don't scare the kid!
If you haven’t had the opportunity to meet and interact with the child ahead of time, observe him as he comes into the studio, but don’t be too aggressive about greeting him. Perhaps he will be very secure and warm right up to you. But, if not, and you approach him too aggressively, you might scare him and not be able to recover very easily.
If he appears apprehensive when entering the studio, I will sit down on the floor where I’m at about eye level and less threatening. I will then start playing with something that should captivate his interest. I’m not interacting with him at all at this point though. I let him come to me when he is ready. If I’m doing something that captivates his interest, he will then come over to see what I have and watch. If I decide to speak at that point, I do so very very softly and gently. Always be gentle and positive.
Don’t be rushed. If the set is ready, perhaps with a chair or a particular place where I want the child to be, but he or she is reluctant to go there, I will work to get his or her interest in something as I indicated earlier, such as my squirrel puppet. When the child is really in awe of the puppet and petting it (They think it’s real), I will gently suggest “ Here Johnny, how about holding the squirrel for me for a minute. Then I say, “sit here in the chair with him while I fix my camera.” They almost always go for that. I have him where I want him now. At that point I will say, “Hey, what’s that squirrel going to do?” I get the squirrel and play peek a boo or something like that from behind a light or the camera. If the child perceives you as a playmate, you’ve got it made
This may seem kind of "childish" and undignified for a professional photographer, but... .well, that's the point. The kid just wants to have fun so forget about your image and just have a good time. I can't emphasize enough how this will pay off over the long run. I have clients who are adults now who were very young children when I started. Some of them still remember the little games I would play with them when photographing them.
How to Photograph Children
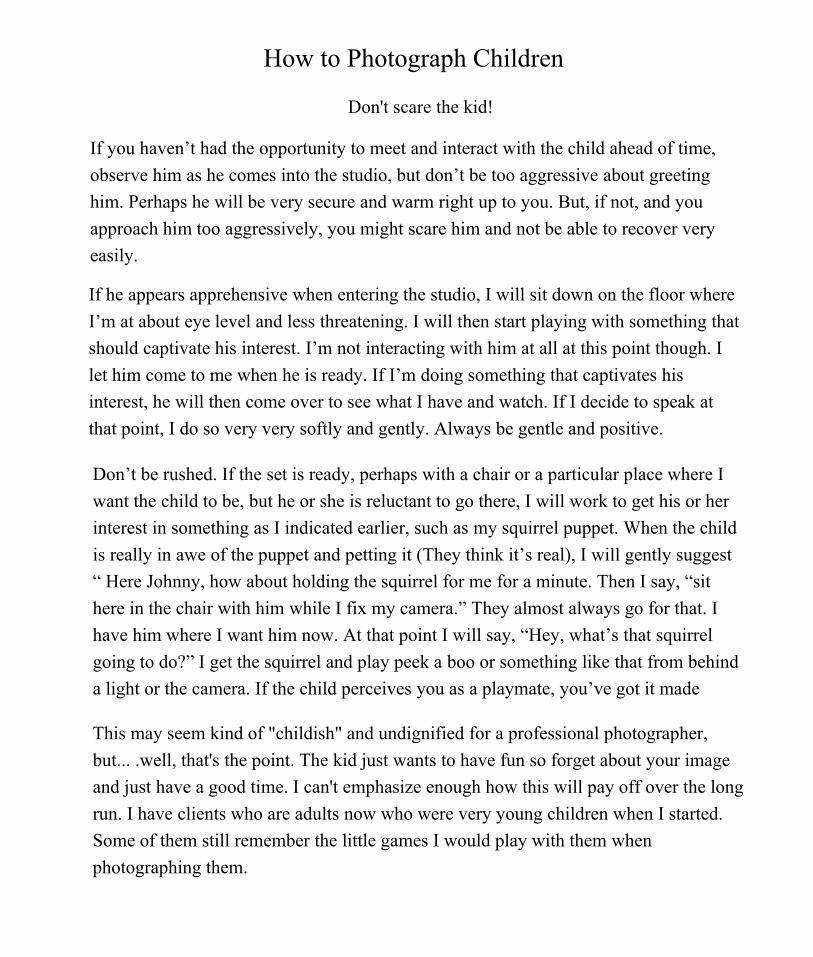
Pay attention to cropping. There are a lot of variations in the look and feel of a portrait that can be created through cropping. But, try to do most cropping in the camera to take advantage of the large image.
How to Photograph Children
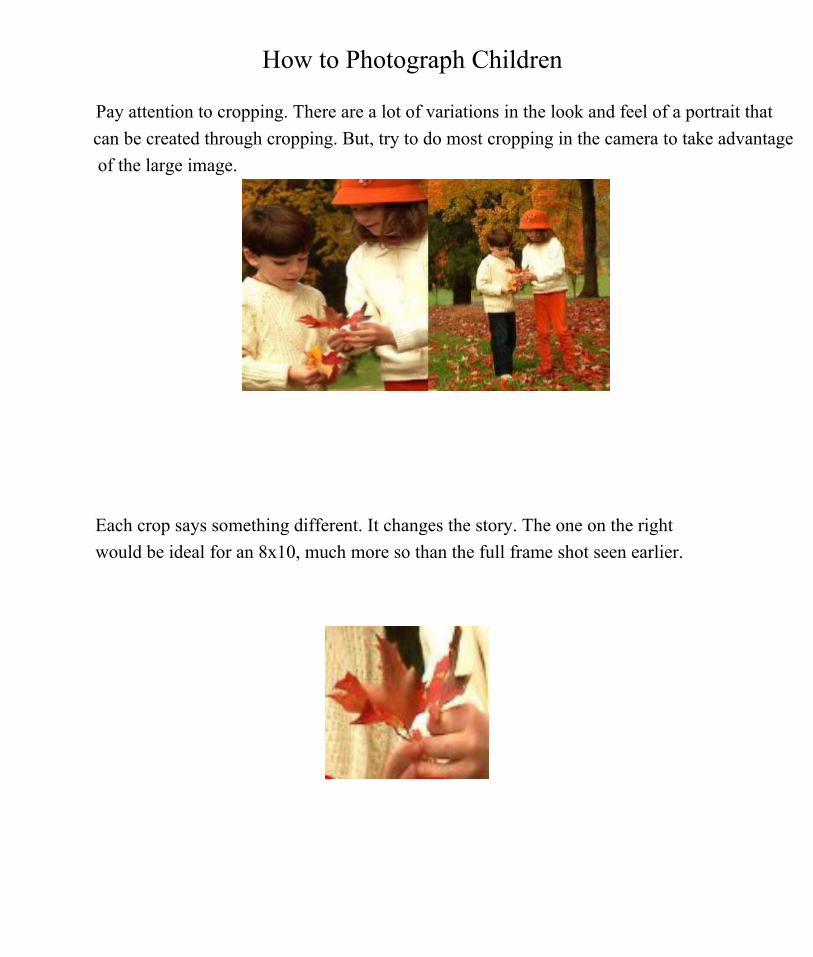
Each crop says something different. It changes the story. The one on the right would be ideal for an 8x10, much more so than the full frame shot seen earlier.
How to Photograph Children
Color and Tone in Composition
The choice of clothing for a particular background is very important in the design of the portrait. Just as bright sun spots in a background can be distracting, so can clothes that distract from the subjects face. This can take away from the design and impact of the portrait. Again, the choice of clothing that contrasts with the background should be strictly a matter of design.
As a general rule, for group photos on a medium to darker background, we tell people to wear solid colors and middle to darker tones. The similarity of tone is more important than having the exact same color. A group photo of a mix of solid colored sweaters consisting of a blue, a green, a mauve, etc will not be distracting if the tones are close in degrees of lightness or darkness. But if the sweaters are all the same color, such as blue, but one is very light and the rest very dark, the light one will be very distracting and take away from the unity of the group.
In the examples of cropping for various sizes, on the previous page, we see the two children looking at the leaves they are picking up. In the full frame crop, the sweaters contrasting with the background works well for drawing our attention to the subjects. The similarity of their sweaters in color and tone helps keep the unity of the two subjects as one center of interest in the portrait. It would be better if their pants were the same also. I think the color of the girl’s pants works fairly well though because of the repetition of that color in the scene.
Notice the other images that are cropped closer. The one that shows the two children cropped to about waist level doesn’t work as well for me because of the contrast between the sweaters and the background. Here that contrast is serving no purpose as it did in the full frame shot. In this shot the contrast should be primarily between faces and the scene and secondary between the hands and the rest of the scene.
How to Photograph Children
Outdoor Lighting
Shoot early in the morning or late afternoon.
If you shoot in the shade of a tree, the subject is in the shade and the quality of the light in the open shade is nice for the subject. The exposure is based on the shade. But the background that you see as sunny will be completely “washed out”. You may have only small areas of that “washed out ” background in your scene but compared to the lush green of the grass and trees of the shade, the sunny areas will just be “hot” distractions. The ideal situation is shooting in the shade with “filtered” sunlight coming through the trees in the background. Filtered sunlight is light that is coming through trees and branches, lighting the backside of the leaves and being reduced in brightness. It is still lighter than the area we are exposing for and ads depth to outdoor portraits. But it is important to be very aware of the quality and amount of light in the background because again, it can be very distracting if not used correctly.
How to Photograph Children
Creating Clients for Life
Next year we celebrate the 20th anniversary of our family portrait studio. The first high school senior portrait that I did in 1985 was of a woman who will bring her own senior daughter in next year, 2005. I just spoke with her recently when I did the girl’s Sweet 16 portraits.
After photographing Denise ’s Senior portraits in 1985 I photographed her brother’s senior portraits then her wedding, some family portraits along the way as well as her children in various schools and school activities. I have done all of this work because of the experience from the first session.That’s the way it can go with the business. I have many other clients like that. These are “client ’s for life.”
Now I wish I could say that my clients kept coming back because the photography was so outstanding. I can’t. In the early days particularly, it wasn’t all that spectacular. But people place a high value on the experience. I am a people person and I place a high value on relationships. It has always been very important for me to make sure that people were relaxed, having a good time, and that they were ultimately very happy with the results.
Today, one of the greatest pleasures of this work is when some of my earliest clients come back. It is very rewarding to me to know that I helped capture the important events of their life. I am at a point after 20 years where I am entering a fresh new part of the business cycle. I have renewed energy and excitement about this work because of the recognition and appreciation from life-long clients.
How to Photograph Children
Great Portraits with Point and Shoot Cameras
There is very little in this guide that cannot be applied to “Point and Shoot” Cameras. Great Portraits do not require expensive and elaborate cameras. If you apply the principles that I have described here, you would not need anything more than a point and shoot camera in most cases. The exception would be if you were trying to do some studio or indoor portraits.
You can have the greatest camera made. But if you have no understanding of the principles within this guide, you will not have the tools necessary to create great portraits beyond getting lucky. You can have a great high resolution digital camera that has dozens of different options but, the things that make great portraits are for the most part not determined by the camera itself.
Probably 80% of the portraits that we sell are photographed outdoors, even though we have a downtown studio. Any of those portraits photographed outdoors could be shot with a point and shoot camera. Your only limitation here would be on the size of the final print.
How to Photograph Children
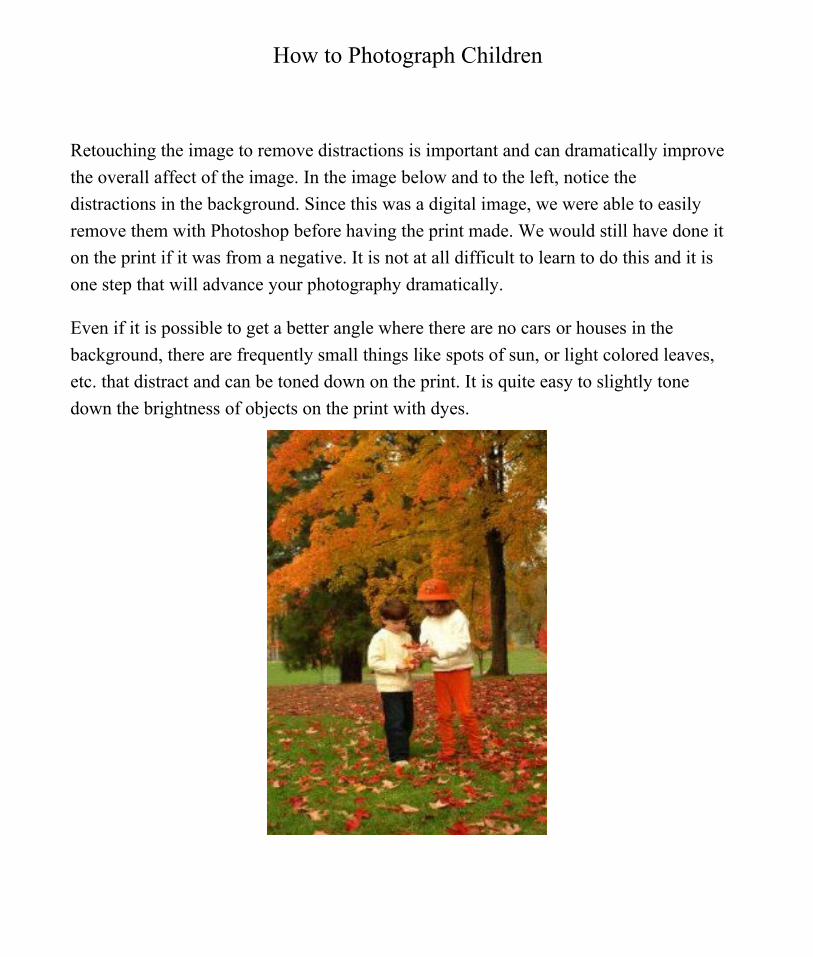
Retouching the image to remove distractions is important and can dramatically improve the overall affect of the image. In the image below and to the left, notice the distractions in the background. Since this was a digital image, we were able to easily remove them with Photoshop before having the print made. We would still have done it on the print if it was from a negative. It is not at all difficult to learn to do this and it is one step that will advance your photography dramatically.
Even if it is possible to get a better angle where there are no cars or houses in the background, there are frequently small things like spots of sun, or light colored leaves, etc. that distract and can be toned down on the print. It is quite easy to slightly tone down the brightness of objects on the print with dyes.
Digital Photography Exposure
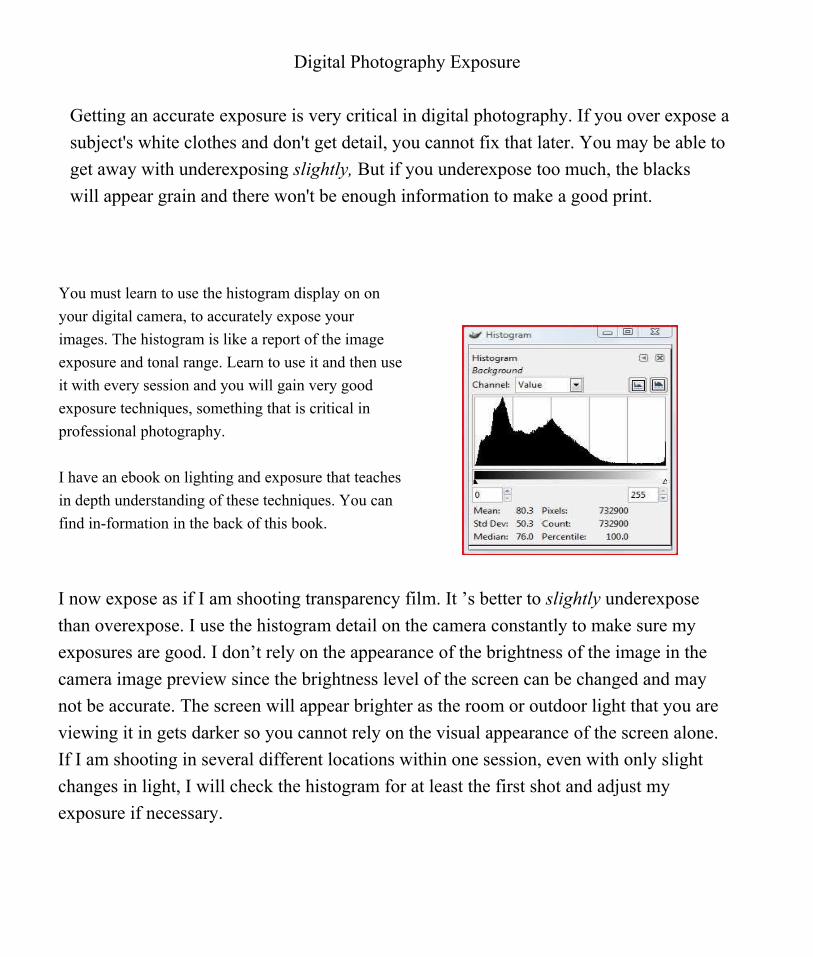
Getting an accurate exposure is very critical in digital photography. If you over expose a subject's white clothes and don't get detail, you cannot fix that later. You may be able to get away with underexposing slightly, But if you underexpose too much, the blacks will appear grain and there won't be enough information to make a good print.
You must learn to use the histogram display on on your digital camera, to accurately expose your images. The histogram is like a report of the image exposure and tonal range. Learn to use it and then use it with every session and you will gain very good exposure techniques, something that is critical in professional photography.
I have an ebook on lighting and exposure that teaches in depth understanding of these techniques. You can find in-formation in the back of this book.
I now expose as if I am shooting transparency film. It ’s better to slightly underexpose than overexpose. I use the histogram detail on the camera constantly to make sure my exposures are good. I don’t rely on the appearance of the brightness of the image in the camera image preview since the brightness level of the screen can be changed and may not be accurate. The screen will appear brighter as the room or outdoor light that you are viewing it in gets darker so you cannot rely on the visual appearance of the screen alone. If I am shooting in several different locations within one session, even with only slight changes in light, I will check the histogram for at least the first shot and adjust my exposure if necessary.
Conclusion
I hope that this ebook has proven to be inspiring or helpful in some way. I have tried to point out what I believe are the most important elements of great childrens' portraits. I will be revising this ebook from time to time and adding more information.
Here are some resources you may find helpful.
Digital Backdrops
Marketing Materials
How to Photograph Children