Embed Size (px)
Citation preview

150DM Duck, Market
Exhibitors will be required to bring a pen of two, white Pekin market ducks
(Heavy Class) and will be taking their best matched two ducks in for competition
at the time of the show. Ducks are required to be no more than 8 weeks in age.
The hatch date for Market Ducks for 2017 is 6/18/17 – 6/27/17. NPIP papers
with hatch‐date must be turned in at the time of check‐in at the fair.
If you hatch your own birds or purchase them from anywhere other than an NPIP
registered hatchery, you must have your birds blood tested for Pullorum 30 days
prior to the fair check in and bring proof of negative test to check in. Blood tests are
at the expense of the exhibitor.
Ducks will be weighed and checked for parasites at fair check in. Projects should be
clean and fit to show at the weigh in. Your PAIR of ducks should weigh no less than
8 pounds and not more than 16 pounds.
Excerpts of this handbook were used with permission from the Union County Extension Office.
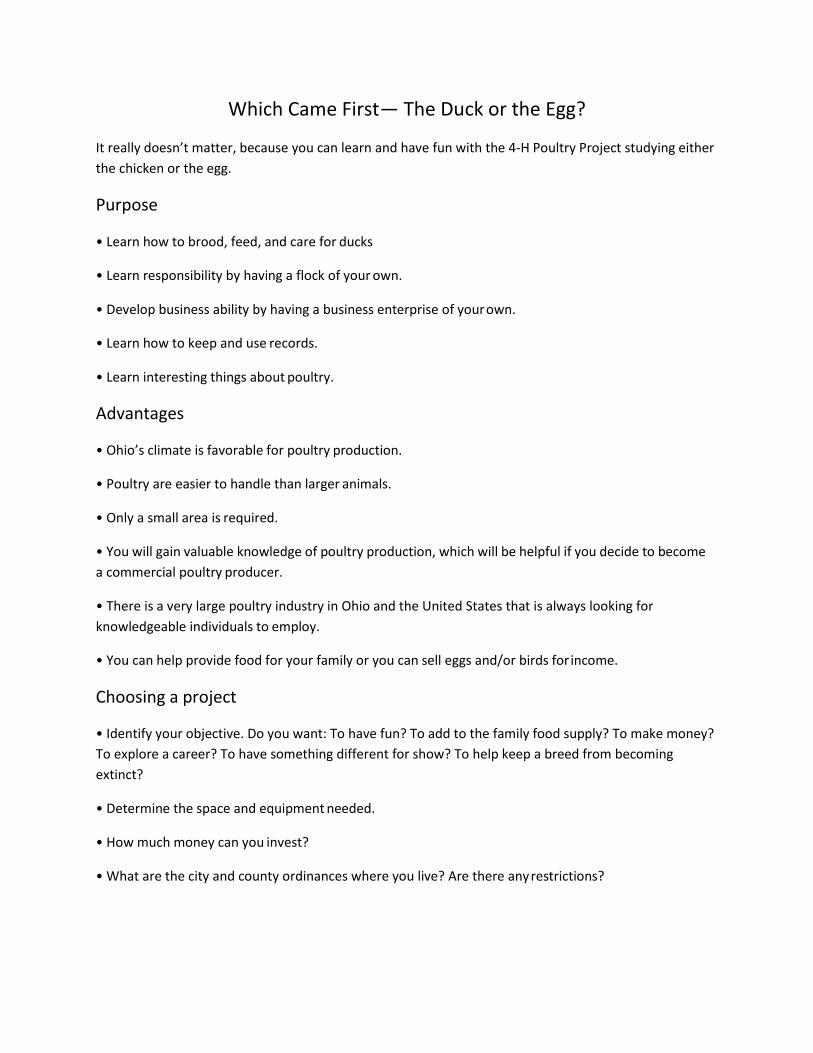
Which Came First— The Duck or the Egg?
It really doesn’t matter, because you can learn and have fun with the 4‐H Poultry Project studying either
the chicken or the egg.
Purpose
• Learn how to brood, feed, and care for ducks
• Learn responsibility by having a flock of your own.
• Develop business ability by having a business enterprise of your own.
• Learn how to keep and use records.
• Learn interesting things about poultry.
Advantages
• Ohio’s climate is favorable for poultry production.
• Poultry are easier to handle than larger animals.
• Only a small area is required.
• You will gain valuable knowledge of poultry production, which will be helpful if you decide to become
a commercial poultry producer.
• There is a very large poultry industry in Ohio and the United States that is always looking for
knowledgeable individuals to employ.
• You can help provide food for your family or you can sell eggs and/or birds for income.
Choosing a project
• Identify your objective. Do you want: To have fun? To add to the family food supply? To make money?
To explore a career? To have something different for show? To help keep a breed from becoming
extinct?
• Determine the space and equipment needed.
• How much money can you invest?
• What are the city and county ordinances where you live? Are there any restrictions?

Poultry Production Option
Selecting your project birds
• Buy from a reliable source.
• When purchasing ducks, purchase only from producers who participate in the National Poultry
Improvement Plan (NPIP). This is a U.S. Department of Agriculture (USDA) program in which all breeders
from NPIP flocks are tested for some of the important diseases of poultry. This assures you that the
ducks you receive are not infected with diseases. Moores Lawn and Garden in Millersburg is a local
business that provides this service.
Ducks
Start with a minimum of 6 ducklings for a meat project. Meat ducklings must be in the heavy
class and of the Pekin breed. You need to be able to show two that match so you don’t want
to limit your choices. If you have space you might want to consider 8 or 10.
Breeds
As a 4‐H poultry club member, you have a wide selection of breeds and varieties of poultry
from which to choose. There are more than 100 different breeds of poultry, including chickens
(large and bantam), ducks, geese, and turkeys, and more than 400 different varieties.
Ducks‐ Classifications for Breeds of Ducks
Ducks are classified by size (weight)
• Heavy Class
Aylesbury, Rouen, Muscovy, Pekin (your project breed)
• Medium Class
Cayuga, Crested, Swedish, Buff
• Light Weight Class
Runner, Campbell, Magpie
• Bantam Class
Call, East Indie, Mallard
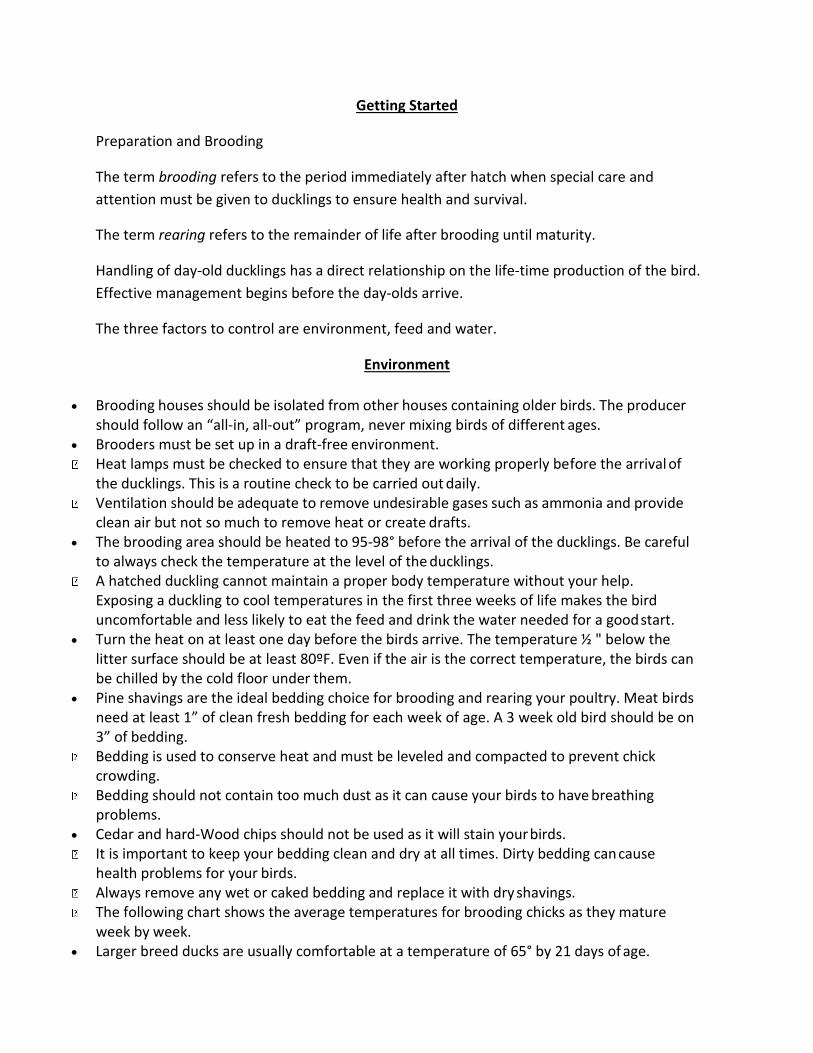
Getting Started
Preparation and Brooding
The term brooding refers to the period immediately after hatch when special care and
attention must be given to ducklings to ensure health and survival.
The term rearing refers to the remainder of life after brooding until maturity.
Handling of day‐old ducklings has a direct relationship on the life‐time production of the bird.
Effective management begins before the day‐olds arrive.
The three factors to control are environment, feed and water.
Environment
Brooding houses should be isolated from other houses containing older birds. The producer should follow an “all‐in, all‐out” program, never mixing birds of different ages.
Brooders must be set up in a draft‐free environment. Heat lamps must be checked to ensure that they are working properly before the arrival of
the ducklings. This is a routine check to be carried out daily. Ventilation should be adequate to remove undesirable gases such as ammonia and provide
clean air but not so much to remove heat or create drafts. The brooding area should be heated to 95‐98° before the arrival of the ducklings. Be careful
to always check the temperature at the level of the ducklings. A hatched duckling cannot maintain a proper body temperature without your help.
Exposing a duckling to cool temperatures in the first three weeks of life makes the bird uncomfortable and less likely to eat the feed and drink the water needed for a good start.
Turn the heat on at least one day before the birds arrive. The temperature ½ " below the litter surface should be at least 80ºF. Even if the air is the correct temperature, the birds can be chilled by the cold floor under them.
Pine shavings are the ideal bedding choice for brooding and rearing your poultry. Meat birds need at least 1” of clean fresh bedding for each week of age. A 3 week old bird should be on 3” of bedding.
Bedding is used to conserve heat and must be leveled and compacted to prevent chick crowding.
Bedding should not contain too much dust as it can cause your birds to have breathing problems.
Cedar and hard‐Wood chips should not be used as it will stain your birds. It is important to keep your bedding clean and dry at all times. Dirty bedding can cause
health problems for your birds. Always remove any wet or caked bedding and replace it with dry shavings. The following chart shows the average temperatures for brooding chicks as they mature
week by week. Larger breed ducks are usually comfortable at a temperature of 65° by 21 days of age.

For ducks you can decrease the brooder temperature by 10 degrees per week following the first week.
Age of Ducklings (weeks) Temperature 1 95°
2 85°
3 75°
4 65°
Judging Bird Comfort
The behavior and sounds of the ducklings will indicate their comfort level. Comfortable birds will form a circle under the lamp while cold birds will huddle and pile. If birds are too hot, they will crowd as far from the lamps as possible. Some birds will pant if the temperature is too high. Ducklings won’t make the same noises as chicks do when they are uncomfortable. You will have to watch for signs to show if they are too hot or too cold. Your birds will do a better job than a thermometer of telling you if they are comfortable. The diagrams below show how birds will move away or towards the heat lamp if they are hot or cold.

Feed and Water
Fresh food and water should be available on arrival of the day old ducklings. Young ducklings can easily drown so it is important to use chick waterers, not open trays. Do not place them directly under the light source. Fresh water should be available at all times. The waterers need to be cleaned on a routine
basis. Ducklings make more of a mess than chicks and tend to drop feed into the waterer. It is very important to keep it clean.
It is helpful to dip the ducklings beaks into the water when you first place them into the brooder ring.
Feed should be provided continuously. Never restrict feed during the brooding stage of duckling development.
Water is the most important nutrient you can provide for your birds. If the water is not clean, your birds may not drink enough thus limiting their feed intake and their growth rate.
Guidelines for Feeding Your Ducklings
Proteins
Protein is a nutrient that must be present in adequate amounts in poultry food.
Proteins are broken down into amino acids during the digestive process.
Amino acids are classified as “essential” or “nonessential.”
The “essential” amino acids are those that cannot be produced in sufficient quantity in
digestion to meet a bird’s nutritive requirements. They must be supplied in the diet.
Since most protein sources individually will not supply all essential amino acids, it is common to
use combinations of materials containing protein.
Common protein sources include meat meal, fishmeal, soybean meal, alfalfa meal, and corn
gluten meal.
All feed manufacturers are required to list the percentage of protein contained in their feed on
a tag attached to the bag.
Always check the feed you buy to ensure it has the required protein content.
The amount of protein required in the ration varies by species, and in some cases, changes as the birds grow.
Begin feeding your day old ducklings a non‐medicated starter ration. Protein requirements need to be higher when your ducklings start out and will decrease as
they mature. Meat duck rations are higher in protein than they are for exhibition ducks due to their quick
rate of growth. A typical duck starter feed should be between 20‐22%.
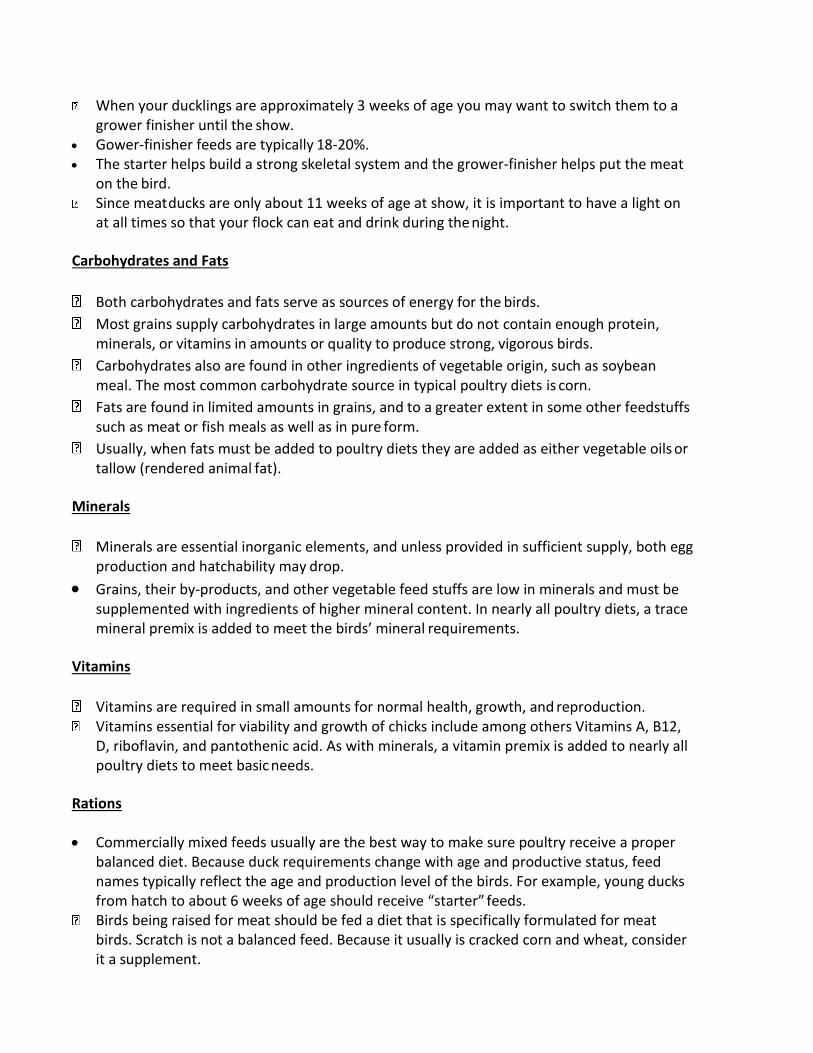
When your ducklings are approximately 3 weeks of age you may want to switch them to a grower finisher until the show.
Gower‐finisher feeds are typically 18‐20%. The starter helps build a strong skeletal system and the grower‐finisher helps put the meat
on the bird. Since meat ducks are only about 11 weeks of age at show, it is important to have a light on
at all times so that your flock can eat and drink during the night.
Carbohydrates and Fats
Both carbohydrates and fats serve as sources of energy for the birds.
Most grains supply carbohydrates in large amounts but do not contain enough protein, minerals, or vitamins in amounts or quality to produce strong, vigorous birds.
Carbohydrates also are found in other ingredients of vegetable origin, such as soybean meal. The most common carbohydrate source in typical poultry diets is corn.
Fats are found in limited amounts in grains, and to a greater extent in some other feedstuffs such as meat or fish meals as well as in pure form.
Usually, when fats must be added to poultry diets they are added as either vegetable oils or tallow (rendered animal fat).
Minerals
Minerals are essential inorganic elements, and unless provided in sufficient supply, both egg production and hatchability may drop.
Grains, their by‐products, and other vegetable feed stuffs are low in minerals and must be supplemented with ingredients of higher mineral content. In nearly all poultry diets, a trace mineral premix is added to meet the birds’ mineral requirements.
Vitamins
Vitamins are required in small amounts for normal health, growth, and reproduction. Vitamins essential for viability and growth of chicks include among others Vitamins A, B12,
D, riboflavin, and pantothenic acid. As with minerals, a vitamin premix is added to nearly all poultry diets to meet basic needs.
Rations
Commercially mixed feeds usually are the best way to make sure poultry receive a proper balanced diet. Because duck requirements change with age and productive status, feed names typically reflect the age and production level of the birds. For example, young ducks from hatch to about 6 weeks of age should receive “starter” feeds.
Birds being raised for meat should be fed a diet that is specifically formulated for meat birds. Scratch is not a balanced feed. Because it usually is cracked corn and wheat, consider it a supplement.

The majority of duck feed on a daily basis must be a prepared ration. Today, almost all feed is available in crumble or pellet form. This is the ground feed
(formerly called mash) that is formed into a pellet, and sometimes crushed into a crumble.
It is not advisable, and usually not successful, for 4‐H members to mix their own feed. Poultry require additional sources of grains and protein because their diets require vitamin and trace mineral premixes. You also must own a grinder and mixer to mix your own feed. If you wish to mix your own poultry rations, visit with your local Extension faculty or the OSU Department of Animal Sciences.
Medicated feeds
Ducks do not require medicated feeds since they are not susceptible to most chicken diseases.
Most starter feeds have a coccidiostat added to the poultry ration to prevent coccidiosis‐ you do not want to use these feeds.
Companies mix non‐medicated feeds. If you choose these feeds made especially for ducks. Always follow the manufacturer’s recommendations for proper use of the feed.
Exhibition Ducks:
Begin feeding your day old ducklings a balanced duck starter ration.
Duck starter is typically at least 20% protein.
It is very important to use a non‐medicated starter for ducks. If duck starter is not availbale you
may use a non‐medicated chic starter.
Medicated feeds contain amprolium which may be toxic to ducks.
As soon as the ducklings are large enough you will want to switch them to a pelleted feed. Since
ducks tend to drink water while still having a mouth full of food, they will digest more nutrients
if given pelleted feed. A duck grower ration is typically 18‐20% protein.
Meat Ducks:
Begin feeding your meat ducks much the same as exhibition ducklings.
It is important to use a non‐medicated turkey starter, non‐medicated duck starter or non‐
medicated chick starter.
Since a meat duck has a higher rate of gain, a higher protein level will help the ducklings grow
faster. At approximately 3 weeks of age, switch the ducklings to a grower‐finisher with 18‐20%
protein.
Use continuous lighting to promote fast growth. The light does not have to be bright, just
enough for them to see their feeder and waterer.

Selecting, Preparing and Showing Ducks
Male vs Female:
There are several ways to tell the difference between a male and a female duck.
Male ducks (drakes) have two sex feathers located on the tail.
Male ducks can have a different color patter than the female duck. Check
the Standard of Perfection.
Female ducks have a louder quack than male ducks.
Meat Ducks:
A week or so before the show, make a preliminary selection from your entire flock. Take time to handle your ducks before the show so they get used to being picked up. Examine all birds for defects that could cause them to be downgraded. General defects can
include cuts and tears, broken or dislocated bones, bruises, crooked keel bone, deformed legs or wings, breast blisters or external parasite damage.
When making your final decision on which ducks to place in your pen there are several things to consider.
Confirmation: The shape of the ducks breast. It should be long, wide and carry back as far as possible on the keel bone. The closer the breast is to the shape of a brick, the better the breast is.
Fleshing: Refers to the amount of meat or muscle. Uniformity: All the birds need to match. They should be similar in
weight, confirmation and fleshing. You want all of the 3 birds in your pen to be as close as possible so that if the judge were to close his/her eyes they would all feel the same.

Bathing Your ducks:
After selecting your ducks, make sure you give them a beauty bath. Always sponge or rub the bird with the feathers, not against them. Rinse the bird completely after shampooing, removing any residue. After rinsing, remove extra water from the bird with a towel and
allow the bird to dry. Ducks are better than chickens at keeping themselves clean. Check for stains on white
ducks. Always check their feet and bill for dirt. It is easier to clean a duck for show if it has been kept clean while growing.
Before the show, spot clean or rewash your birds, depending on how clean they are. Check the shanks and feet as well. The judge likes clean ducks!
Duck Showmanship
Always take clean birds into the show arena for showmanship. Always put a bird into or take a bird out of the cage head first. Make sure you hold your bird securely so that it feels safe. Grasp the bird’s legs
between your fingers and rest the breast bone on your arm. When showing your birds, be proud of a job well done. Demonstrate to the judge all that
you have learned. What you need for the show… a white long sleeved shirt or white lab coat, and a clean pair of pants. Boots are recommended.
Have Fun!
Preventing Health Problems
If your flock becomes sick, it is important to obtain an accurate diagnosis. The problem can be
poor nutrition, poor management, or an infectious disease. You need to know the source of the
problem in order to treat the birds properly and prevent future losses. Check your flock daily to
spot diseases or parasites so you can start treatment right away.
For more information about identifying and treating poultry diseases contact your local
veterinarian.
Everyday sanitation: Disease is often transmitted from older birds to younger ones. Feeders
need to be cleaned frequently to remove caked feed. Never use moldy feed.
Wash your waterers daily and disinfect at least once per week using a brush to clean them out.
Proper ventilation in the brooder and the coop will reduce moisture and disease organisms.
Caked or wet litter should be removed as soon as it forms to keep the house clean and dry.

Biosecurity
A good sanitation program is essential to a successful 4‐H poultry project.
Thoroughly clean and disinfect the place in which the ducklings are to be brooded at least 1 week before
the ducklings arrive.
Remove all litter and manure from the previous brood.
Scrape or sweep bits of manure and other debris from the sidewalls and floor.
Sweep the dust from the sidewalls and ceiling. This is important because one tiny bit of manure can
harbor millions of disease‐causing organisms for months.
Thoroughly wash the brooding area with water and a good detergent. After the area has dried, disinfect
the area with an approved disinfectant (ask your local Extension faculty for advice).
Thoroughly wash and rinse all waterers and feeders and set them in the sun. The sun is one of the best
disinfectants available, but it must strike all surfaces. Turn the equipment for complete coverage.
Place a pan of disinfectant near the door and always step in it when entering or leaving the duck
brooding area.
During the brooding period, one of the messiest areas in the house will be around the waterers. Lessen
this problem by placing the waterers on raised platforms. Such platforms can be made using 2 x 4s. Cut
four pieces of 2 x 4‐inch boards into 30‐inch lengths. Place the pieces on edge to form a square and nail
the corners. This makes a platform 4 inches high and 30 by 30 inches square. Cover with 1‐inch
hardware cloth or welded wire fabric.
When bringing in new adult birds or returning birds to your flock after showing, it is a good idea to
quarantine them for about 2 weeks prior to returning them to the flock.
Ducks that appear healthy may be carrying disease organisms from contact with other birds.
A quarantine area consists of several small pens that are a distance from your main flock. Care for the
quarantined birds after caring for the rest of your flock. If the birds in quarantine are infected, they will
show signs of disease in 2 to 3 weeks.

Parts of a Ducks Wing

Parts of a Duck
Parts of a Ducks Head

Medication Label Handout
Medication labels have 8 items that you need to pay attention
to. The following label shows those parts:
1. Name of Drug 2. Active Ingredient 3. Cautions/Warnings 4. Withholding Time 5. Storage 6. Quantity of Contents 7. Name of Distributor
Additionally, all medications have inserts that contain similar information, but also, a lot more in-depth information. The following figure shows what is on a medication insert:

1. Name of Drug
2. Active Ingredient
3. Species
4. Approved Use
5. Dosage
6. Cautions/Warnings
7. Route of Administration
8. Storage
9. Withholding Times
10. Sizes Available
Storage: Medications will vary with how they need to be stored and for
how long they are effective. Some will require refrigeration while others can be stored at room temperature. Some medications will say “use entire bottle” meaning that once the bottle is opened, it must be used or discarded as it will lose its effectiveness. All medications will have their storage directions on the label. ALWAYS READ THE MEDICATION LABEL – the labels will tell you all the essential information about the medicine. Keep an inventory list of all medication to facilitate proper storage

Glossary of Terms
Abdomen—The underpart of the body from the point of the keel to the tail.
Amino Acids—Amino acids are building blocks of protein. For example, if a brick wall represented
protein, each brick in the wall would be an amino acid.
Anticoccidial—A drug to prevent coccidiosis.
Axial feather—The short feather growing between the primaries and secondaries of the wing.
Bantam—A diminutive fowl—some being distinct breeds, others being miniatures of a large breed or
variety, approximately one‐fourth to one‐ fifth their size. Usually ornamental in character, some breeds
have considerable merit as egg producers, a few as meat fowl.
Breast—The entire forward part of the body of live fowls from the juncture of the neck and body down
to the rear point of the keel bone.
Brood—1. A distinct group or birds, usually of the same age, placed as a group. 2. The act of rearing
chicks using heat and other management options.
Cock—A male fowl 1 year old or more. Cockerel—A male fowl less than 1 year old.
Condition—The state of a fowl with regard to health, including cleanliness and brightness of plumage,
head parts, legs, and feet.
Coverts—Those feathers that cover the base of the primary and secondary wing and main tail feathers.
Dubbed/dubbing—A term used to describe the close trimming of the comb, wattles, and earlobes of the
male.
Earlobes—The fleshy patch of bare skin below and behind the ears, varying in size and shape with color,
either red, white, blue or purple, according to the breed.
Enamel‐white—The satinlike white surface color found in the earlobes of Mediterranean breeds.
Faking—A self‐evident attempt to remove or conceal a disqualification or serious defect to create merit
which does not naturally exist; results in disqualification.
Hock—The joint between the lower thigh and shank, sometimes incorrectly referred to as the knee.
Keel—In chickens and turkeys as well as most birds, large bony protrusion on the midline of the
breastbone; it resembles the keel of a boat, both as to shape and position.
Keelbone—The large bony protrusion on the midline of the breastbone or sternum.
Line‐breeding—Mating of distantly related individual birds.
Plumage—The collective feather covering of the entire body of a fowl, including the head, neck, wings,
tail, and, where specified for breed, the shanks and toes.
Poult—The young of the domestic turkey before the sex can be determined

Poultry—A general term applied to all domesticated fowl, including chickens, turkeys, and waterfowl.
Primary feathers—The long, stiff feathers of the wing, growing from the last segment of the wing. When
at rest, these feathers are folded under and are completely hidden by the secondaries when the wing is
properly folded; also known as “primary flight feathers.” These feathers are responsible for power
during flight.
Pubic bones—The thin, terminal portion of the hip bones that form part of the pelvis. Considered
important in evaluating productivity of the female fowl.
Pullet—For exhibition purposes, a female fowl less than 1 year old.
Secondary feathers—The long, stiff wing feathers growing from the middle wing segment. When the
wing is folded, the exposed secondaries form a triangular area known as the “wing bay.” These
“secondary flight feathers” are responsible for lift during flight.
Shank—The portion of the leg below the hock, exclusive of the foot and toes; the metatarsus.
Spur—A stiff, horny projection from the rear inner side of the shanks, rounded or pointed according to
age, prominent in the male fowl, may be present in female fowl, increasing greatly in size with age.
Stern—The rear underpart of a fowl extending from the rear end of the keel bone to the ends of the
pubic bones.
Sternum—The breastbone to which the ribs and keel are attached.
Strain—Fowl of any breed or variety that have been line‐bred for a number of years and that reproduce
uniform characteristics with marked regularity.
Stub—A short section of the stem of a feather, sometimes with a few short barbs attached. A
disqualification when found on shanks or between the toes of clean‐legged breeds.
Uropygial gland—The oil or “preen” gland, the only skin gland in birds. A large gland opening on the
back at the base of the tail feathers, secreting an oily fluid which the fowl applies to its feathers during
preening. It is especially developed in waterfowl because the oil helps make the plumage shed water.
Variety—A subdivision of a breed, distinguished either by color, color and pattern, or comb.
Wattles—The thin, hanging growths of flesh at either side of the base of the beak and upper throat;
usually much larger and longer in males than in females. Usually red in color, but purple in Sumatras and
Birchen, and brown in Red Modern Games and Silkies. Should be fine and soft in texture, slightly
concave in surface, regular in outline, and uniform in size.

Helpful Poultry Websites, Videos, and Tutorials Skillathon Practice (very helpful for practicing before judging) http://www.geauga4h.org/poultry/
Fun with chickens - broiler showmanship (Louisiana State University) https://www.youtube.com/watch?v=BZ7eLNYC8k4
Handling broilers for showmanship (Louisiana State University) https://www.youtube.com/watch?v=5MusbqW-gQw
Fun with chickens - Exhibition showmanship (Louisiana State University) https://www.youtube.com/watch?v=yoGb1_XqwP8
How to wash your chickens (poultrycrazy) https://www.youtube.com/watch?v=zwQe9PrOJxs
Chicken showmanship demonstration (poultrycrazy) https://www.youtube.com/watch?v=BoQi41pojTU
Day old baby chickens, mail order .... What to do when they arrive (Richard Dunne) https://www.youtube.com/watch?v=MgV-X4mB-TI
How to Show a Turkey https://www.youtube.com/watch?v=73NB-LR1Ydk
Erie Elites How to Show a Turkey Part 1 https://www.youtube.com/watch?v=NfCy7fgdXHc
4h market duck showmanship pointers https://www.youtube.com/watch?v=Wcl8nvHcwWk
Duck Showmanship Demonstration https://www.youtube.com/watch?v=l5KXF8qg02A