Embed Size (px)
Citation preview

1 Prepare the Archos 43 for first use
1.1 Unpack the unit
The Archos 43 Internet Tablet package contains:
• Documentation, Guarantee Card • 1 USB cable • 1 Headphone • 1 Archos 43 Internet Tablet
Fluke further supplies:
• 1 stylus set • 1 Pouch
To proceed with using your A43 you must have the A43 unit and the USB cable. Using the stylus is recommended.
1

1. Peel off the protective cover of the A43 touch display.
2. Connect the A43 to a PC (laptop or desktop). This PC should have access to the internet in case
drivers for the A43 are not ready to use. The A43 will automatically switch on and boot as soon as it is connected to a powered USB port.
1.2 Calibrate the touch screen On first usage, the A43 will start a setup wizard that will guide you through the process of preparing the unit for further use. Follow the instructions on screen to finish the setup wizard.
3. Calibrate the touch screen – the A43 will display a number of reference locations by showing a cross on the screen. Press the center of the crosses displayed one after another using the stylus. When all reference points have been touched the setup wizard will proceed to the next step.
2

1.3 Adjust language, time zone, date and time settings After finishing touch screen calibration, the setup wizard automatically proceeds to language setup.
4. If you do not wish to change the display language touch the “Next” button in the bottom right. 5. For changing the language touch the “Change language” button in the center of the display and
select your desired language from the list. To scroll up or down touch the display and wipe up or down. Proceed with setting date and time by following the instructions on the screen (no pictures provided).
6. The A43 next asks you to make sure you’ve read and understood the “Legal and Safety Notices” – please refer to the documentation that comes packaged with the A43. Click “Ok” and confirm to proceed to the time zone adjustment.
3

Upon touching the “Next” button, the setup wizard will proceed to time zone adjustment.
7. If you do not wish to change the currently used time zone touch the “Next” button in the bottom right.
8. To adjust the time zone to your current location touch the “Change time zone” button in the center of the display and select your desired time zone from the list. To scroll up or down touch the display and wipe up or down. Touch “Next” when done to proceed to advanced settings.
9. Touch the “Advanced settings” button to chose the time format to be displayed (i.e. 4.00pm or 16:00), or “Next” to proceed.
1.4 Set Wifi connetion The setup wizard next offers assistance with setting up a Wireless LAN connection. Since Fluke Power View will not make use of WLAN (uses Bluetooth) just touch “Next”. Instructions on setting up wireless communication for use with Fluke Power View will be provided in proper sequence at a later point in this document.
10. Click “Next” to skip Wifi setup for now; adjustments can be made at any point after having finished the setup wizard.
1.5 Third party applications Fluke Power View has been tested without having installed third party applications on the A43, we therefore recommend to select the option “Don’t install”.
4
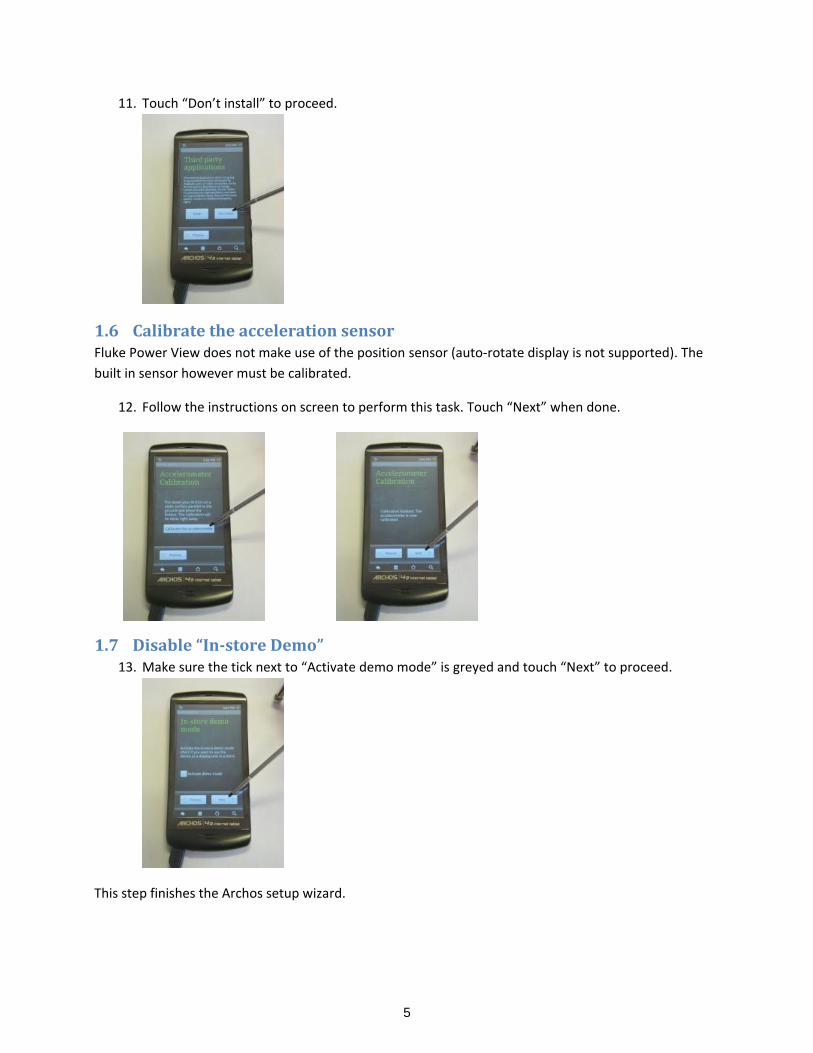
11. Touch “Don’t install” to proceed.
1.6 Calibrate the acceleration sensor Fluke Power View does not make use of the position sensor (auto-rotate display is not supported). The built in sensor however must be calibrated.
12. Follow the instructions on screen to perform this task. Touch “Next” when done.
1.7 Disable “In-store Demo” 13. Make sure the tick next to “Activate demo mode” is greyed and touch “Next” to proceed.
This step finishes the Archos setup wizard.
5

14. Touch “OK” to start using your A43 internet tablet.
15. The A43 will next ask you whether or not to mount its internal file system for use with the PC it is
attached to (via USB). Select “Mount” to get access to the file system via your PC, this will be required for the installation of Fluke Power View.
Once done, the A43 will show the “home screen” and the setup wizard will not become automatically started any more.
6
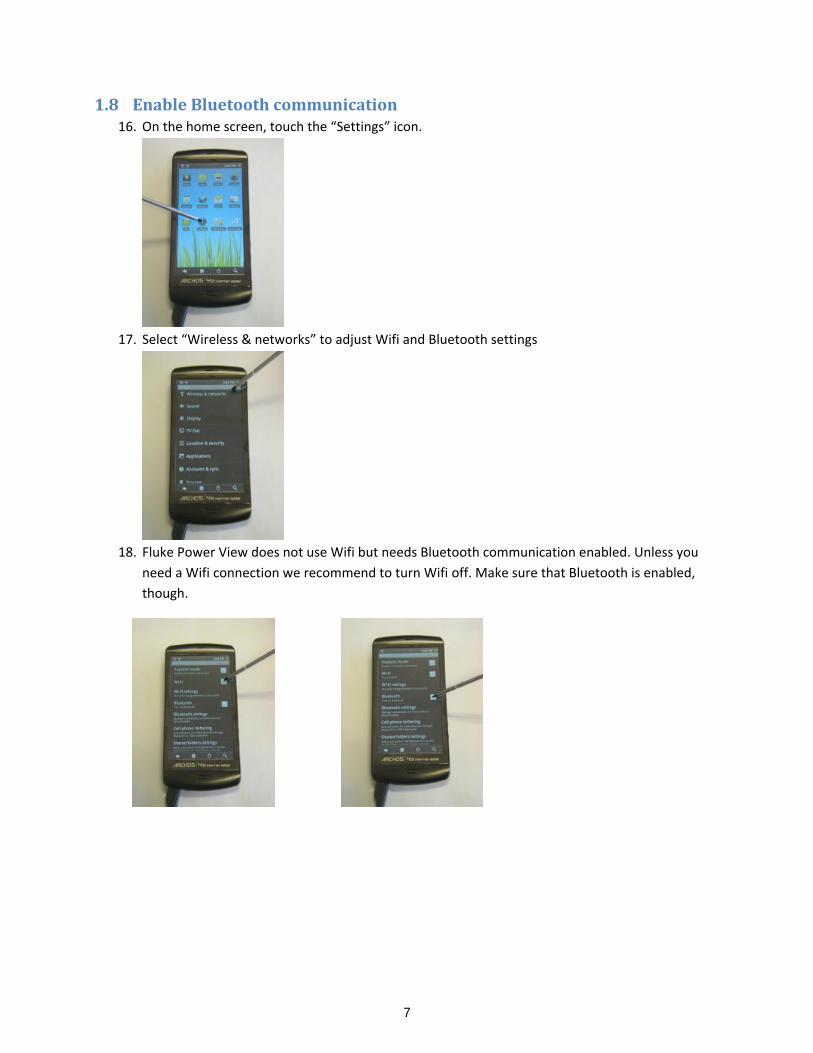
1.8 Enable Bluetooth communication 16. On the home screen, touch the “Settings” icon.
17. Select “Wireless & networks” to adjust Wifi and Bluetooth settings
18. Fluke Power View does not use Wifi but needs Bluetooth communication enabled. Unless you
need a Wifi connection we recommend to turn Wifi off. Make sure that Bluetooth is enabled, though.
7
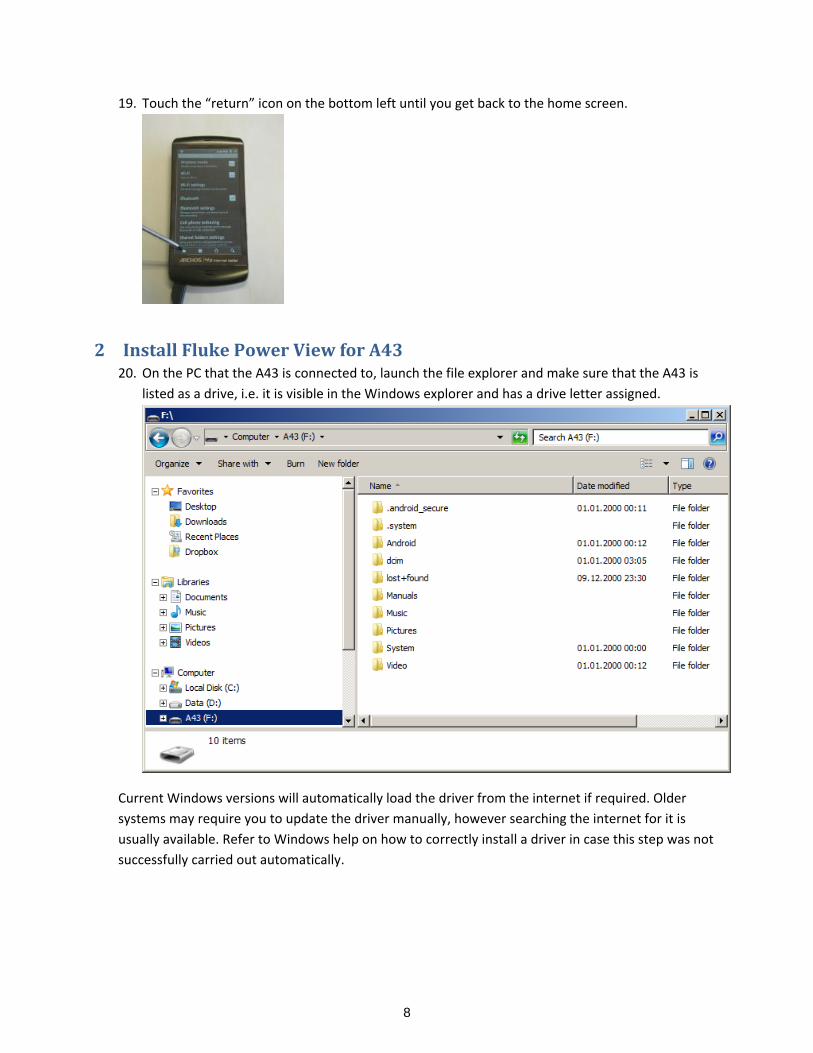
19. Touch the “return” icon on the bottom left until you get back to the home screen.
2 Install Fluke Power View for A43 20. On the PC that the A43 is connected to, launch the file explorer and make sure that the A43 is
listed as a drive, i.e. it is visible in the Windows explorer and has a drive letter assigned.
Current Windows versions will automatically load the driver from the internet if required. Older systems may require you to update the driver manually, however searching the internet for it is usually available. Refer to Windows help on how to correctly install a driver in case this step was not successfully carried out automatically.
8
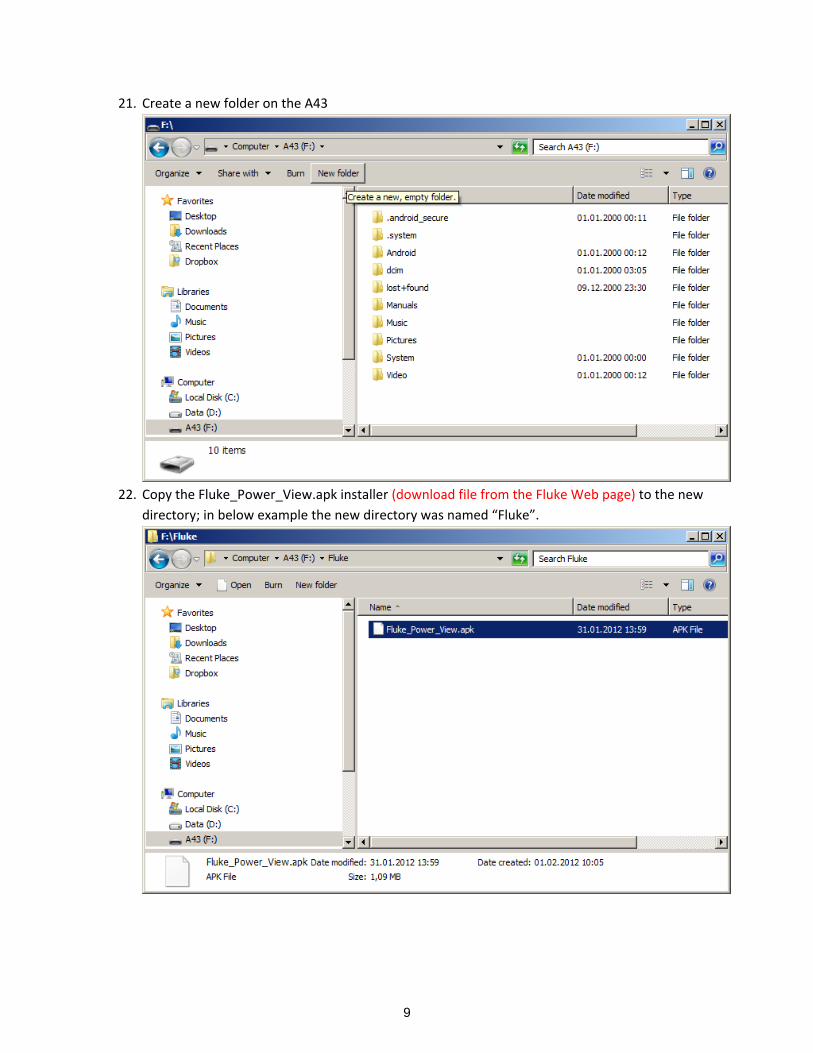
21. Create a new folder on the A43
22. Copy the Fluke_Power_View.apk installer (download file from the Fluke Web page) to the new
directory; in below example the new directory was named “Fluke”.
9
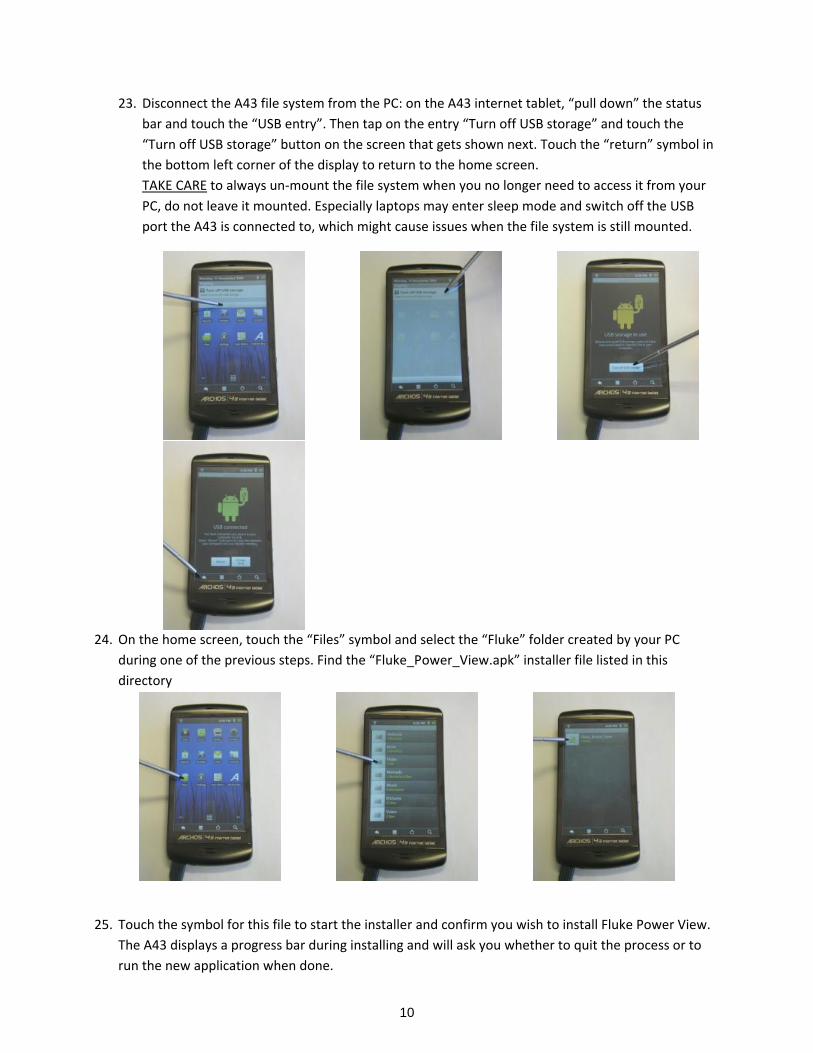
23. Disconnect the A43 file system from the PC: on the A43 internet tablet, “pull down” the status bar and touch the “USB entry”. Then tap on the entry “Turn off USB storage” and touch the “Turn off USB storage” button on the screen that gets shown next. Touch the “return” symbol in the bottom left corner of the display to return to the home screen. TAKE CARE to always un-mount the file system when you no longer need to access it from your PC, do not leave it mounted. Especially laptops may enter sleep mode and switch off the USB port the A43 is connected to, which might cause issues when the file system is still mounted.
24. On the home screen, touch the “Files” symbol and select the “Fluke” folder created by your PC during one of the previous steps. Find the “Fluke_Power_View.apk” installer file listed in this directory
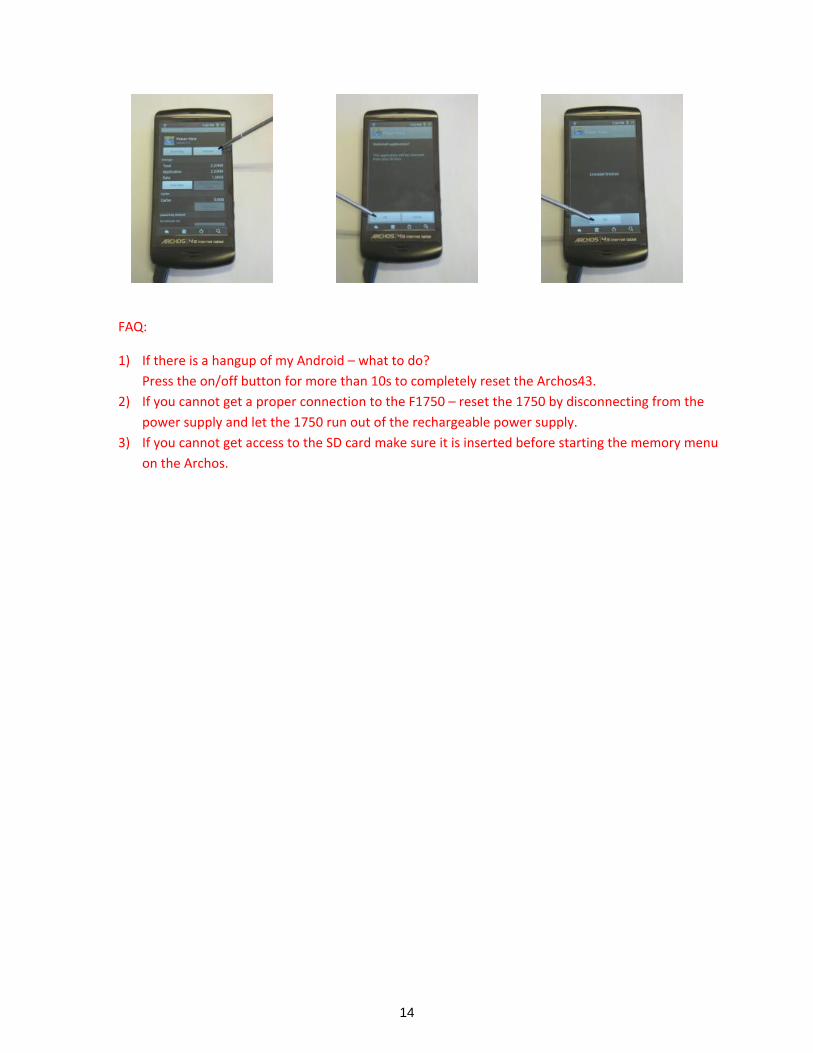
25. Touch the symbol for this file to start the installer and confirm you wish to install Fluke Power View. The A43 displays a progress bar during installing and will ask you whether to quit the process or to run the new application when done.
10

26. Touch the “Open” button to start Fluke Power View for the first time, and select the language you want to use for this application and the labeling to be used for phase identification. When done, touch the green circle labeled “OK” in the upper right corner of the display. Confirm the restart-query by touching the “Yes” button to restart Fluke Power View.
11

27. Fluke Power View is now ready for use. Tap “Search new devices…” to find all Fluke 1750 units that are in range for wireless communication.
2.1 Create a shortcut to Fluke Power View on the home screen Using a shortcut will allow you to start Fluke Power View from the home screen rather than having to go to the installed applications page and start it from there.
1. From the home screen, navigate to the installed applications page
2. Locate the “Fluke Power View” symbol, and keep it touched until the A43 switches view to the home page. Drop the “Fluke Power View” symbol to a location of your choice.
12

3 Uninstall Fluke Power View from A43 TAKE CARE: Before installing updates to Fluke Power View, any existing version must be uninstalled.
1. Touch the “Settings” icon on the home screen. Find the “Applications” entry and touch it. On the next page select “Manage Applications”. The A43 will then list all installed applications; tap on the “Power View” to manage this application.
2. Touch the “Uninstall” button to start uninstalling the Fluke Power View application and confirm your choice by touching the “OK” button displayed on the next page. Uninstalling will also remove any shortcuts from the home screen(s). Confirm successful removal by touching by touching the “Ok” button. Fluke Power View has now been removed from the A43.
13
FAQ:
1) If there is a hangup of my Android – what to do? Press the on/off button for more than 10s to completely reset the Archos43.
2) If you cannot get a proper connection to the F1750 – reset the 1750 by disconnecting from the power supply and let the 1750 run out of the rechargeable power supply.
3) If you cannot get access to the SD card make sure it is inserted before starting the memory menu on the Archos.
14