Embed Size (px)
Citation preview

ca.com
NNM Discovery
Jayashree Arunkumar
ca.comSlide I - 2
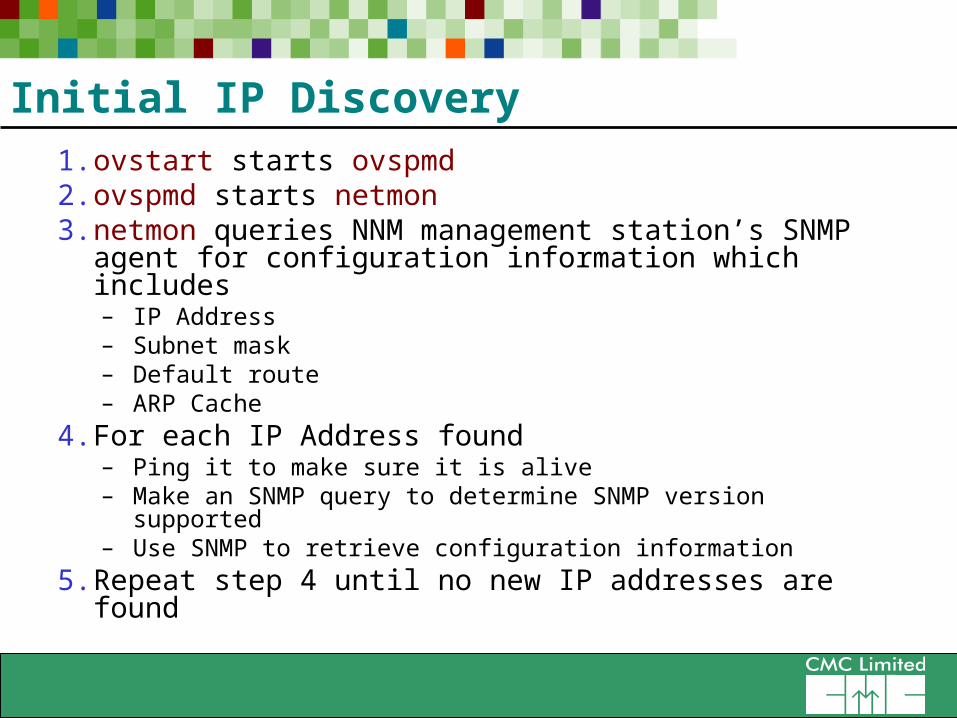
Initial IP Discovery
1. ovstart starts ovspmd2. ovspmd starts netmon3. netmon queries NNM management station’s SNMP
agent for configuration information which includes– IP Address– Subnet mask– Default route– ARP Cache
4. For each IP Address found– Ping it to make sure it is alive– Make an SNMP query to determine SNMP version
supported– Use SNMP to retrieve configuration information
5. Repeat step 4 until no new IP addresses are found
ca.comSlide I - 3
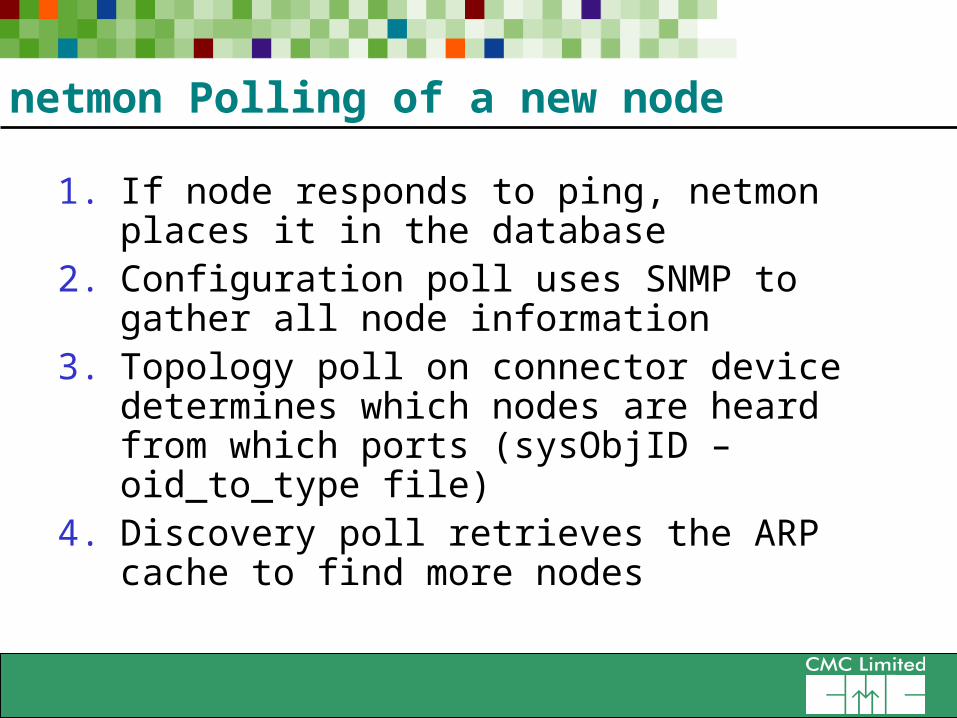
netmon Polling of a new node
1. If node responds to ping, netmon places it in the database
2. Configuration poll uses SNMP to gather all node information
3. Topology poll on connector device determines which nodes are heard from which ports (sysObjID – oid_to_type file)
4. Discovery poll retrieves the ARP cache to find more nodes
ca.comSlide I - 4
Setting Object Attributes and Symbol type
Configuration poll gathers direct information including nodes sysobjectID
Derives other attributes from sysobjectID– Correlates system object ID to symbol type and
other miscellaneous attributes in oid_to_sym file– Correlates system object ID to topology and
vendor attributes in oid_to_type or HPoid2type files
ca.comSlide I - 5
Initial IPX Discovery
Routing Information Protocol (RIP) – finds the networks
Diagnostic Broadcast – finds netware systems on networks
Diagnostic Request – obtains system information and status
Service Advertising Protocol (SAP) Request – gets information about server names
ca.comSlide I - 6
MAC Layer Discovery and Monitoring
MAC layer discovery and monitoring– Bridge MIB (RFC 1493)– Repeater MIB (RFC 2108)– 8023MAU MIB (RFC 1515)
MAC interface status determination Unnumbered interfaces (Routers)
ca.comSlide I - 7
Discovery of HTTP nodes
System object ID obtained Port 80 polled for Home Page
isHTTPSupported Web Server Home Page Port 280 Polled for Configuration Page
isHTTPManaged Web Server Configuration Page
ca.comSlide I - 8
Extended Topology Discovery
Heterogeneous Layer 2 switched network management (LAN & WAN)
Targeted views for quickly identifying root cause– View switched environment and complex
relationships between devices– View network services such as OSPF and VLAN
Enhances NNM views: neighbor, station, internet
Superior root-cause analysis via improved path detection
ca.comSlide I - 9
What extended topology discovers
“Layer-two” connectivity VLAN information ATM information OSPF information
ca.comSlide I - 10
Troubleshooting IP Discovery
Common problems which affect IP discovery– Incorrect subnet mask– Non-matching SNMP community name– Non-SNMP routers– Too few SNMP nodes– Insufficient or isolated traffic– Bridged, not routed, networks– Name Resolution (DNS) problems
ca.comSlide I - 11
Name Resolution problems
Opening ovw takes a long time Labels appear as IP addresses instead of
hostnames– use checkDNS.ovpl –v (NNMCD\support) to check
DNS performance If DNS request takes a long time, netmon
generates an alert Timeout can be controlled by –T option in
netmon.lrf file
ca.comSlide I - 12
Tracing and Logging Operations
Logging – records externally observable events such as connection establishment, state changes and errors
Tracing – captures inbound and outbound packets going through the network
netmon –M <tracemask> (2 – ICMP, 8 – SNMP) to enable tracing
netmon –a <action-nr> sends an event to netmon to dump its internal data structures
ca.comSlide I - 13
Configuring Extended Discovery
You can change how netmon discovers your network by:– telling netmon to discover more by
managing nodes– giving netmon a seed file to speed up initial
discovery– specifying options in netmon.lrf
ca.comSlide I - 14
Using loadhosts
Few SNMP nodes / restrict management to specific nodes
Place nodes directly into the topology database
loadhosts –m <subnetmask> filename For controlled discovery turn off new
node discovery polling process
ca.comSlide I - 15
Seeding Initial IP Discovery
By default, netmon only discovers nodes on the local subnet only
A seed file is a simple ASCII file containing a list of IP addresses, preferably gateways and routers
All networks connected to the seed file entries are discovered exclusively
Seed file typically contains– IP address of management station– IP address of default router– IP address in other networks ( routers, file servers etc.)
ca.comSlide I - 16
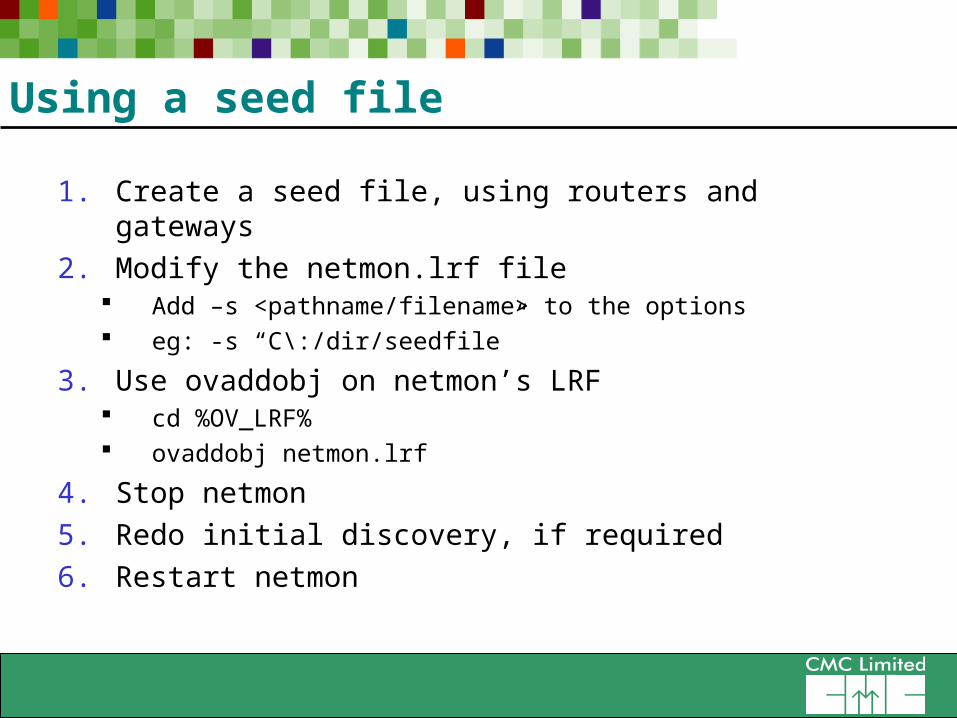
Using a seed file
1. Create a seed file, using routers and gateways
2. Modify the netmon.lrf file Add –s <pathname/filename> to the options eg: -s “C\:/dir/seedfile”
3. Use ovaddobj on netmon’s LRF cd %OV_LRF% ovaddobj netmon.lrf
4. Stop netmon
5. Redo initial discovery, if required
6. Restart netmon
ca.comSlide I - 17
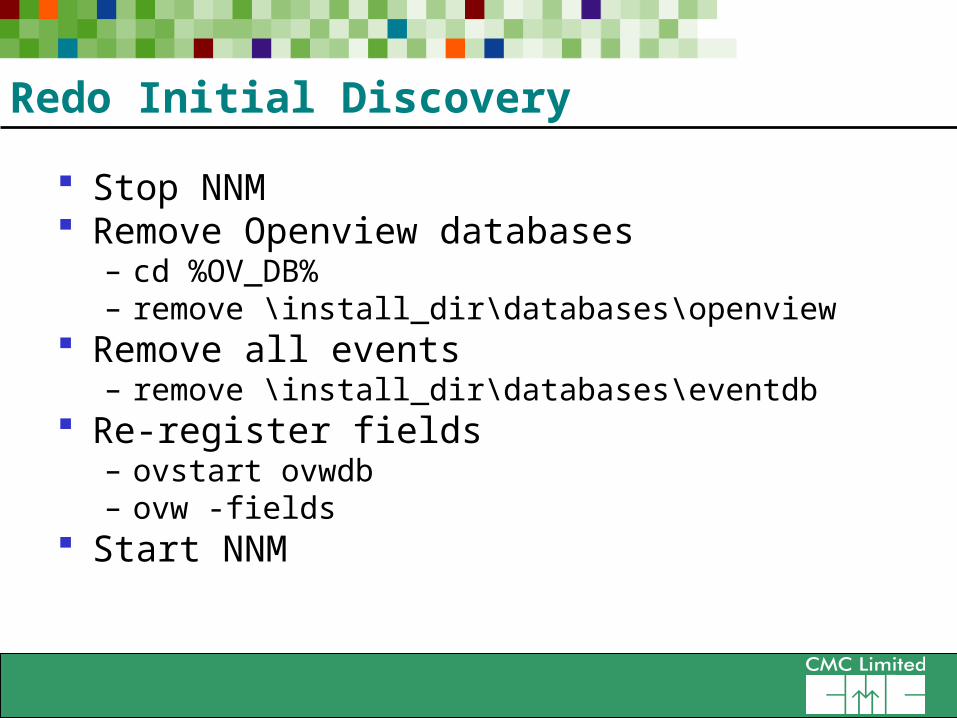
Redo Initial Discovery
Stop NNM Remove Openview databases
– cd %OV_DB%– remove \install_dir\databases\openview
Remove all events– remove \install_dir\databases\eventdb
Re-register fields– ovstart ovwdb– ovw -fields
Start NNM
ca.comSlide I - 18
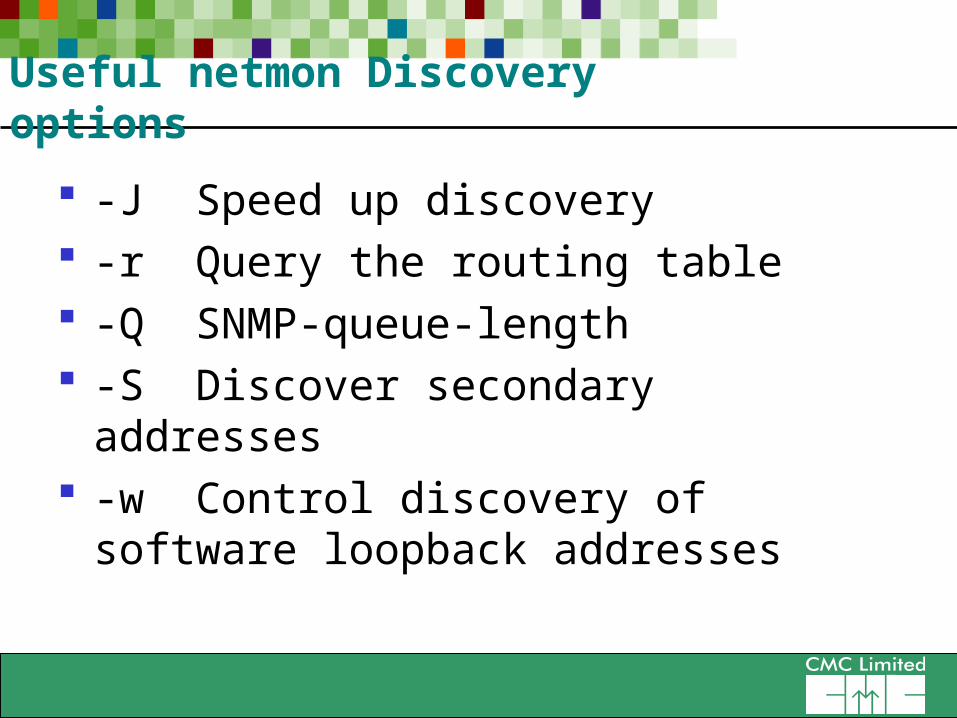
Useful netmon Discovery options
-J Speed up discovery -r Query the routing table -Q SNMP-queue-length -S Discover secondary addresses -w Control discovery of software
loopback addresses
ca.comSlide I - 19
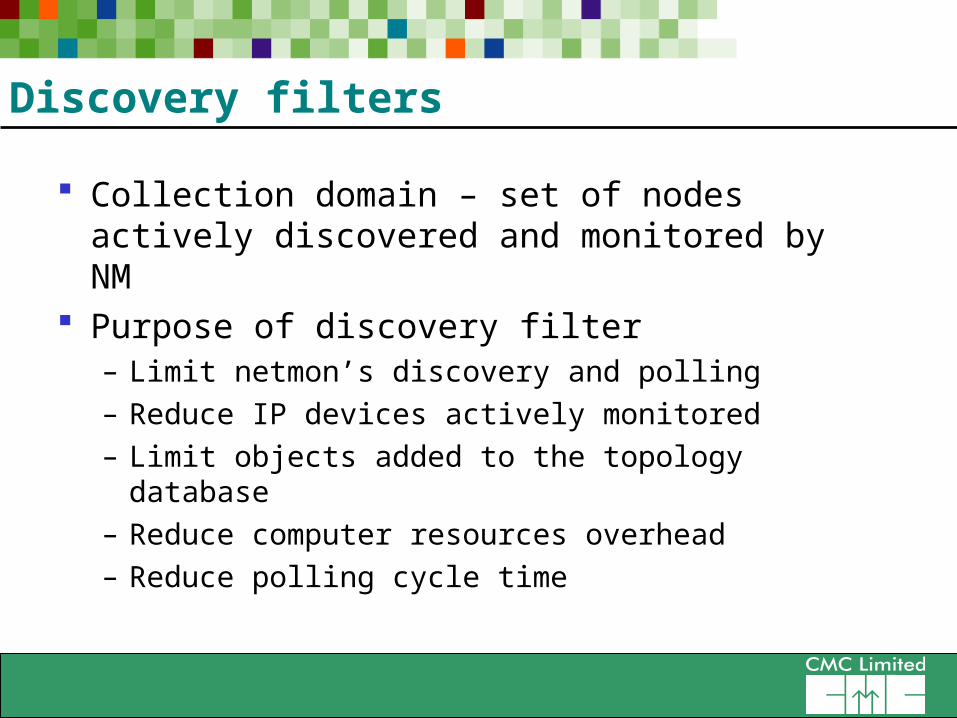
Discovery filters
Collection domain – set of nodes actively discovered and monitored by NM
Purpose of discovery filter– Limit netmon’s discovery and polling– Reduce IP devices actively monitored– Limit objects added to the topology database– Reduce computer resources overhead– Reduce polling cycle time
ca.comSlide I - 20
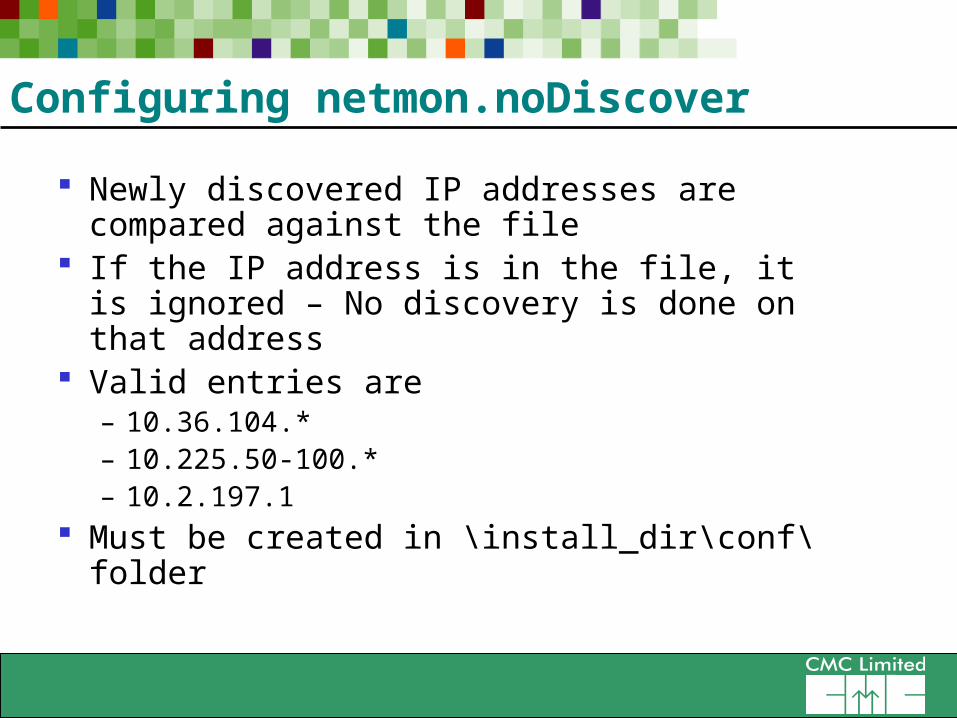
Configuring netmon.noDiscover
Newly discovered IP addresses are compared against the file
If the IP address is in the file, it is ignored – No discovery is done on that address
Valid entries are– 10.36.104.*– 10.225.50-100.*– 10.2.197.1
Must be created in \install_dir\conf\ folder
ca.comSlide I - 21
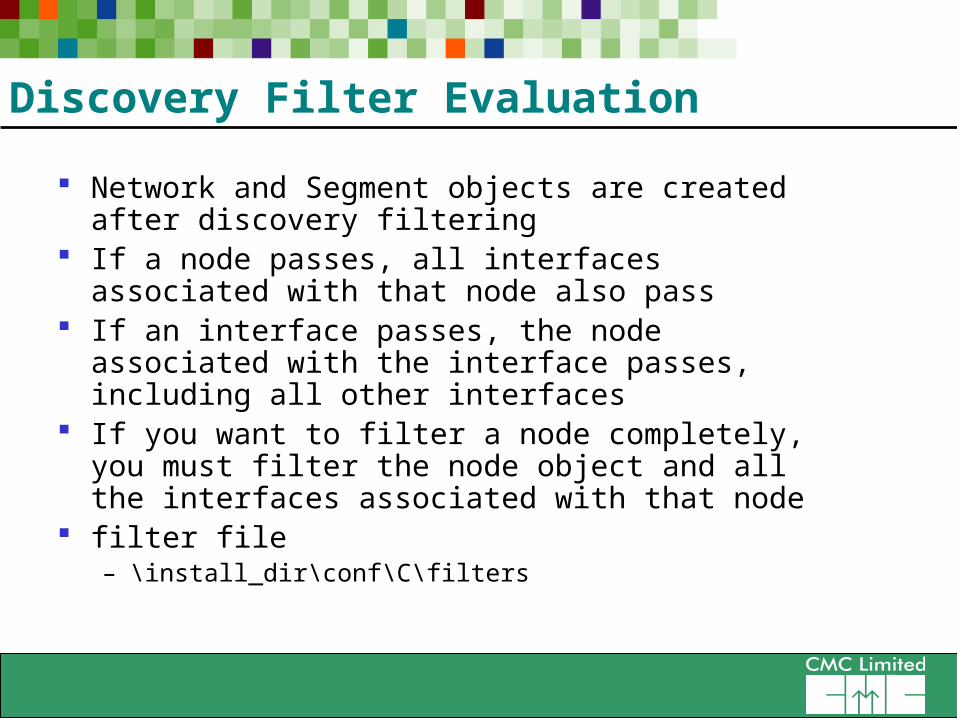
Discovery Filter Evaluation
Network and Segment objects are created after discovery filtering
If a node passes, all interfaces associated with that node also pass
If an interface passes, the node associated with the interface passes, including all other interfaces
If you want to filter a node completely, you must filter the node object and all the interfaces associated with that node
filter file– \install_dir\conf\C\filters
ca.comSlide I - 22
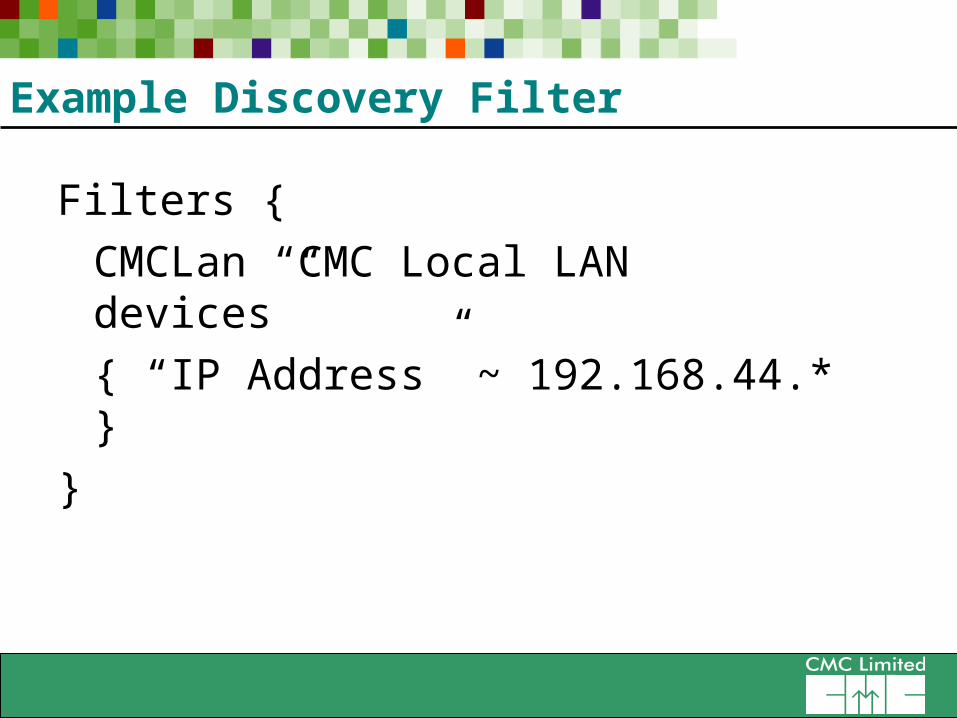
Example Discovery Filter
Filters {
CMCLan “CMC Local LAN devices”
{ “IP Address” ~ 192.168.44.* }
}
ca.comSlide I - 23
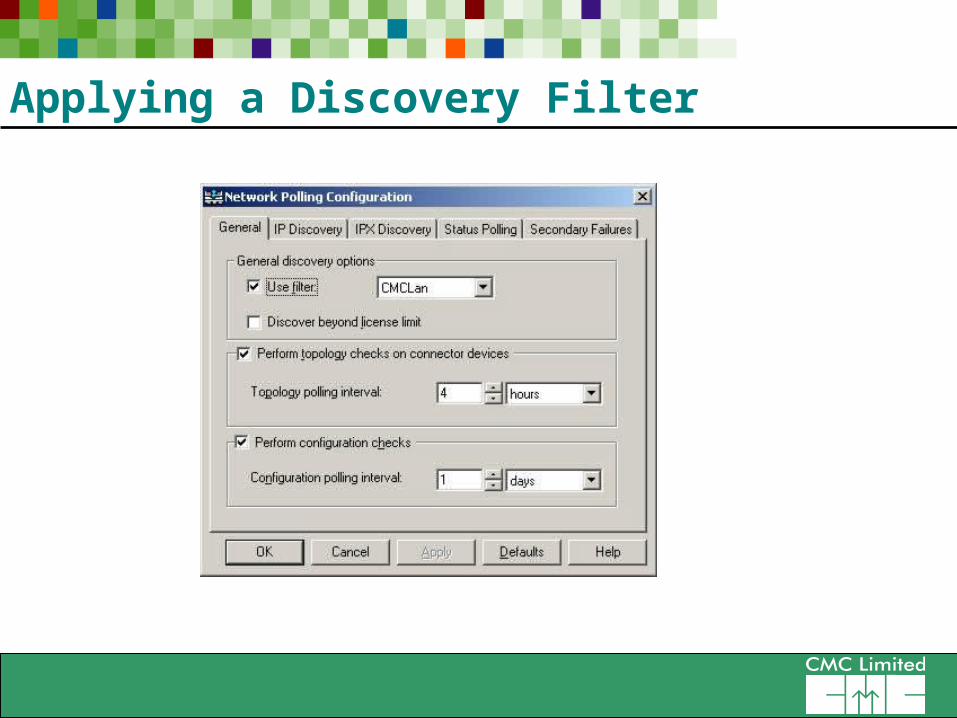
Applying a Discovery Filter
ca.comSlide I - 24
netmon.noDiscover vs Discovery Filter
Discovery filter queries a node and then evaluates whether the node should be included in the database
netmon.noDiscover does not even query the device if IP address matches – saves network bandwidth and speeds up discovery
For certain types of devices (routers, switches etc.) the only option is to use Discovery filter