Embed Size (px)
Citation preview
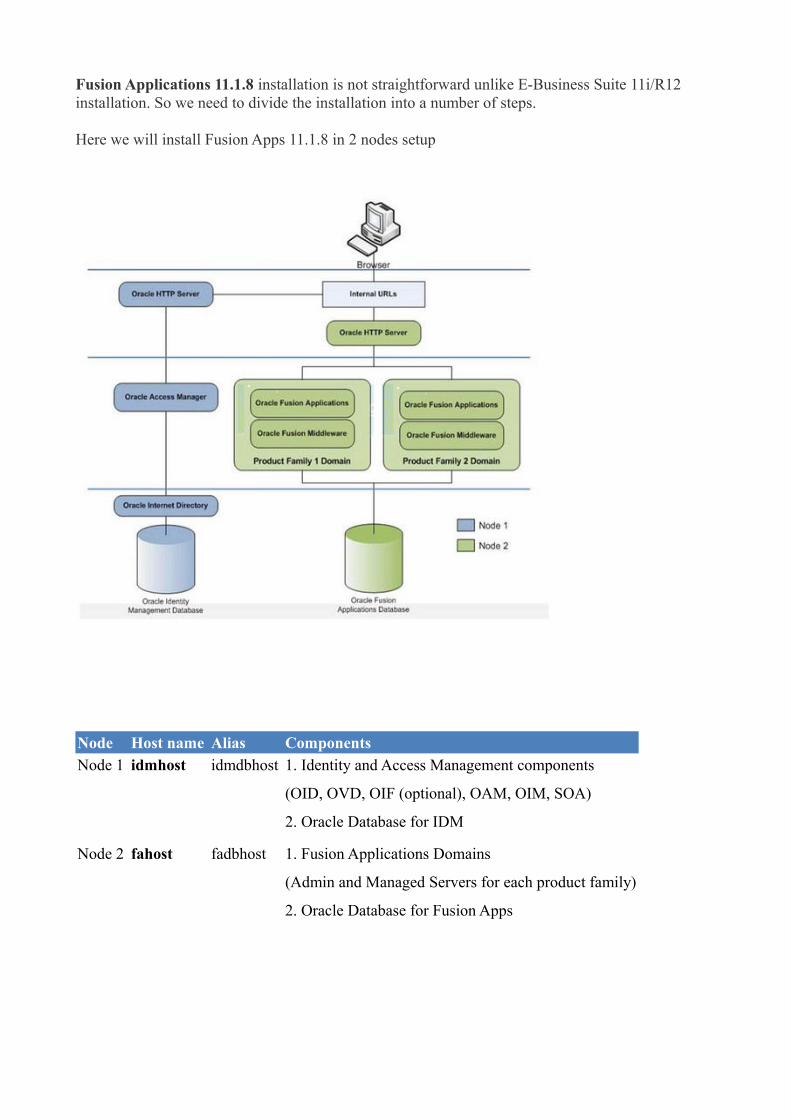
Fusion Applications 11.1.8 installation is not straightforward unlike E-Business Suite 11i/R12 installation. So we need to divide the installation into a number of steps.
Here we will install Fusion Apps 11.1.8 in 2 nodes setup
Node Host name Alias Components
Node 1 idmhost idmdbhost 1. Identity and Access Management components
(OID, OVD, OIF (optional), OAM, OIM, SOA)
2. Oracle Database for IDM
Node 2 fahost fadbhost 1. Fusion Applications Domains
(Admin and Managed Servers for each product family)
2. Oracle Database for Fusion Apps
We are using following configuration for our installation.Node 1
Hostname: idmhostOS: Oracle Linux x86-64Disk size: 300 GBMemory: Minimum 8+ GB (Recommended 16+ GB)Node 2
Hostname: fahostOS: Oracle Linux x86-64Disk size: 500 GBMemory:•Option 1. For single product (except Financials, CRM or SCM) : Minimum 64+ GB (Recommended 96+ GB)•Option 2: For Financials or CRM or SCM: Minimum 88+ GB (Recommended 128 GB)•Option 3: For all products selected: Minimum 144+ GBFusion Application Installations can be largely divided into following steps.
Preparing for Oracle Fusion Applications installation
1. Downloading Oracle Fusion Applications media
Login to http://edelivery.oracle.com to access the following screen.
2. Creating Oracle Fusion Applications provisioning repository / Staging directory
Unzip all these files into one Stage directory on your host OS.
3.Install OS on physical machine
We have installed the OS o physical machine with Oracle Linux x86-64 OS
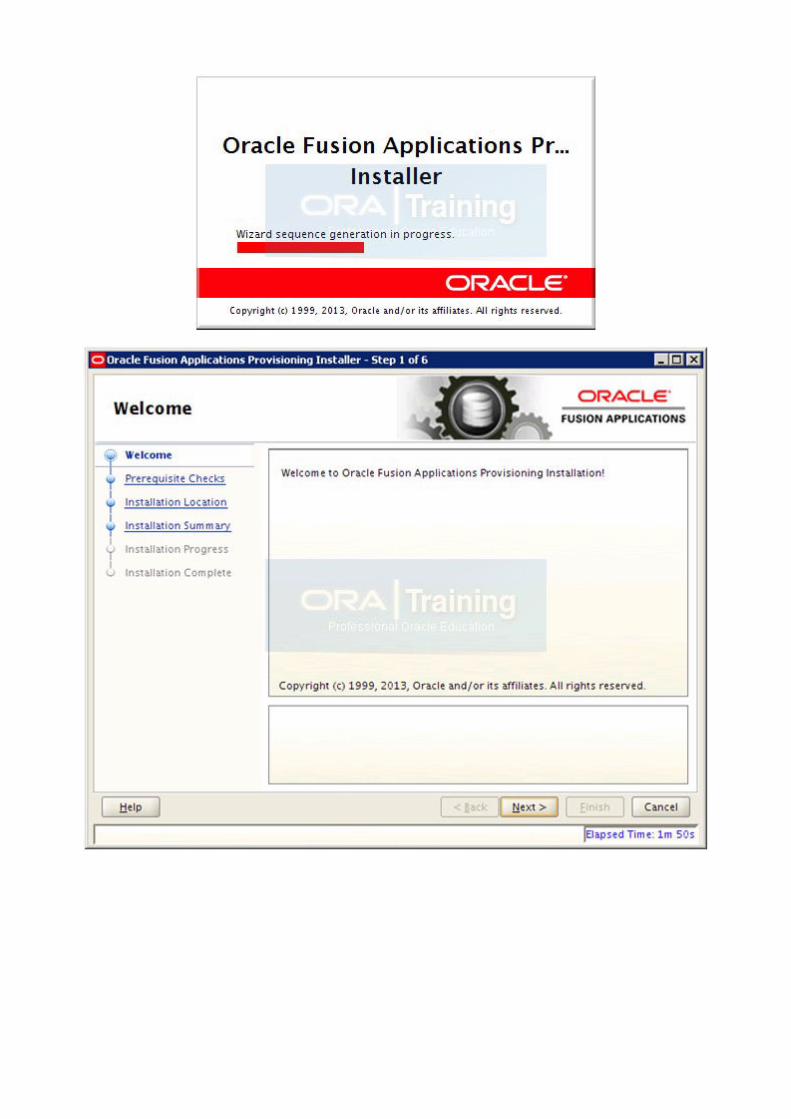
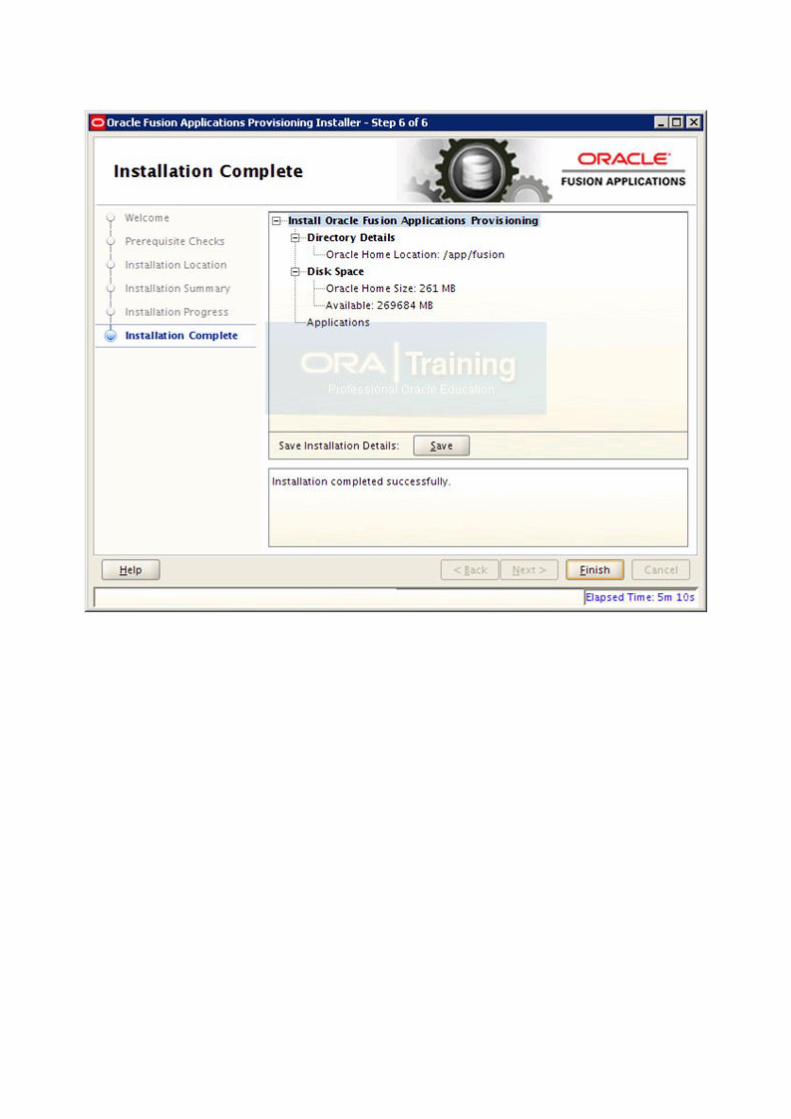
Install Fusion Applications Provisioning Framework
1. Pre Requisite Steps:
2. Start the installation


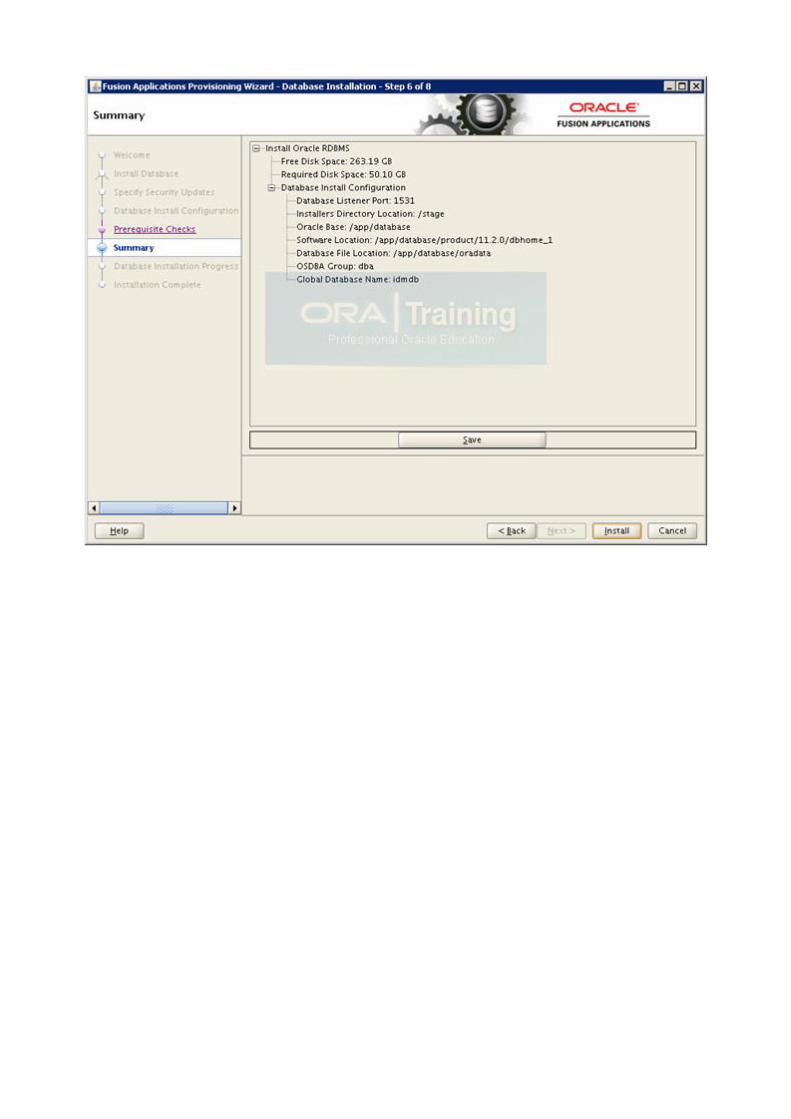
Install Oracle 11g Database (Identity management Database)
Fusion Applications 11.1.8 also ships with Oracle 11g (11.2.0.3.0) database. You can either install it separately (if you want to install RAC database) or use Fusion provisioning Wizard to create one.
To install Applications Transactional Database we need to run Oracle Fusion Applications Provisioning Wizard from <framework_location>/provisioning/bin<framework_location> is same where we installed the framework in previous post. i.e. /app/fusion
[fusion@idmhost ~]$ cd /app/fusion/provisioning/bin/We need to temporarily set JAVA_HOME to jdk6 directory shipped with the installation media
[fusion@idmhost bin]$ export JAVA_HOME=/stage/jdk6[fusion@fmwhost bin]$ ./provisioningWizard.sh


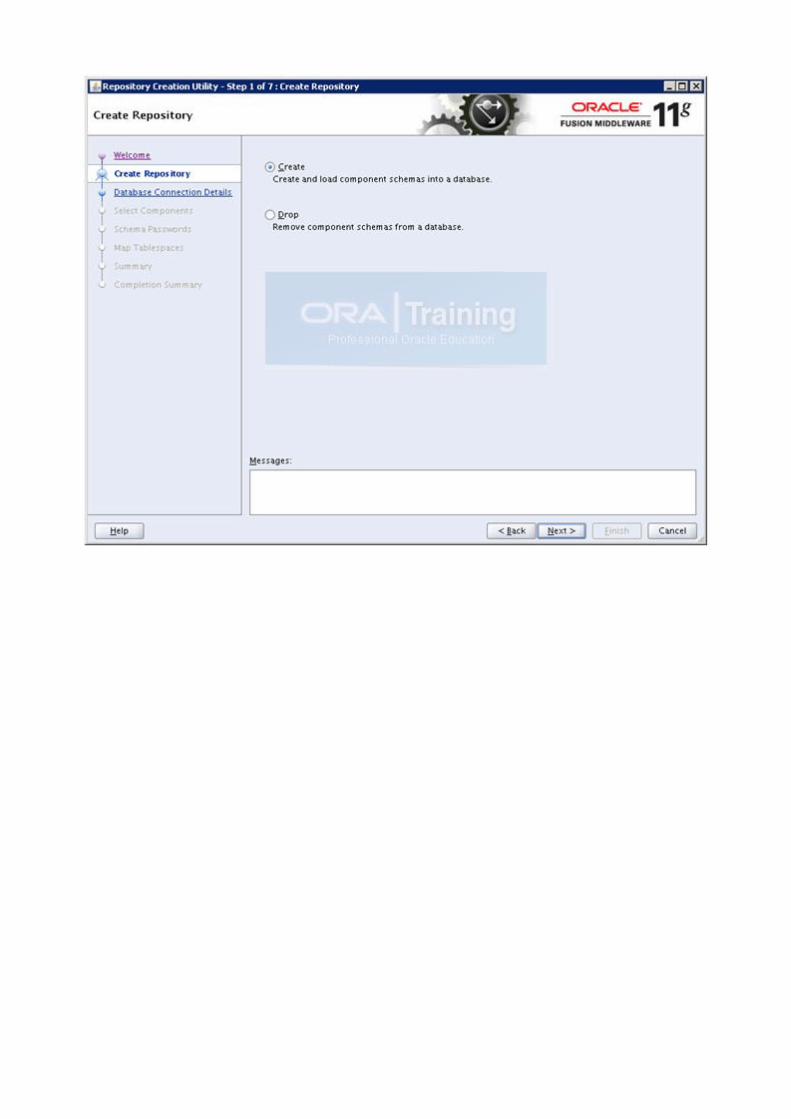
Run Repository Creation Utility (RCU) for Oracle Identity Management components
RCU for Oracle Identity Management components is only available for Linux and Windows platforms and the
Fusion Application setup ships with Linux only RCU for Identity Management components.
[fusion@idmhost ~]$ mkdir /app/fusion/provisioning/fmw_rcu
[fusion@idmhost ~]$ cd /app/fusion/provisioning/fmw_rcu
Unzip the RCU which ships with the installation.
[fusion@idmhost fmw_rcu]$ unzip /stage/installers/fmw_rcu/linux/rcuHome.zip
Run the RCU now.
[fusion@idmhost ~]$ cd /app/fusion/provisioning/fmw_rcu/bin
[fusion@idmhost bin]$ ./rcu &


Install Identity Management Provisioning Wizard
Fusion Applications 11.1.8 and 11.1.7 include Oracle Identity and Access Management 11.1.1.7 instead of
11.1.1.6.
Also instead of manual installation, configuration and integration as we used to do till 11.1.6, now Oracle has
supplied Provisioning wizard for Identity Management as well. This greatly decreases the chances of errors during
manual configuration.


Create IDM provisioning Response File
Since we will use port 7777 for IDM web server, let’s make sure nothing is running on this port.
Launch the IDM provisioning Wizard to create a new response file.


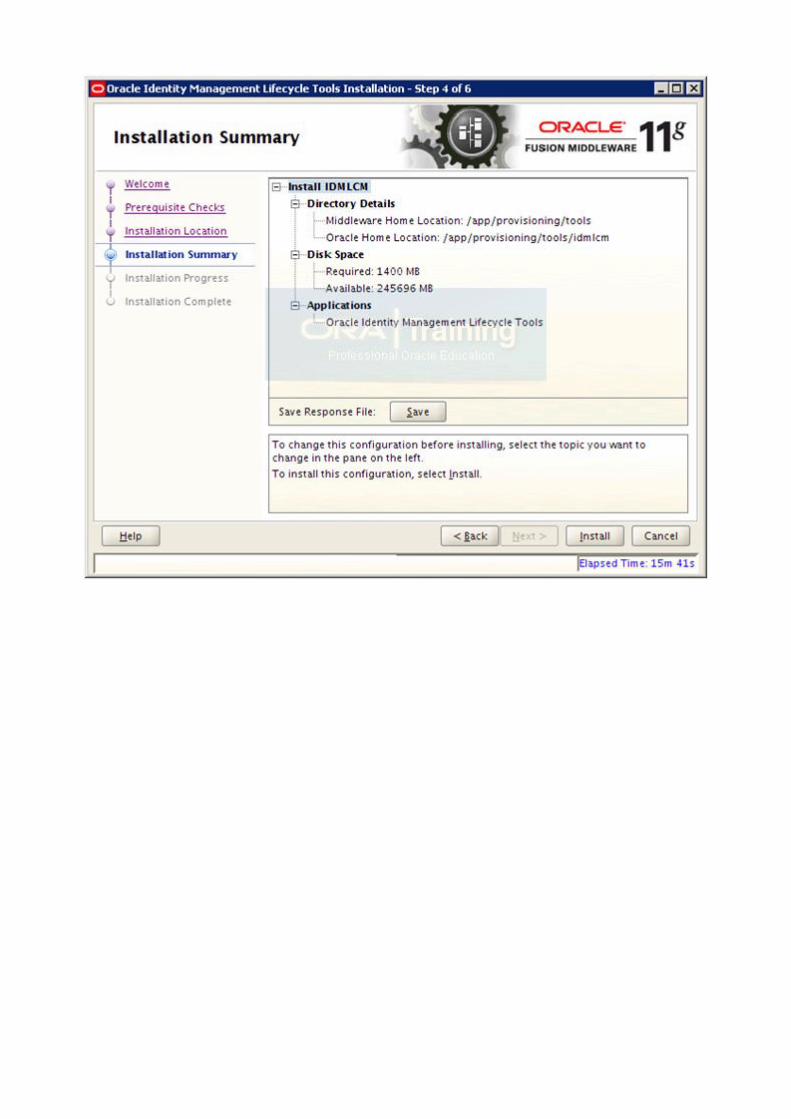
Provision Identity Management
Provisioning process includes same following phases that we will see during Fusion Applications Provisioning.
1. preverify
2. install
3. preconfigure
4. configure
5. configure-secondary
6. postconfigure
7. startup
8. validate
The response file generated in last step is located at
/app/provisioning/tools/idmlcm/provisioning/bin/provisioning.rsp
We will need to supply this response file at each phase of provisioning as follows.

./runIDMProvisioning.sh -responseFile <filename> -target <phase>
[fusion@idmhost bin]$ ./runIDMProvisioning.sh -responseFile /app/provisioning/tools/idmlcm/provisioning/bin/provisioning.rsp -target preverify
*** Checking java and fusion repository setting…
*** Using fusion repository at /stage
*** Valid java version. Using JAVA_HOME environment at /app/fusion/jdk6
*** Using local ant setting at /app/fusion/provisioning/ant
…
2013-11-03 05:35:31.842 TRACE
BUILD SUCCESSFUL
Total time: 40 seconds
Successfully finished preverify.
Proceed with install.
[fusion@idmhost bin]$ ./runIDMProvisioning.sh -responseFile
/app/provisioning/tools/idmlcm/provisioning/bin/provisioning.rsp -target install
…
*** Checking java and fusion repository setting…
*** Using fusion repository at /stage
*** Valid java version. Using JAVA_HOME environment at /app/fusion/jdk6
*** Using local ant setting at /app/fusion/provisioning/ant
…
2013-11-03 08:32:33.621 TRACE
BUILD SUCCESSFUL
Total time: 173 minutes 24 seconds
Successfully finished install.
Proceed with preconfigure.
[fusion@idmhost bin]$ ./runIDMProvisioning.sh -responseFile
/app/provisioning/tools/idmlcm/provisioning/bin/provisioning.rsp -target preconfigure
fusionRepository from rsp file: /stage
*** Checking java and fusion repository setting…
*** Using fusion repository at /stage
*** Valid java version. Using JAVA_HOME environment at /app/fusion/jdk6
*** Using local ant setting at /app/fusion/provisioning/ant

…
2013-11-03 13:17:42.263 TRACE
BUILD SUCCESSFUL
Total time: 70 minutes 15 seconds
Successfully finished preconfigure.
Proceed with configure.
[fusion@idmhost bin]$ ./runIDMProvisioning.sh -responseFile
/app/provisioning/tools/idmlcm/provisioning/bin/provisioning.rsp -target configure
fusionRepository from rsp file: /stage
*** Checking java and fusion repository setting…
*** Using fusion repository at /stage
*** Valid java version. Using JAVA_HOME environment at /app/fusion/jdk6
*** Using local ant setting at /app/fusion/provisioning/ant
…
2013-11-03 13:56:06.366 TRACE
BUILD SUCCESSFUL
Total time: 36 minutes 19 seconds
Successfully finished configure.
Proceed with configure-secondary.
[fusion@idmhost bin]$ ./runIDMProvisioning.sh -responseFile
/app/provisioning/tools/idmlcm/provisioning/bin/provisioning.rsp -target configure-secondary
fusionRepository from rsp file: /stage
*** Checking java and fusion repository setting…
*** Using fusion repository at /stage
*** Valid java version. Using JAVA_HOME environment at /app/fusion/jdk6
*** Using local ant setting at /app/fusion/provisioning/ant
…
2013-11-03 14:13:07.792 TRACE
BUILD SUCCESSFUL
Total time: 7 minutes 50 seconds
Successfully finished configure-secondary.
Proceed with postconfigure.
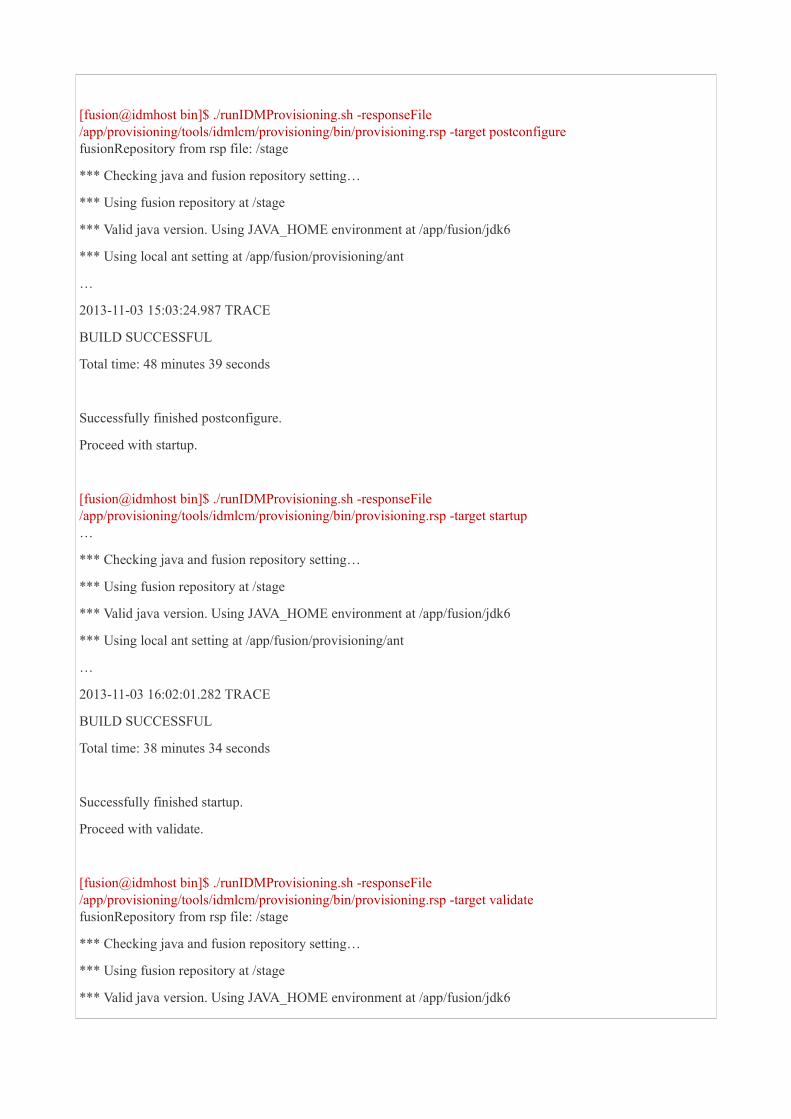
[fusion@idmhost bin]$ ./runIDMProvisioning.sh -responseFile
/app/provisioning/tools/idmlcm/provisioning/bin/provisioning.rsp -target postconfigure
fusionRepository from rsp file: /stage
*** Checking java and fusion repository setting…
*** Using fusion repository at /stage
*** Valid java version. Using JAVA_HOME environment at /app/fusion/jdk6
*** Using local ant setting at /app/fusion/provisioning/ant
…
2013-11-03 15:03:24.987 TRACE
BUILD SUCCESSFUL
Total time: 48 minutes 39 seconds
Successfully finished postconfigure.
Proceed with startup.
[fusion@idmhost bin]$ ./runIDMProvisioning.sh -responseFile
/app/provisioning/tools/idmlcm/provisioning/bin/provisioning.rsp -target startup
…
*** Checking java and fusion repository setting…
*** Using fusion repository at /stage
*** Valid java version. Using JAVA_HOME environment at /app/fusion/jdk6
*** Using local ant setting at /app/fusion/provisioning/ant
…
2013-11-03 16:02:01.282 TRACE
BUILD SUCCESSFUL
Total time: 38 minutes 34 seconds
Successfully finished startup.
Proceed with validate.
[fusion@idmhost bin]$ ./runIDMProvisioning.sh -responseFile
/app/provisioning/tools/idmlcm/provisioning/bin/provisioning.rsp -target validate
fusionRepository from rsp file: /stage
*** Checking java and fusion repository setting…
*** Using fusion repository at /stage
*** Valid java version. Using JAVA_HOME environment at /app/fusion/jdk6
*** Using local ant setting at /app/fusion/provisioning/ant
…
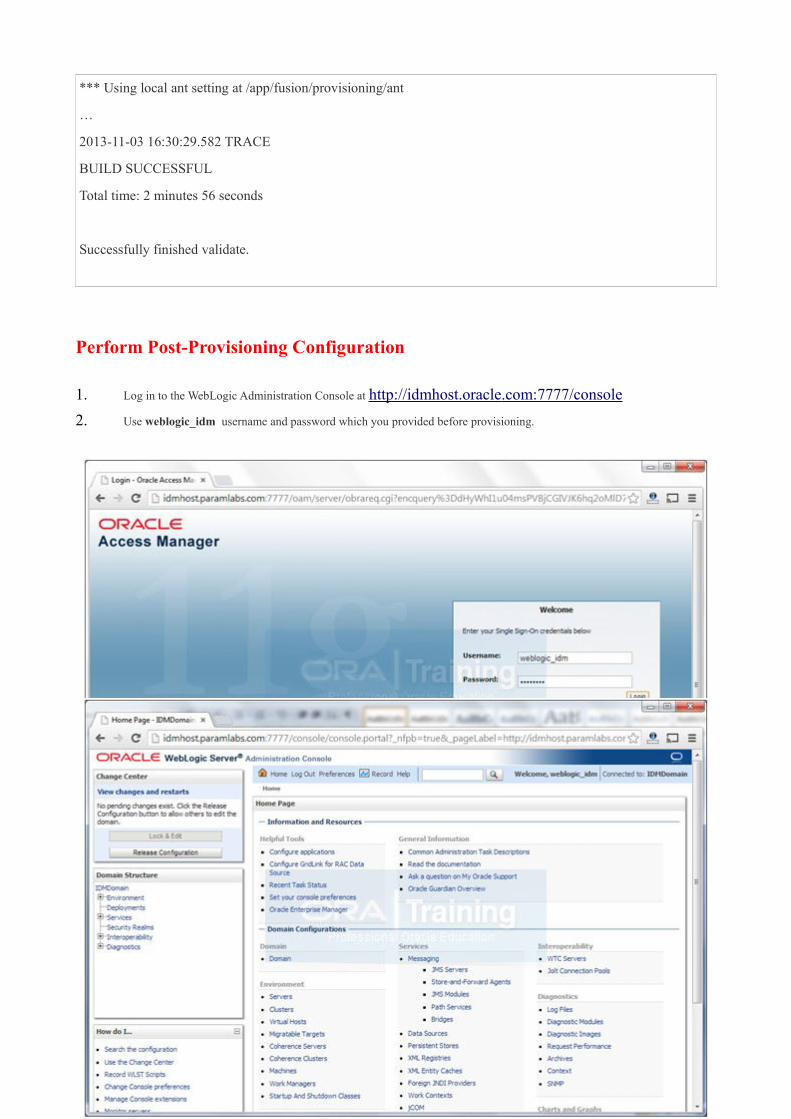
2013-11-03 16:30:29.582 TRACE
BUILD SUCCESSFUL
Total time: 2 minutes 56 seconds
Successfully finished validate.
Perform Post-Provisioning Configuration
1. Log in to the WebLogic Administration Console at http://idmhost.oracle .com:7777/console
2. Use weblogic_idm username and password which you provided before provisioning.


6. Deselect Supports Global Transactions if not already deselected. In our case it is already deselected.
7. Click Save.
8. Repeat Steps 4 through 7 for all the listed datasources.
Note: We had to change the checkbox only or oamDS. All other were already deselected.
9. Click Activate Changes.
10. Restart all servers.
Updating Oracle HTTP Server Runtime ParametersBy default, the Oracle HTTP Server contains parameter values that are suitable for most applications. These values, however, must be
adjusted in IDM Deployments
Creating ODSM Connections to Oracle Virtual Directory
Creating ODSM Connections to Oracle Internet Directory
Update WebGate Configuration
Creating Oracle Access Manager Policies for WebGate 11g
Validate OID and OVD