Embed Size (px)
Citation preview

Tablesin
Powerpoint
Contents Definition Components Advantages Limitations
Contents Introduction Inserting a Table Drawing a Table Table Style Formatting Table Style Working with Rows & Columns Additional Table Formatting
IntroductionPowerpoint is a powerful tool to communicate information to someone or to a group of people. The information can be communicated in various ways such as pictures, lists or paragraphs of text. Another way is to use Tables.
To organize its information, a table is made of columns and rows. This also means that these would be the first two pieces of information you must provide to initiate a table. The columns are the vertical arrangements while the rows are the horizontal records.
Inserting a TableSteps are :
Select the slide in which table is to be added. On the Insert tab, in the Tables group, click Table. Do one of the following:◦Move the pointer to select the number of rows and
columns and then click.◦Click Insert Table, and then enter a number in the
Number of columns and Number of rows lists.
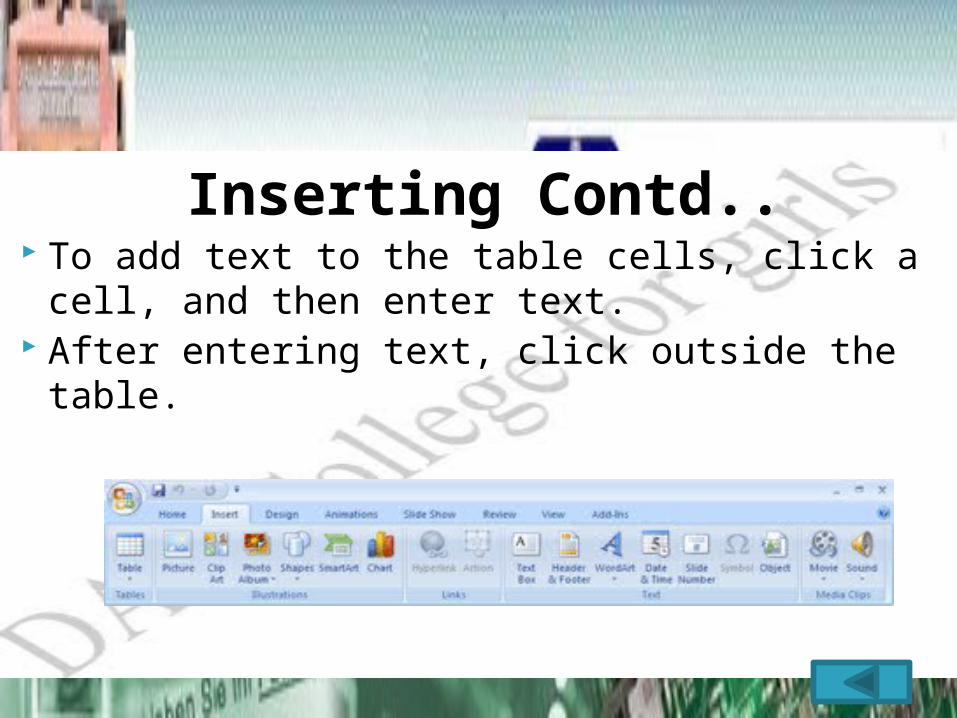
Inserting Contd.. To add text to the table cells, click a cell, and then enter
text. After entering text, click outside the table.
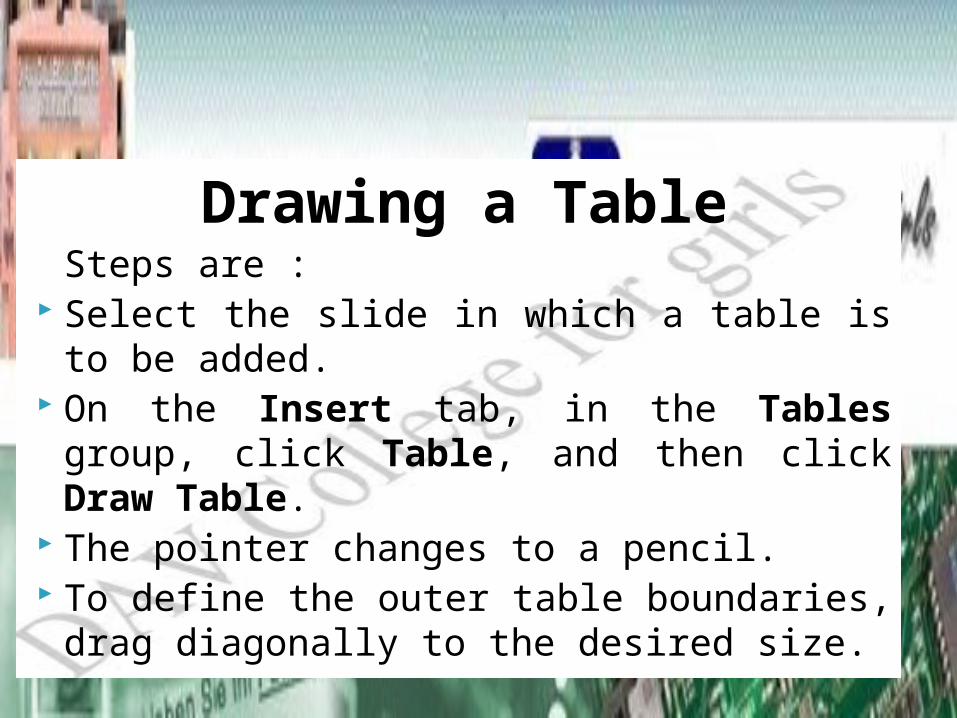
Drawing a TableSteps are :
Select the slide in which a table is to be added. On the Insert tab, in the Tables group, click Table,
and then click Draw Table. The pointer changes to a pencil. To define the outer table boundaries, drag diagonally to
the desired size.
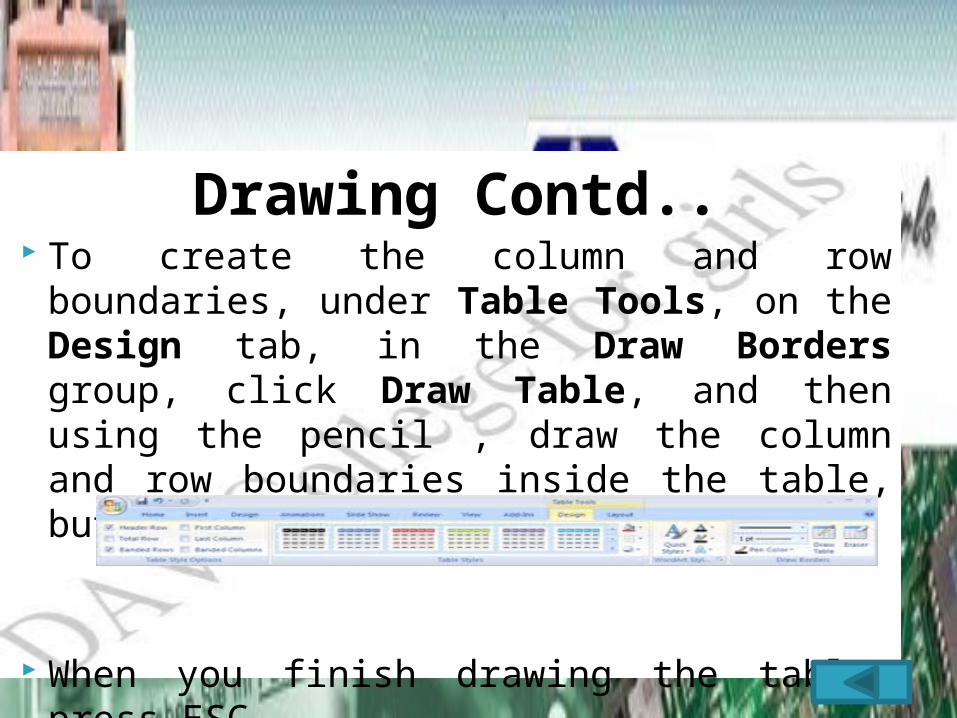
Drawing Contd.. To create the column and row boundaries, under Table
Tools, on the Design tab, in the Draw Borders group, click Draw Table, and then using the pencil , draw the column and row boundaries inside the table, but not on the table borders.
When you finish drawing the table, press ESC.
Table Style
A table style (or Quick Style) is a combination of different formatting options, including color combinations that are derived from the theme colors of the presentation. Thumbnails of table styles appear in the Quick Styles gallery in the Table Styles group. When pointer is placed over a Quick Style thumbnail, effect of thumbnail can be seen over the table.
Formatting Table Style
Apply a Table style : Select the table. Under Table Tools, on the Design tab, in the Table
Styles group, click the desired table style. To see more table styles, click the More button .
Move the cursor over table style to see live preview of style on the slide.
Finally click on desired style.
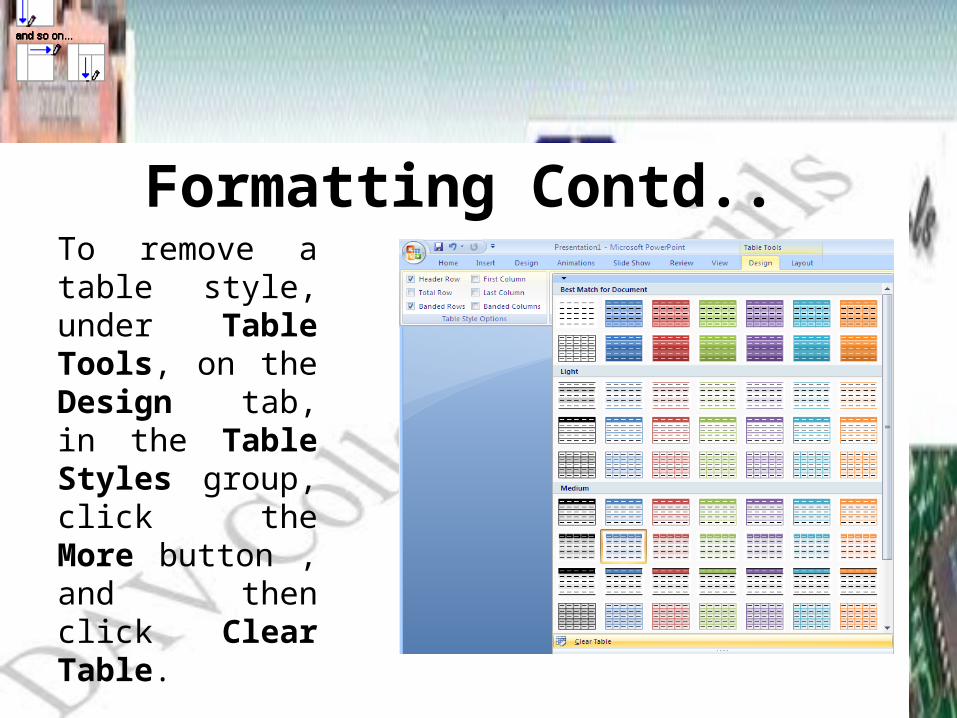
Formatting Contd..To remove a table style, under Table Tools, on the Design tab, in the Table Styles group, click the More button , and then click Clear Table.
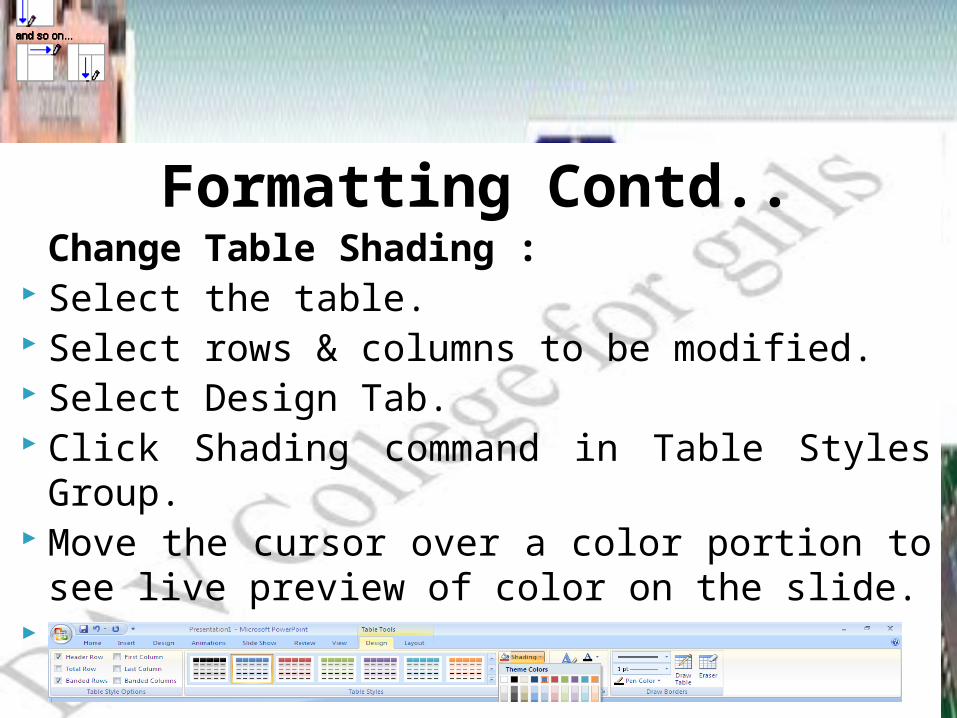
Formatting Contd..Change Table Shading :
Select the table. Select rows & columns to be modified. Select Design Tab. Click Shading command in Table Styles Group. Move the cursor over a color portion to see live preview of
color on the slide. Click a desired color.
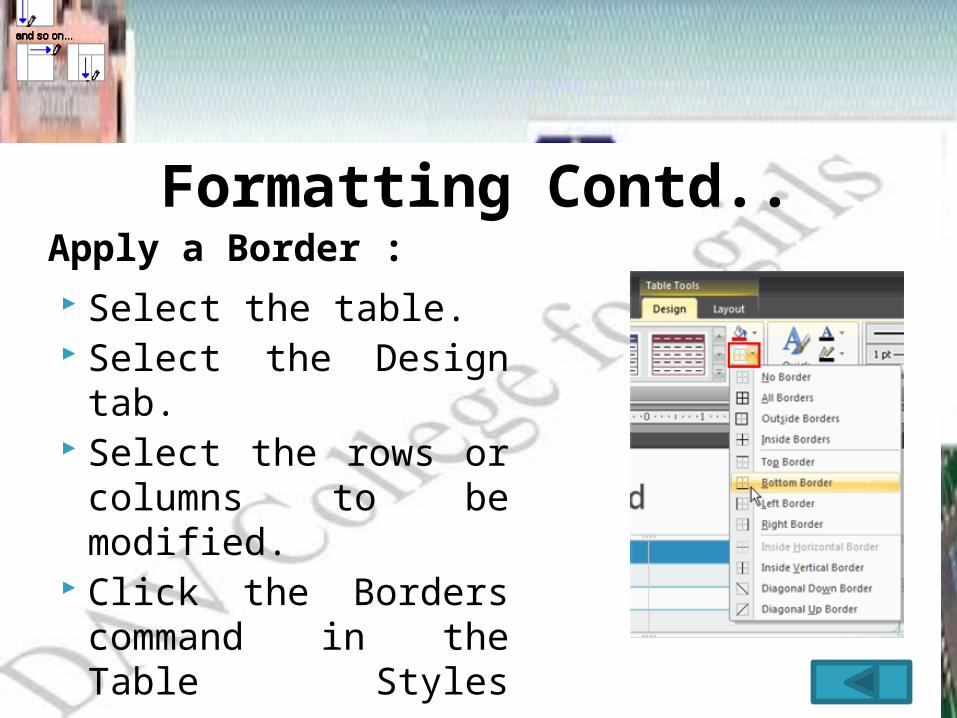
Formatting Contd..Apply a Border : Select the table. Select the Design tab. Select the rows or columns
to be modified. Click the Borders command
in the Table Styles group. Select a borders option
from the menu.

Working with Rows & ColumnsInsert a Row : Select the table. Select the Layout tab. Place the insertion point in
a row adjacent to where the new row is to be appeared.
Click the Insert Below or Insert Above command.
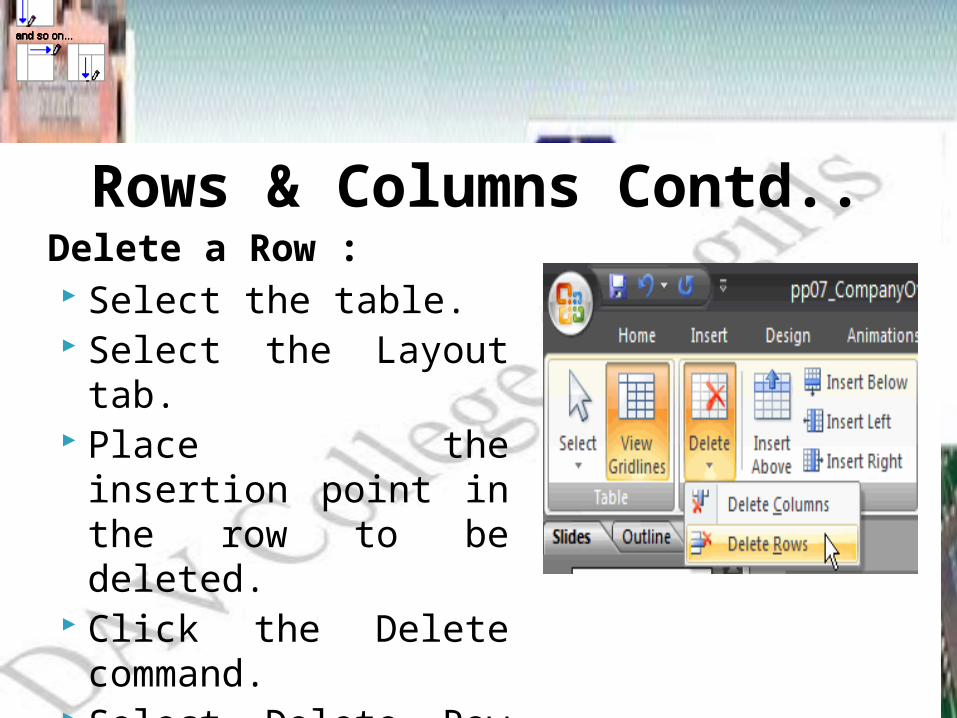
Rows & Columns Contd..Delete a Row : Select the table. Select the Layout tab. Place the insertion point in
the row to be deleted. Click the Delete command. Select Delete Row from the
menu.
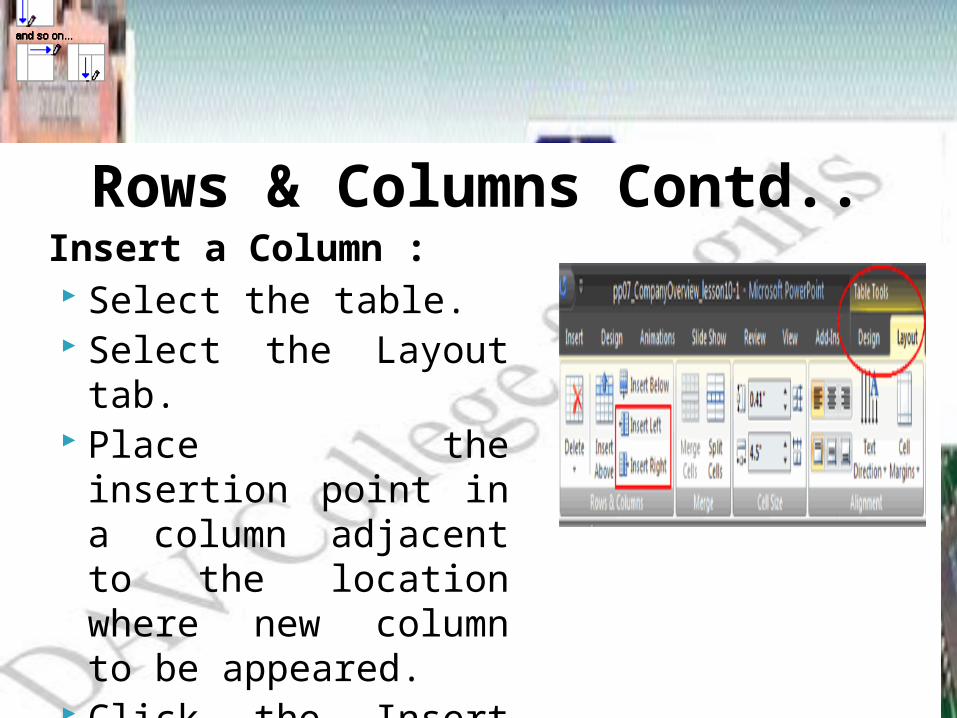
Rows & Columns Contd..Insert a Column : Select the table. Select the Layout tab. Place the insertion point in
a column adjacent to the location where new column to be appeared.
Click the Insert Right or Insert Left command.
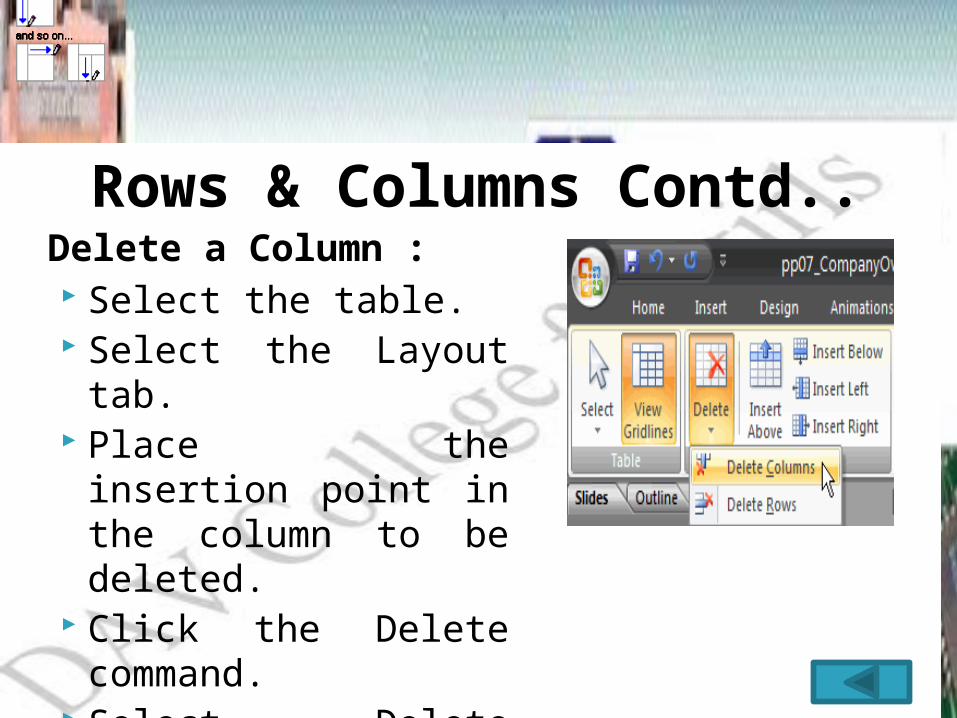
Rows & Columns Contd..Delete a Column : Select the table. Select the Layout tab. Place the insertion point in
the column to be deleted. Click the Delete command. Select Delete Column from
the menu.
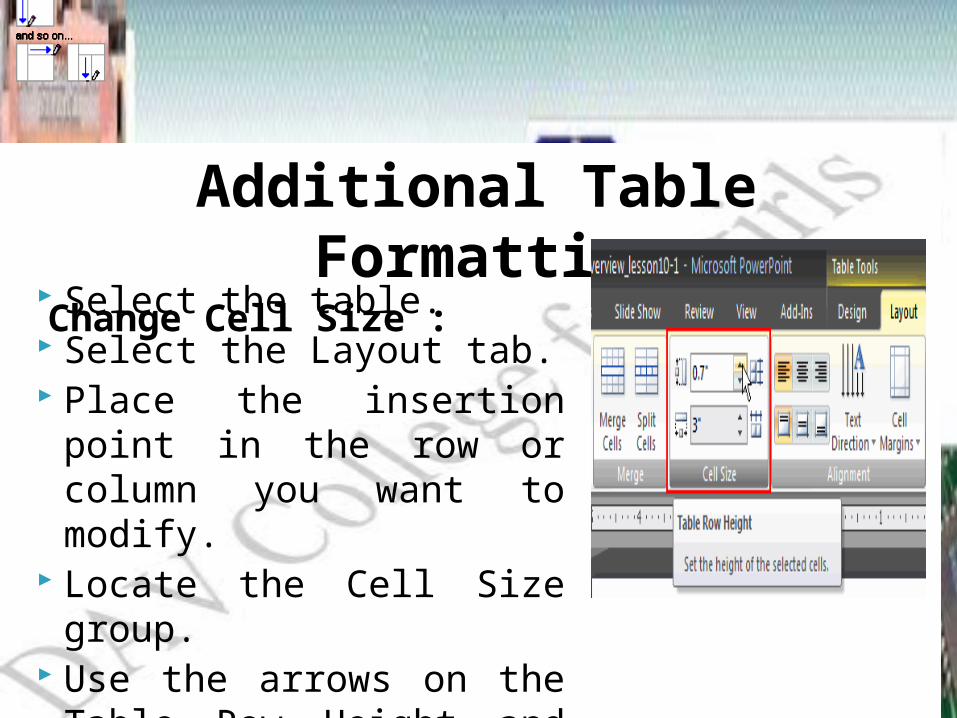
Additional Table FormattingChange Cell Size :
Select the table. Select the Layout tab. Place the insertion point in the
row or column you want to modify.
Locate the Cell Size group. Use the arrows on the Table Row
Height and Table Column Height fields to change the cell size.
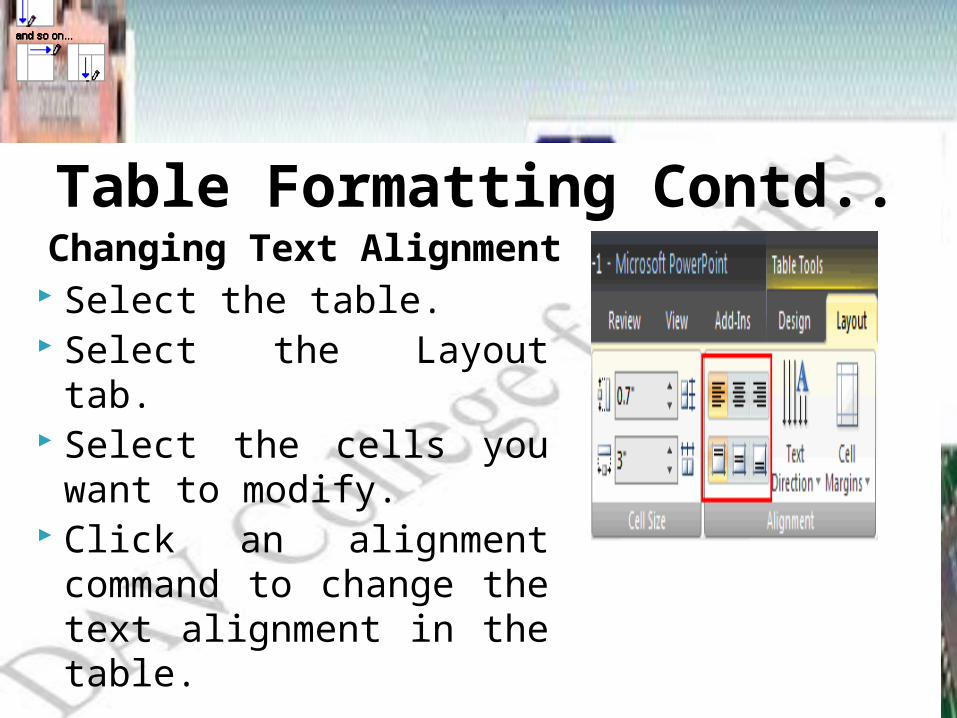
Table Formatting Contd..Changing Text Alignment :
Select the table. Select the Layout tab. Select the cells you want to
modify. Click an alignment command to
change the text alignment in the table.
Table Formatting Contd..The alignment commands are: Align Text Left: Aligns text to the left of the cellCenter: Aligns text horizontally in the center of the cellAlign Text Right: Aligns text to the right of the cellAlign Top: Aligns text to the top of the cellCenter Vertically: Vertically centers text in the cellAlign Bottom: Aligns text to the bottom of the cell

Thank You