Embed Size (px)
Citation preview

Welcome to the launch of the Practical Application Combat Training (P.A.C.T.) Professional Martial Arts Program
The program kickoff is officially December 1st, 2015 and the first exam will be June 4th 2016 at 2:00 PM. The program consists of four diverse martial arts disciplines, including; Kickboxing, Weapons, Self-Defense and Grappling. Each of the disciplines will be broken down into five modules-one per month-for five months. The sixth month will be utilized as a summary review, followed by the exam, at which point the program will restart back at module 1.1 This program is designed to be comprehensive so it is assumed it will take several rotations to complete all of the material. There will be inevitable adjustments to the program, so keep in mind this is a work in progress. If there are no new participants when the program restarts, then the skills that are already known can be bypassed, and more advanced skills can be covered. With that in mind here is our tentative schedule for the first two rotations: December 2015 - Modules 1.1, 1.2, 1.3, 1.4 January 2016 - Modules 2.1, 2.2, 2.3, 2.4 February 2016 - Modules 3.1, 3.2, 3.3, 3.4 March 2016 - Modules 4.1, 4.2, 4.3, 4.4 April 2016 - Modules 5.1, 5.2, 5.3, 5.4 May 2016 - Review June 2016 - Exam June 2016 - Modules 1.1, 1.2, 1.3, 1.4 July 2016 - Modules 2.1, 2.2, 2.3, 2.4 August 2016 - Modules 3.1, 3.2, 3.3, 3.4 September 2016 - Modules 4.1, 4.2, 4.3, 4.4 October 2016 - Modules 5.1, 5.2, 5.3, 5.4 November 2016 - Review December 2016 - Exam The supporting documentation for this program is a first draft, and it is presented here with the idea that adjustments will be made based on recommendations or error correction. If you believe you have found errors or missing information, please bring it to the attention of one of the instructors. The classes that are available to support this program are as follows: Monday 9:00 PM, Tuesday 7:00 & 8:00 PM, Wednesday 7:00 PM, Thursday 7:00 & 8:00 PM, Saturday 9:00 AM & 2:00 PM
Table of Contents
Introduction Module 1 Module 2 Module 3 Module 4 Module 5 Module 6
Supporting Documents
JLFS Combo Workout Lock Flow JLFS TACTICS Quick Defense Levels 1-5 Grace Combatives Jiu-Jitsu Levels 1-5 MASS ATTACK PRINCIPLES PANANTUKAN BOXING DRILLS
MODULE 1
1) How to punch and kick
a. Jab, Cross, Hook, Uppercut b. Front Kick, Side Kick, Round Kick, Cut Kick, Thrust Kick, Crescent Kick, Back Kick
2) Defensive Movement Patterns a. Runner, Blocker, Jammer
3) Joe Lewis Fighting Systems (JLFS) Tactics a. Angles of Attack - Direct Attack
4) Kickboxing Ranges of Combat a. Long, Middle, Close (Pocket), Clinching
5) Concepts of Movement a. Hit, Don't Get Hit, Move b. Cloverleaf c. Shuffle d. Three Dimensional Movement
6) Fitness Workout a. Arms
7) Stretching 8) Fighting Sequences
a. Benny Briscoe - Bag, Mitts, Partner 9) Partner Kickboxing Drill 10) Kickboxing CD
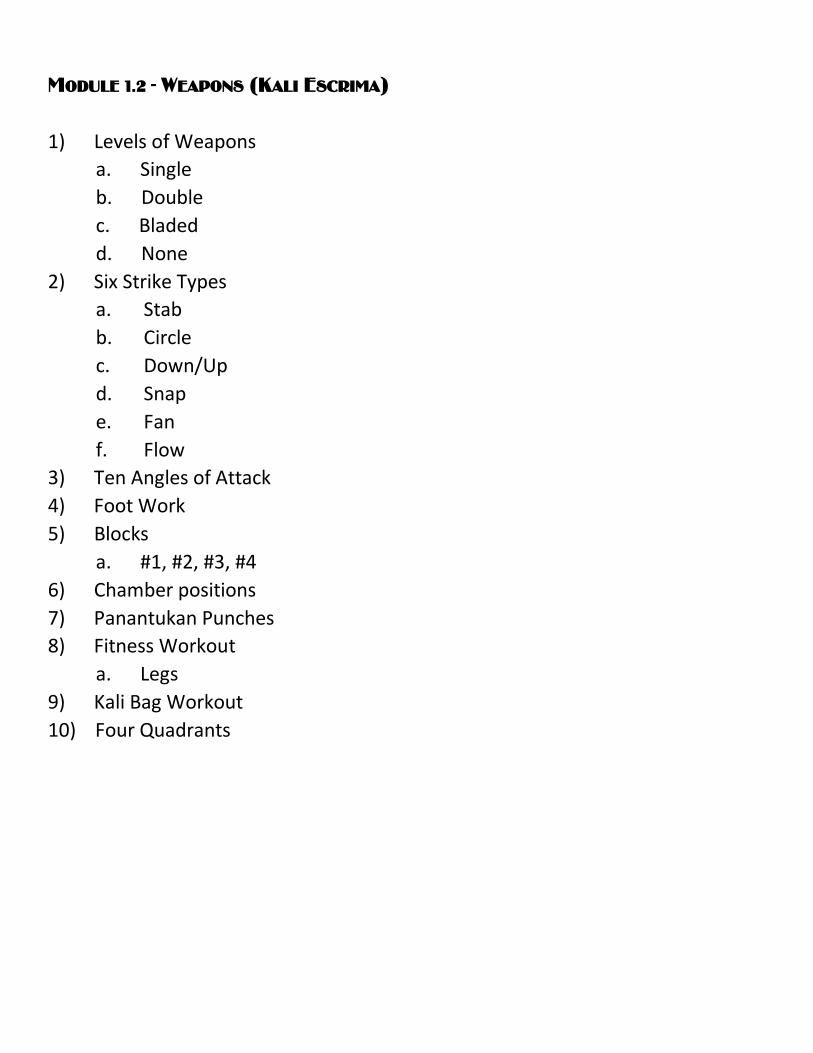
1) Levels of Weapons
a. Single b. Double c. Bladed d. None
2) Six Strike Types a. Stab b. Circle c. Down/Up d. Snap e. Fan f. Flow 3) Ten Angles of Attack 4) Foot Work 5) Blocks
a. #1, #2, #3, #4 6) Chamber positions 7) Panantukan Punches 8) Fitness Workout
a. Legs 9) Kali Bag Workout 10) Four Quadrants
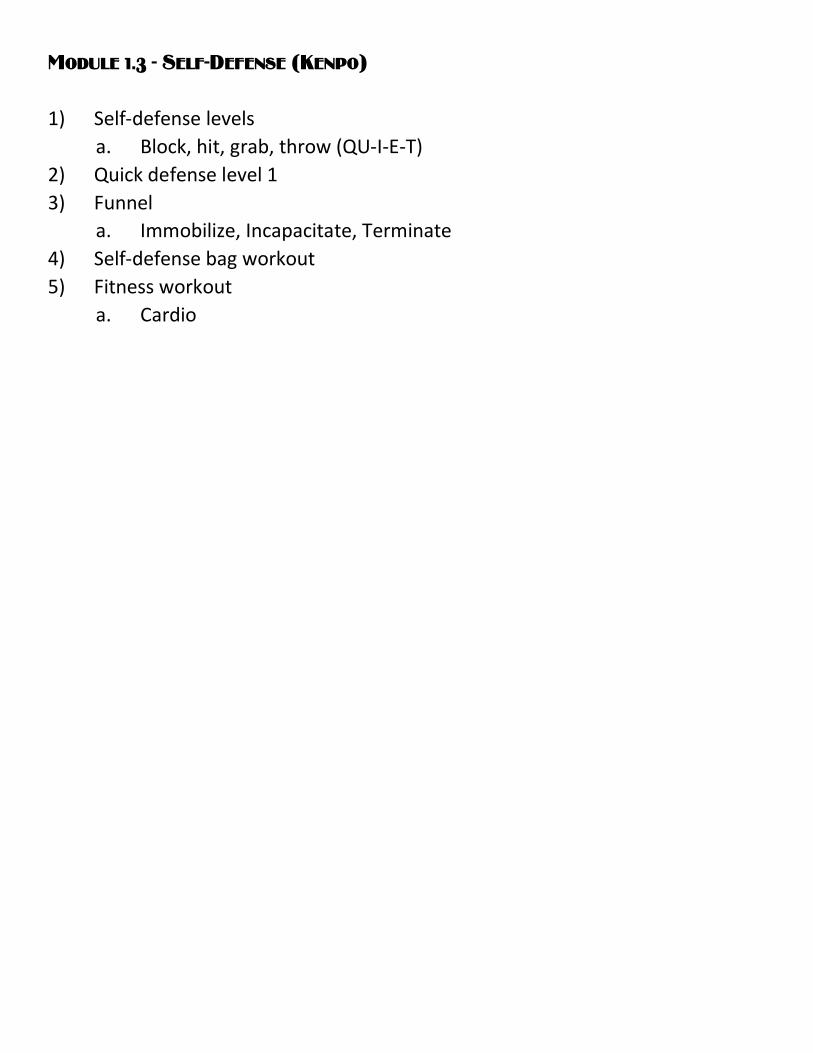
1) Self-defense levels
a. Block, hit, grab, throw (QU-I-E-T) 2) Quick defense level 1 3) Funnel
a. Immobilize, Incapacitate, Terminate 4) Self-defense bag workout 5) Fitness workout
a. Cardio
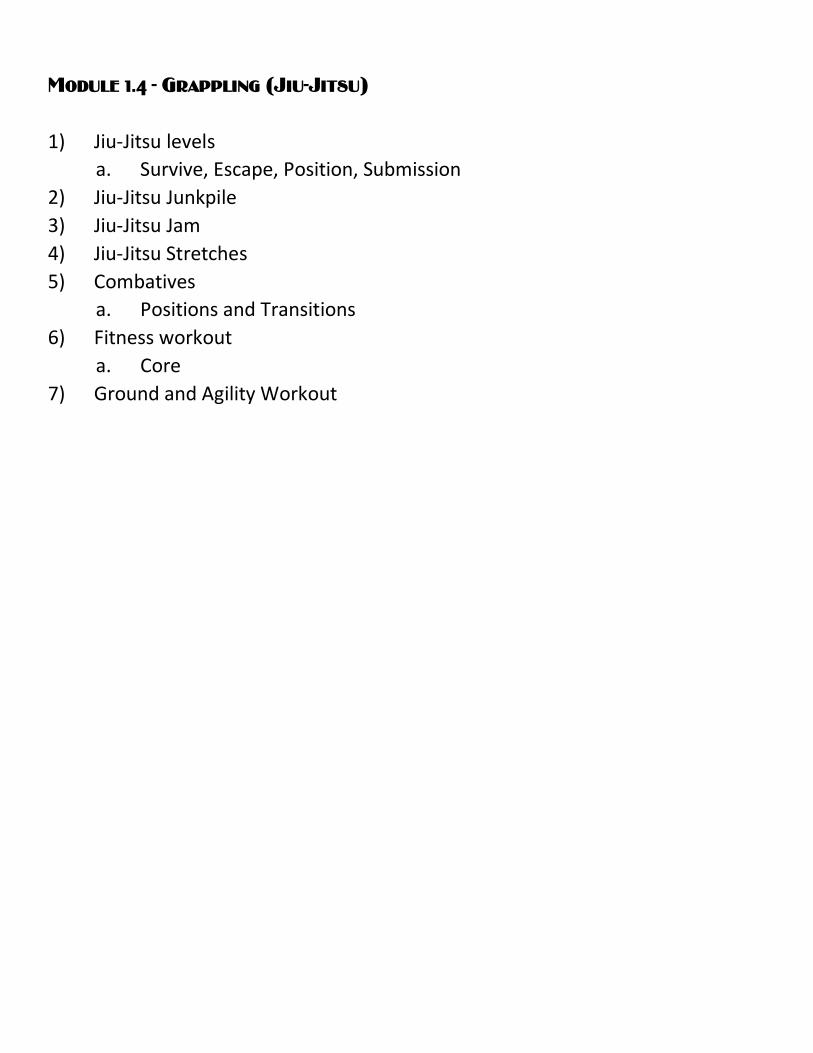
1) Jiu-Jitsu levels
a. Survive, Escape, Position, Submission 2) Jiu-Jitsu Junkpile 3) Jiu-Jitsu Jam 4) Jiu-Jitsu Stretches 5) Combatives
a. Positions and Transitions 6) Fitness workout
a. Core 7) Ground and Agility Workout

MODULE 2
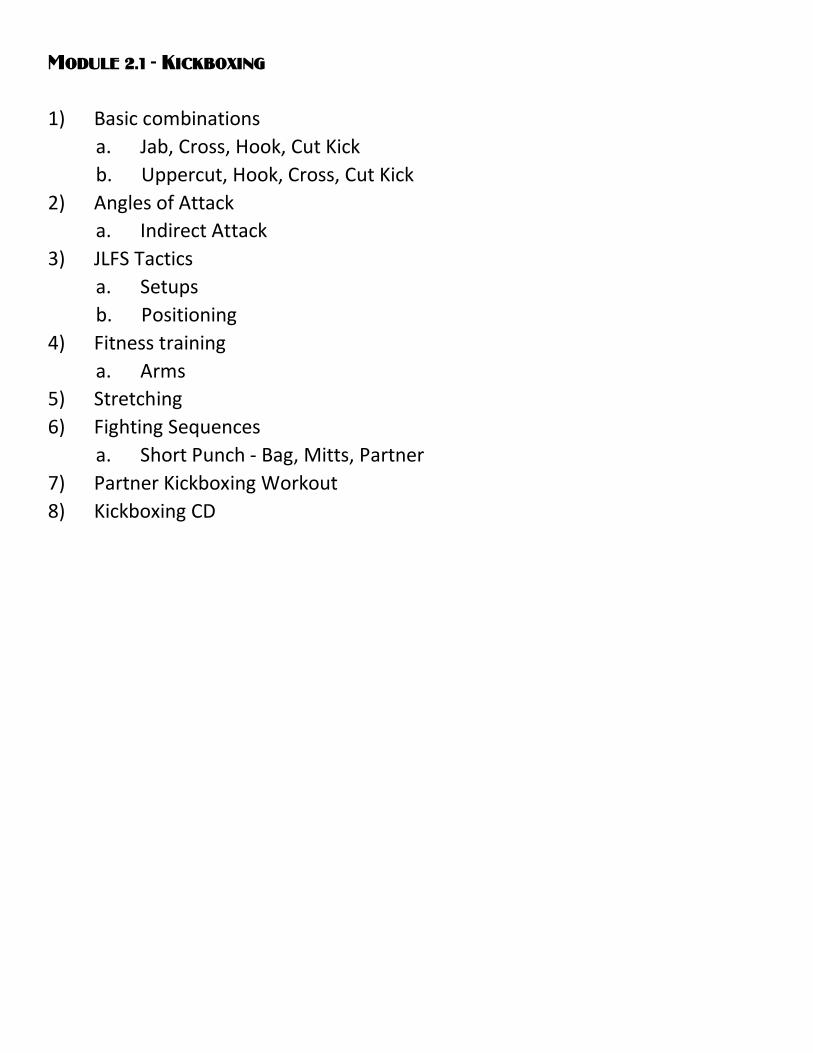
1) Basic combinations
a. Jab, Cross, Hook, Cut Kick b. Uppercut, Hook, Cross, Cut Kick
2) Angles of Attack a. Indirect Attack
3) JLFS Tactics a. Setups b. Positioning
4) Fitness training a. Arms
5) Stretching 6) Fighting Sequences
a. Short Punch - Bag, Mitts, Partner 7) Partner Kickboxing Workout 8) Kickboxing CD
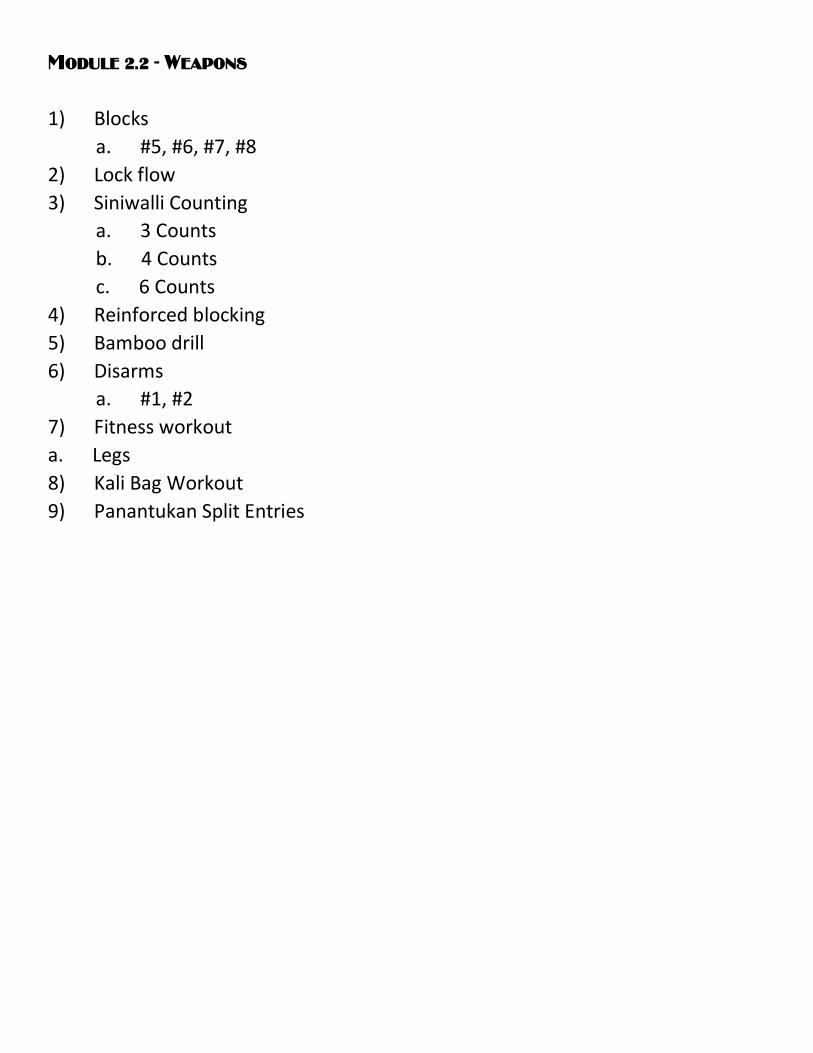
1) Blocks
a. #5, #6, #7, #8 2) Lock flow 3) Siniwalli Counting
a. 3 Counts b. 4 Counts c. 6 Counts
4) Reinforced blocking 5) Bamboo drill 6) Disarms
a. #1, #2 7) Fitness workout a. Legs 8) Kali Bag Workout 9) Panantukan Split Entries
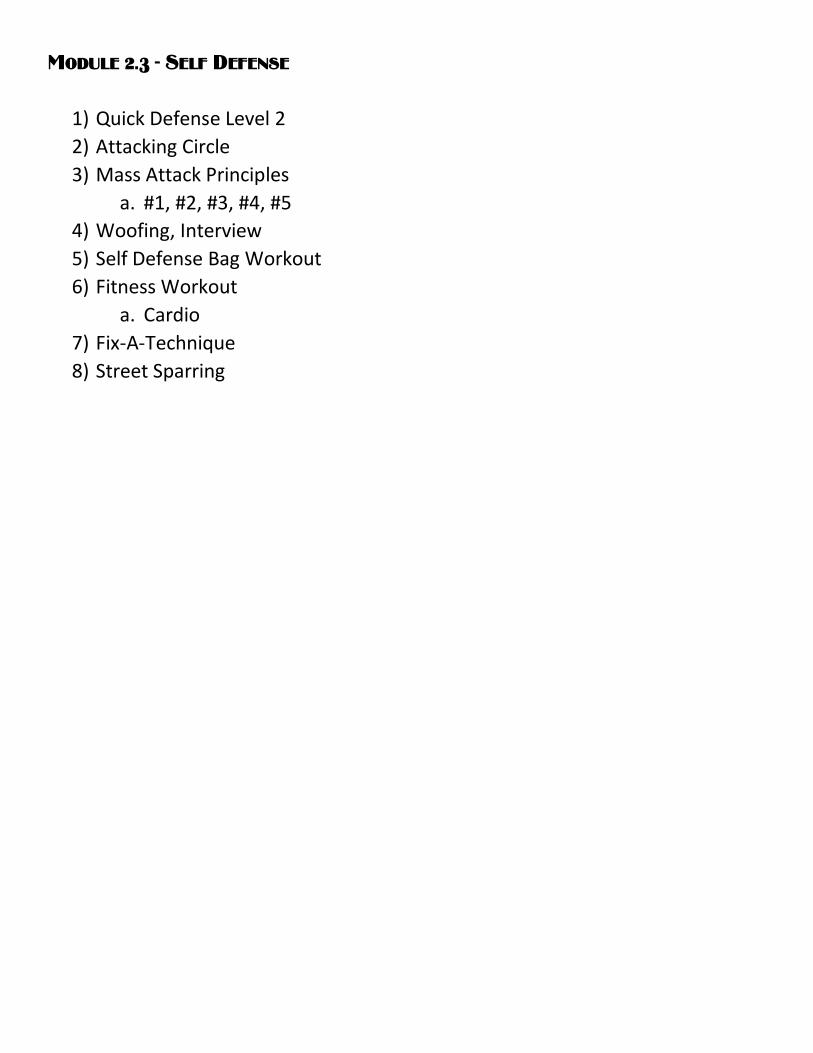
1) Quick Defense Level 2 2) Attacking Circle 3) Mass Attack Principles
a. #1, #2, #3, #4, #5 4) Woofing, Interview 5) Self Defense Bag Workout 6) Fitness Workout
a. Cardio 7) Fix-A-Technique 8) Street Sparring
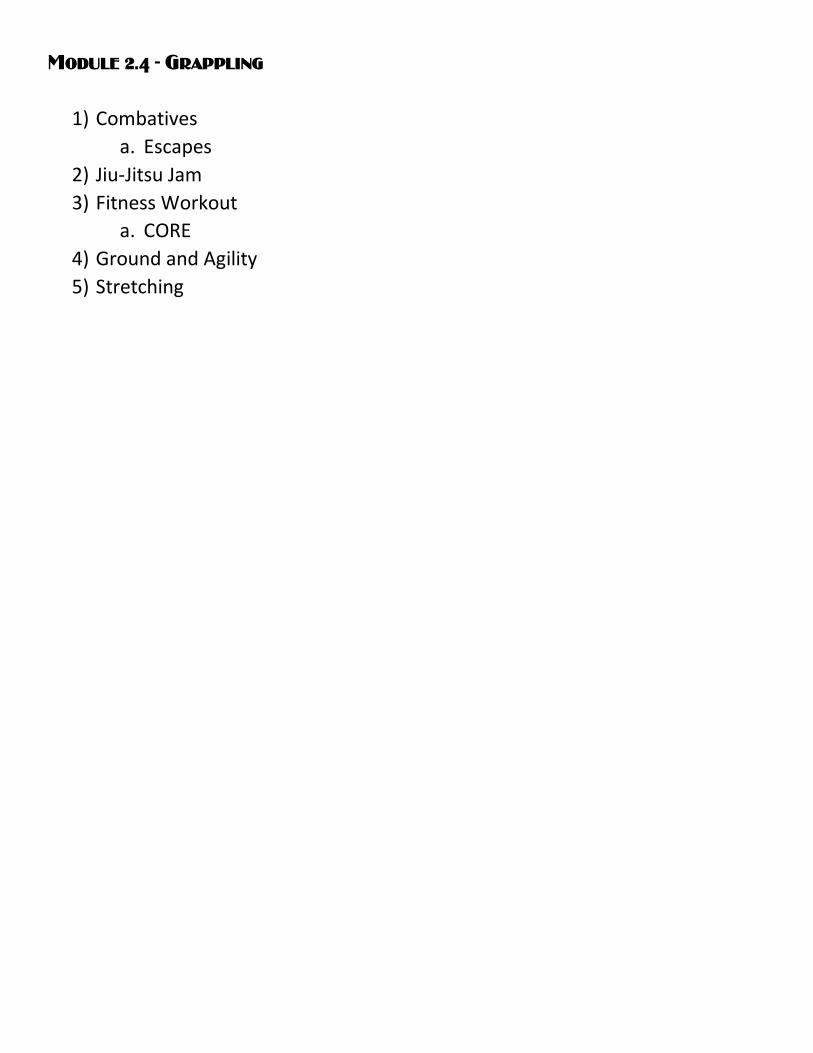
1) Combatives a. Escapes
2) Jiu-Jitsu Jam 3) Fitness Workout
a. CORE 4) Ground and Agility 5) Stretching
MODULE 3
1) Angles of Attack a. Arm & Leg Immobilization
2) Concepts of Movement a. Spin Forward & Reverse
3) JLFS Tactics a. Independent Movement
4) Fighting Sequences a. The 38 - Bag, Mitts, Partner
5) Fitness Workout a. Arms
6) Kickboxing CD 7) Stretching 8) Two Partner Kickboxing
1) Drop Stick Sumbrada 2) Disarms
a. #3, #4 3) Blocks
a. #9, #10 4) Double Stick Blocking 5) Double Stick vs. Other Weapons 6) Panantukan Blocks and Counters 7) Fitness Workout
a. Legs 8) Kali Bag Workout 9) Siniwalli with Footwork
a. #3, #4, #6 Counts
1) Fix-A-Technique 2) Quick Defense Level 3 3) Mass Attack
a. #6, #7, #8, #9, #10 4) Terrain Tactics 5) Self-Defense Bag Workout 6) Fitness Workout
a. Cardio 7) Street Sparring Turbo Drill - Bag, Mitts, Partner 8) Lock Flow
1) Combatives a. Sweeps and Passes
2) Jiu-Jitsu Fitness – Jam Callouts 3) Fitness Workout
a. Core 4) Ground and Agility 5) Stretching 6) Optional – Jiu-Jitsu Chess
MODULE 4
1) Clinch Work 2) Angles of Attack
a. Broken Rhythm 3) JLFS Tactics
a. Line of Attack b. Initial Speed
4) Tap and Touch Drill 5) Fighting Sequences
a. Shotgun - Bag, Mitts, Partner 6) Fitness Workout
a. Arms 7) Three Partner Kickboxing 8) Stretching 9) Kickboxing CD
1) Disarms and Takedowns 2) Stick and Knife 3) Disarms
a. #5, #6, #7 4) Fitness Workout
a. Legs 5) Kali Bag Workout 6) Panantukan Mitt Work 7) Knife Positions and Blocking

1) Quick Defense Level 4 2) Lock Flow 3) Mass Attack
a. #11, #12, #13, #14, #15 4) Self-Defense Bag Workout 5) Fitness Workout
a. Cardio 6) Street Sparring 7) Fix-A-Technique
1) Combatives a. Stand Up Techniques
2) Jiu-Jitsu Fitness – Jam 3) Fitness Workout
a. Core 4) Ground and Agility 5) Stretching 6) Option – Jiu-Jitsu Position Drill
MODULE 5
1) Fighting Sequences – The Matador - Bag, Mitts, Partner 2) Angles of Attack
a. Combination 3) JLFS Tactics
a. Critical Distance b. Bridging The Gap c. Leading Centers
4) Dirty Dozen 5) Tap and Touch Drill 6) Fitness Workout
a. Arms 7) All Kung Fu Review 8) Stretching 9) Kickboxing CD
1) Empty Hand vs. Knife a. Vs. Stick b. Vs. 2 Weapons c. Vs. Stick and Knife
2) Disarms a. #8, #9, #10
3) Fitness Workout a. Legs
4) Kali Bag Workout 5) Panantukan – Knees and Elbows 6) Blocking from the Ground 7) Knife Disarms 8) Heaven and Earth Six Count, Earth Six Count
1) Quick Defense Level 5 2) Household Weapons 3) Lock Flow 4) Mass Attack
a. #16, #17, #18, #19, #20 5) Self-Defense Bag Workout 6) Fitness Workout
a. Cardio 7) Street Sparring 8) Fix-A-Technique
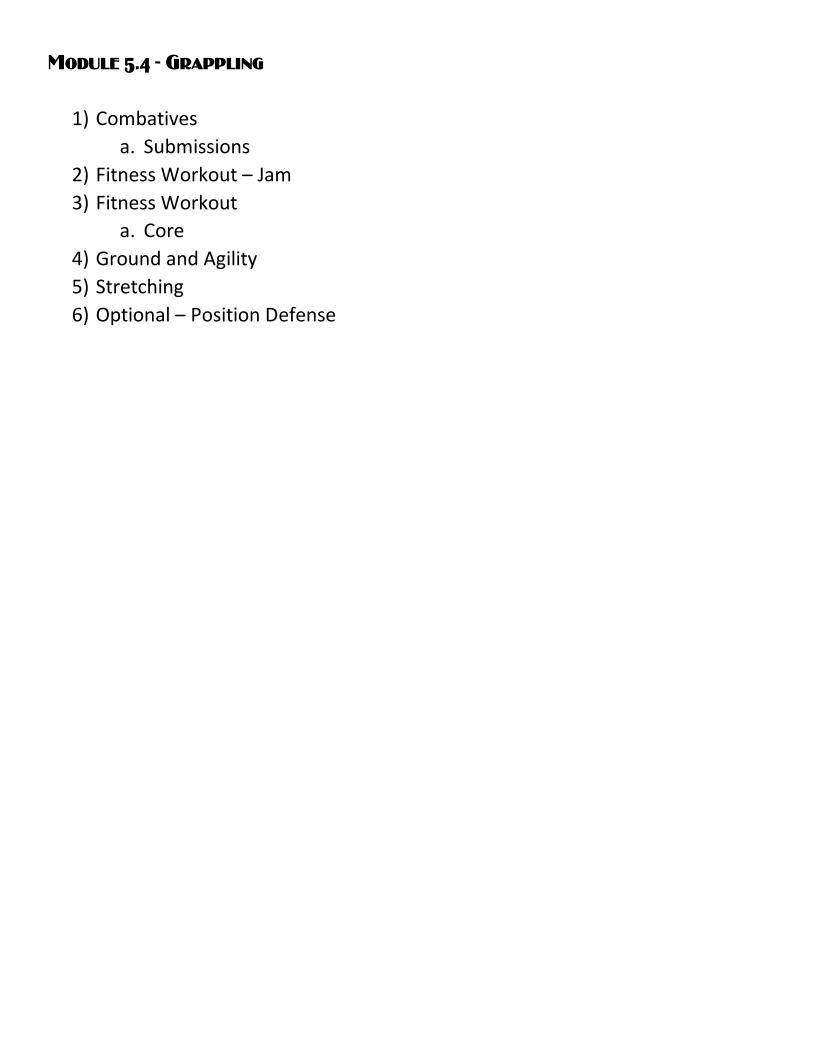
1) Combatives a. Submissions
2) Fitness Workout – Jam 3) Fitness Workout
a. Core 4) Ground and Agility 5) Stretching 6) Optional – Position Defense

MODULE 6 – Review

1) Basic combinations
a. Jab, Cross, Hook, Cut Kick b. Uppercut, Hook, Cross, Cut Kick
2) Fighting Sequences 3) Movement 4) JLFS Tactics 5) Multiple Opponent Kickboxing

1) Siniwalli Counts a. #3, #4, #6
2) Sumbrada 3) Panantukan 4) Blocking 5) Striking 6) Disarms

1) Quick Defense Levels – Full Speed 2) Mass Attack 3) Street Sparring

1) Combatives 2) Position Drill 3) Jiu-Jitsu Chess 4) Jam Call Outs

SUPPLEMENTARY DOCUMENTS
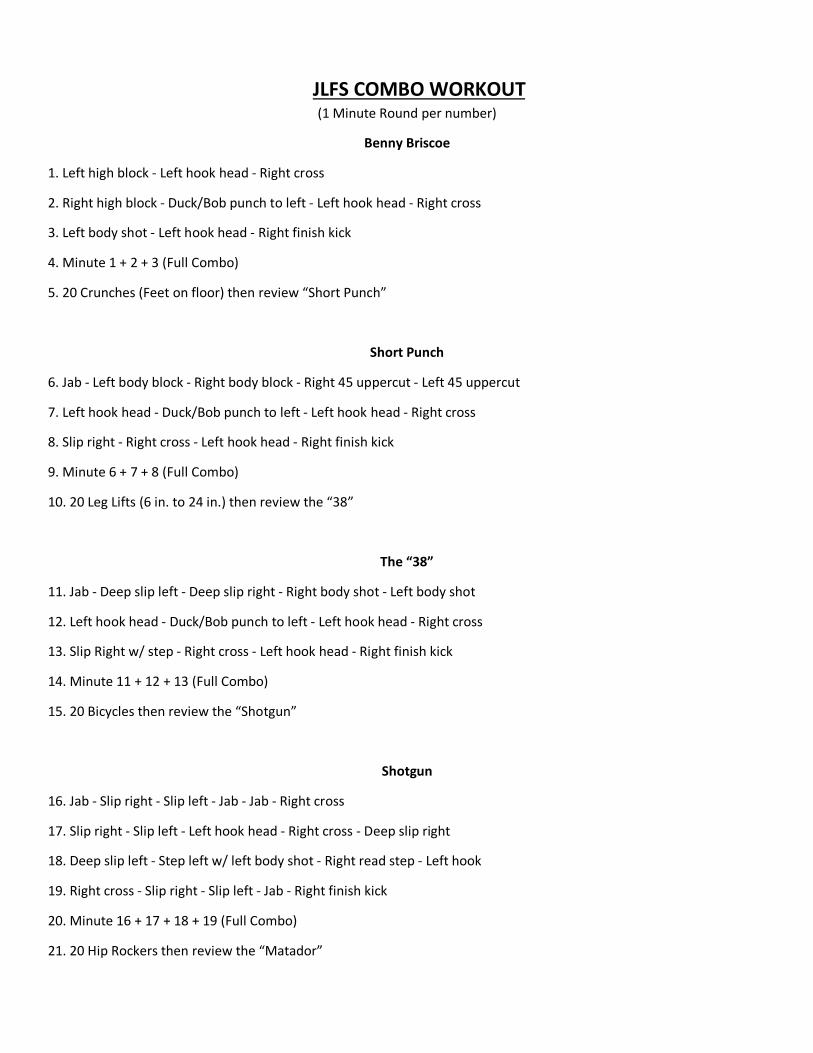
JLFS COMBO WORKOUT (1 Minute Round per number)
Benny Briscoe
1. Left high block - Left hook head - Right cross
2. Right high block - Duck/Bob punch to left - Left hook head - Right cross
3. Left body shot - Left hook head - Right finish kick
4. Minute 1 + 2 + 3 (Full Combo)
5. 20 Crunches (Feet on floor) then review “Short Punch”
Short Punch
6. Jab - Left body block - Right body block - Right 45 uppercut - Left 45 uppercut
7. Left hook head - Duck/Bob punch to left - Left hook head - Right cross
8. Slip right - Right cross - Left hook head - Right finish kick
9. Minute 6 + 7 + 8 (Full Combo)
10. 20 Leg Lifts (6 in. to 24 in.) then review the “38”
The “38”
11. Jab - Deep slip left - Deep slip right - Right body shot - Left body shot
12. Left hook head - Duck/Bob punch to left - Left hook head - Right cross
13. Slip Right w/ step - Right cross - Left hook head - Right finish kick
14. Minute 11 + 12 + 13 (Full Combo)
15. 20 Bicycles then review the “Shotgun”
Shotgun
16. Jab - Slip right - Slip left - Jab - Jab - Right cross
17. Slip right - Slip left - Left hook head - Right cross - Deep slip right
18. Deep slip left - Step left w/ left body shot - Right read step - Left hook
19. Right cross - Slip right - Slip left - Jab - Right finish kick
20. Minute 16 + 17 + 18 + 19 (Full Combo)
21. 20 Hip Rockers then review the “Matador”
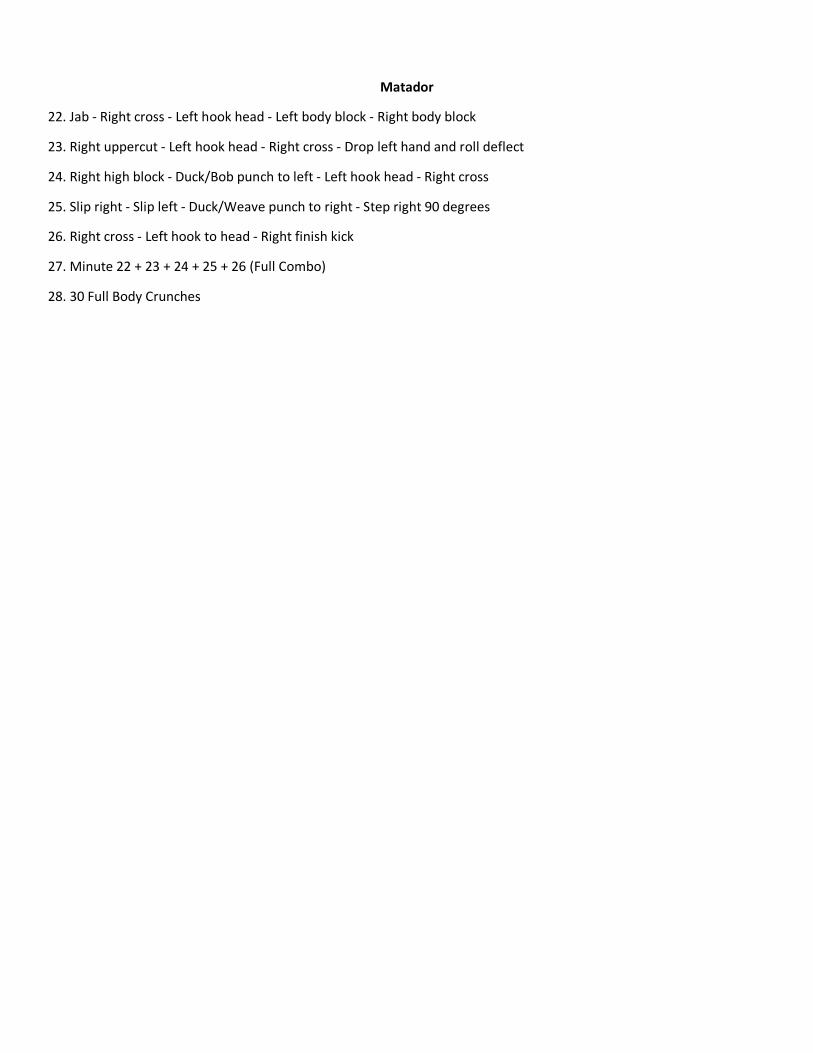
Matador
22. Jab - Right cross - Left hook head - Left body block - Right body block
23. Right uppercut - Left hook head - Right cross - Drop left hand and roll deflect
24. Right high block - Duck/Bob punch to left - Left hook head - Right cross
25. Slip right - Slip left - Duck/Weave punch to right - Step right 90 degrees
26. Right cross - Left hook to head - Right finish kick
27. Minute 22 + 23 + 24 + 25 + 26 (Full Combo)
28. 30 Full Body Crunches

LOCK FLOW 1. Crossing Talon 2. Back Wrist Twist 3. Arm Bar 4. Figure 4 Wrist Lock 5. Goose Neck 6. Full Lock 7. Come Along 8. Neck Lock - Backward Arm Pull Across Chest
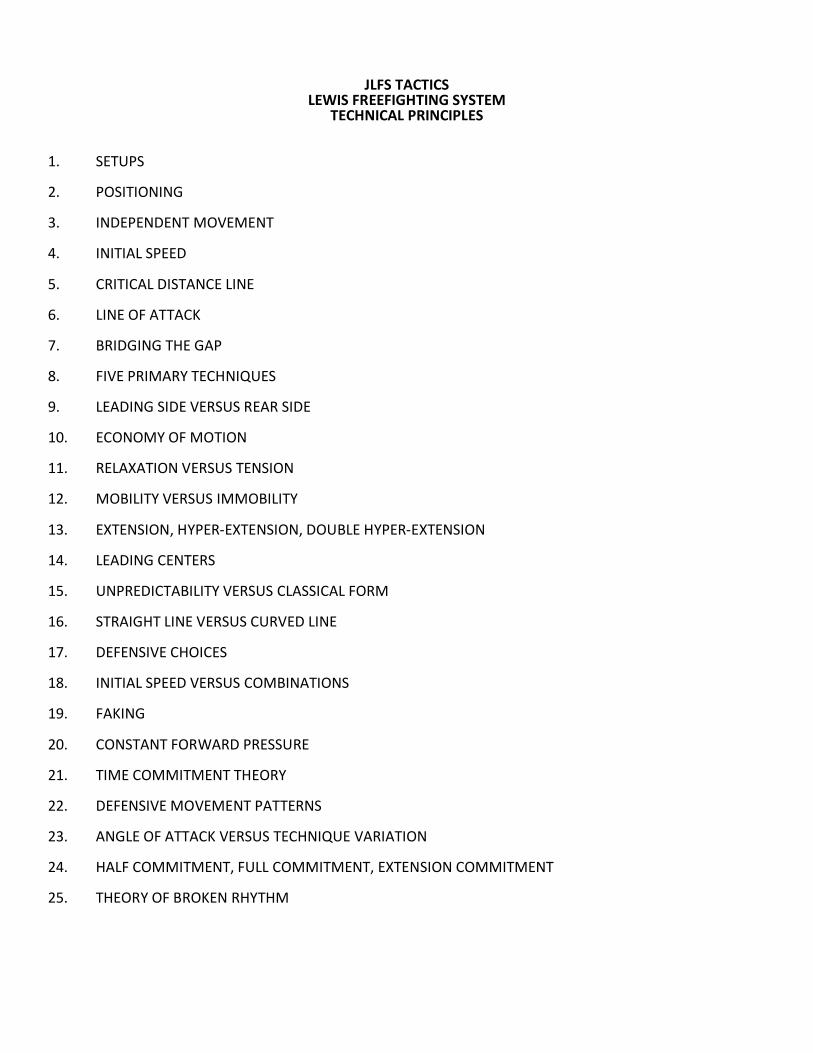
JLFS TACTICS LEWIS FREEFIGHTING SYSTEM
TECHNICAL PRINCIPLES
1. SETUPS 2. POSITIONING 3. INDEPENDENT MOVEMENT 4. INITIAL SPEED 5. CRITICAL DISTANCE LINE 6. LINE OF ATTACK 7. BRIDGING THE GAP 8. FIVE PRIMARY TECHNIQUES 9. LEADING SIDE VERSUS REAR SIDE 10. ECONOMY OF MOTION 11. RELAXATION VERSUS TENSION 12. MOBILITY VERSUS IMMOBILITY 13. EXTENSION, HYPER-EXTENSION, DOUBLE HYPER-EXTENSION 14. LEADING CENTERS 15. UNPREDICTABILITY VERSUS CLASSICAL FORM 16. STRAIGHT LINE VERSUS CURVED LINE 17. DEFENSIVE CHOICES 18. INITIAL SPEED VERSUS COMBINATIONS 19. FAKING 20. CONSTANT FORWARD PRESSURE 21. TIME COMMITMENT THEORY 22. DEFENSIVE MOVEMENT PATTERNS 23. ANGLE OF ATTACK VERSUS TECHNIQUE VARIATION 24. HALF COMMITMENT, FULL COMMITMENT, EXTENSION COMMITMENT 25. THEORY OF BROKEN RHYTHM
JLFS TACTICS (SOO HWA LEWIS-DACASCOS FREEFIGHTING SYSTEM) TECHNICAL PRINCIPLES
1. SETUPS
A. Set yourself up physically and mentally. (1) Raise your energy level. (2) Use sparring partner for timing and distance. (3) Practice external focus.
B. Set up opponent verbally. (1) Confuse him. (2) Psyche him out.
C. Set up your opponent through body language. (1) Mislead him. (2) Frighten him.
2. POSITIONING
A. Position for mobility. (1) Keep in mind Constant Forward Pressure. (2) Be capable of moving offensively or defensively.
B. Position for distance. (1) Keep in mind your opponent's critical distance line
when positioning. (2) Be able to bridge the gap effectively from your position.
C. Position for best defensive capability. (1) Keep in mind your defensive choices. (2) Keep all vital areas covered constantly.
D. Position for best offensive capability. (1) Keep in mind your line of attack. (2) Be in a relaxed state that you can explode out of.
E. Position with the right psychological attitude. (1) Be assertive. (2) Be active or passive according to how you want to set him up.
3. INDEPENDENT MOVEMENT
A. Strike moves independent of body and body follows. B. No tell-tale leading centers. C. Keep in mind relaxation versus tension. D. Keep in mind initial speed and direct angle of attack. E. Independent movement should be used with all five primary techniques.
4. INITIAL SPEED
A. Relax--Explode. B. More important that timing speed or natural speed (MPH).
5. CRITICAL DISTANCE LINE
A. Your opponent's effective killing range is the critical distance line. B. Your ability in bridging the gap will determine where you position yourself in relation to your
opponent's critical distance line. 6. LINE OF ATTACK
A. INSIDE. B. OUTSIDE. C. MIDDLE.
7. BRIDGING THE GAP
A. Initial speed and proper footwork are the two most important principles involved in bridging the gap.
B. Keep in mind critical distance line. C. Keep in mind extension, hyper-extension and double hyper-extension. D. Keep in mind half commitment, full commitment and extension commitment.
8. FIVE PRIMARY TECHNIQUES
A. Sidefist or backfist (Leading side). B. Inverted close punch (Leading side). C. Reverse punch (Rear side). D. Side kick or roundhouse (Wheel) kick (Leading side). E. Spinning rear kick (Rear leg).
9. LEADING SIDE VERSUS REAR SIDE
A. Economy of motion in terms of shorter distance. B. Bridges the gap faster. C. Helps cut out leading centers. D. Most of the five primary techniques come off the leading side.
10. ECONOMY OF MOTION
A. Keep in mind straight line versus curved line. B. Keep in mind leading side versus rear side. C. Concentrates on the direct angle of attack because economizes on
movement and lessens the time commitment. 11. RELAXATION VERSUS TENSION
A. Initial speed increases. B. Time commitment is less with fast initial speed. C. Conserves energy. D. More deceptive with less leading centers.
12. MOBILITY VERSUS IMMOBILITY
A. Footwork. (1) Basic stepping (2) Hopping (3) Switch stepping (4) Creeping (5) Shuffling
B. Directions. (1) Vertical. (2) Horizontal. (3) Arcing (Off angle).
C. With mobility there is more deceptiveness and unpredictability. 13. EXTENSION, HYPER-EXTENSION, DOUBLE HYPER-EXTENSION
A. Your own critical distance line increases if double hyper-extension is used. B. Your ability to bridge the gap is more effective. C. Keep in mind half commitment, full commitment, extension commitment.
14. LEADING CENTERS
A. In most of your techniques you should use independent motion and cut out all leading centers.
B. Leading centers can be used purposely in faking and broken rhythm. 15. UNPREDICTABILITY VERSUS CLASSICAL FORM
A. Use leading centers for faking and keeping your opponent off balance and jumpy. B. Mobility is more unpredictable, keep moving using different kinds of
footwork and directions. C. Use different kinds of broken rhythm. D. Be interchangeable with straight lines and curved lines. E. Be flexible with the different angles of attack.
16. STRAIGHT LINE VERSUS CURVED LINE
A. The most direct route to your target is a straight line. B. A straight line attack is more powerful and economizes motion. C. Most of the five primary techniques utilize a straight line of attack.
17. DEFENSIVE CHOICES
A. Hand and body positioning is a matter of preference with the individual as long as the vital areas are covered at all times.
B. There are four defensive movement patterns that can be used according to the size, structure and fighting attitude of the person using them; your opponent's size, technique, and footwork should also be a determining factor in what kind of defense you choose.
C. Be unpredictable and switch back and forth between the different defensive movement patterns to keep your opponent unsure of himself.
18. INITIAL SPEED VERSUS COMBINATIONS
A. Initial speed and the direct angle of attack are more spontaneous when you are externally focused. B. Practice combinations is future thinking which is negative thinking. C. Initial speed ties in with independent movement which gives us more
economy of movement. D. There is less time commitment in the initial speed of the direct angle of attack. E. A good portion of our practice and programming should be spent on initial speed and the direct
angle of attack because it is one of the most important principles of them all. 19. FAKING
A. The main leading centers used in faking are: (1) Hip (2) Body (3) Shoulder
B. Faking is used in the direct angle of attack for making your opponent commit himself and throwing off his timing.
C. Faking is used in broken rhythm also and helps to increase your unpredictability. 20. CONSTANT FORWARD PRESSURE
A. Mental - assertiveness and external focus. B. Physical - forward movement, offensive body positioning, and aggressive body language. C. Result - Confusion.
21. TIME COMMITMENT THEORY
A. Keep in mind initial speed. B. Bridge the gap with straight lines and direct angles of attack. C. Keep in mind your opponents timing and reaction time, how much time does. your technique take
to complete in comparison to the time it takes for your opponent to react and counter. 22. DEFENSIVE MOVEMENT PATTERNS
A. Jammer - moves forward. (1) Use the direct angle of attack against a Jammer. (2) Use broken rhythm (move in with a body fake to draw him, move back as he tries to jam,
and kick him as you retreat or move back into him). B. Blocker - stays in position or moves a half step back.
(1) 80% of all fighters are blockers. (2) Use all five angles of attack against a blocker.
C. Runner - moves backward out of original position. (1) Use the direct angle of attack and hit him before he runs. (2) Use a combination and follow him. (3) Use broken rhythm (active - he runs, active - he runs,
passive - hit him before he runs). D. Elusive runner - moves all over and is unpredictable.
(1) Set him up. (2) Wait until he comes to you.
E. Name your opponent by his footwork and by where he is at your point of contact with him (he may be a jammer and intended to jam your move, but if you nailed him before he moved he is a blocker).
23. ANGLE OF ATTACK VERSUS TECHNIQUE VARIATION
A. If you can't make a technique work, change your angle of attack rather than change to a less effective technique.
B. Direct - Initial speed and independent motion. C. Indirect - Fakes. D. Combinations - Direct and Indirect. E. Broken rhythm.
24. HALF COMMITMENT, FULL COMMITMENT, EXTENSION COMMITMENT
A. Set your opponent up with broken patterns (Full commitment-doesn't reach him, full commitment-doesn't reach him, extension commitment-nail him by bridging the gap.
B. Be unpredictable and throw his timing and distance off. C. Keep in mind extension, hyper-extension, and double hyper-extension.
25. THEORY OF BROKEN RHYTHM
A. Change target (low, low, high). B. Change body rhythm (active, active, passive). C. Change body motion (forward, backward, forward). D. Change speed fast to slow to fast). E. Change movement (stop, go). F. Change angle of attack. G. Change techniques. H. Change positioning and set him up. I. Change patterns of any sort. J. Change attitude (aggressive, passive). K. Change your defensive choice. L. Change your footwork. M. Change your commitment. O. Change your line of attack (inside, inside, outside). P. Be totally unpredictable with broken rhythm and throw your opponents timing totally off.
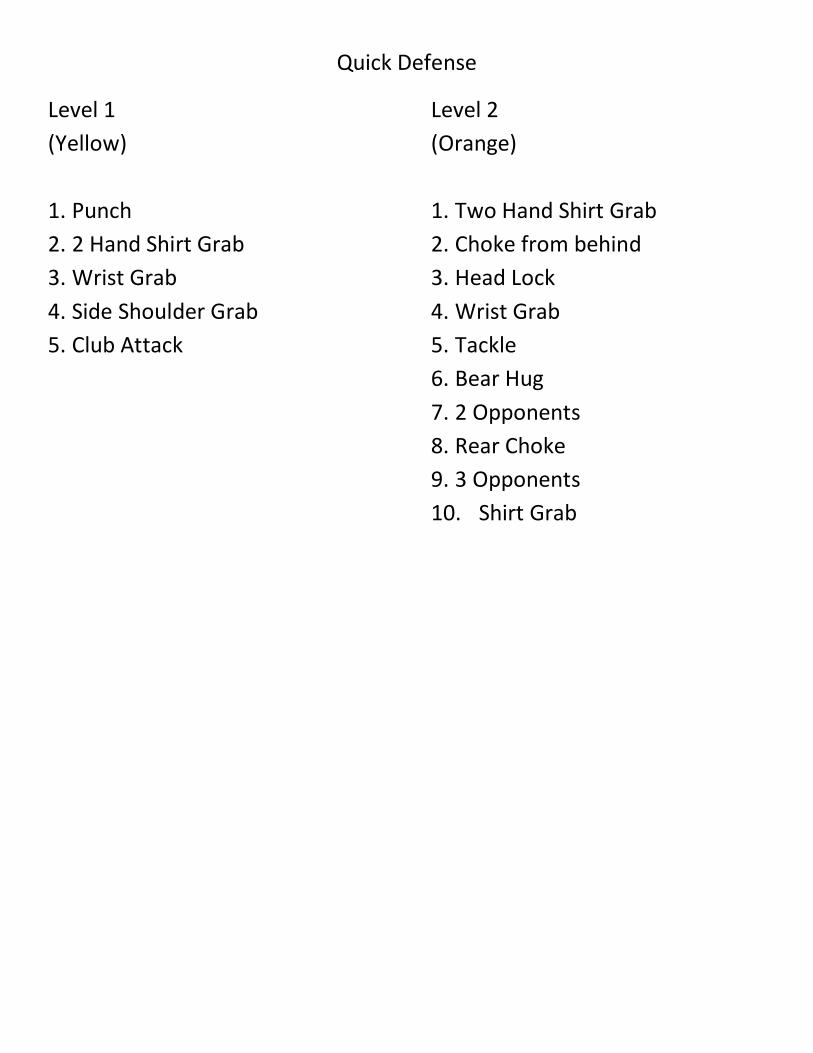
Quick Defense
Level 1 (Yellow) 1. Punch 2. 2 Hand Shirt Grab 3. Wrist Grab 4. Side Shoulder Grab 5. Club Attack
Level 2 (Orange) 1. Two Hand Shirt Grab 2. Choke from behind 3. Head Lock 4. Wrist Grab 5. Tackle 6. Bear Hug 7. 2 Opponents 8. Rear Choke 9. 3 Opponents 10. Shirt Grab
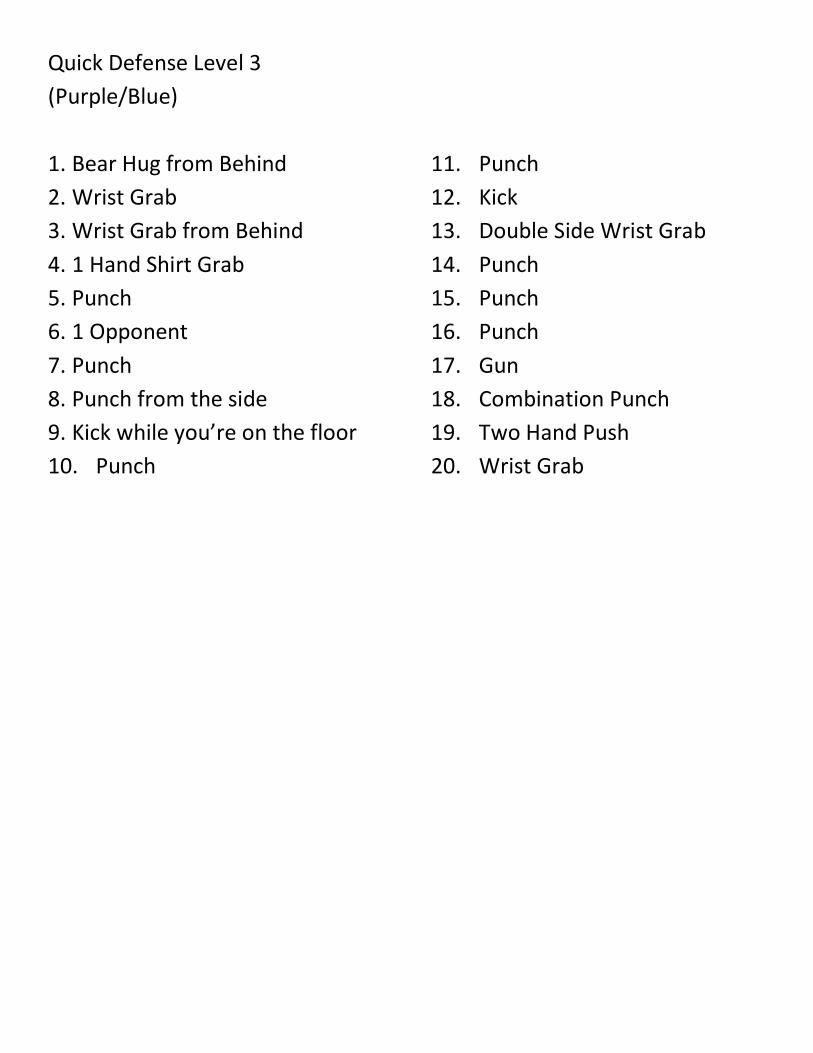
Quick Defense Level 3 (Purple/Blue) 1. Bear Hug from Behind 2. Wrist Grab 3. Wrist Grab from Behind 4. 1 Hand Shirt Grab 5. Punch 6. 1 Opponent 7. Punch 8. Punch from the side 9. Kick while you’re on the floor 10. Punch
11. Punch 12. Kick 13. Double Side Wrist Grab 14. Punch 15. Punch 16. Punch 17. Gun 18. Combination Punch 19. Two Hand Push 20. Wrist Grab
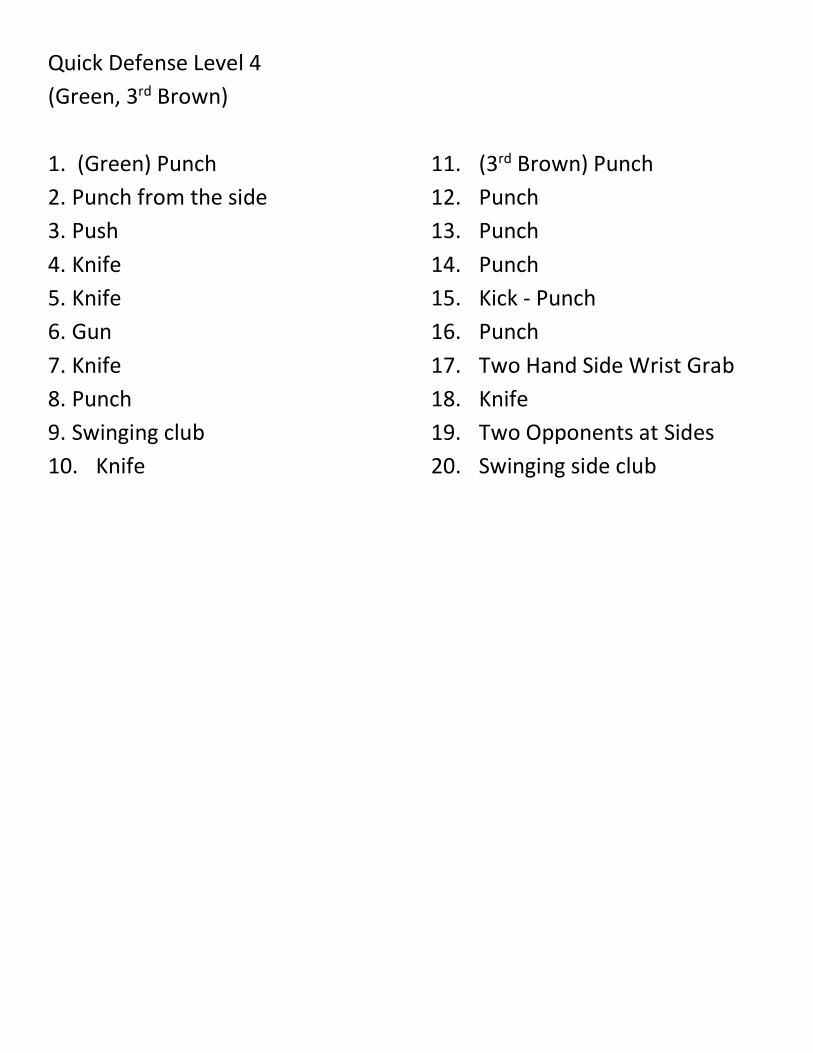
Quick Defense Level 4 (Green, 3rd Brown) 1. (Green) Punch 2. Punch from the side 3. Push 4. Knife 5. Knife 6. Gun 7. Knife 8. Punch 9. Swinging club 10. Knife
11. (3rd Brown) Punch 12. Punch 13. Punch 14. Punch 15. Kick - Punch 16. Punch 17. Two Hand Side Wrist Grab 18. Knife 19. Two Opponents at Sides 20. Swinging side club
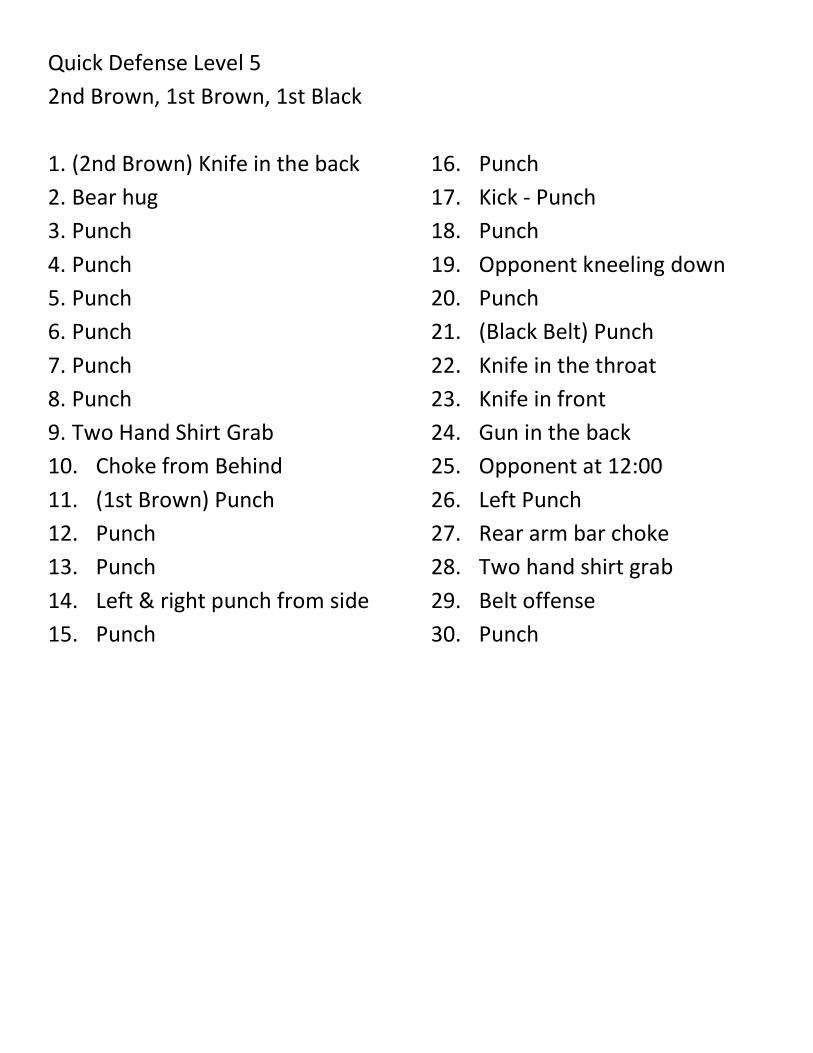
Quick Defense Level 5 2nd Brown, 1st Brown, 1st Black 1. (2nd Brown) Knife in the back 2. Bear hug 3. Punch 4. Punch 5. Punch 6. Punch 7. Punch 8. Punch 9. Two Hand Shirt Grab 10. Choke from Behind 11. (1st Brown) Punch 12. Punch 13. Punch 14. Left & right punch from side 15. Punch
16. Punch 17. Kick - Punch 18. Punch 19. Opponent kneeling down 20. Punch 21. (Black Belt) Punch 22. Knife in the throat 23. Knife in front 24. Gun in the back 25. Opponent at 12:00 26. Left Punch 27. Rear arm bar choke 28. Two hand shirt grab 29. Belt offense 30. Punch

Quick Defense Definitions Level 1
1. Punch from front a. Slap Block b. Sweeping smother c. Brush Parry
2. Two Hand Shirt Grab
a) Web hand and hook, pull up and down b) Snake block, example Fang of the Cobra c) Crisscross and pull hands together
3. Wrist Grab
a) Chop and pull b) Web hand up, over and down c) Twist wrist and pull back
4. Side Shoulder Grab
a) Slap block b) Circle backward and smother block down c) Wrap Around
5. Club Attack
a) Parry wrist hook b) Upward block and palm blast forward c) Angle out and sweeping smother block, back leg moves to 3:00
or 9:00
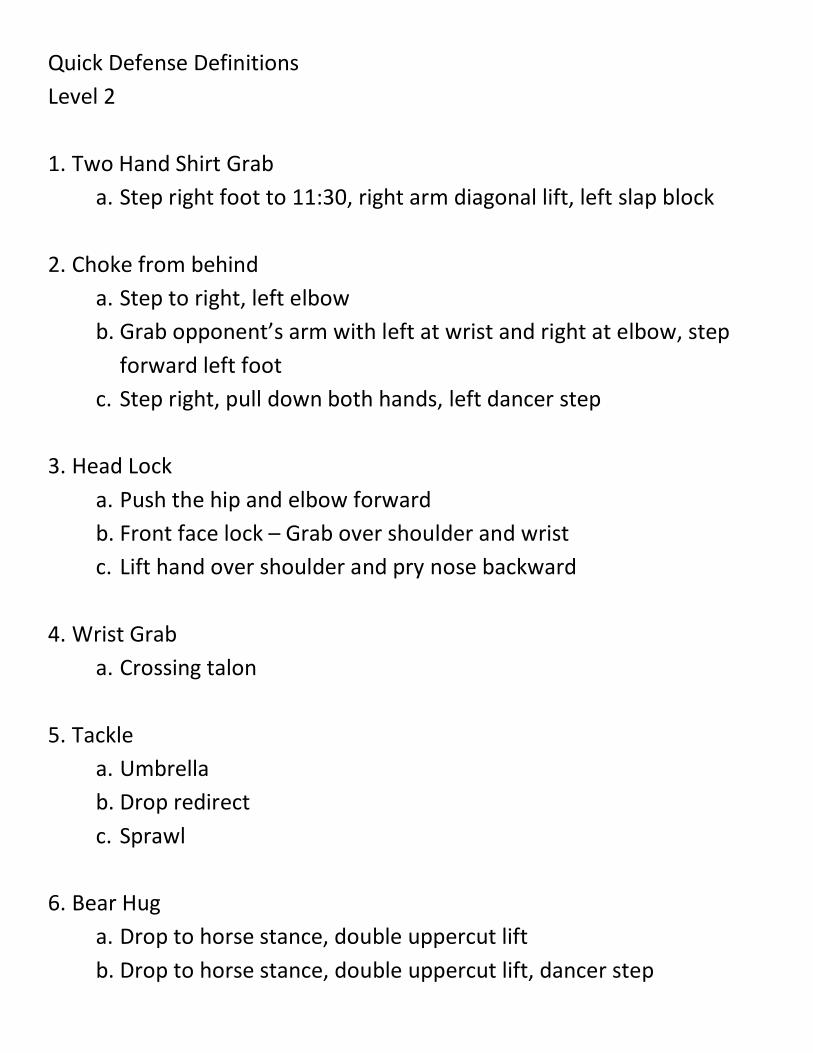
Quick Defense Definitions Level 2 1. Two Hand Shirt Grab
a. Step right foot to 11:30, right arm diagonal lift, left slap block
2. Choke from behind a. Step to right, left elbow b. Grab opponent’s arm with left at wrist and right at elbow, step
forward left foot c. Step right, pull down both hands, left dancer step
3. Head Lock
a. Push the hip and elbow forward b. Front face lock – Grab over shoulder and wrist c. Lift hand over shoulder and pry nose backward
4. Wrist Grab
a. Crossing talon
5. Tackle a. Umbrella b. Drop redirect c. Sprawl
6. Bear Hug
a. Drop to horse stance, double uppercut lift b. Drop to horse stance, double uppercut lift, dancer step
c. Drop to horse stance, elbow, spin out
7. Opponents at 3:00 and 9:00 a. Step to right backhand slap, retreat backward to 6:00 b. Step to right backfist, step to 9:00 sweeping claw to 9:00,
continue moving to 9:00 c. Blitz attack one opponent, continue moving that direction
8. Rear Choke
a. Dancer step, strike center line
9. Attacking the circle a. Opponents at 9:00, 12:00, 3:00 – Kick 12:00, set 3:00 chop, blitz
9:00 b. Opponents at 12:00, 3:00, 6:00 – Kick 12:00, set 12:00, spin chop
3:00 with left hand, blitz 6:00 c. Blitz attack any opponent with all strikes, continue moving that
direction.
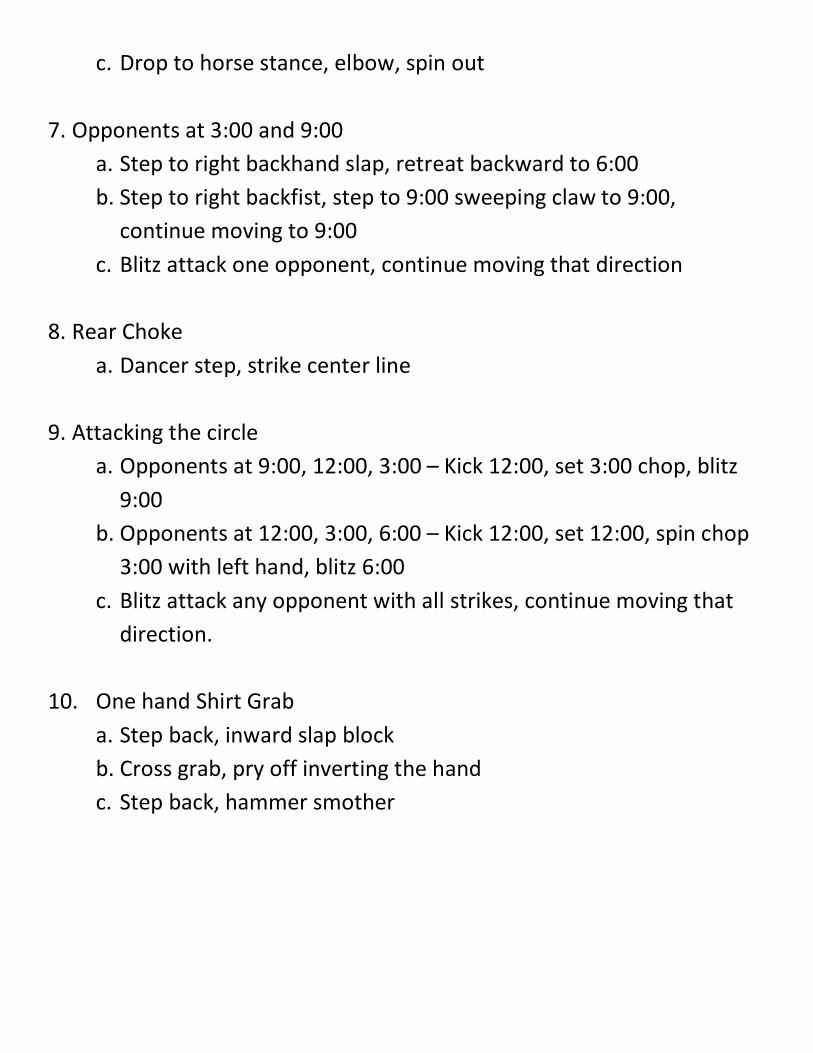
10. One hand Shirt Grab a. Step back, inward slap block b. Cross grab, pry off inverting the hand c. Step back, hammer smother

Quick Defense Definitions Level 3 1. Bear Hug from Behind
a. Flip kick, step to 12:00, swim arms
2. Wrist Grab a. Pull wrists straight up
3. Wrist Grab from Behind
a. Cross step forward to 45, twist body and arms b. Drop to horse stance, punch downward c. Dancer backward, lift arms, step to 6:00 and push opponent
4. 1 Hand Shirt Grab from front
a. Web hand under wrist, step forward and roll arm over to place armpit on elbow
5. Punch a. Upward block
6. 1 Opponent
a. Cross over into outside line of attack b. Cross behind and strike while escaping c. Cross over and attack middle line of attack
7. Punch
a. Kung fu wrist hook
8. Punch from the side a. Ridge hand block
9. Kick while you’re on the floor
a. Double hammer block b. Ankle and knee hook c. Open hand sweeping smother block
10. Punch
a. One hand scoop, simultaneous palm with other hand
11. Punch a. Deflecting block
12. Kick
a. Serpent block (underhand hook) b. Slap block c. Hook knee and ankle
13. Double Side Wrist Grab
a. Twisting staves b. Violent windmill circle forward c. Violent windmill circle backward
14. Punch
a. Flick block
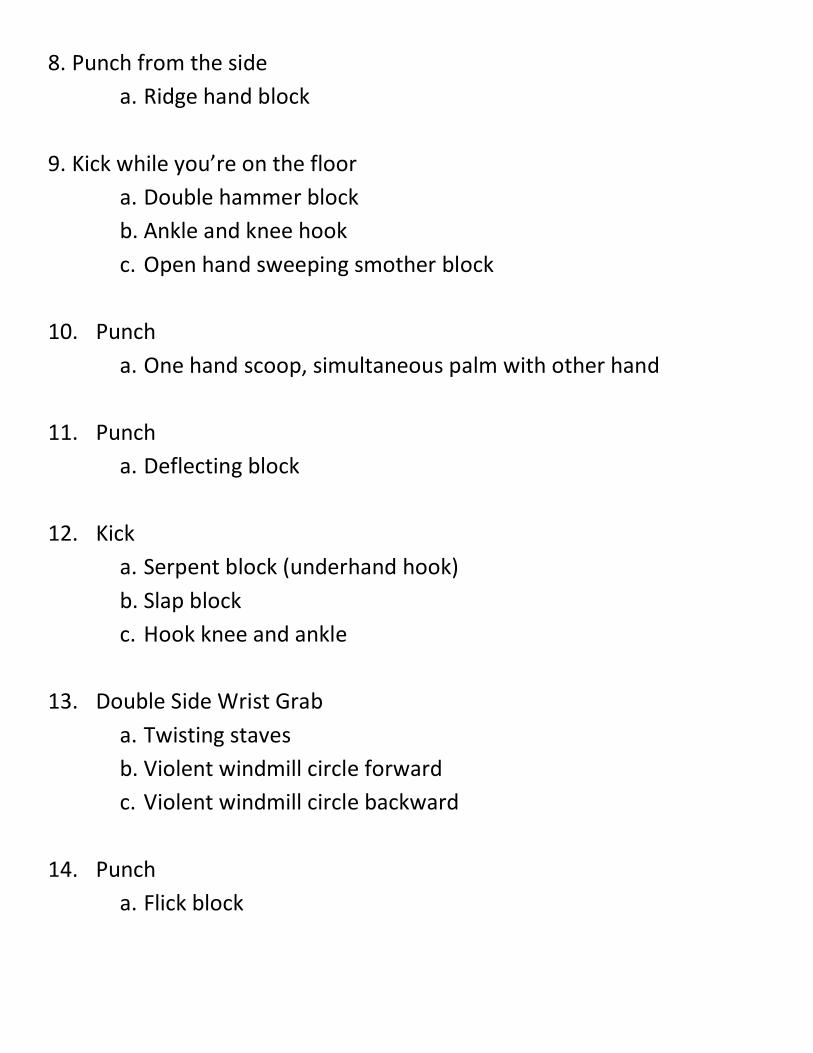
15. Punch a. Extended outward block
16. Punch
a. Outward wrist hook
17. Gun a. Left block down, left step to 12:00 b. Oops up, pull down, jam stomach, pull away c. Sudden violent twist (left web hand, right hammer fist)
18. Combination Punch
a. Double brush parry b. Step to 45 while brush parry blocking c. Parry outward, open hand push block against first punch while
angle stepping
19. Two Hand Push a. Wedge block b. Parry outward, open hand push block against one arm while
angle stepping c. Double downward sweeping smother block
20. Wrist Grab
a. Violent windmill circle
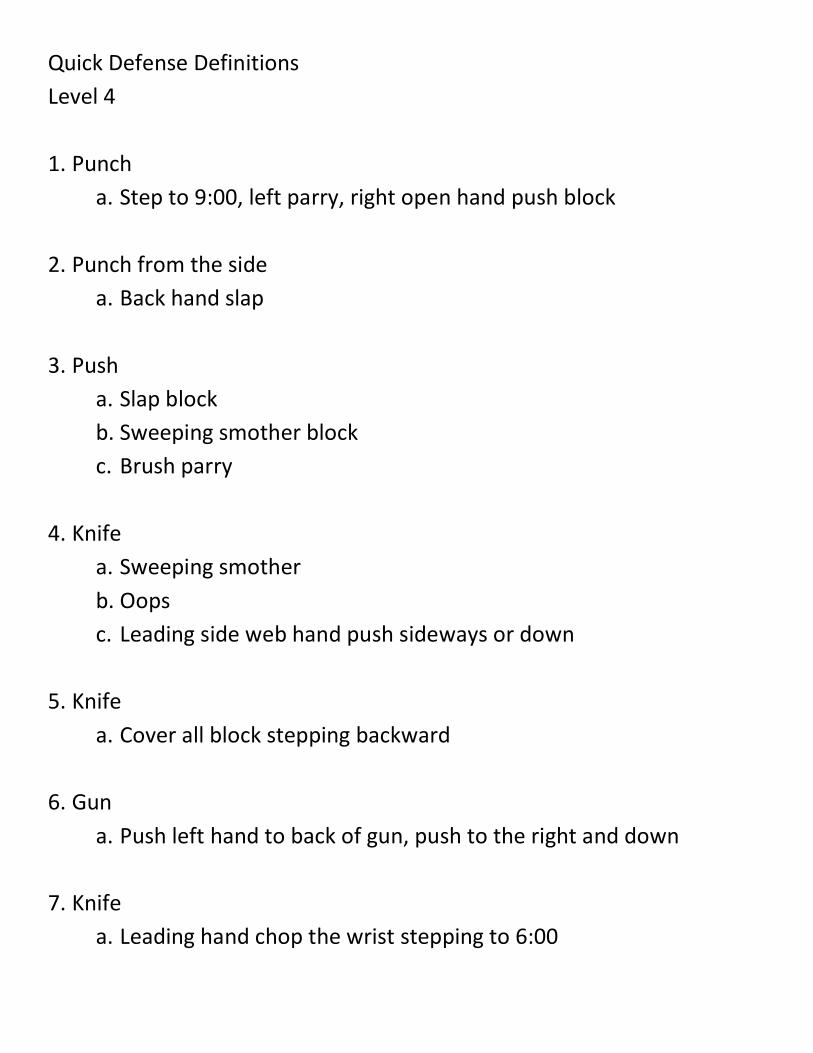
Quick Defense Definitions Level 4 1. Punch
a. Step to 9:00, left parry, right open hand push block
2. Punch from the side a. Back hand slap
3. Push
a. Slap block b. Sweeping smother block c. Brush parry
4. Knife
a. Sweeping smother b. Oops c. Leading side web hand push sideways or down
5. Knife
a. Cover all block stepping backward
6. Gun a. Push left hand to back of gun, push to the right and down
7. Knife
a. Leading hand chop the wrist stepping to 6:00
8. Punch a. Parry inside the wrist
9. Swinging club
a. Step backward and ram shield cover b. Step forward and ram shield cover c. Ram shield cover and blitz
10. Knife
a. Palm block to knife hand while stepping backward
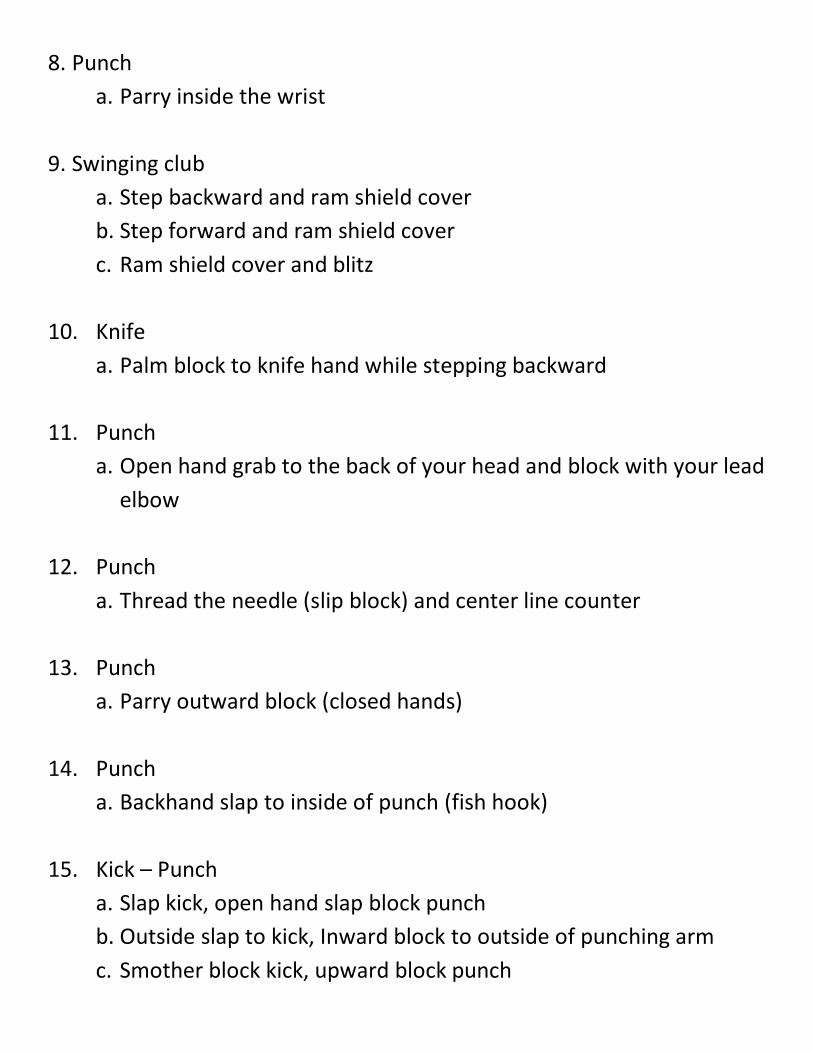
11. Punch a. Open hand grab to the back of your head and block with your lead
elbow
12. Punch a. Thread the needle (slip block) and center line counter
13. Punch
a. Parry outward block (closed hands)
14. Punch a. Backhand slap to inside of punch (fish hook)
15. Kick – Punch
a. Slap kick, open hand slap block punch b. Outside slap to kick, Inward block to outside of punching arm c. Smother block kick, upward block punch

16. Punch a. Horizontal wrist hook
17. Two Hand Side Wrist Grab
a. Twisting staves clear
18. Knife a. Stepping back, lead side high cover hand, rear side palm slap block
down
19. Two Opponents at Sides a. Step to first opponent and shove, step through and shove second
opponent, continue moving that direction
20. Swinging side club a. Step back ram shield cover on forehand swing, step through ram
shield block to backhand swing
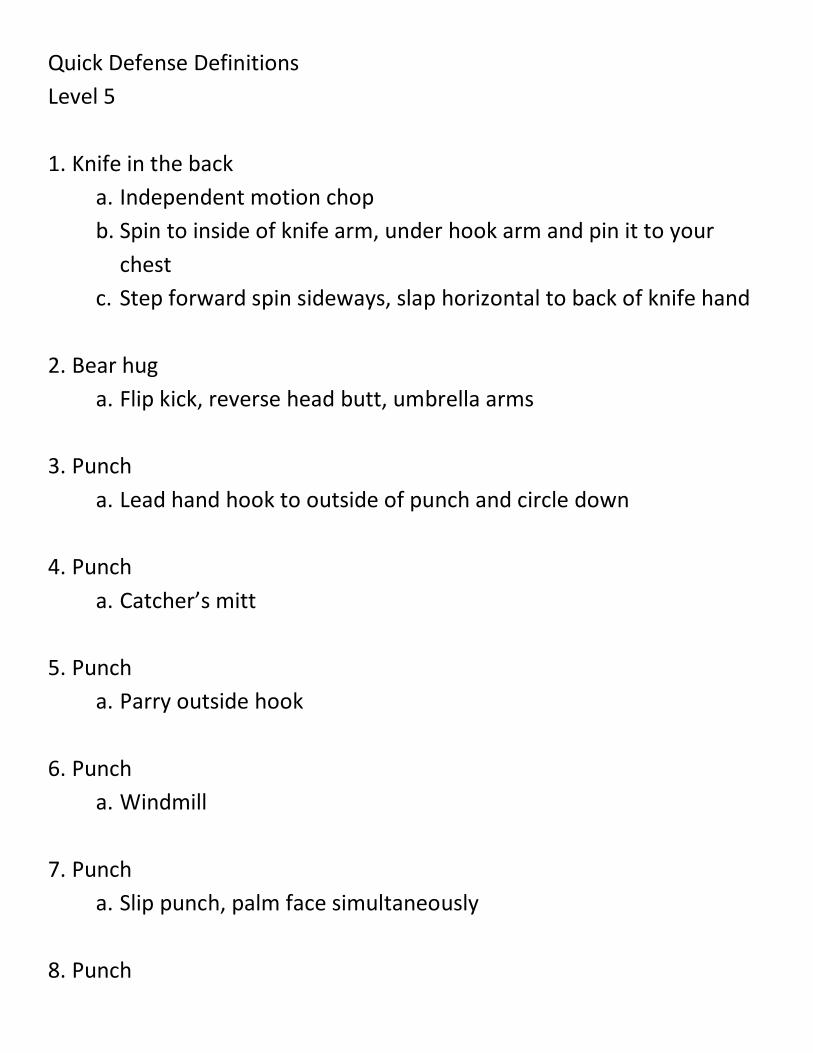
Quick Defense Definitions Level 5 1. Knife in the back
a. Independent motion chop b. Spin to inside of knife arm, under hook arm and pin it to your
chest c. Step forward spin sideways, slap horizontal to back of knife hand
2. Bear hug
a. Flip kick, reverse head butt, umbrella arms
3. Punch a. Lead hand hook to outside of punch and circle down
4. Punch
a. Catcher’s mitt
5. Punch a. Parry outside hook
6. Punch
a. Windmill
7. Punch a. Slip punch, palm face simultaneously
8. Punch
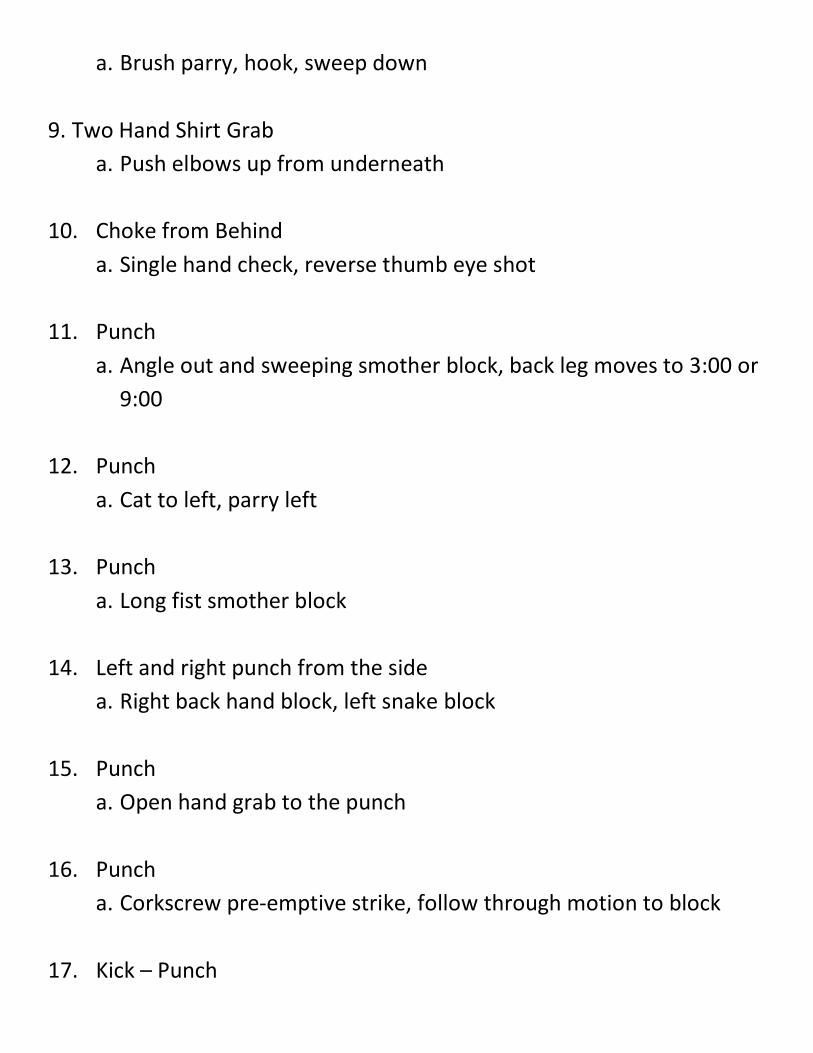
a. Brush parry, hook, sweep down
9. Two Hand Shirt Grab a. Push elbows up from underneath
10. Choke from Behind
a. Single hand check, reverse thumb eye shot
11. Punch a. Angle out and sweeping smother block, back leg moves to 3:00 or
9:00
12. Punch a. Cat to left, parry left
13. Punch
a. Long fist smother block
14. Left and right punch from the side a. Right back hand block, left snake block
15. Punch
a. Open hand grab to the punch
16. Punch a. Corkscrew pre-emptive strike, follow through motion to block
17. Kick – Punch
a. Slip inside kick, Puter Kepala takedown
18. Punch a. Four knuckle rake face pre-emptive strike, follow through motion
to block
19. Opponent kneeling down facing away from you a. Kick him in the face b. Kick him in the groin c. Stomp spine, side kick to the head d. Stomp the ankle e. Punch to the head
20. Punch
a. Inverted slap, fingers pointed straight, thumb down, moving away
21. Punch a. Parry, backfist to elbow
22. Knife in the throat from behind a. Turn head, grab wrist and elbow, push knife to left, dancer b. Turn head, grab wrist and elbow, push knife to left, lift arms and
step forward c. Turn head, grab wrist and elbow, drop to horse stance, spin
forward
23. Knife in throat in front a. Grab knife hand with left, right disarm down with right
24. Gun in the back a. Turn into gun to the left, step to 6:00 with the right, hook the
elbow and right elbow to face simultaneously
25. Opponent at 12:00 a. Cut kick b. Thrust kick c. Palm to face
26. Left Punch
a. Parry, backfist to face 27. Rear arm bar choke
a. Pull a finger backward
28. Two hand shirt grab a. Pin hands, step forward, spear hand to throat
29. Holding a belt, punch defense
a. Slap the punch b. Hook punch and slap to head c. Slap to kick, slap to punch
30. Punch
a. Left parry, right elbow to punch
Gracie Combatives Positions and Transitions – Level 1 Positional Control (Mount)
Anchor and Base Low Swim High Swim
Take the Back (Mount) Take the Back from Mount ReMount Technique
Take the Back (Guard) Head and Arm Control Achieve the Angle Final Getup
Guard - Punch Block Series (Stages 1 – 4) Guard - Punch Block Series (Stage 5)
Stage 5 Rollover Technique
Positional Control (Side Control) Basic – Roll Prevention Guard Prevention Knee on Belly Mount Transition
Twisting Arm Control Basic Control Take the Back Armlock Finish
Modified Side Mount
Gracie Combatives Escapes – Level 2 Trap and Roll (Mount Escape)
Standard Variation Punch Block Variation Head Lock Variation with Hook removal
Elbow Escape (Mount Escape) Standard Variation Hook Removal Fish Hook Heel Drag
Headlock Counters from Mount Basic Positioning Prevent the Get Up Back Mount Finish Arm Lock Finish
Headlock Escape 1 from Side Control Standard Frame Escape Scissor Failure Variation Super Lock Variation
Headlock Escape 2 from Side Control Standard Leg Hook Escape Super Base Variation Punch Block Variation
Shrimp Escape (Side Control Escape) Block and Shoot Variation Shrimp and Shoot Variation Punch Block Variation

Elbow Escape (Side Control Escape) Knee Drive Variation High Step Variation
Gracie Combatives Sweeps and Passes – Level 3 Open Guard Pass Elevator Sweep
Standard Variation Headlock Variation
Double Ankle Sweep Knee Drive Variation Stand Up in Base Kick Variation
Hook Sweep Hook Sweep Sweep Follow Up
Double Underhook Guard Pass
Gracie Combatives Stand Up Techniques – Level 4 Clinch Control (Front) Leg Hook Takedown Engage an Aggressive Opponent Body Fold Takedown Engage a Conservative Opponent Double Leg Takedown
Basic Application Aggressive Opponent Conservative Opponent
Pull Guard Rear Takedown
Achieve the Rear Clinch Rear Takedown
Standing Headlock Defense Haymaker Punch Defense Standing Armlock
Basic Application Walking Application
Gracie Combatives Submissions – Level 5 Americana Arm Lock
Basic Application Standard Variation with Rear Hook Neck-Hug Variation
Rear Naked Choke Basic Application Strong Side Variation Weak Side Variation
Straight Armlock (Mount) Standard Variation Side Variation
Triangle Choke Triangle Finish Stage 1.5 Variation Giant Killer Variation
Straight Armlock (Guard) Low Variation High Variation Triangle Transition
Guillotine Choke Basic Application Standing Variation Guard Pull Variation
Guillotine Defense – Standing

Kimura Armlock (Guard) Basic Application Rider Variation Forced Variation
Arm Triangle Americana to Arm Triangle Transfer
MASS ATTACK PRINCIPLES I. THEORY AND ACTION (MULTI-MAN ATTACKS) 1. OFFENSIVENESS 2. PRINCIPLES OF DEFENSE 3. CONSTANT FLOWING MOTION 4. REPETITION 5. DIVERSIONARY TACTICS 6. INITIAL OFFENSIVE ACTION 7. DEALING WITH IMMEDIATE DANGER FIRST 8. BREAKING OUT 9. SHIELDING FACTOR 10. SUPPORT FACTOR 11. WEAPON FACTOR 12. DEALING SIMULTANEOUSLY WITH MULTIPLE OPPONENTS 13. ECONOMY OF MOTION 14. REACTION FACTOR 15. SPONTANEITY THROUGH AWARENESS 16. MOVEMENT PATTERNS 17. BREATHING 18. CONTROL - PHYSICAL 19. CONTROL - PSYCHOLOGICAL 20. LOW KICKS 21. INSTANT RETRACTION 22. PRINCIPLE OF UNCERTAINTY 23. MULTIPLE OPPONENTS SWEEPING STRIKES 24. CHANGE OF DIRECTION 25. AVOIDING ENTANGLEMENT 26. CONSTANT COVER 27. HOSTAGE FACTOR
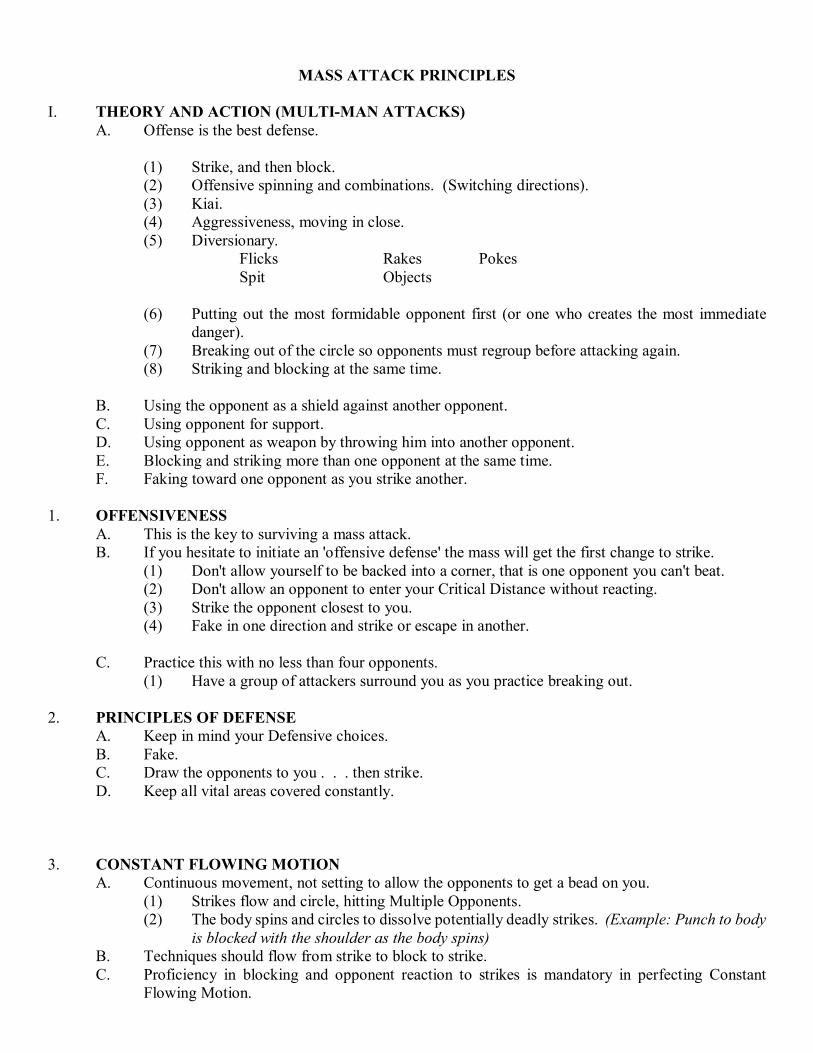
MASS ATTACK PRINCIPLES
I. THEORY AND ACTION (MULTI-MAN ATTACKS)
A. Offense is the best defense.
(1) Strike, and then block. (2) Offensive spinning and combinations. (Switching directions). (3) Kiai. (4) Aggressiveness, moving in close. (5) Diversionary.
Flicks Rakes Pokes Spit Objects
(6) Putting out the most formidable opponent first (or one who creates the most immediate
danger). (7) Breaking out of the circle so opponents must regroup before attacking again. (8) Striking and blocking at the same time.
B. Using the opponent as a shield against another opponent. C. Using opponent for support. D. Using opponent as weapon by throwing him into another opponent. E. Blocking and striking more than one opponent at the same time. F. Faking toward one opponent as you strike another.
1. OFFENSIVENESS A. This is the key to surviving a mass attack. B. If you hesitate to initiate an 'offensive defense' the mass will get the first change to strike.
(1) Don't allow yourself to be backed into a corner, that is one opponent you can't beat. (2) Don't allow an opponent to enter your Critical Distance without reacting. (3) Strike the opponent closest to you. (4) Fake in one direction and strike or escape in another.
C. Practice this with no less than four opponents.
(1) Have a group of attackers surround you as you practice breaking out. 2. PRINCIPLES OF DEFENSE
A. Keep in mind your Defensive choices. B. Fake. C. Draw the opponents to you . . . then strike. D. Keep all vital areas covered constantly.
3. CONSTANT FLOWING MOTION
A. Continuous movement, not setting to allow the opponents to get a bead on you. (1) Strikes flow and circle, hitting Multiple Opponents. (2) The body spins and circles to dissolve potentially deadly strikes. (Example: Punch to body
is blocked with the shoulder as the body spins) B. Techniques should flow from strike to block to strike. C. Proficiency in blocking and opponent reaction to strikes is mandatory in perfecting Constant
Flowing Motion.
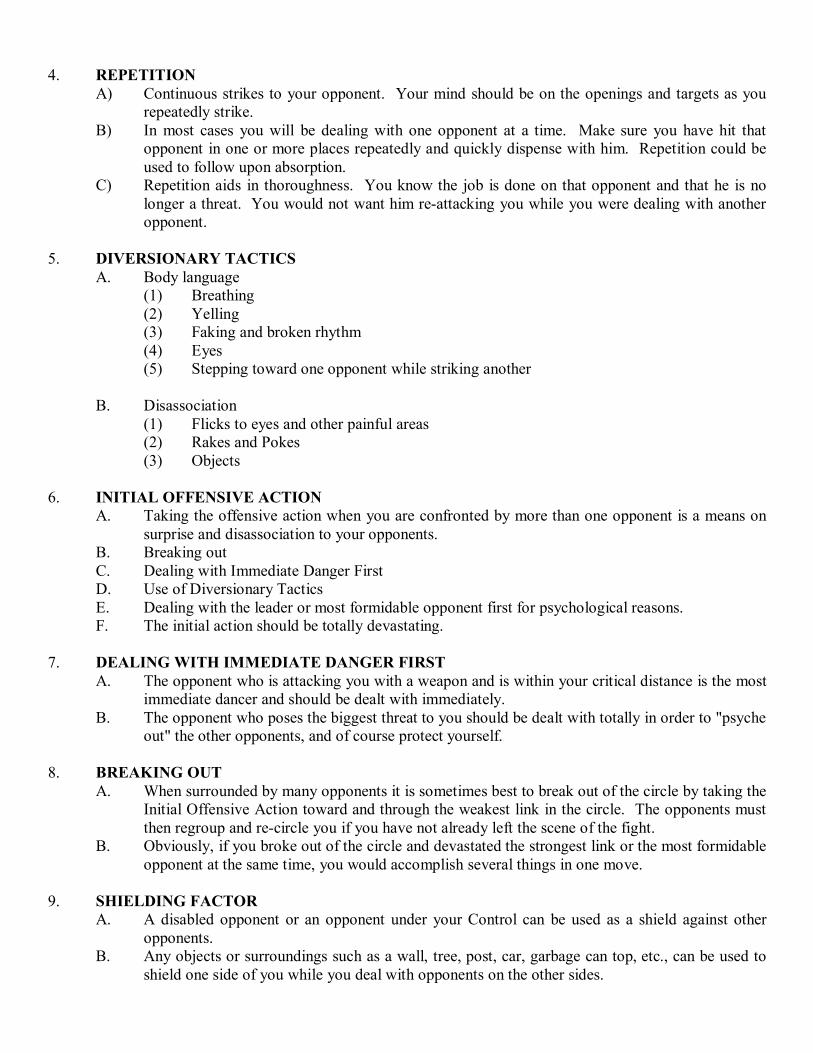
4. REPETITION
A) Continuous strikes to your opponent. Your mind should be on the openings and targets as you repeatedly strike.
B) In most cases you will be dealing with one opponent at a time. Make sure you have hit that opponent in one or more places repeatedly and quickly dispense with him. Repetition could be used to follow upon absorption.
C) Repetition aids in thoroughness. You know the job is done on that opponent and that he is no longer a threat. You would not want him re-attacking you while you were dealing with another opponent.
5. DIVERSIONARY TACTICS
A. Body language (1) Breathing (2) Yelling (3) Faking and broken rhythm (4) Eyes (5) Stepping toward one opponent while striking another
B. Disassociation
(1) Flicks to eyes and other painful areas (2) Rakes and Pokes (3) Objects
6. INITIAL OFFENSIVE ACTION
A. Taking the offensive action when you are confronted by more than one opponent is a means on surprise and disassociation to your opponents.
B. Breaking out C. Dealing with Immediate Danger First D. Use of Diversionary Tactics E. Dealing with the leader or most formidable opponent first for psychological reasons. F. The initial action should be totally devastating.
7. DEALING WITH IMMEDIATE DANGER FIRST
A. The opponent who is attacking you with a weapon and is within your critical distance is the most immediate dancer and should be dealt with immediately.
B. The opponent who poses the biggest threat to you should be dealt with totally in order to "psyche out" the other opponents, and of course protect yourself.
8. BREAKING OUT
A. When surrounded by many opponents it is sometimes best to break out of the circle by taking the Initial Offensive Action toward and through the weakest link in the circle. The opponents must then regroup and re-circle you if you have not already left the scene of the fight.
B. Obviously, if you broke out of the circle and devastated the strongest link or the most formidable opponent at the same time, you would accomplish several things in one move.
9. SHIELDING FACTOR
A. A disabled opponent or an opponent under your Control can be used as a shield against other opponents.
B. Any objects or surroundings such as a wall, tree, post, car, garbage can top, etc., can be used to shield one side of you while you deal with opponents on the other sides.

10. SUPPORT FACTOR A. A partially disabled opponent or an opponent that you have physical control of can be used as a
support base for moves such as hyper-extension kicks that require good balance. B. Surrounding objects such as cars, poles, trees, etc., can be used for the same purpose.
11. WEAPON FACTOR
A. A disabled opponent or an opponent that you have under your physical control can be thrown against another opponent as a weapon.
B. One opponent's attack can be used as a weapon against another by overextending or redirecting his attack into the other opponent.
C. Any object can be used as a weapon in a mass attack situation to increase your destructive capabilities. Your opponent's weapon can be taken away from him and used against your opponent's. You should be proficient with all weapons.
12. DEALING SIMULTANEOUSLY WITH MULTIPLE OPPONENTS
A. Usually you will be dealing with one opponent at a time, but for maximum efficiency in many circumstances you should deal with several at a time.
B. You can strike and/or neutralize more than one opponent at the same time with any combination of those two. The most efficient way would be to use several absorptions simultaneously.
C. To use Multiple Opponents Sweeping Strikes is not exactly dealing simultaneously with several opponents but is should be kept in mind.
13. ECONOMY OF MOTION
A. Maximum efficiency by not wasting movement. B. Dealing Simultaneously with Multiple Opponents and Multiple Opponents Sweeping Strikes are
good examples of Economy of Motion. 14. REACTION FACTOR
A. Use your opponent's reactions as a rebound. B. Use his reactions to create openings. C. Know how your opponent's body will react to your blows. D. Know how your opponent reacts to your Psychological Control.
15. SPONTANEITY THROUGH AWARENESS
A. One must be flexible and react spontaneously in a situation depending on the circumstances as they come up on a split second basis.
B. One must learn to be totally aware. Yet, to be aware is to be unaware. C. One must have as many minds as opponents, yet, one must not let his awareness rest on any one
opponent or object. or interpret any sensory stimulus. D. One should keep an empty mind while fighting. The mind should be like a mirror and become the
reflection of the opponent so to speak. The opponent's attack becomes ones defense making one's move the completion or the compliment of the opponent's move.
E. One should be in a state of "no-mindedness" (Wu Hsin) while fighting.
16. MOVEMENT PATTERNS A. Certain Movement Patterns are followed or used according to one's own state, the terrain, the
surroundings, the number of opponents, their method of approach, etc. These Movement Patterns are:
(1) Spinning techniques (2) Telephone booth techniques (Includes Absorptions) (3) Constant Forward Pressure
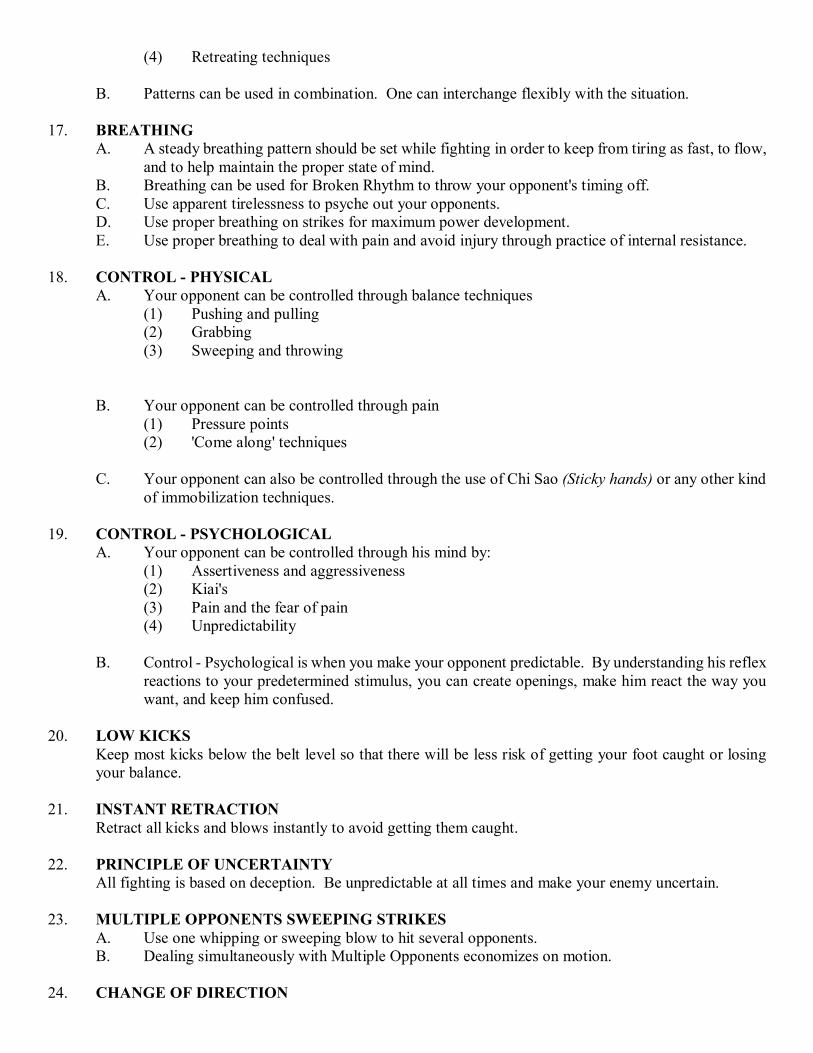
(4) Retreating techniques B. Patterns can be used in combination. One can interchange flexibly with the situation.
17. BREATHING A. A steady breathing pattern should be set while fighting in order to keep from tiring as fast, to flow,
and to help maintain the proper state of mind. B. Breathing can be used for Broken Rhythm to throw your opponent's timing off. C. Use apparent tirelessness to psyche out your opponents. D. Use proper breathing on strikes for maximum power development. E. Use proper breathing to deal with pain and avoid injury through practice of internal resistance.
18. CONTROL - PHYSICAL A. Your opponent can be controlled through balance techniques
(1) Pushing and pulling (2) Grabbing (3) Sweeping and throwing
B. Your opponent can be controlled through pain (1) Pressure points (2) 'Come along' techniques
C. Your opponent can also be controlled through the use of Chi Sao (Sticky hands) or any other kind
of immobilization techniques. 19. CONTROL - PSYCHOLOGICAL
A. Your opponent can be controlled through his mind by: (1) Assertiveness and aggressiveness (2) Kiai's (3) Pain and the fear of pain (4) Unpredictability
B. Control - Psychological is when you make your opponent predictable. By understanding his reflex
reactions to your predetermined stimulus, you can create openings, make him react the way you want, and keep him confused.
20. LOW KICKS
Keep most kicks below the belt level so that there will be less risk of getting your foot caught or losing your balance.
21. INSTANT RETRACTION
Retract all kicks and blows instantly to avoid getting them caught. 22. PRINCIPLE OF UNCERTAINTY
All fighting is based on deception. Be unpredictable at all times and make your enemy uncertain. 23. MULTIPLE OPPONENTS SWEEPING STRIKES
A. Use one whipping or sweeping blow to hit several opponents. B. Dealing simultaneously with Multiple Opponents economizes on motion.
24. CHANGE OF DIRECTION

Change your direction of movement often to stay unpredictable and to keep from getting dizzy when spinning.
25. AVOIDING ENTANGLEMENT
In all your moves, avoid getting entangled with any opponents because of the danger from the others. 26. CONSTANT COVER
Constant Cover should be maintained at all times with properly positioned arms and legs through cover-all movements.
27. HOSTAGE FACTOR
Use opponents that you have control of or that you have disabled to serve as a threat to remaining opponents of an equal or greater number. A. Use hair grabs for control B. Use Arm & Leg Immobilizations to keep opponents off balance C. Body positioning D. Use Joint Techniques E. Use Sweeps and Throws
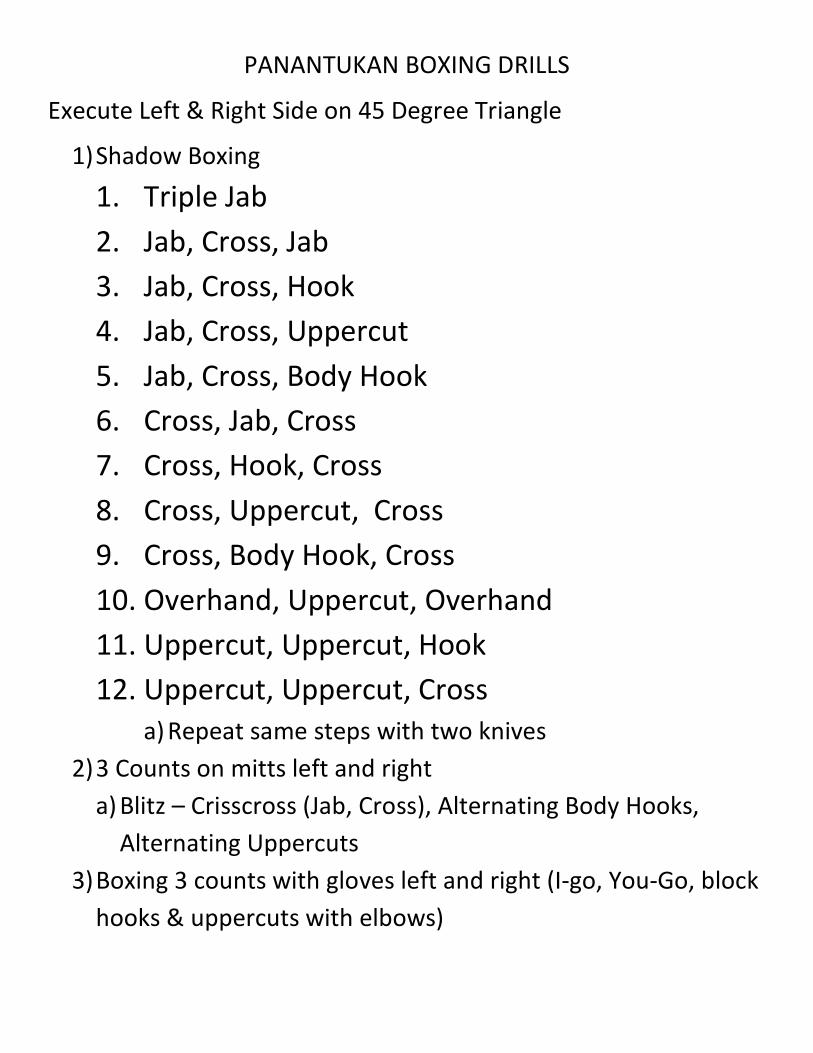
PANANTUKAN BOXING DRILLS
Execute Left & Right Side on 45 Degree Triangle
1) Shadow Boxing
1. Triple Jab 2. Jab, Cross, Jab 3. Jab, Cross, Hook 4. Jab, Cross, Uppercut 5. Jab, Cross, Body Hook 6. Cross, Jab, Cross 7. Cross, Hook, Cross 8. Cross, Uppercut, Cross 9. Cross, Body Hook, Cross 10. Overhand, Uppercut, Overhand 11. Uppercut, Uppercut, Hook 12. Uppercut, Uppercut, Cross
a) Repeat same steps with two knives 2) 3 Counts on mitts left and right
a) Blitz – Crisscross (Jab, Cross), Alternating Body Hooks, Alternating Uppercuts
3) Boxing 3 counts with gloves left and right (I-go, You-Go, block hooks & uppercuts with elbows)
4) Split entry counters jab into combinations left and right (follow up with lead leg knee strike) a) Offset step with orthodox style, rear hand trap, lead hand
pre-emptive strike to face, finish with one of the combinations (CHC, CUC, CBHC, OUO while changing stances)
5) Cover Up Elbow & Knees a) Left cover, right elbow, left elbow, knee b) Right cover, left elbow, right elbow, knee c) Blitz – Left elbow, right elbow, right knee or right elbow,
left elbow, left knee 6) Cover and ride series (follow with CHC, Lead Knee or HCH
Rear Knee)
Lead high cover – High Elbow Cover, rear hand high on cheek, lead shoulder compressed.
Rear High cover – Rear high elbow cover, lead hand on check, rear shoulder compressed.
1. Left cover 2. Right cover 3. Left Ride 4. Right Ride 5. 2 to the head 6. 2 to the Body 7. 3 to the head 8. 3 to the body
9. 3 mixed 10. BLITZ – CHC Lead knee, HCH rear knee
7) Cover and Hit Series 1 Defending a right or left wide punch. Right punch – Left open hand check to forearm plus one of the counters. Left punch – Right open hand check to forearm plus one of the counters.
1. Side fist 2. Finger jab 3. Claw 4. Vertical Elbow
After the block and counter, use any of these follow ups: a) Cross, hook, cross, grab, step up knee b) Cross, uppercut, cross, grab, step up knee c) Cross, body hook, cross, grab, knee d) Overhand, uppercut, overhand, knee
5. Blitz – Jab cross, Cross hook, Overhand uppercut 8) Cover and Hit Series 2
a) Cover & Elbow – From the split entry, opponent punches wide with the cross. Lead parry as rear vertical elbow, lead side elbow, rear side elbow, lead grab to head, rear knee.
b) Parry, Cover & Elbow – From the split entry, opponent punches straight with the cross. Rear parry, lead
outward as rear vertical elbow, lead side elbow, rear side elbow, lead grab to head, rear knee.
c) Parry & Hit, Cover & Elbow – From the split entry, rear parry as lead hand does another counter (eye gouge, side fist, etc.) Rear vertical elbow, lead side elbow, rear side elbow, lead grab to head, rear knee.
d) Blitz – Uppercut, Uppercut, Elbow, Elbow (RLRL), Uppercut, Uppercut, Elbow, Elbow (LRLR)
9) Finger Jab Underneath Series (Counter Straight Punches) Jab Counters a) Step to the outside line of the jab. Parry outward
simultaneous eye gouge with outward block. ¼ turn forward (angle off), Cross, body hook, head hook, grab head, knee.
b) Step to the inside line of the jab. Parry outward eye gouge, lead body hook, head hook, cross, grab head, step up knee.
Cross Counters c) Step to inside line of cross. Parry outward eye gouge,
outward hand posts to the shoulder of the cross, cross, body hook, head hook, grab head, step up knee
d) Step to outside line of cross. Parry outward eye gouge, body hook, head hook, cross, grab head, knee.
10) Parry, Finger Jab & Kick Series (Follow w/CUC, Front kick) (Jab, Cross counters. Execute off only one side, only change is first kick)
a) Parry, parry outward eye finger jab, Front kick, cross, uppercut, cross, front kick.
b) Parry, parry outward eye finger jab, Round kick, cross, uppercut, cross, front kick.
c) Parry, parry outward eye finger jab, Side kick, cross, uppercut, cross, front kick.
d) Parry, parry outward eye finger jab, Foot jab, cross, uppercut, cross, front kick.
e) BLITZ: Cross Jab, Cross Hook, Cross Uppercut, Cross Body hook (Non-stop)
11) Parry & Eye Gouge Inside Series (Jab, Cross Counters) All begin Split Entry, Parry Outward Eye Gouge, Push shoulder of cross arm, insert one of following follow ups followed by overhand, uppercut, overhand, knee)
a) Head butt b) Knee c) Sweep d) Head butt, sweep, knee e) Change stance and repeat f) Sweep other leg if no step g) Blitz: Uppercut, uppercut, hook, cross. Uppercut,
uppercut, cross, hook.
(314) 894-8599 Toll Free 1-800-725-9634 http://www.KenpoUSA.com THE MARTIAL ARTS CENTER 3712 Lemay Ferry Road St. Louis, MO 63125
TIM (T.O.) TOENISKOETTER BRIAN WATKINS ERIC PATTERSON BARRY YEE DANTE IANNAZZO BOB SAPPINGTON AHMED HABIB KATE YEE AMNA HABIB MATTHEW YEE SHALEN TUNSTALL CAROLINE MILLER MAJA CABARAVDIC