Embed Size (px)
Citation preview
Homework for July 12th 2015
Starting Android Development
Shivaum Kumar and Aditya Aggarwal wrote the following tutorial for the Saratoga Young Coders Club.
Introduction
• In this tutorial, you will learn how to program apps for Android
devices.
• Android devices are phones, tablets, and even watches that run
the Android software.
• The Android software is also called the Android Operating
System.
• 84% of the world’s devices run the Android Operating System
(OS); therefore, if you know how to code for the Android OS, you
can make apps for many people.
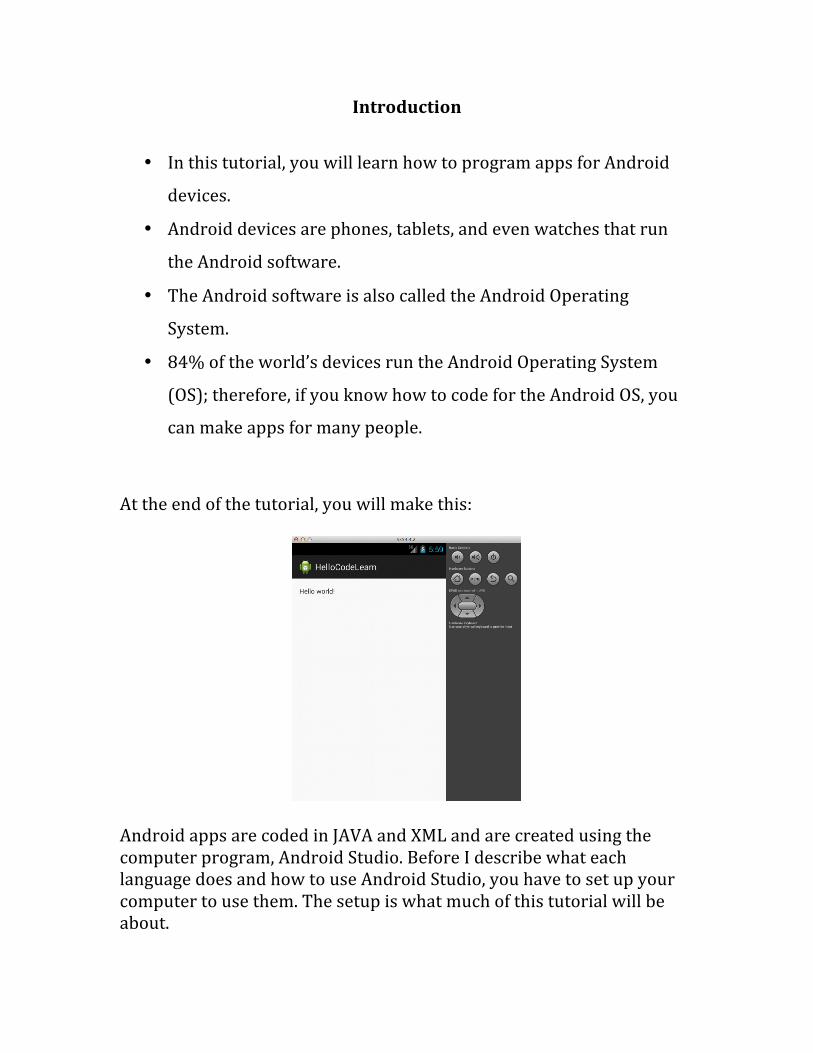
At the end of the tutorial, you will make this:
Android apps are coded in JAVA and XML and are created using the computer program, Android Studio. Before I describe what each language does and how to use Android Studio, you have to set up your computer to use them. The setup is what much of this tutorial will be about.
STEP 1: JDK 7
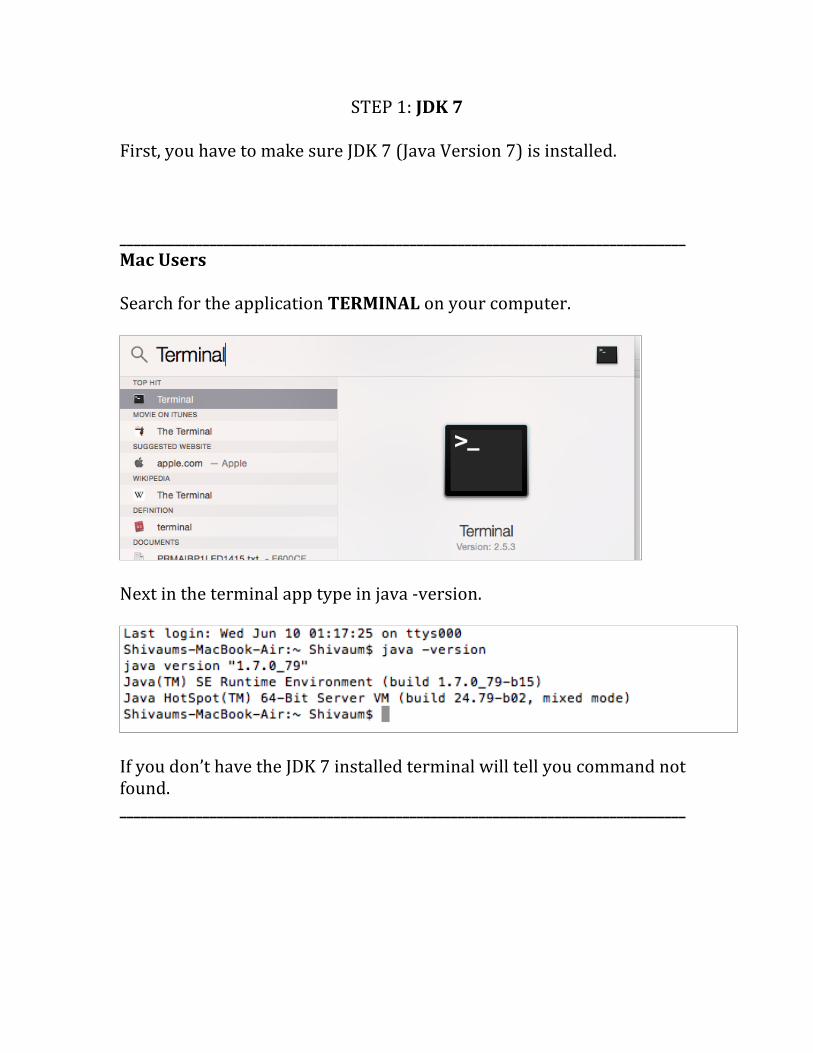
First, you have to make sure JDK 7 (Java Version 7) is installed. __________________________________________________________________________________ Mac Users Search for the application TERMINAL on your computer.
Next in the terminal app type in java -‐version.
If you don’t have the JDK 7 installed terminal will tell you command not found. __________________________________________________________________________________
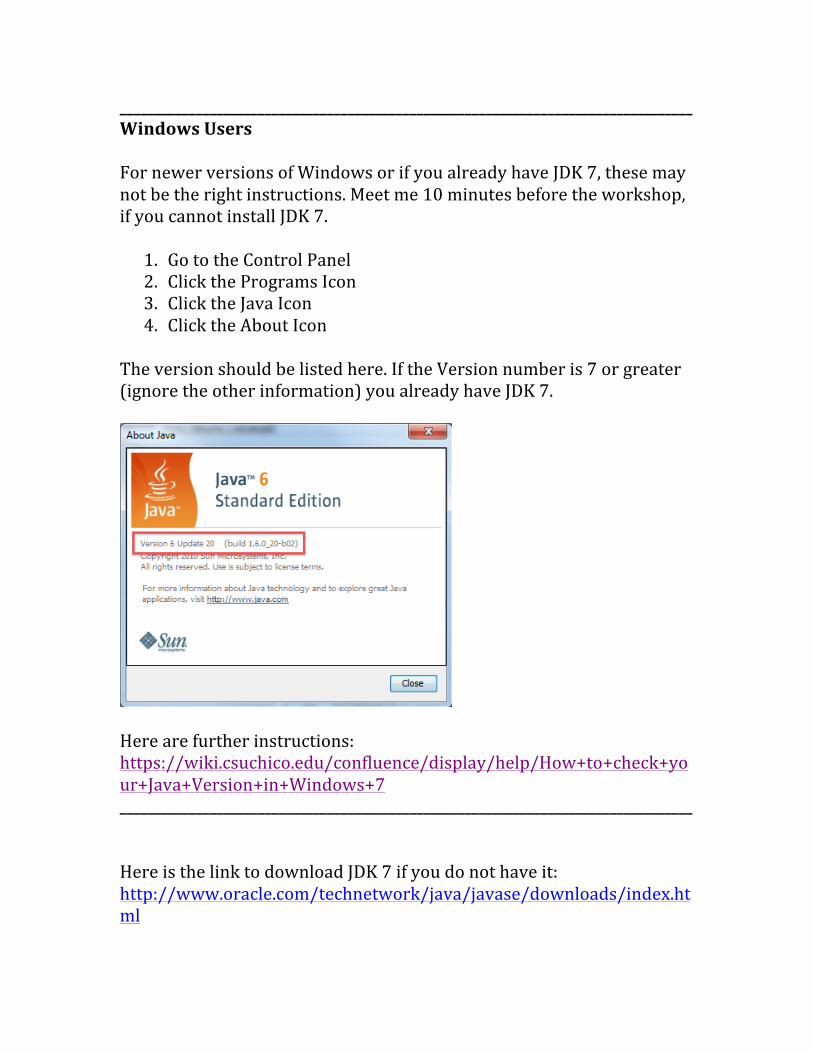
___________________________________________________________________________________ Windows Users For newer versions of Windows or if you already have JDK 7, these may not be the right instructions. Meet me 10 minutes before the workshop, if you cannot install JDK 7. 1. Go to the Control Panel 2. Click the Programs Icon 3. Click the Java Icon 4. Click the About Icon
The version should be listed here. If the Version number is 7 or greater (ignore the other information) you already have JDK 7.
Here are further instructions: https://wiki.csuchico.edu/confluence/display/help/How+to+check+your+Java+Version+in+Windows+7 ___________________________________________________________________________________ Here is the link to download JDK 7 if you do not have it: http://www.oracle.com/technetwork/java/javase/downloads/index.html
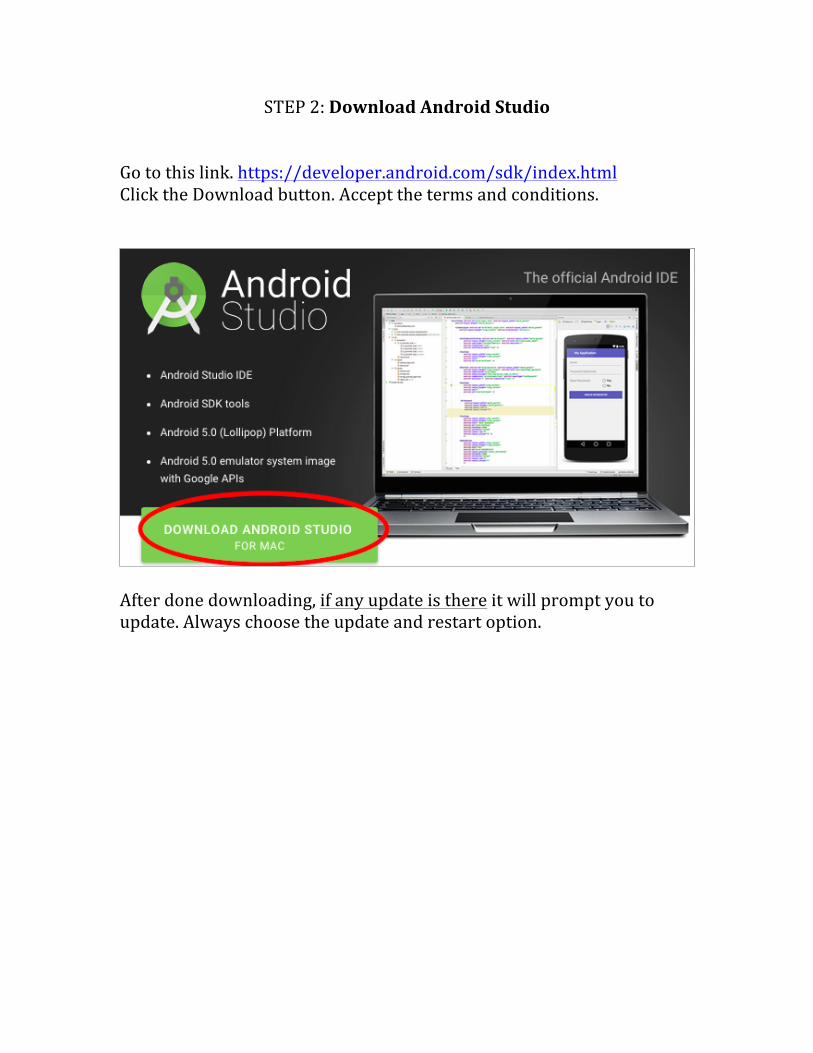
STEP 2: Download Android Studio
Go to this link. https://developer.android.com/sdk/index.html Click the Download button. Accept the terms and conditions.
After done downloading, if any update is there it will prompt you to update. Always choose the update and restart option.
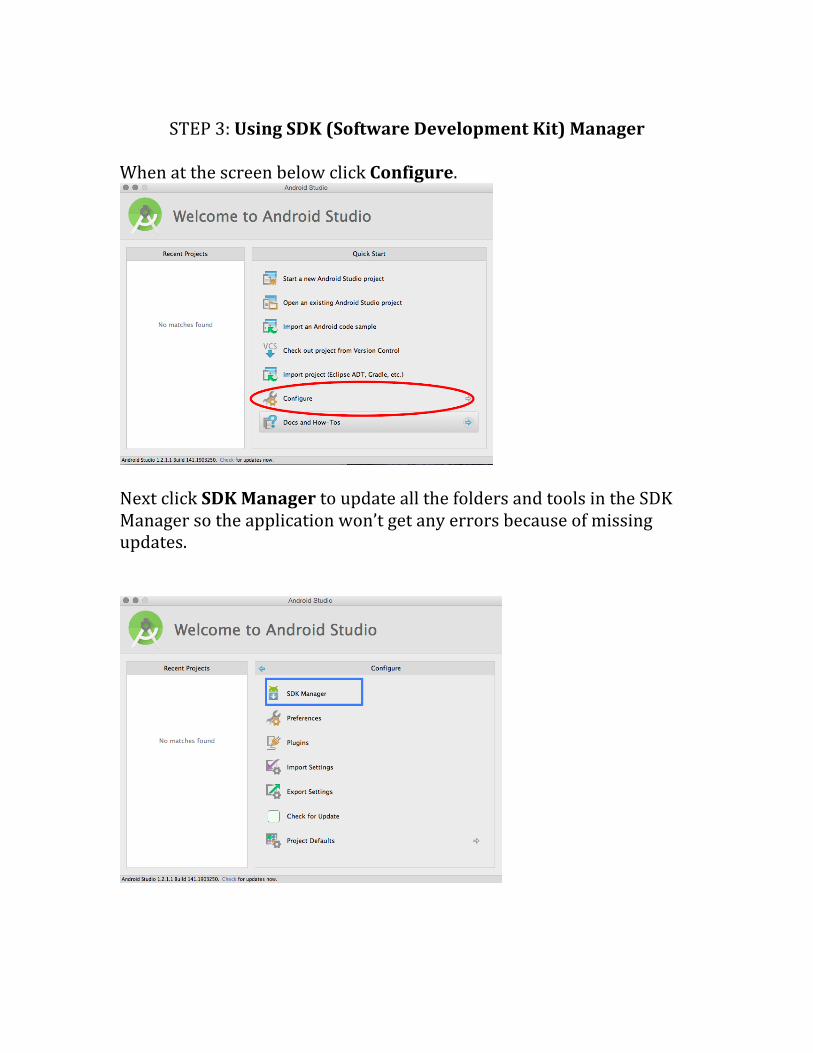
STEP 3: Using SDK (Software Development Kit) Manager
When at the screen below click Configure.
Next click SDK Manager to update all the folders and tools in the SDK Manager so the application won’t get any errors because of missing updates.
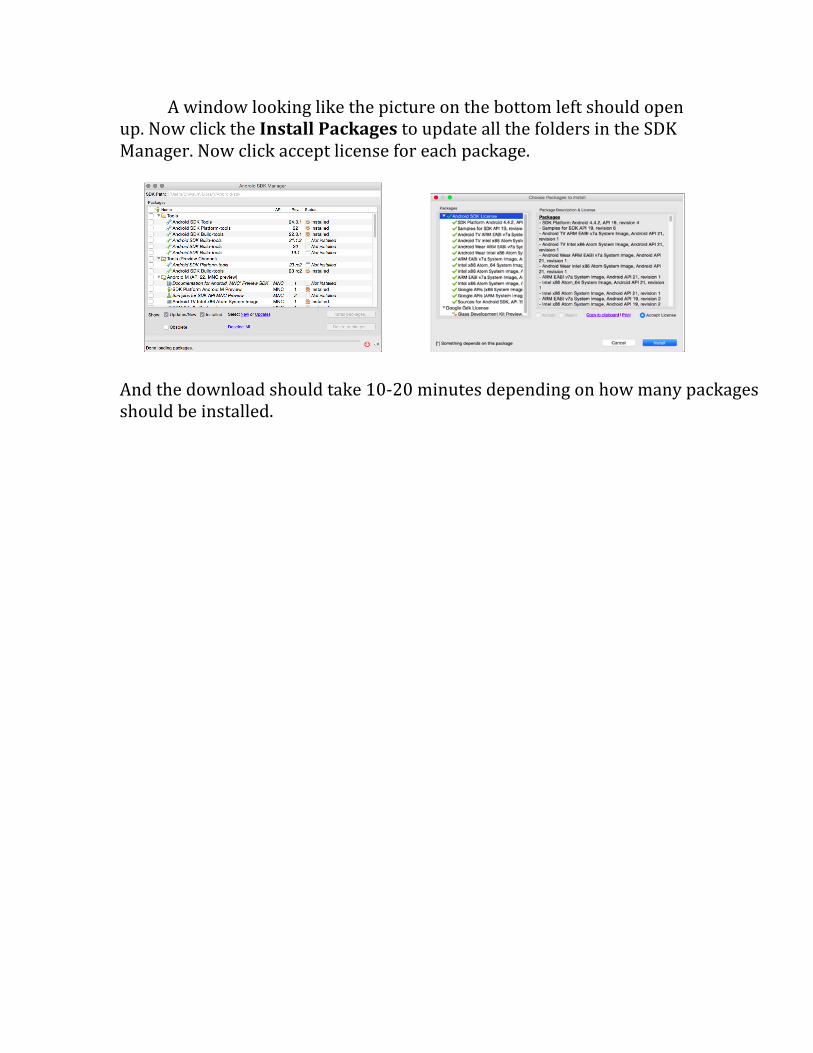
A window looking like the picture on the bottom left should open up. Now click the Install Packages to update all the folders in the SDK Manager. Now click accept license for each package.
And the download should take 10-‐20 minutes depending on how many packages should be installed.
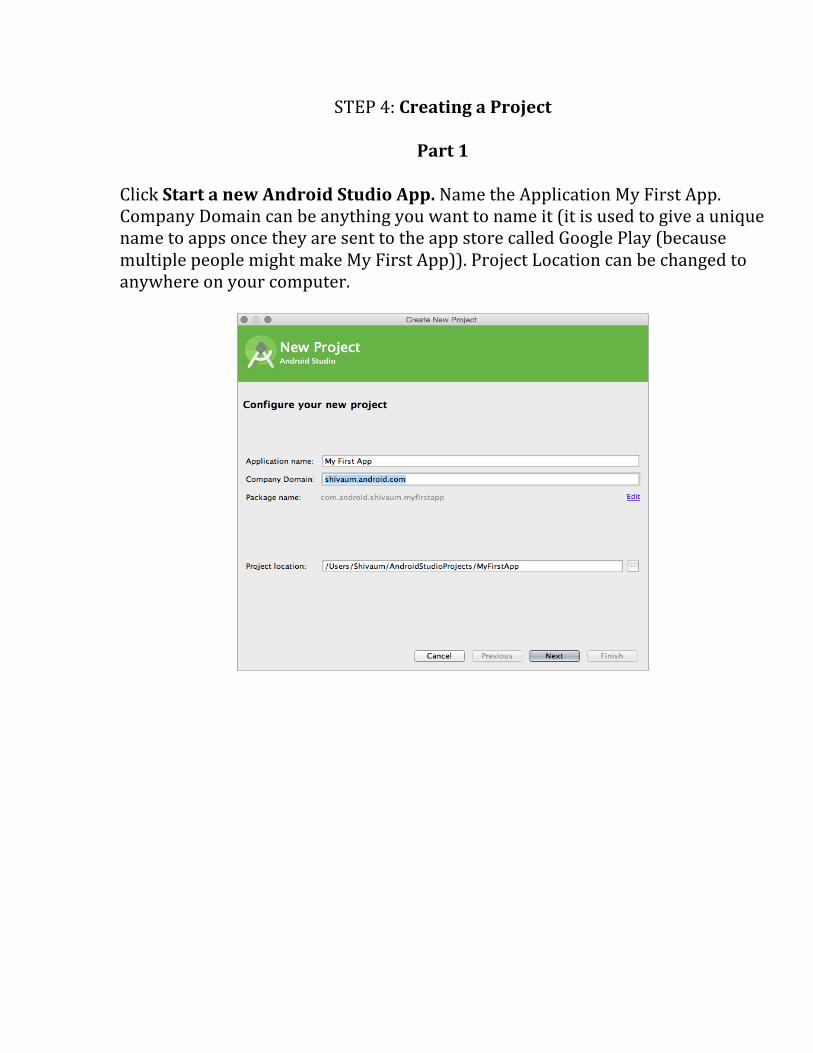
STEP 4: Creating a Project
Part 1
Click Start a new Android Studio App. Name the Application My First App. Company Domain can be anything you want to name it (it is used to give a unique name to apps once they are sent to the app store called Google Play (because multiple people might make My First App)). Project Location can be changed to anywhere on your computer.
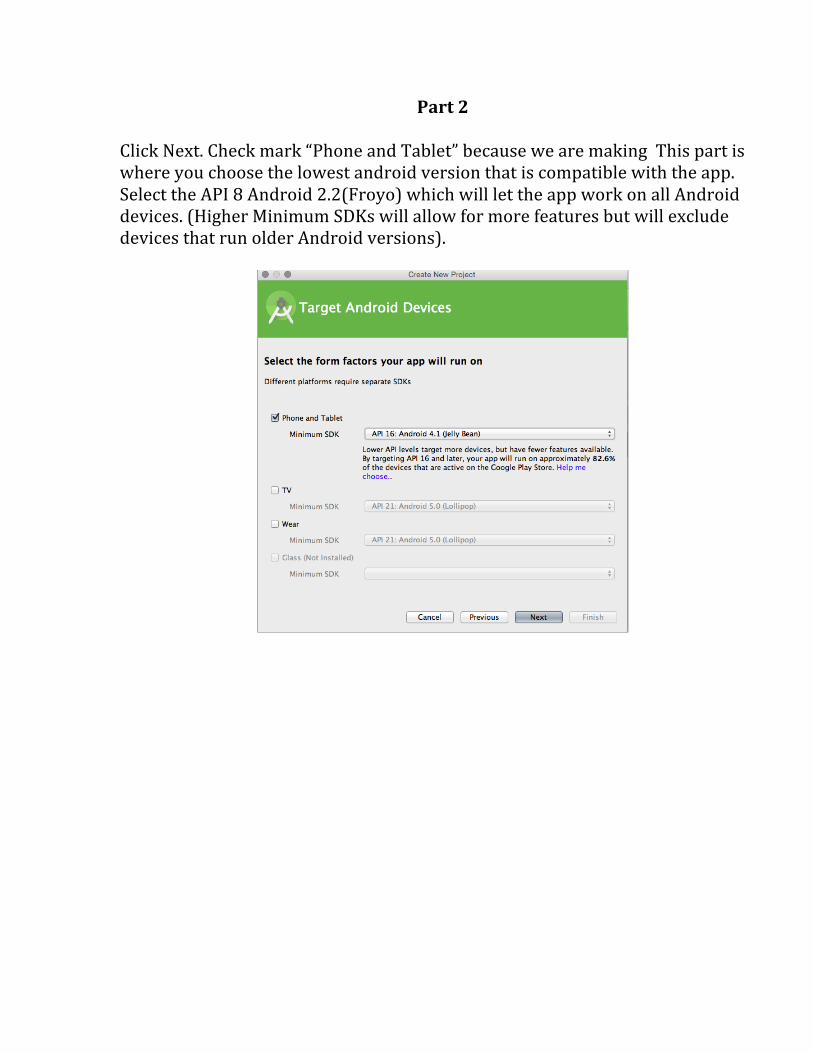
Part 2
Click Next. Check mark “Phone and Tablet” because we are making This part is where you choose the lowest android version that is compatible with the app. Select the API 8 Android 2.2(Froyo) which will let the app work on all Android devices. (Higher Minimum SDKs will allow for more features but will exclude devices that run older Android versions).
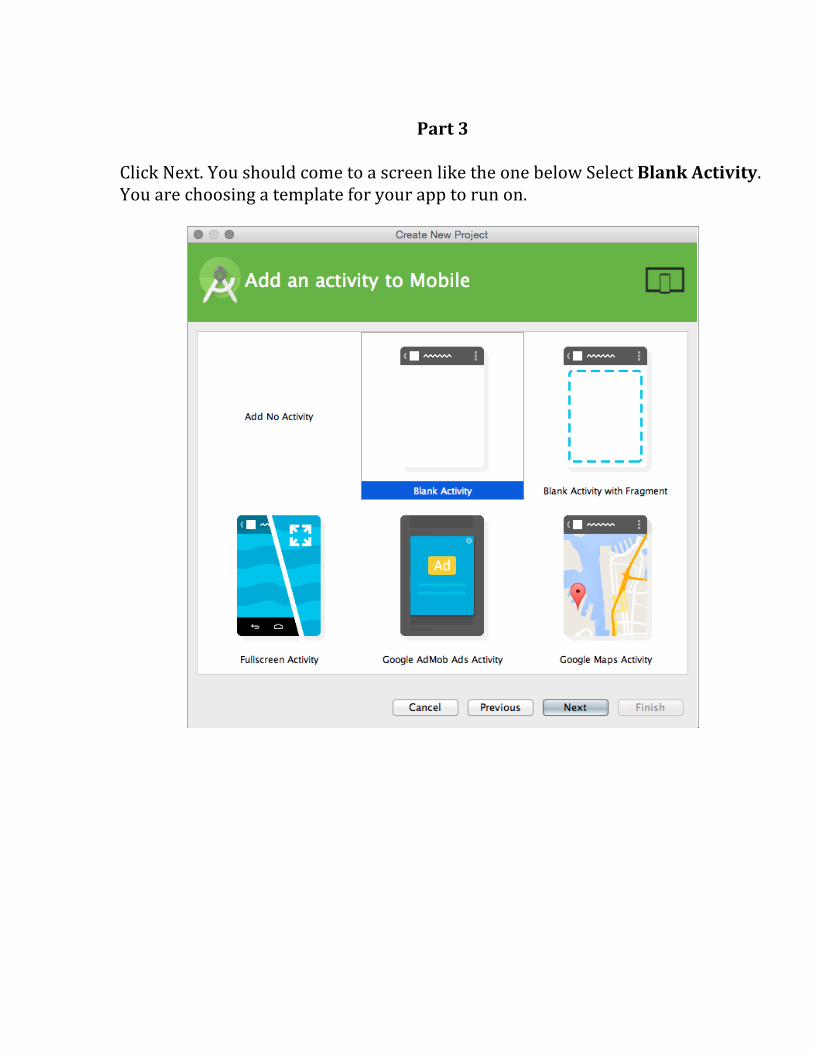
Part 3
Click Next. You should come to a screen like the one below Select Blank Activity. You are choosing a template for your app to run on.
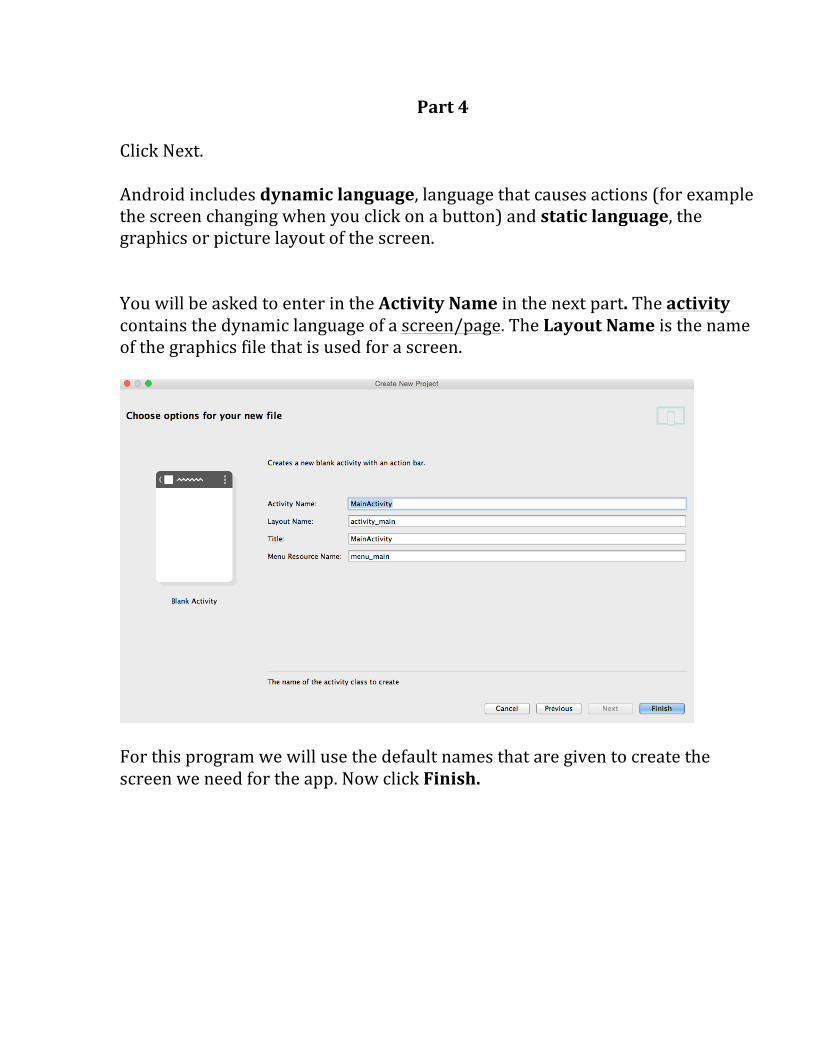
Part 4 Click Next. Android includes dynamic language, language that causes actions (for example the screen changing when you click on a button) and static language, the graphics or picture layout of the screen. You will be asked to enter in the Activity Name in the next part. The activity contains the dynamic language of a screen/page. The Layout Name is the name of the graphics file that is used for a screen.
For this program we will use the default names that are given to create the screen we need for the app. Now click Finish.
STEP 5: Running on Emulator
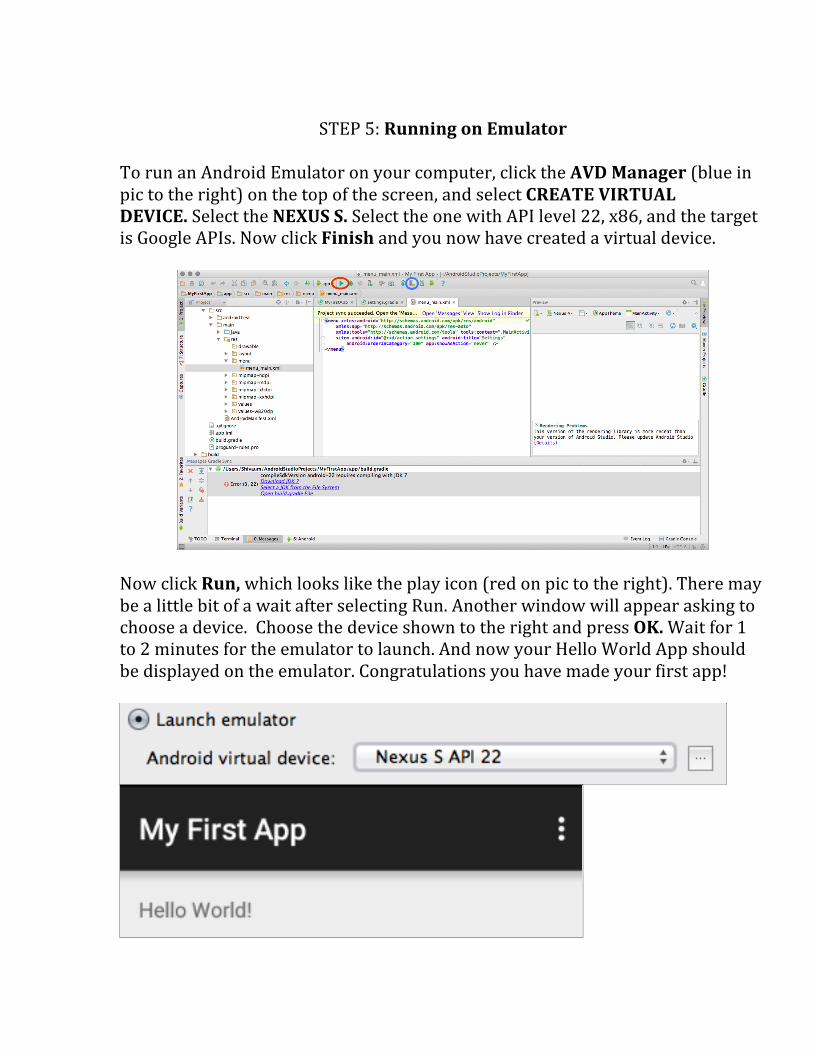
To run an Android Emulator on your computer, click the AVD Manager (blue in pic to the right) on the top of the screen, and select CREATE VIRTUAL DEVICE. Select the NEXUS S. Select the one with API level 22, x86, and the target is Google APIs. Now click Finish and you now have created a virtual device.
Now click Run, which looks like the play icon (red on pic to the right). There may be a little bit of a wait after selecting Run. Another window will appear asking to choose a device. Choose the device shown to the right and press OK. Wait for 1 to 2 minutes for the emulator to launch. And now your Hello World App should be displayed on the emulator. Congratulations you have made your first app!
The reason this worked without programming anything is that Android Studio by default creates a hello world app so it worked without any manual work in the
program.
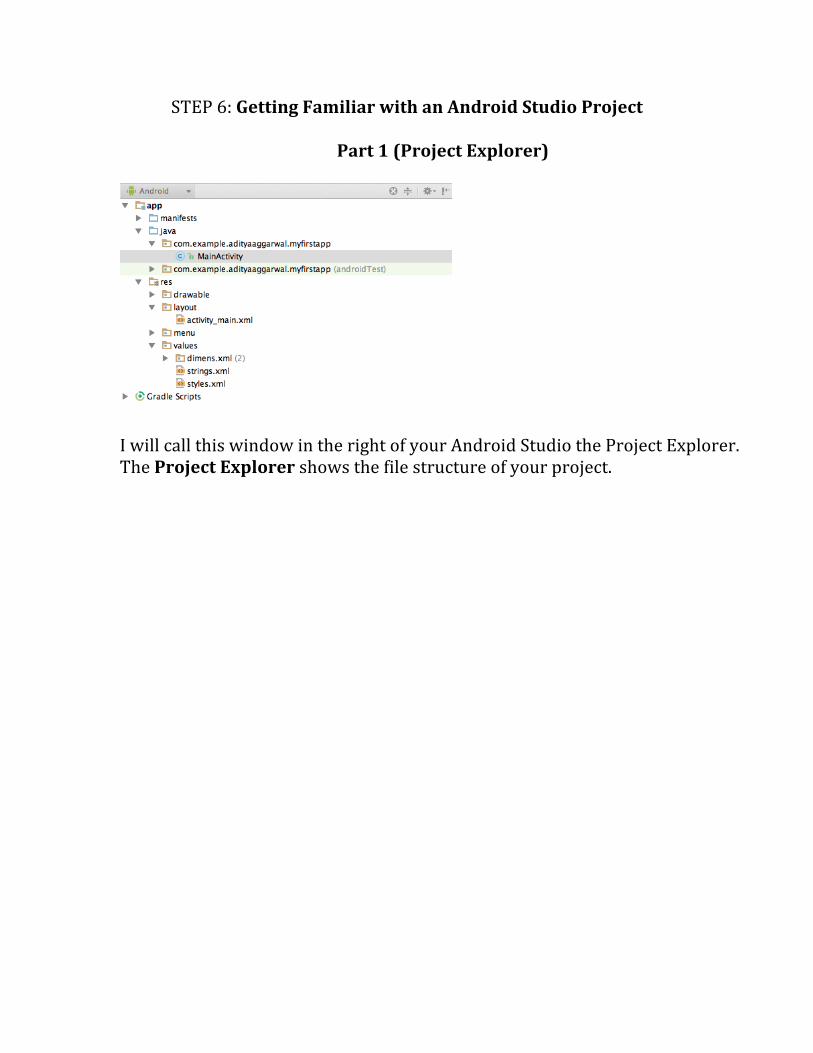
STEP 6: Getting Familiar with an Android Studio Project
Part 1 (Project Explorer)
I will call this window in the right of your Android Studio the Project Explorer. The Project Explorer shows the file structure of your project.
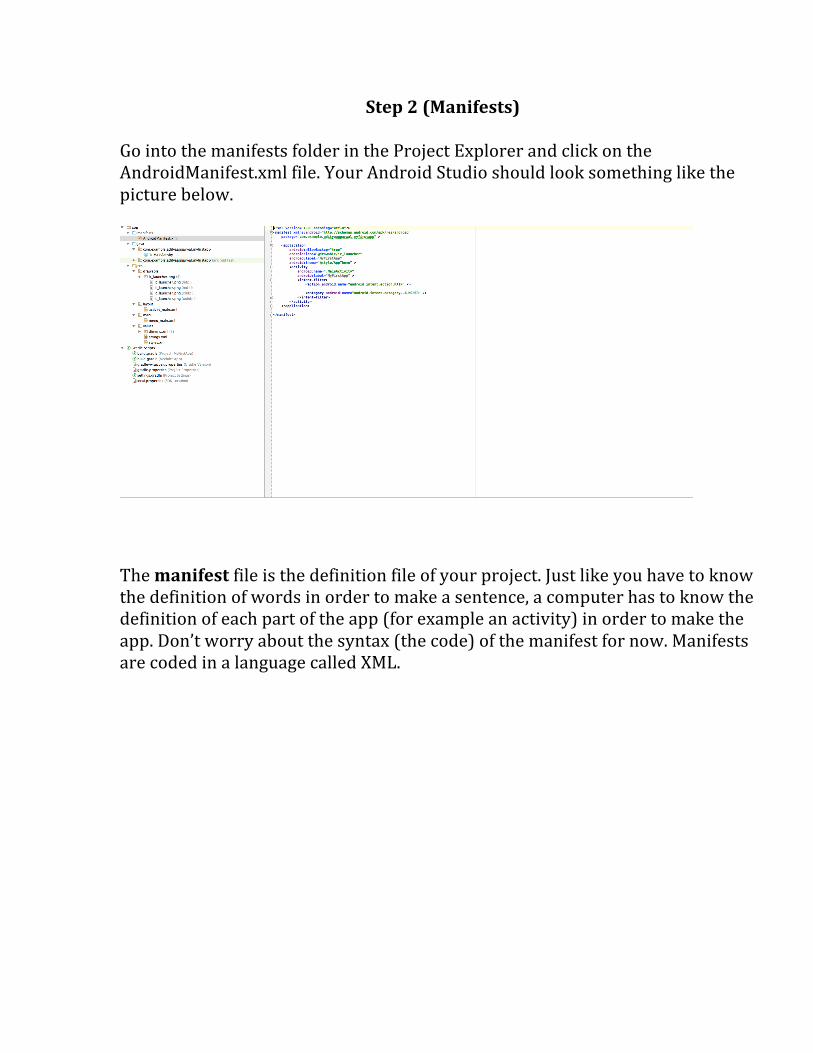
Step 2 (Manifests)
Go into the manifests folder in the Project Explorer and click on the AndroidManifest.xml file. Your Android Studio should look something like the picture below.
The manifest file is the definition file of your project. Just like you have to know the definition of words in order to make a sentence, a computer has to know the definition of each part of the app (for example an activity) in order to make the app. Don’t worry about the syntax (the code) of the manifest for now. Manifests are coded in a language called XML.
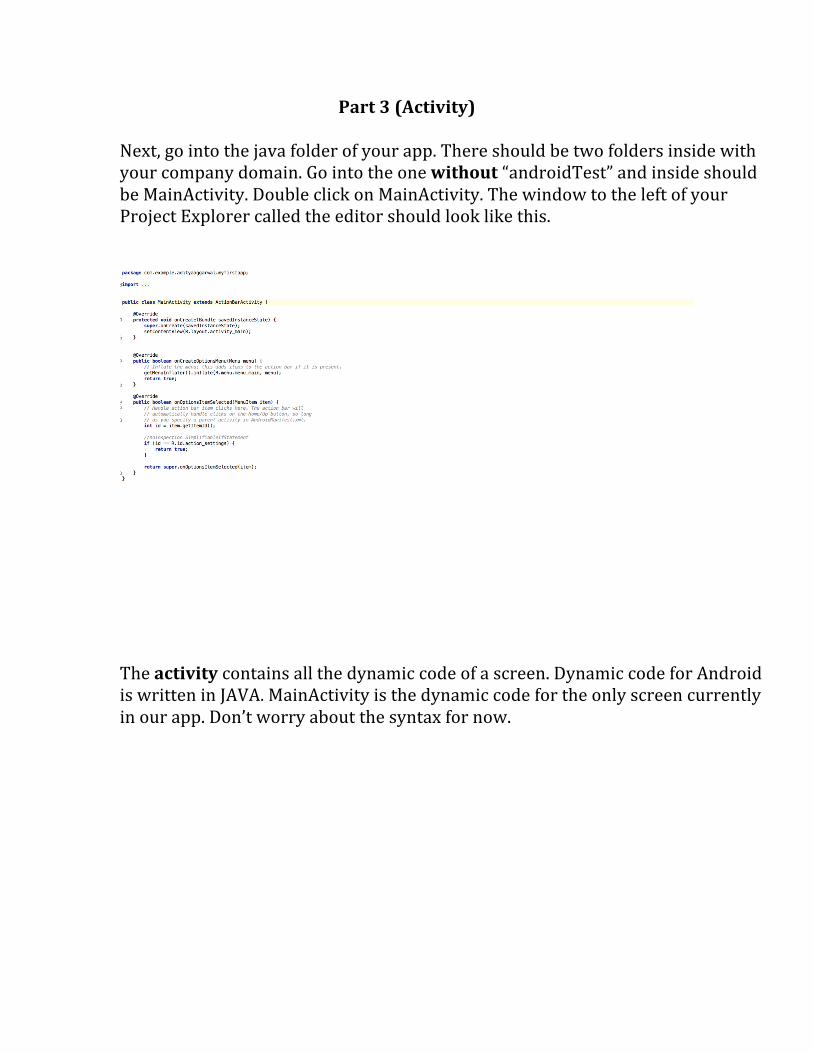
Part 3 (Activity) Next, go into the java folder of your app. There should be two folders inside with your company domain. Go into the one without “androidTest” and inside should be MainActivity. Double click on MainActivity. The window to the left of your Project Explorer called the editor should look like this.
The activity contains all the dynamic code of a screen. Dynamic code for Android is written in JAVA. MainActivity is the dynamic code for the only screen currently in our app. Don’t worry about the syntax for now.
Part 4 (resources: drawables, layouts, and values)
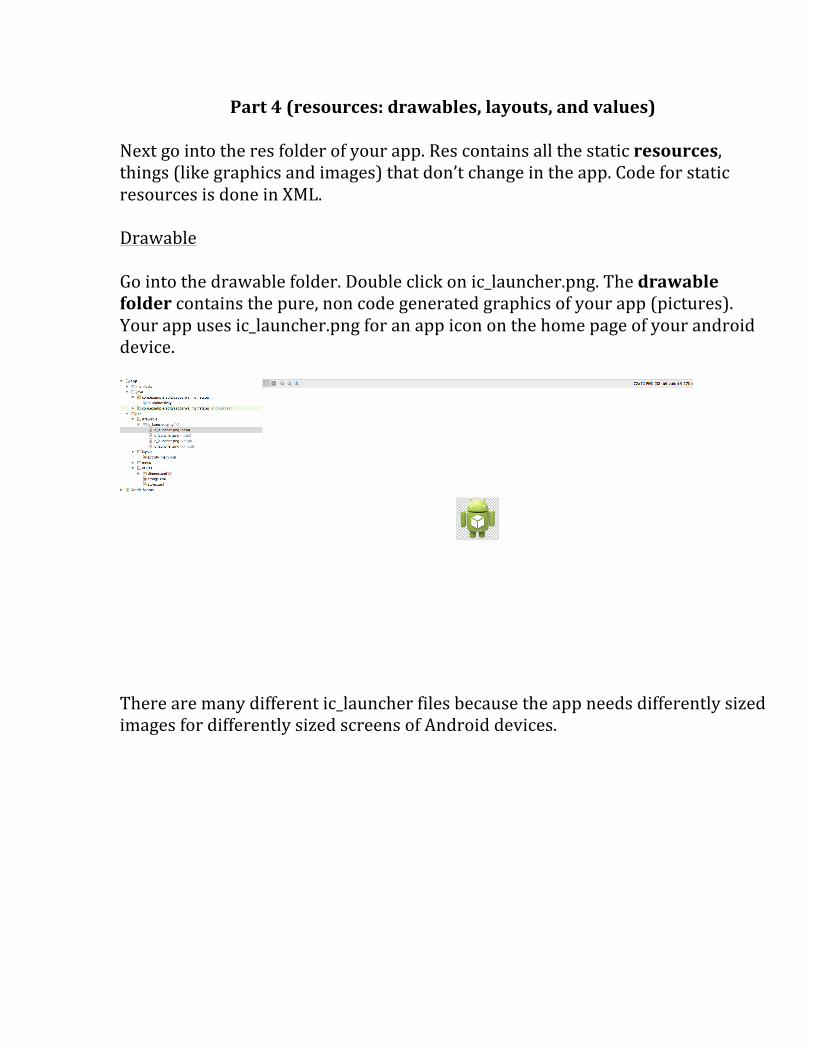
Next go into the res folder of your app. Res contains all the static resources, things (like graphics and images) that don’t change in the app. Code for static resources is done in XML. Drawable Go into the drawable folder. Double click on ic_launcher.png. The drawable folder contains the pure, non code generated graphics of your app (pictures). Your app uses ic_launcher.png for an app icon on the home page of your android device.
There are many different ic_launcher files because the app needs differently sized images for differently sized screens of Android devices.
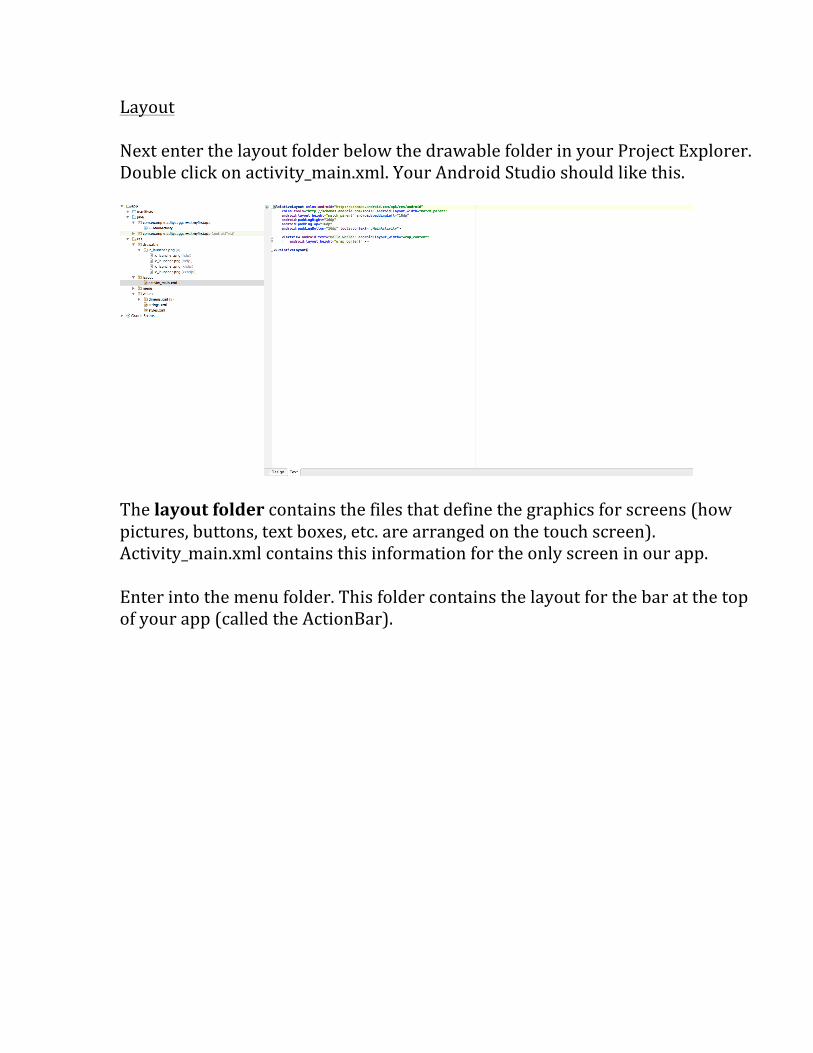
Layout Next enter the layout folder below the drawable folder in your Project Explorer. Double click on activity_main.xml. Your Android Studio should like this.
The layout folder contains the files that define the graphics for screens (how pictures, buttons, text boxes, etc. are arranged on the touch screen). Activity_main.xml contains this information for the only screen in our app. Enter into the menu folder. This folder contains the layout for the bar at the top of your app (called the ActionBar).
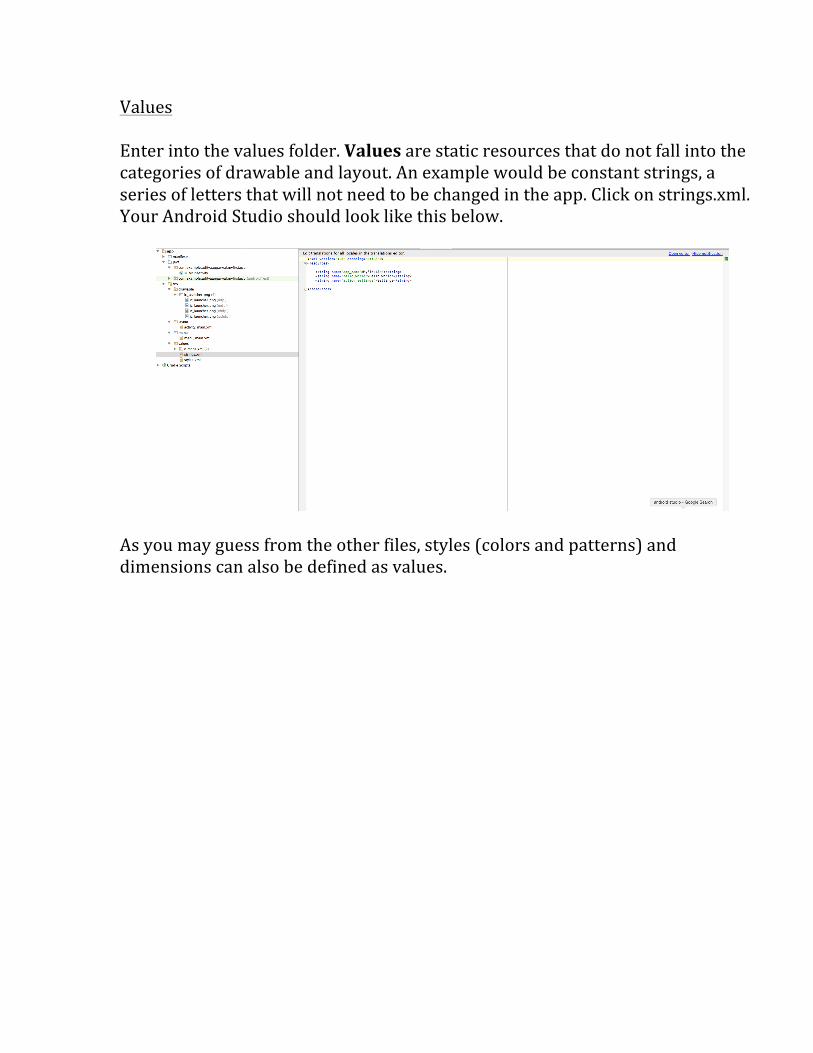
Values Enter into the values folder. Values are static resources that do not fall into the categories of drawable and layout. An example would be constant strings, a series of letters that will not need to be changed in the app. Click on strings.xml. Your Android Studio should look like this below.
As you may guess from the other files, styles (colors and patterns) and dimensions can also be defined as values.
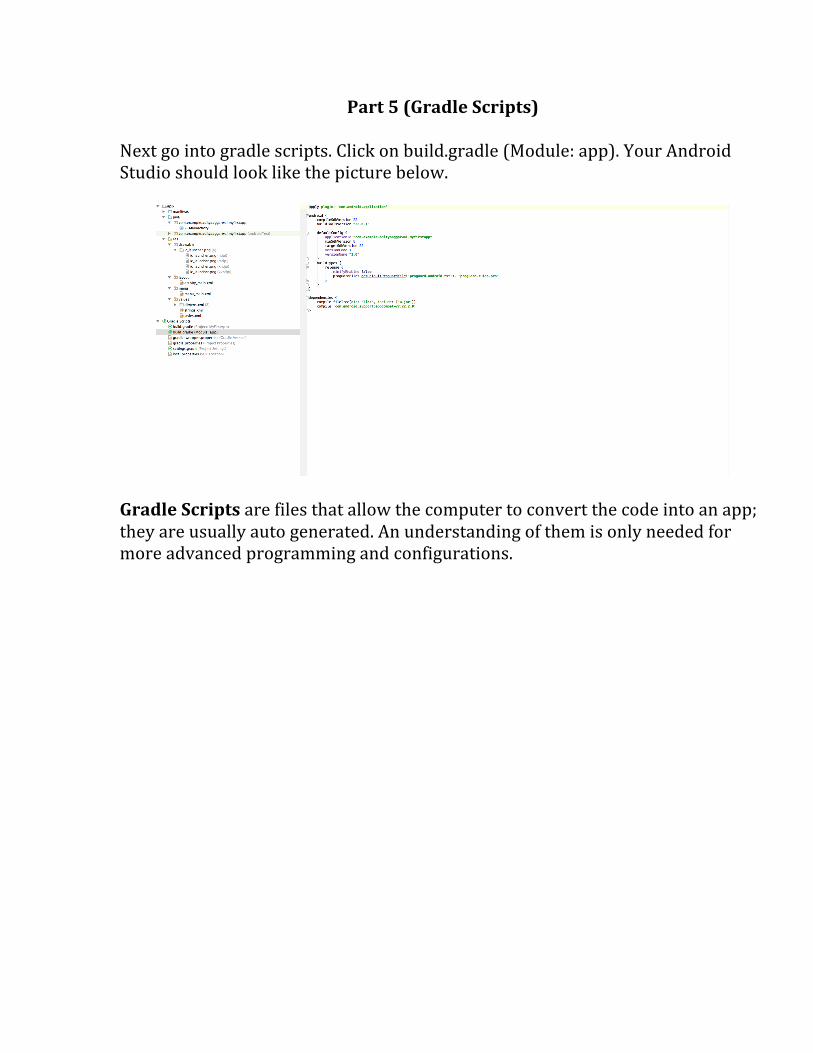
Part 5 (Gradle Scripts) Next go into gradle scripts. Click on build.gradle (Module: app). Your Android Studio should look like the picture below.
Gradle Scripts are files that allow the computer to convert the code into an app; they are usually auto generated. An understanding of them is only needed for more advanced programming and configurations.
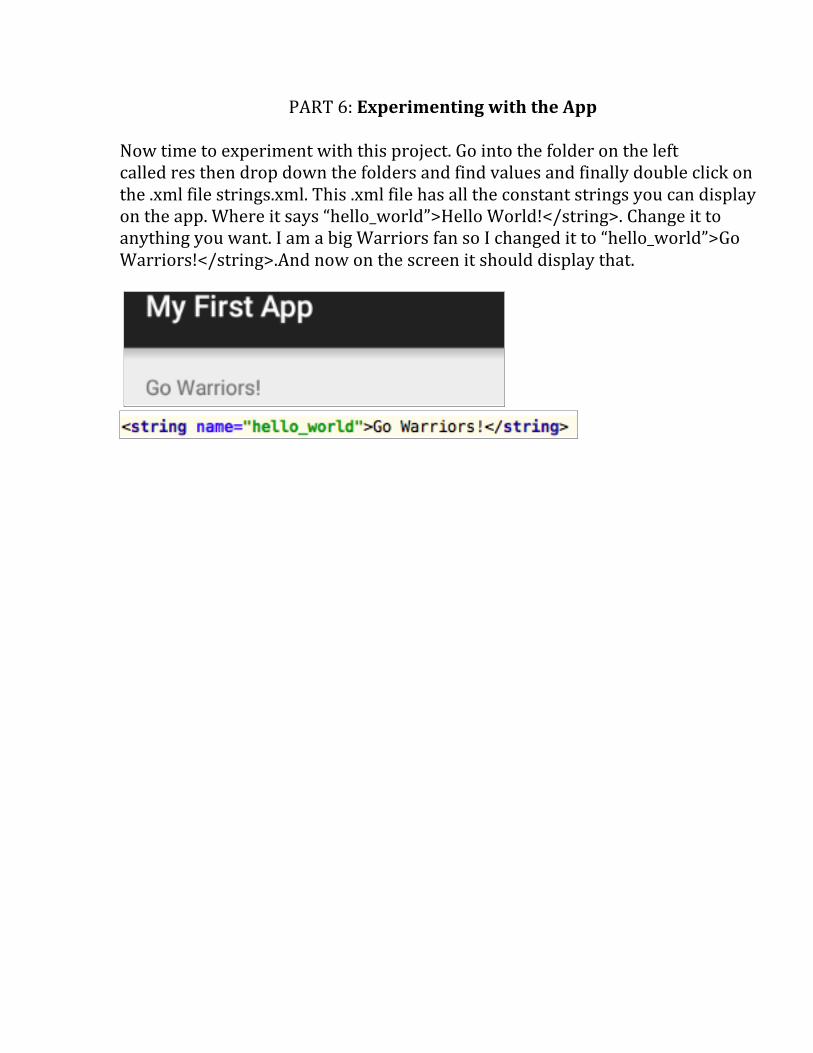
PART 6: Experimenting with the App Now time to experiment with this project. Go into the folder on the left called res then drop down the folders and find values and finally double click on the .xml file strings.xml. This .xml file has all the constant strings you can display on the app. Where it says “hello_world”>Hello World!</string>. Change it to anything you want. I am a big Warriors fan so I changed it to “hello_world”>Go Warriors!</string>.And now on the screen it should display that.
Possible Errors and Solutions
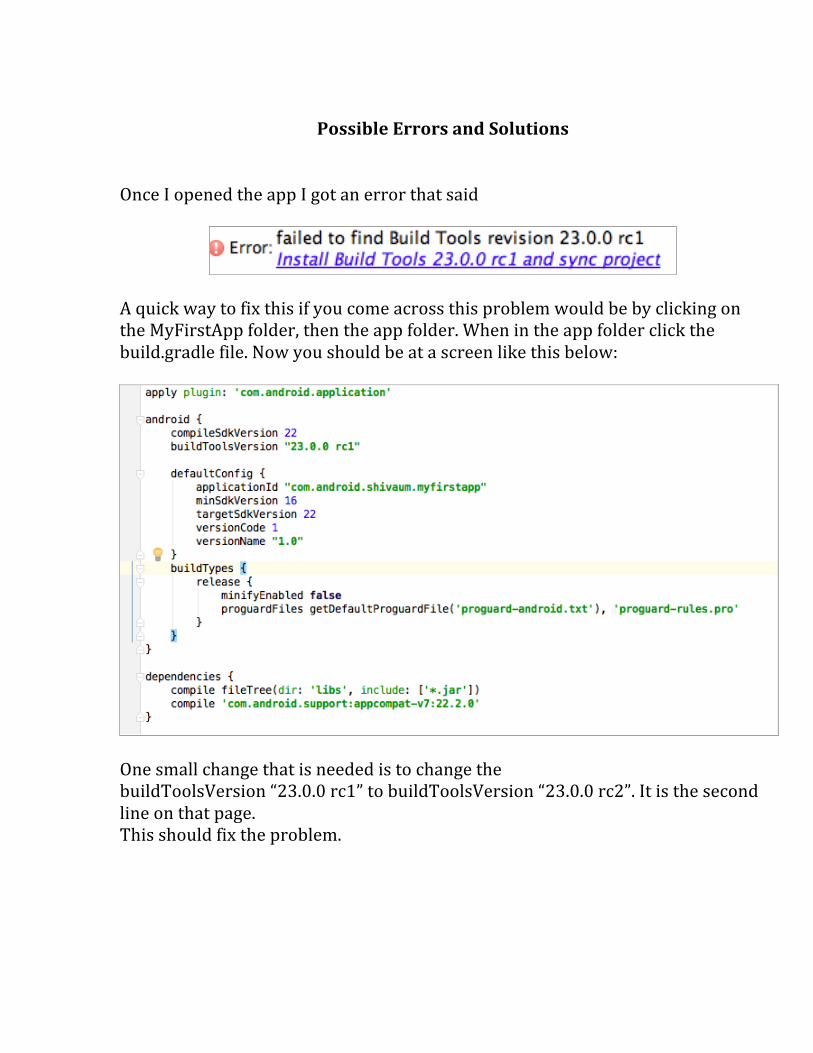
Once I opened the app I got an error that said
A quick way to fix this if you come across this problem would be by clicking on the MyFirstApp folder, then the app folder. When in the app folder click the build.gradle file. Now you should be at a screen like this below:
One small change that is needed is to change the buildToolsVersion “23.0.0 rc1” to buildToolsVersion “23.0.0 rc2”. It is the second line on that page. This should fix the problem.
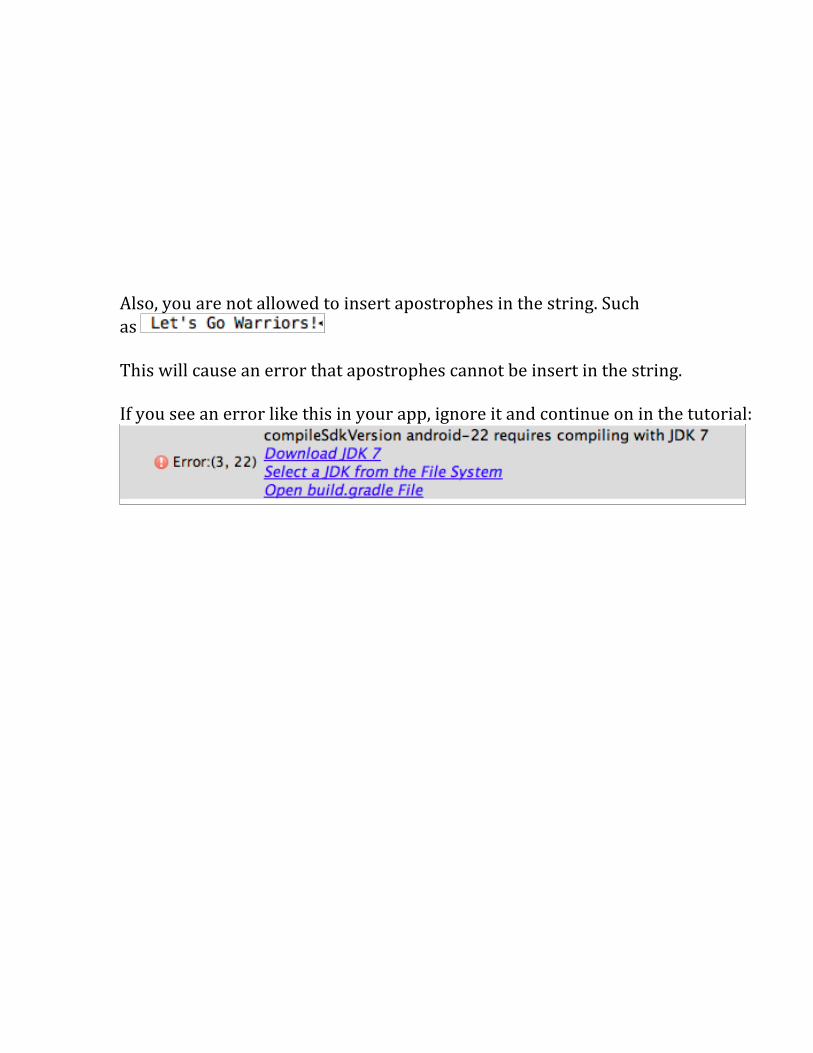
Also, you are not allowed to insert apostrophes in the string. Such as This will cause an error that apostrophes cannot be insert in the string. If you see an error like this in your app, ignore it and continue on in the tutorial:
Further Resources and Links
Here are resources that may help you in this tutorial:
How to create an Android Studio Project.
http://developer.android.com/training/basics/firstapp/index.html
How to run your app.
http://developer.android.com/training/basics/firstapp/running-‐app.html
The conceptual fundamentals of Android Development
http://developer.android.com/guide/index.html